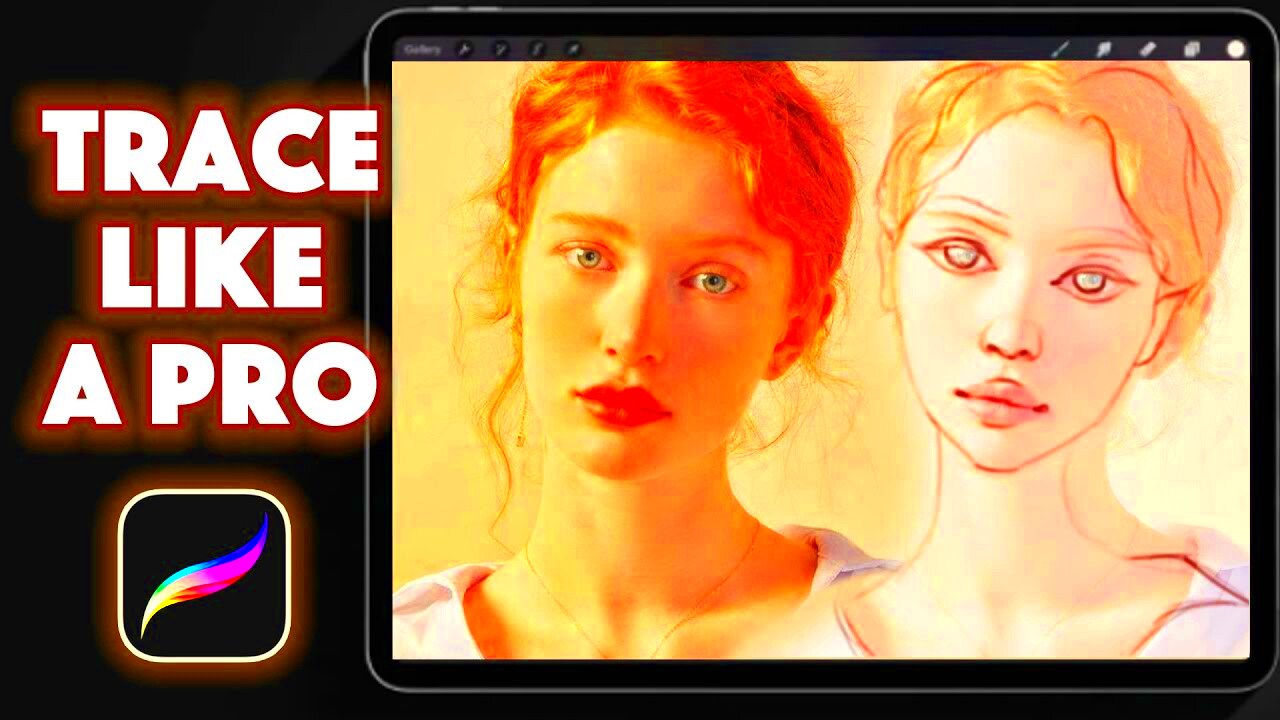
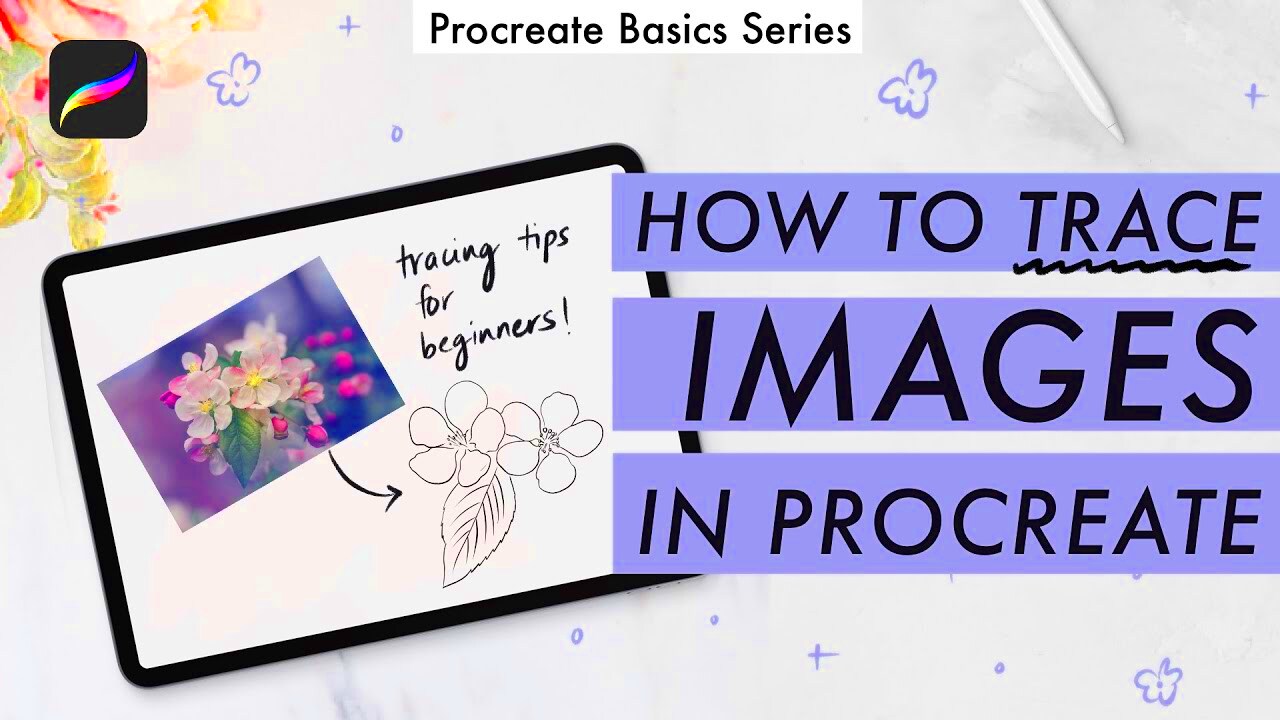
Tracing images in Procreate is a great way for beginners to practice drawing and improve their skills. It allows you to break down complex shapes and create more detailed artwork without feeling overwhelmed. Whether you're new to digital art or just looking to add precision to your designs, tracing images in Procreate is a helpful tool. You can trace over images that are imported into the app, using layers to separate your work and refine your results. In this guide, we'll walk you through the basics and share tips to make your tracing process smoother and more enjoyable.
Setting Up Your Canvas in Procreate
Before you start tracing, it's essential to set up your canvas properly. The right canvas size and resolution will ensure that your final traced image looks crisp and detailed. Here's how to set it up:
- Open Procreate and tap the "+" icon to create a new canvas.
- Choose a canvas size that fits your project. If you're tracing for print, a larger resolution like 300 DPI is ideal.
- Select a background color. You can use a white background or set it to transparent for more flexibility.
- Enable grid lines for more accuracy while tracing. You can adjust the grid size to fit your needs by going to the "Actions" tab and selecting "Canvas."
With your canvas set up, you're now ready to import an image and start tracing. Make sure you have plenty of space to work with, and don't forget to save your canvas settings for future projects.
Also Read This: Finding the Resolution of an Image
Choosing the Right Image for Tracing
Not all images are ideal for tracing, especially when you're a beginner. The key is to select an image that has clear lines, good contrast, and a simple composition. Here are a few tips for choosing the best image for tracing:
- Look for high contrast images, where the subject stands out against the background. This will make it easier to trace the main shapes.
- Avoid overly complex images. Choose simpler pictures with less detail to start with. It’s easier to focus on basic shapes and lines before diving into intricate details.
- Consider using outlines or sketches. Images that already have defined lines will be easier to trace.
- Choose a high-quality image with clear resolution. Low-resolution images can appear pixelated and make tracing more difficult.
Once you have your image, make sure to import it into Procreate. You can either place the image directly on your canvas or use the "Insert a Photo" option for easier access.
Also Read This: how to reduce wave noise in image
Using Layers for Tracing Images
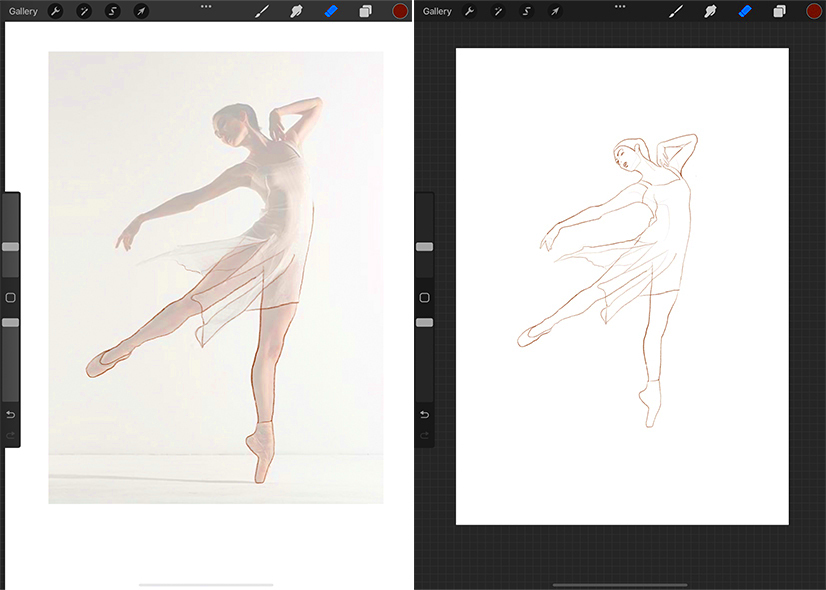
One of the best features of Procreate is the ability to use multiple layers, which is especially helpful when tracing images. Layers allow you to separate different elements of your work, giving you more control and flexibility. Here’s how to use layers effectively for tracing:
- Import your image to a new layer. Tap the "Actions" button, choose "Insert a Photo," and select your image.
- Create a new layer above the image layer. This is where you'll do your tracing. By keeping the tracing on a separate layer, you can easily modify it later without affecting the original image.
- Adjust layer opacity on the image layer. Lowering the opacity makes the image less distracting, so you can focus on tracing over it clearly.
- Use multiple layers for different parts of the drawing. For example, use separate layers for outlines, shading, and coloring. This method makes it easier to edit individual parts of your artwork.
Using layers also helps in organizing your work, especially for more complex projects. You can easily turn off layers to hide certain elements or adjust them without affecting the entire design.
Also Read This: Exciting Job Openings in Digital Image Processing Across the USA
Adjusting Opacity for Better Visibility
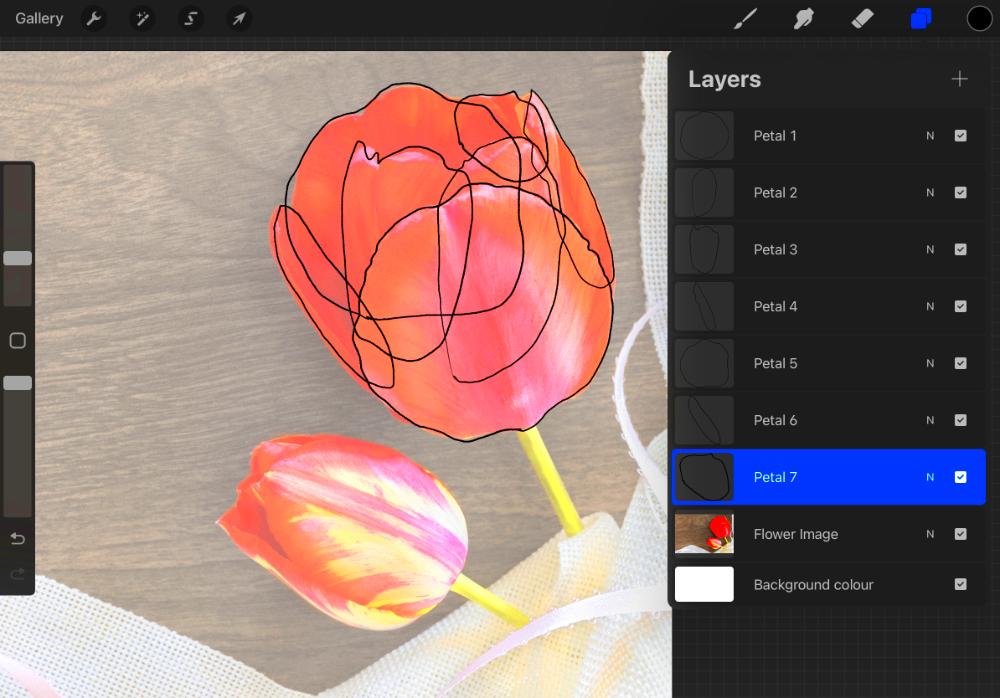
Adjusting the opacity of your image is an essential step in the tracing process. It helps to make the image less overwhelming and allows your trace lines to stand out more clearly. Here’s how to adjust opacity:
- Select the image layer in the layers panel. Tap on the layer to access the settings.
- Tap the "Opacity" slider and reduce the opacity to a level that makes the image faint but still visible. Generally, 30-50% opacity works well for most images.
- Adjust based on your preference. If the image is still too bright or distracting, lower the opacity further until the image is more subtle, and your tracing stands out.
- Test as you go. While tracing, you may want to adjust the opacity in real time as your work progresses. If you find certain areas hard to trace, tweak the opacity for better visibility.
Lowering the opacity is a simple trick that ensures you’re not overwhelmed by the image underneath while making the lines and details of your trace more apparent. It also helps prevent the traced lines from blending in too much with the image.
Also Read This: How to Combine Images from 123RF for Collage Art
Tracing with Different Brushes in Procreate
Procreate offers a wide variety of brushes that can change the look and feel of your traced artwork. Choosing the right brush is key to achieving different styles and textures in your drawing. Here are some tips for tracing with different brushes:
- Use a smooth, clean brush for precision if you want sharp, crisp lines. The "6B Pencil" or "Studio Pen" are excellent choices for this style of tracing.
- Experiment with textured brushes for a more artistic or sketchy feel. Brushes like the "Charcoal" or "Inking" brushes can add depth and texture to your traced image.
- Adjust brush size and opacity depending on the type of detail you want to add. A smaller brush is great for finer details, while a larger brush works for broader strokes.
- Use pressure sensitivity to control the thickness of your lines. The harder you press, the thicker your strokes will be. This feature mimics real-world drawing tools, giving you more control and precision.
Procreate's brush library is vast, so don’t be afraid to experiment with different brushes to find the one that works best for your project. Whether you're going for a sleek, polished look or a more natural, sketchy vibe, there's a brush that will suit your style.
Also Read This: Burning CDs from YouTube Audio for Personal Use
Refining Your Traced Image
Once you've completed your initial trace, it's time to refine your work. Refining helps smooth out any rough lines and ensures your traced image looks polished. Procreate offers a variety of tools that can make this process easier. Here’s how you can refine your traced image:
- Zoom in on details to focus on smaller sections. Zooming in will allow you to fix any uneven lines or spots you might have missed while tracing at a larger view.
- Use the "Undo" feature if you make a mistake. Don't be afraid to correct errors—Procreate's undo function makes it easy to fix unwanted lines.
- Refine lines using the "Smoothing" tool. This tool helps you make your lines more even and less jagged, giving them a smoother finish.
- Use the "Erase" tool to remove unwanted parts of your tracing. You can also adjust the eraser size to match the precision needed for finer details.
- Consider adding shading or highlights to add depth to your trace. Use the same brush you used for outlining or try a different brush for added texture.
Take your time while refining your traced image. The more attention you give to the small details, the better the final result will look. Don't rush through it—focus on making every line and curve clean and intentional.
Also Read This: Tricks to Shrink Images in Paint
Saving and Exporting Your Traced Image
Once your traced image is refined, the next step is saving and exporting it. Procreate gives you several options for saving your work, so you can use it in different projects or share it with others. Here’s how to save and export your traced image:
- Save your work to Procreate by tapping the "Actions" tab (wrench icon) and selecting "Add to Gallery." Your work will automatically save in Procreate's gallery for future editing.
- Export your image by going to the "Actions" tab and selecting "Share." Choose from multiple formats such as PNG, JPEG, or TIFF. PNG is ideal for transparent backgrounds, while JPEG is great for general images.
- Select the resolution before exporting. Higher resolution options are better for printing, while lower resolutions work well for web use.
- Send your image directly from Procreate. You can share your exported file via email, AirDrop, or other apps directly from the "Share" menu.
Make sure to save your project in the Procreate format (PROCREATE) as well, so you can return to your work later to make adjustments or refine it further.
Also Read This: Using iStock Photos for Erotic Book Covers – Understanding Licensing Rules
Frequently Asked Questions
Here are some common questions that beginners have when tracing images in Procreate:
- How do I adjust the opacity of my image layer?
To adjust opacity, tap on the image layer in the layers panel. Then, drag the "Opacity" slider left to make it more transparent or right to increase visibility. - Can I use a photo for tracing?
Yes, you can import photos into Procreate and trace over them. Simply use the "Insert a Photo" option from the "Actions" menu to add your image. - Why do my lines look rough?
Rough lines can be due to the brush settings or the way you're drawing. Try using a smoother brush or adjusting the smoothing settings in Procreate for more precise lines. - How can I get rid of mistakes?
If you make a mistake while tracing, use the "Undo" button (two arrows in the upper-left corner) or use the Eraser tool to remove unwanted lines. - What is the best brush for tracing?
The best brush for tracing depends on your style, but the "Studio Pen" or "6B Pencil" are commonly used for smooth, precise lines. Experiment with different brushes to find the one that works best for you.
If you have more questions or need further assistance, don’t hesitate to explore Procreate’s tutorials or check out the official support page for more tips and tricks!
Conclusion
Tracing images in Procreate is a fantastic way to develop your drawing skills, whether you're just starting out or looking to improve your technique. By using layers, adjusting opacity, and experimenting with different brushes, you can create polished, professional-looking artwork. With practice, you'll become more comfortable with the tracing process and be able to refine your images with ease. Don’t forget to save and export your work, so you can share it or use it in future projects. Keep exploring and practicing, and soon enough, tracing in Procreate will become second nature to you.
 admin
admin


