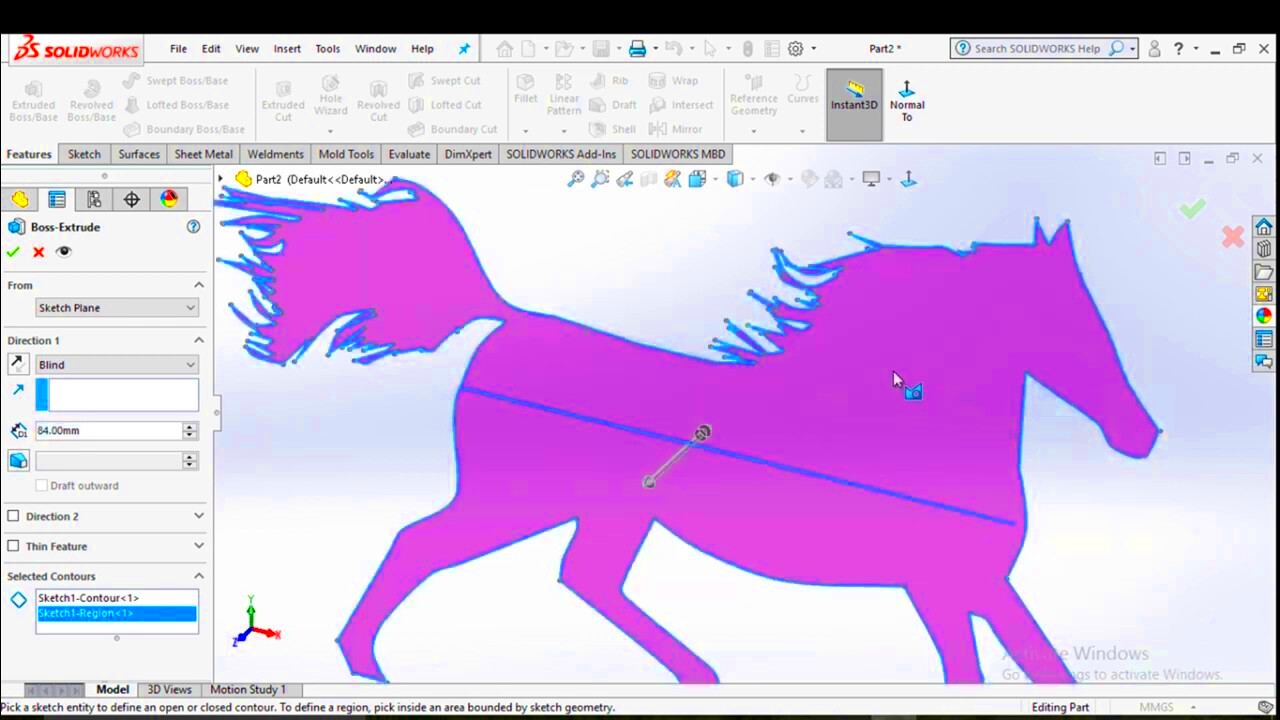
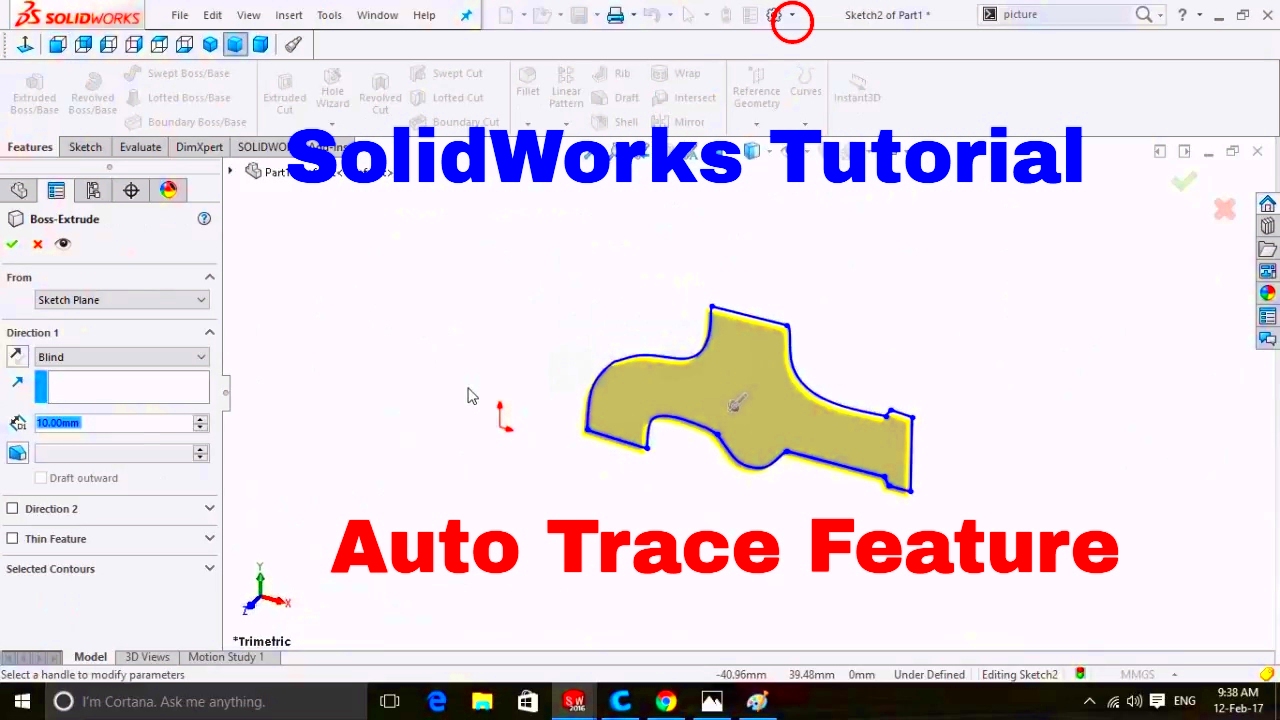
Tracing an image in SolidWorks is an essential skill for designers who want to convert real-world images into 3D models. It allows you to create accurate sketches based on images like blueprints, photographs, or scanned drawings. This process is especially useful when working with complex shapes that are difficult to recreate manually. By tracing the image, you can speed up the design process and ensure that your model reflects the intended proportions and details. In this guide, we’ll walk you through the steps of tracing an
Understanding the Basics of Tracing an Image

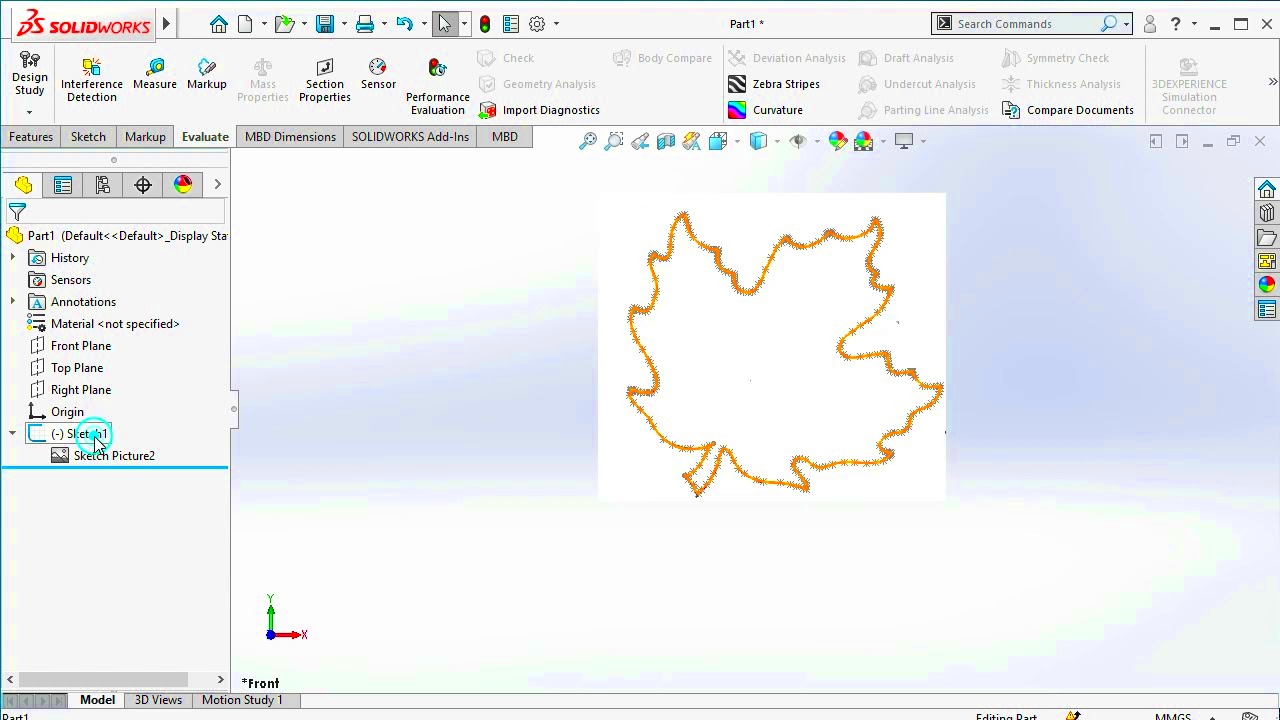
Before diving into the technical steps, it’s important to understand what tracing in SolidWorks involves. Tracing essentially means creating a vector-based sketch over an image. SolidWorks provides various tools to assist with this, such as the "Sketch Picture" tool, which allows you to import an image into the sketch environment. From there, you can use sketch entities like lines, arcs, and splines to trace over the
Here’s a quick breakdown of the basics:
- Sketch Picture Tool: Imports an image into the sketch area.
- Tracing Tools: Use lines, arcs, and splines to follow the image contours.
- Converting to Sketch Entities: Once traced, you can manipulate the entities into a 3D model.
By understanding these key elements, you'll be able to create a smooth transition from 2D to 3D models in SolidWorks, ensuring your designs are both accurate and efficient.
Also Read This: how to edit docker image
Preparing the Image for Tracing in SolidWorks

Before you start tracing an image, it's crucial to properly prepare the image file to ensure a smoother experience in SolidWorks. The better the quality and clarity of the
- Choose a High-Resolution Image: The higher the resolution, the clearer the details will be. Avoid pixelated or blurry images.
- Crop the Image: If the image contains unnecessary parts, crop them out to focus only on the relevant section for tracing.
- Adjust the Image Orientation: Ensure the image is properly aligned. You may need to rotate or flip it to match the correct perspective in SolidWorks.
- Convert the Image to Black and White (if needed): SolidWorks handles black-and-white images better than colored ones. Converting your image to grayscale can help improve contrast and make tracing easier.
Once your image is prepared, you can import it into SolidWorks and begin tracing with more accuracy and ease. A well-prepared image will save you time and reduce errors during the tracing process.
Also Read This: Using Adobe Stock Logos Effectively
Importing the Image into SolidWorks

Once you've prepared your image, the next step is to import it into SolidWorks. The process is simple and straightforward, allowing you to quickly bring your image into the sketch environment. This step is crucial because it serves as the foundation for your tracing work. SolidWorks provides a tool called "Sketch Picture" that lets you insert an
Here’s how to import your image into SolidWorks:
- Open SolidWorks: Launch the software and start a new part or sketch.
- Insert Image: Go to the “Sketch” tab, click on “Picture,” and select your image file from your computer.
- Position the Image: Once inserted, you can move, scale, and rotate the image to fit the sketch area properly.
- Set Image Transparency: Adjust the transparency of the image to make it easier to trace over.
By following these steps, your image will be correctly placed within SolidWorks, and you’ll be ready to move on to the next phase of the process—setting it up for tracing.
Also Read This: How to Train Your Dragon Toothless Images
Setting Up the Image for Tracing in the Sketch Environment
Now that the image is imported into SolidWorks, it’s time to set it up for tracing in the sketch environment. SolidWorks gives you several options to ensure the image is aligned and ready for accurate tracing. Setting the image properly ensures that your traced lines will be proportionate and precise, making the entire design process more efficient.
Follow these steps to prepare the image for tracing:
- Resize the Image: Scale the image to match the required dimensions for your design. SolidWorks offers tools to resize the image proportionally or based on specific measurements.
- Adjust Image Transparency: Lower the opacity of the image so you can see the lines you trace more clearly. This makes it easier to distinguish between the image and your sketch entities.
- Align the Image: Ensure that the image is correctly oriented by rotating or flipping it if needed. Use the grid and origin point to help with accurate alignment.
- Lock the Image in Place: After positioning and adjusting the image, lock it to prevent accidental movement while tracing.
With the image properly set up in the sketch environment, you are now ready to start tracing. These setup steps will ensure that your tracing is accurate and aligned with the original image.
Also Read This: Identifying Valuable Editorial Photos on Imago Images
Using Tools for Tracing in SolidWorks
SolidWorks provides a variety of tools to help you trace over the imported image, turning it into a precise sketch that can be used for further modeling. These tools are simple to use, but mastering them will ensure you get the most accurate results. From basic lines to complex curves, the following tools will assist you in recreating your image in SolidWorks:
- Line Tool: Use the “Line” tool to trace straight edges in the image. This is ideal for tracing geometric shapes like rectangles, squares, or any straight contours.
- Spline Tool: For curves and complex shapes, the “Spline” tool is perfect. It allows you to trace smooth curves, which is essential for more organic shapes.
- Arc Tool: The “Arc” tool helps you create circular or rounded edges. It’s great for tracing parts of a circle or rounded corners in the image.
- Offset Entities Tool: Once you’ve traced your main shapes, you can use the “Offset Entities” tool to create parallel lines or curves. This can be useful for creating parts with a consistent thickness.
As you use these tools, remember that precision is key. Take your time and adjust the traced lines as needed to match the image. Additionally, you can make use of SolidWorks’ dimensioning tools to ensure your traced entities are proportionate and correctly sized. With practice, you’ll be able to trace any image quickly and accurately, helping you move seamlessly from concept to model.
Also Read This: How to Insert Images in Krita for Digital Art
Common Tips for Better Tracing Results in SolidWorks
While tracing an image in SolidWorks is a simple process, there are several tips and techniques that can help improve your results and make the overall experience smoother. By following these strategies, you can avoid common mistakes and achieve more accurate, professional-looking designs. Whether you’re working with complex drawings or simple diagrams, these tips will guide you to better tracing outcomes.
- Use High-Contrast Images: The clearer the image, the easier it is to trace. Choose images with high contrast, where the lines are easily distinguishable from the background. If the image is too faint, adjust the contrast or convert it to black and white.
- Zoom In for Details: Zooming in allows you to focus on finer details, making it easier to trace with precision. Don’t try to trace the entire image in one go—work in sections for greater accuracy.
- Work with Layers: If the image is complex, break it down into layers. Start by tracing the major shapes and move on to smaller details. Layers help you keep things organized and manageable.
- Snap to Grid: Make use of SolidWorks’ grid and snap-to functions to align your traced lines more accurately. The grid provides a visual guide that helps keep your sketches proportionate and straight.
- Use Reference Geometry: Adding reference geometry like centerlines or construction lines can help align and position your traced entities accurately. This also helps in creating symmetrical designs.
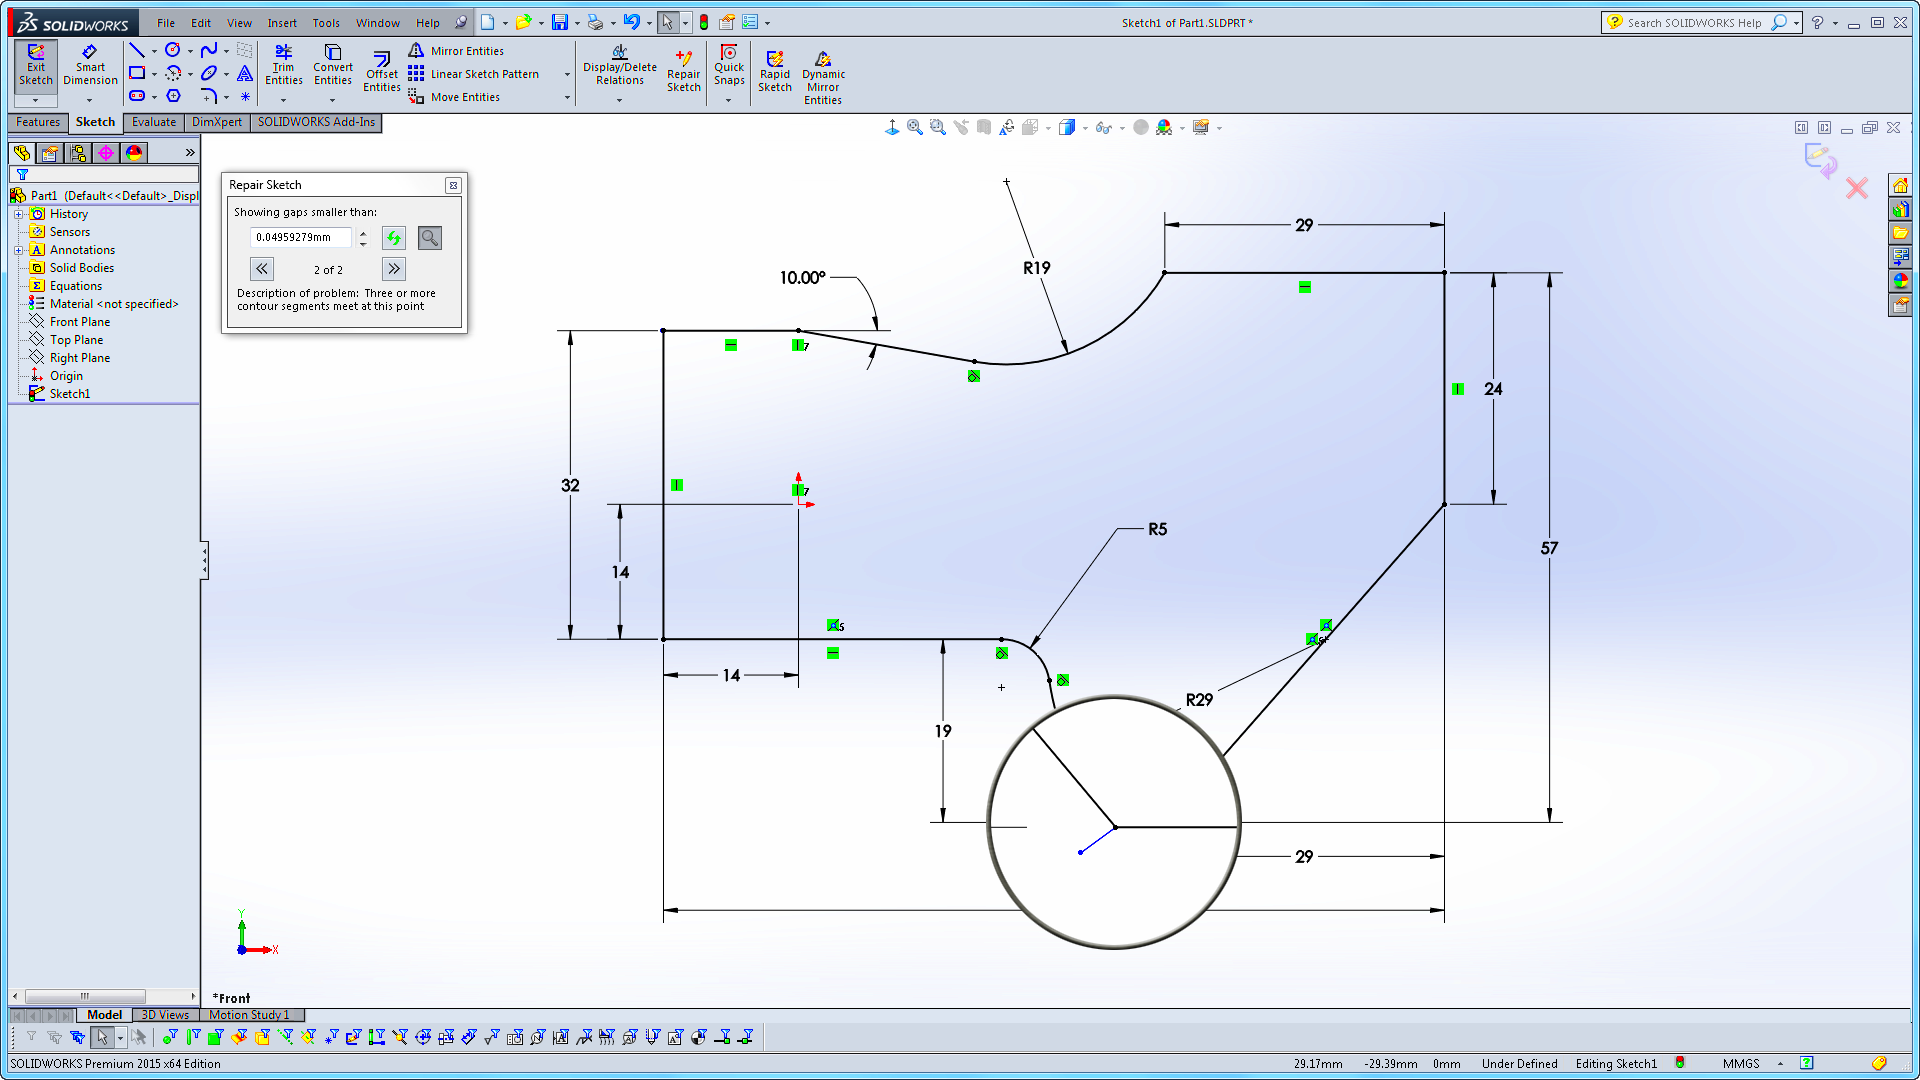
- Check Dimensions Regularly: After tracing a few lines, always check the dimensions using the “Smart Dimension” tool. This ensures that your traced sketch matches the real-world measurements of the image.
These tips will help you achieve more accurate and efficient results when tracing in SolidWorks. By incorporating these strategies into your workflow, you can speed up the process and create cleaner designs.
Also Read This: How to Pull an Object from an Image in Inkscape
FAQ
1. How do I adjust the transparency of an image in SolidWorks?
To adjust the transparency of an image, select the image in the sketch environment, and in the properties menu, you'll find an option for transparency. You can slide the transparency level to make the image more or less visible, which helps when tracing over it.
2. Can I trace multiple images at once in SolidWorks?
Yes, you can import and trace multiple images in SolidWorks. Each image will need to be placed on a separate sketch, and you can then switch between sketches to trace over each one. Just make sure to properly organize and scale each image to maintain accuracy.
3. What should I do if my traced lines are not aligned correctly?
If your traced lines are not aligning properly, try using SolidWorks’ “Constraints” and “Relations” tools. These tools help enforce alignment and positioning, making sure your lines are straight and proportional to the image.
4. Is there a way to improve the quality of a low-resolution image?
Improving the quality of a low-resolution image can be tricky, but you can try enhancing the image in photo editing software before importing it into SolidWorks. Increasing the contrast, converting it to black and white, or applying sharpening filters may help improve visibility for tracing.
5. Can I trace freehand without using specific tools?
While SolidWorks provides precise tools for tracing, you can also use the freehand “Spline” tool for more organic shapes. However, using the standard tracing tools like lines and arcs will yield more accurate and cleaner results for most designs.
Conclusion
Tracing an image in SolidWorks is a powerful technique that helps streamline the design process, turning your 2D images into accurate 3D models. By following the proper steps to import and set up your image, using the right tracing tools, and applying helpful tips, you can achieve precise and professional results. Whether you're working on complex engineering designs or simpler models, these skills will help you bring your ideas to life with ease.
Remember, practice makes perfect. The more you trace, the faster and more accurate you'll become. With these techniques and the tips shared in this guide, you’re now equipped to confidently trace images in SolidWorks and improve your design workflow.

 admin
admin


