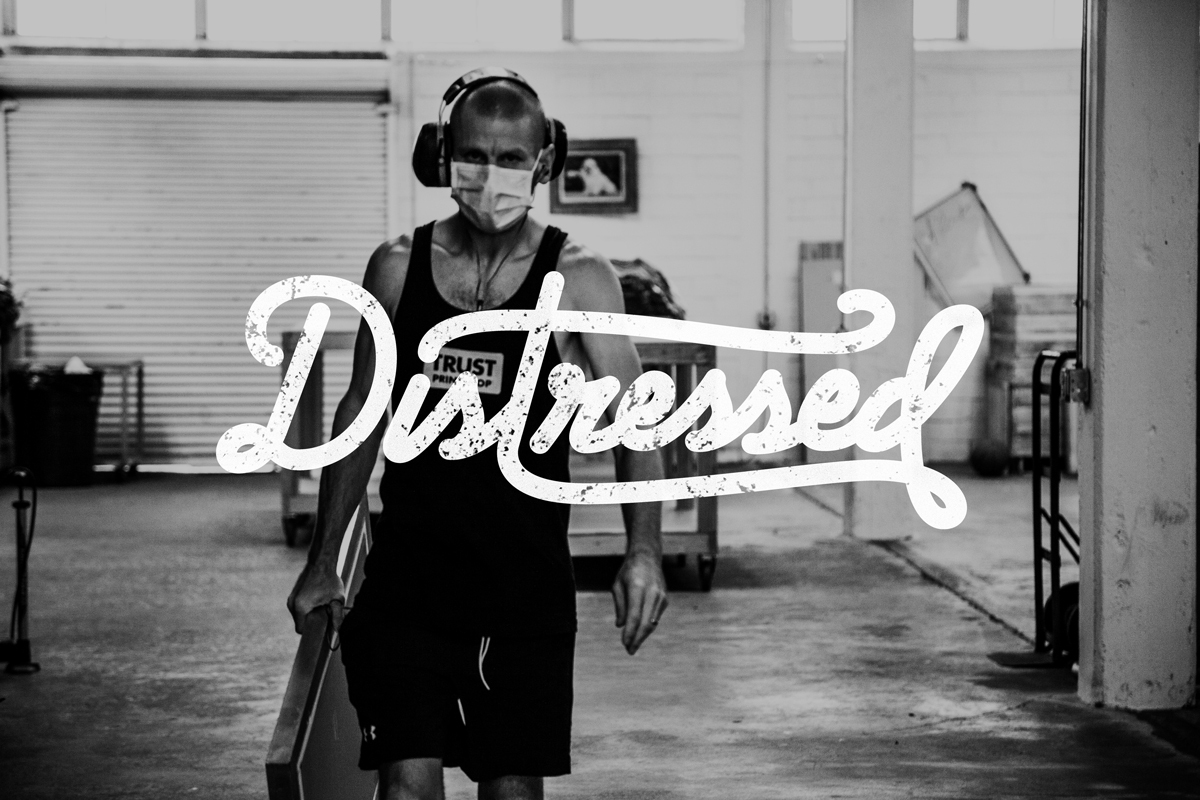
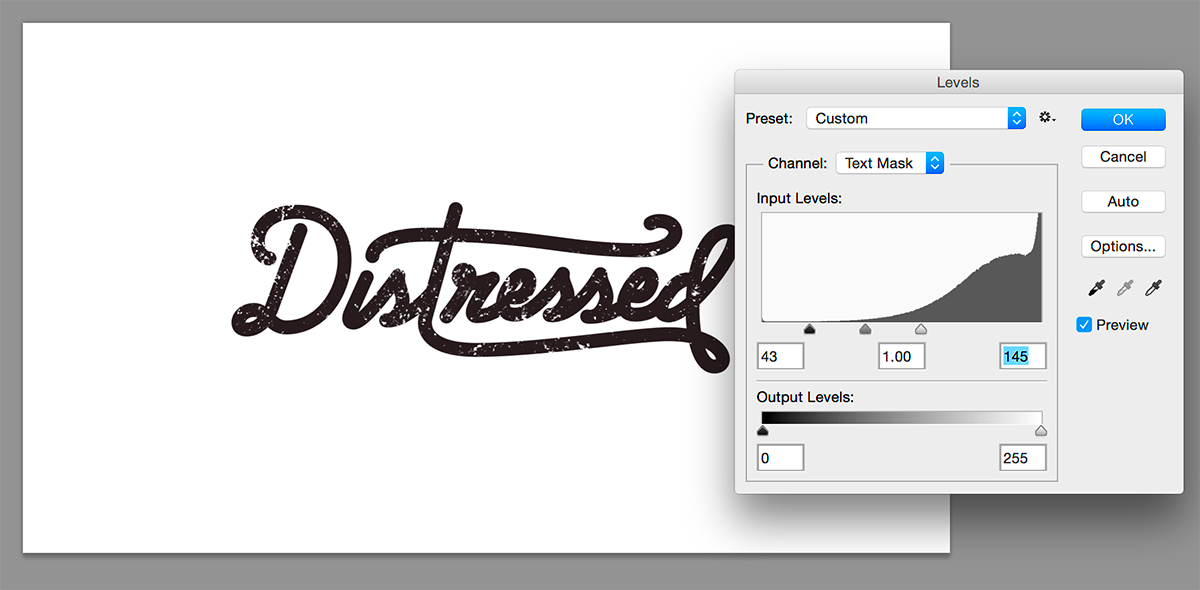
The distressed look is a common style in graphic design and photography that gives images a vintage or worn appearance. This effect often produces feelings of nostalgia, rendering the visuals old-fashioned or tired out, which can be quite attracting in some contexts like art prints or social media graphics. Working in Photoshop to achieve this mark requires an array of moves, such as adding textures, manipulating color schemes and utilizing brushes. In order to effectively employ this technique, one must first understand its fundamental nature, which is the key to mastering it.
Choosing the Right Images for Distressing

Causing a distressed appearance can rely upon picking the correct images while creating it. All photos will not translate well in this design. Below are some guidelines for you to follow so that you can select one:
- Focus on Simplicity: Simple compositions often work best. Look for images with clear subjects and less busy backgrounds.
- Consider Textures: Images with natural textures, like wood, fabric, or paper, can enhance the distressed effect.
- Avoid Overly Bright Colors: Darker or muted colors tend to work better, as they lend themselves to a more authentic aged appearance.
- Think About Emotion: Images that evoke feelings often resonate more. A distressed look can amplify emotions by adding depth to the visual.
Also Read This: How to Create a 3D Image from a 2D Image: A Step-by-Step Guide
Applying Textures to Create Distress
It is a truth universally acknowledged that, to give a distress look in Photoshop, applying textures is one of the best ways. Textures simulate age and wear, thus making one’s images come alive. Follow these steps on how to do this:
- Find High-Quality Textures: Websites like HD Stock Images offer a range of textures suitable for distressing. Look for options like grunge, paper, or fabric textures.
- Import the Texture: Drag and drop your chosen texture into your Photoshop project. Position it over the image you want to distress.
- Adjust the Blending Mode: Change the blending mode of the texture layer. Modes like Overlay or Soft Light can create beautiful effects.
- Tweak Opacity: Adjust the opacity of the texture layer to blend it more naturally with your base image. Experiment with different levels to see what looks best.
- Masking Techniques: Use a layer mask to control where the texture appears. Painting with a soft brush on the mask can help you refine the effect.
While it may not seem like much of a difference, the use of textures can increase the visual effect of images, making them appear worn out and old.
Also Read This: Discover the Most Useful Method for AI Image Generation
Adjusting Colors and Tones for Authenticity
Once the textures have been applied to your picture, it’s time to change and play with colors and tones to give it that aged appearance. Color is very important in setting a mood for an image and it is paramount for its realism as well. Often vintage or shabby images tend to be characterized by subdued colors that usually recall memories associated with yesteryears. Its time we learn how color adjustment can be done effectively on an image.
- Use Adjustment Layers: Instead of directly modifying your image, use adjustment layers. This allows for non-destructive editing, giving you the freedom to change your mind later.
- Experiment with Hue/Saturation: Lowering the saturation can give your image a more vintage feel. Try reducing the saturation by 20-50% to see how it affects the overall look.
- Play with Brightness and Contrast: Adjusting brightness can help create a sun-faded effect. Lowering contrast can soften harsh edges, making the image feel more worn.
- Apply Color Grading: Use color grading techniques to add warmth or coolness. Warmer tones often evoke a cozy feeling, while cooler tones can create a more somber effect.
Manipulating color and tone appropriately breeds authenticity in those aged photographs which makes them more captivating.
Also Read This: How to Submit My Photos to Getty Images for Aspiring Photographers
Using Brushes for Distressing Effects
The brushes in Photoshop serve as an exceptional means to apply different distressing effects onto your images. Depending on if you want to create scratches, dust or other wear-and-tear features; the brushes will let you do all that easily and simply. Here is a guide on how you can use brushes for distressing:
- Choose the Right Brushes: Search for distressed or grunge brushes online. Many free and premium options are available that mimic various textures.
- Create a New Layer: Always work on a new layer when applying brushes. This makes it easy to adjust or remove effects later.
- Adjust Brush Settings: Experiment with size, opacity, and flow settings to create realistic effects. Lower opacity can create subtle textures, while higher opacity can produce more noticeable marks.
- Vary Brush Strokes: Use different brushes and styles to create varied textures. Mix and match to keep the appearance authentic.
- Utilize Layer Masks: If you want to control where the brush effect appears, add a layer mask. This allows you to paint in or out areas of the effect, fine-tuning the final look.
As an additional tool in the process, you can increase the distressed quality of your pictures and also individualize them.
Also Read This: Extracting Data from an Image in Google Sheets
Blending Modes and Their Impact on Distressing
Photoshop blending modes can change the way that layers react with each other. This is why they are so strongly recommended for creating an exceptionally convincing distressed look. Each blending mode provide different means of combining colors and tones, which makes it crucial to understand their effects. Below are some effective principles for utilizing blending modes:
| Blending Mode | Effect |
|---|---|
| Overlay | Brightens light areas and darkens dark areas, creating depth. |
| Multiply | Darkens images by multiplying the base color with the blend color, ideal for shadows. |
| Screen | Lightens images, useful for brightening lighter textures. |
| Soft Light | Adds gentle highlights and shadows for a soft effect. |
To employ a manner of blending:
- Select the layer you want to affect.
- Go to the top of the Layers panel where it says "Normal" and click to reveal the dropdown menu.
- Choose a blending mode that fits the effect you’re trying to achieve.
Playing around with various blending modes can alter your damaged photos making them more interesting by giving the image a personality and adding some dimension.
Also Read This: Enhance Your Website’s Aesthetic with High-Quality Photos from Imago Images
Saving and Exporting Your Distressed Images
It’s vital that you save and export your work properly after putting in all the hard work to achieve a gorgeous faded effect in Photoshop. The choice of format can greatly influence the quality and functionality of your images in various situations, be it web use, printing or sharing on social media sites. Now let’s discuss how to save and export our distressed pictures properly.
- Use PSD for Editing: Always save your project as a PSD file first. This keeps all your layers intact, allowing for future edits without losing quality.
- Export for Web: If you plan to use your image online, consider exporting as a JPEG or PNG. JPEGs are good for photos with gradients, while PNGs work better for images needing transparency.
- Set Quality Settings: When saving as a JPEG, adjust the quality settings. Aim for 70-80% for a good balance between quality and file size.
- Consider File Sizes: Keep an eye on file sizes, especially for web use. Large files can slow down loading times, impacting user experience.
- Use Export As or Save for Web: In Photoshop, you can use the “Export As” or “Save for Web” options to optimize your image for its intended use, adjusting size and format easily.
To preserve the quality of your distressed photographs, here are some steps that you should consider taking before having any works done on them.
Also Read This: Insta-Image Magic: Brit Chandler’s Tutorial on Creating Instagram Photobucket
Common Mistakes to Avoid When Creating Distressed Looks
Making an aged appearance may seem enjoyable but there are several ways you can slip up and consequently ruin what you had in mind as a whole. Below are examples of things that often go wrong and means of dodging them.
- Overusing Effects: Less is often more. Applying too many textures or effects can overwhelm the image and make it look artificial.
- Ignoring Color Harmony: Ensure your colors work well together. Using clashing colors can detract from the vintage feel you’re trying to achieve.
- Neglecting Image Quality: Always start with high-resolution images. Low-quality images will appear pixelated when you add textures or effects.
- Not Using Layers: Always work in layers. This allows for easy adjustments and keeps your edits organized.
- Forgetting to Experiment: Don’t be afraid to try different brushes, textures, and effects. Experimentation can lead to unexpected and beautiful results.
Knowing about these prevalent blunders will help you hone your skills and also generate a more genuine looking worn-out picture.
Also Read This: How to Edit Your Behance Portfolio for Optimal Project Presentation
FAQ about Distressed Effects in Photoshop
Some things can happen a lot. This is the answer to your request for the most common questions about how to create distressed effects. They may explain certain doubts and help you in your work.
What are distressed effects?
Images receive a distressed effect which gives them a worn-out vintage appearance; this technique has the capacity of evoking the feeling of nostalgia therefore adding more personality to your visuals.
How do I find textures for distressing?
Stock image sites as well as texture libraries and personal photographs of wood, paper or stone surfaces can offer various types of textures. For example, one can find in Hd Stock Images a variety of textures that are meant for this purpose.
Can I create distressed effects without textures?
It is true! You can obtain a weathered appearance without using conventional textures by employing brushes, modifying colors, and applying blending modes to amplify the impact even more as shown in the text.
What file format should I save my distressed images in?
To keep layers, remember to save your work as PSDs and use JPEGs or PNGs for the web. Select one based on its application: JPEG is typically used on photos while PNG supports images that require transparency.
Is there a way to undo changes if I make a mistake?
Indeed! Photoshop features an undo option (Control Z) that permits you to go back upon making adjustments. Utilizing layers and saving it in PSD format also enable going back to previous modifications made to the project.
Conclusion on Creating a Distressed Look
The images produced by your photograph will have a person feel that will enable them to stand out. It is important to know how to do these things: (a) branch out by selecting appropriate pictures (b) add distraction using colors (c) play with different brushes on your own or get a free download from the internet. An authentic vintage look can be achieved through a combination of the four techniques. It’s vital to save the right way as well as watch out for mistakes that can ruin everything you’ve done.
Experimenting with different styles and effects becomes easy as you play around the various blending modes in your designs. The flexibility of the digital art makes it possible for anyone who wants to be creative to do so, so keep your imagination flowing. Regardless of whether you are working on personal projects or professional designs, learning how to create distressed looks will help improve your skills and give more value to any piece of artwork you may have done. Have fun editing!

 admin
admin


