In the creation of 3D models and animations in Blender, images are of great importance. They serve as textures, references or backgrounds which can add so much more beauty and realism to your work. This means you will produce more rich and vibrant scenes by incorporating images well. This knowledge will take what you do with games, animations or digital art further-using them to raise your work into the next level.
Choosing the Right Image Format for Your Project

In Blender project remits, selecting the right image format is crucial. Every format has its own unique functions and advantages. Below are some frequently used image formats that you may want to take into account:
- JPEG: Great for photographs and images with many colors but does not support transparency.
- PNG: Ideal for images requiring transparency, such as logos or textures with clear edges.
- TIFF: Often used in professional settings for high-quality images but can be larger in file size.
- SVG: A vector format that is excellent for logos and graphics, allowing for scaling without loss of quality.
While choosing a type of format, think about how the ultimate purpose of the picture. In case you are working with textures, it is advisable to use PNGs while JPEGs fit for background images. Always ensure that you consider the effect that this image has on your project in terms of performance and quality.
Importing Images into Blender

Bringing pictures into Blender is an uncomplicated method that everyone can follow. To import your images into this software, just do the following steps:
- Open Blender and navigate to the Shading workspace.
- Select the Object or Mesh where you want to apply the image.
- In the Shader Editor, click on Add and choose Image Texture.
- Click Open in the Image Texture node and browse to your image file.
- Adjust the mapping settings if necessary to fit the image onto your model correctly.
The physical properties of the image can also be modified after importing it in order to improve on its appearance and atmosphere, through the properties panel. Make sure that you are previewing its appearance using rendered view so that one can see how it interacts with different materials and lights.
Using Images as Textures in Blender
The use of images as textures in Blender can make your 3D models look more realistic. Texturing is the application of an image on a 3D surface to provide depth and detail. It can help in creating live and good looking objects. Here is how you can use images rightly as textures in your project.
Starting can be done by following these steps:
- Select the object you want to texture.
- Open the Shader Editor and add an Image Texture node.
- Link the Color output of the Image Texture node to the Base Color input of your material.
- Choose the image you want to use by clicking Open and navigating to your file.
- Adjust the mapping coordinates if needed, ensuring the texture aligns well with your model.
It's important to pay attention to the UV mapping of your object, as this determines how the image will wrap around the surface. You can enter Edit Mode and use the UV Editor to adjust your UV map for better results. By experimenting with different images and settings, you can achieve various effects that suit your artistic vision.
Applying Images in the Background
The use of background photos in Blender can help set a mood and provide further definition to your figures. Hence, a quality background picture can augment the entire structure and send out its meaning in relation to the specific location of these figures. So, here is how to set them in Blender:
- Go to the 3D Viewport and open the View menu.
- Select Background Image and check the box to enable it.
- Click on Add Image and choose the file you want to use.
- Adjust the opacity and size to fit your scene as needed.
Do remember that in the camera view as well as the viewport, it is possible to set an image as a background. This functionality plays a vital role when it comes to creating scenes that need a designated atmosphere or tone. Through careful choice and shifting of your background images, you may have an effect on plot development voyage of ages for your 3D projects.
Creating Image-based References for Modeling
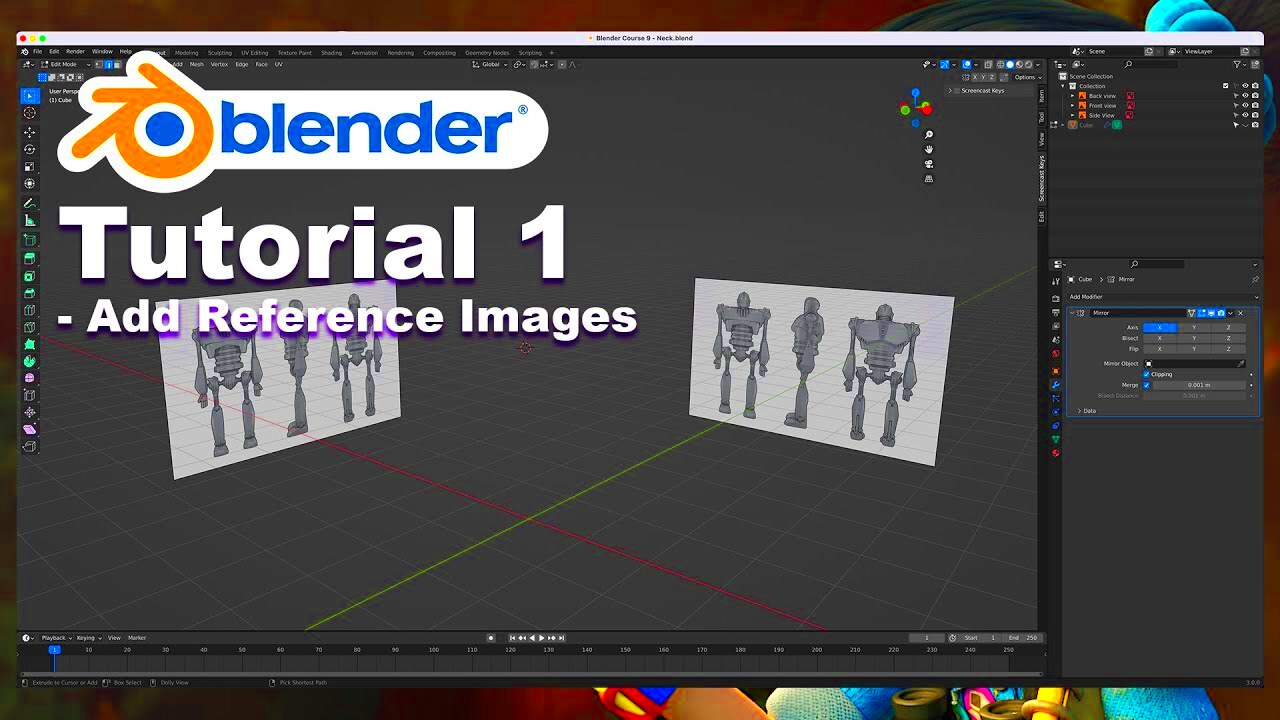
When it comes to the world of modeling in Blender, using references based on images can prove to be very significant. They can greatly influence your proportions, form, and general layout. Utilizing reference images helps maintain accuracy and intricacy in your artwork. Here is an approach for effectively utilizing image references:
- Find high-quality reference images that represent the object you want to model.
- Import these images into Blender using the method described earlier.
- In Front View or Side View, place the reference image in the background.
- Lock the reference images to prevent accidental movement while modeling.
- Use the reference images to guide your mesh creation, ensuring you match the proportions and shapes closely.
When you work with altered representations of an object, it gives rise to precise models and a knowledge of how long it would take to produce them. Also, by utilizing several views (including front, side, and top) to get a thorough understanding of an object being represented makes sense. The end result will be greatly improved through this approach. #AI #humantext
Adjusting Image Properties for Better Results
Once images have been inserted into your Blender project, modifying aspects about it can add to its visual clarity. This means that image property modification can assist in creating the desired textures or backgrounds’ appearance. This includes adjustment of brightness, contrast and even size of images among others. Let’s examine how to make such changes.
Below are a few significant features that you might need to modify:
- Brightness: Increase or decrease the brightness to make your image pop or blend in more naturally.
- Contrast: Adjusting the contrast can help highlight details in the image, making it more visually striking.
- Scale: You can scale the image to fit your model better, ensuring that the texture doesn’t look stretched or pixelated.
- Rotation: Sometimes, a simple rotation can align the texture perfectly with the surface of your object.
To adjust these properties, you can use the Image Texture node settings in the Shader Editor. Playing around with these settings can lead to impressive results. Don't hesitate to experiment and find the right combination that works for your project!
Common Mistakes to Avoid When Using Images
It may look easy to use images in Blender but there are some frequent traps that many novice users fall into. Knowing what these errors are will spare you headache and time losses thus enabling you make better designs right away. Here is a compilation of mistakes to avoid:
- Ignoring UV Mapping: Not adjusting UV maps can lead to distorted textures that don’t align correctly with your model.
- Choosing the Wrong Image Format: Using a format that doesn’t support transparency can affect the quality of your textures.
- Not Adjusting Image Properties: Failing to tweak brightness, contrast, or scale can make your textures look flat or unrealistic.
- Overloading Your Scene with Images: Using too many large images can slow down Blender’s performance. Keep your scene optimized!
Doing so, one’s work pace can be enhanced and perfected ultimately. Above all, make it a habit to verify your settings at all times and ascertain that they are in accordance with what one envisions.
FAQs About Adding Images in Blender
The inclusion of images in Blender may bring up numerous queries particularly for fresh starters. Below are some questions and answers about it:
- Can I use any image format in Blender? Yes, but formats like PNG and JPEG are most commonly used due to their compatibility and quality.
- How do I ensure my texture appears correctly on my model? Make sure to adjust the UV mapping and image properties to fit your model accurately.
- Is there a limit to how many images I can use? There’s no strict limit, but too many high-resolution images can slow down your system. Optimize where you can.
- What should I do if my image doesn’t show up? Check if the image path is correct, ensure the image is loaded in the Image Texture node, and confirm that your material is applied correctly.
In case you have more enquiries or encounter challenges, the Blender society offers amazing assistance and many choices are present on the web. As you navigate through the Blender universe do not hesitate to seek help!
Conclusion on Enhancing Your Blender Projects with Images
Your data is valid until October 2023. For improving the quality and grounding of your 3D models and scenes in Blender, incorporating images has great significance. Since images can be used in different ways including textures, backgrounds or references, it is possible to make unique from others by adding depth and details. Always choose the right image format for best results, adjust properties appropriately so as not to fall into some of the common mistakes that can slow down your work progress. Effectively using images will increase the visual value of a project but also enhance its overall workflow. As you try experimenting with more concepts and ideas about images in Blender, it is likely that you will eventually produce even more professional and interesting Spits.

 admin
admin


