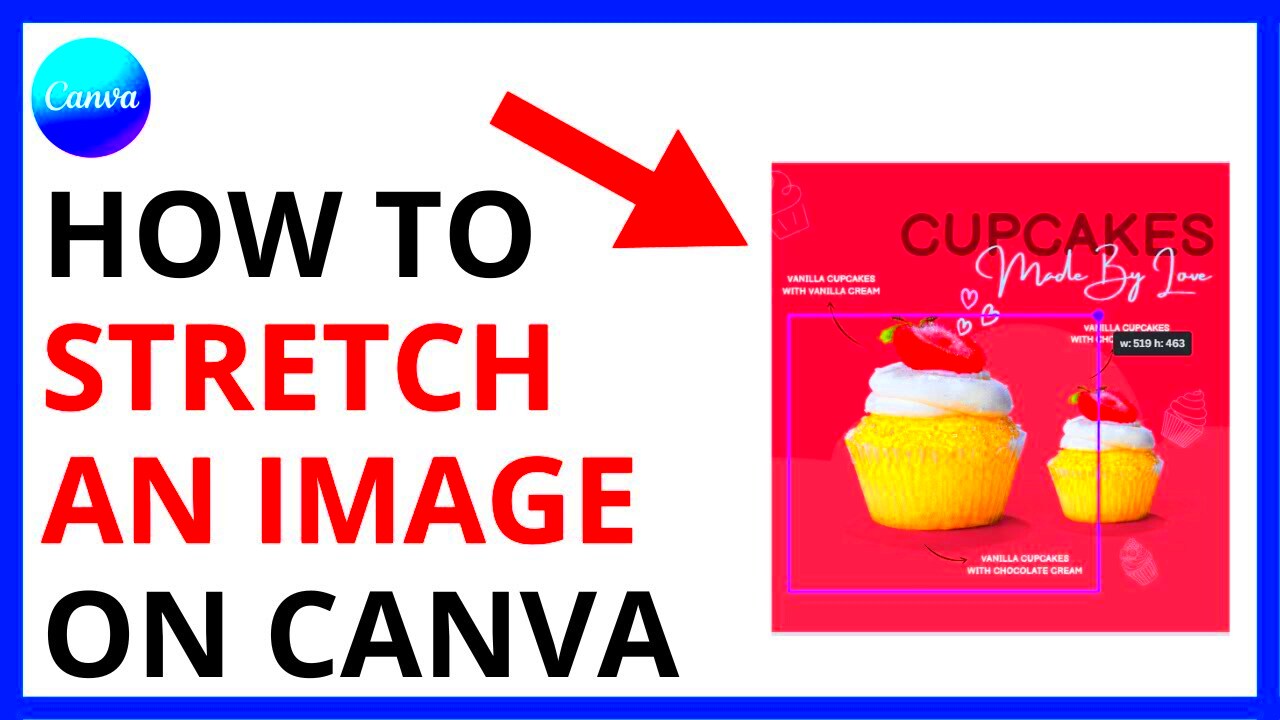
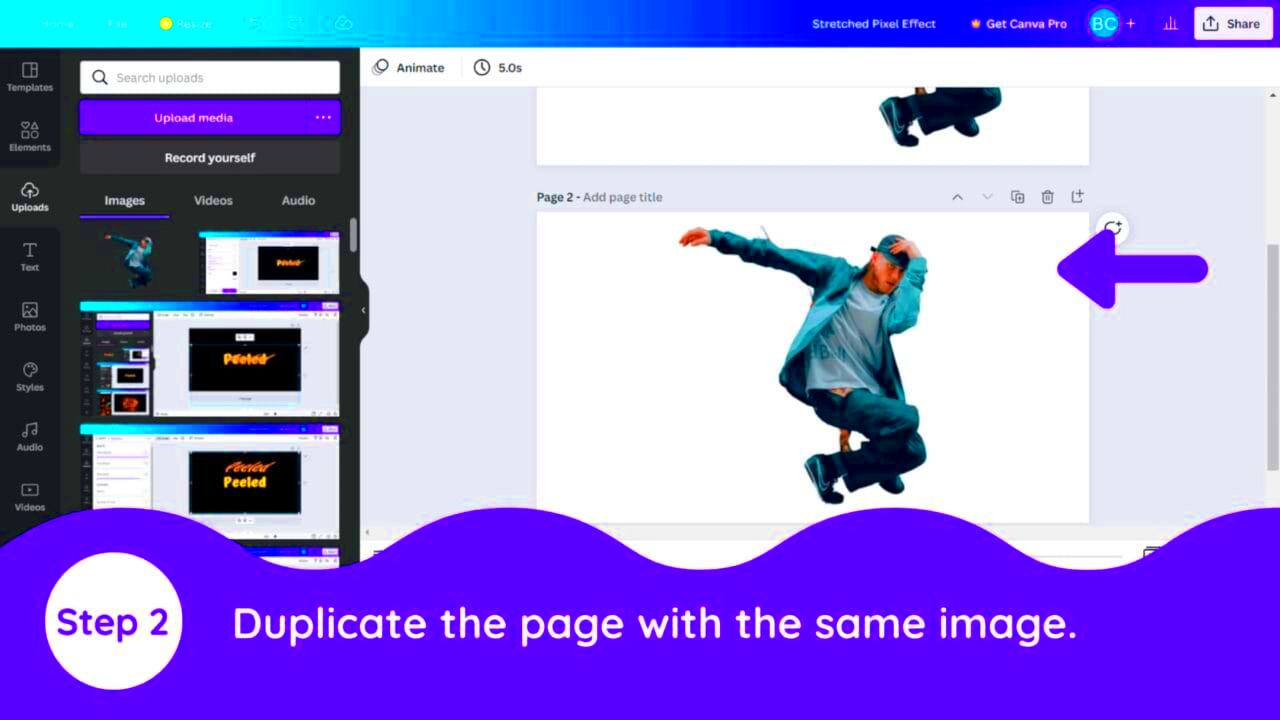
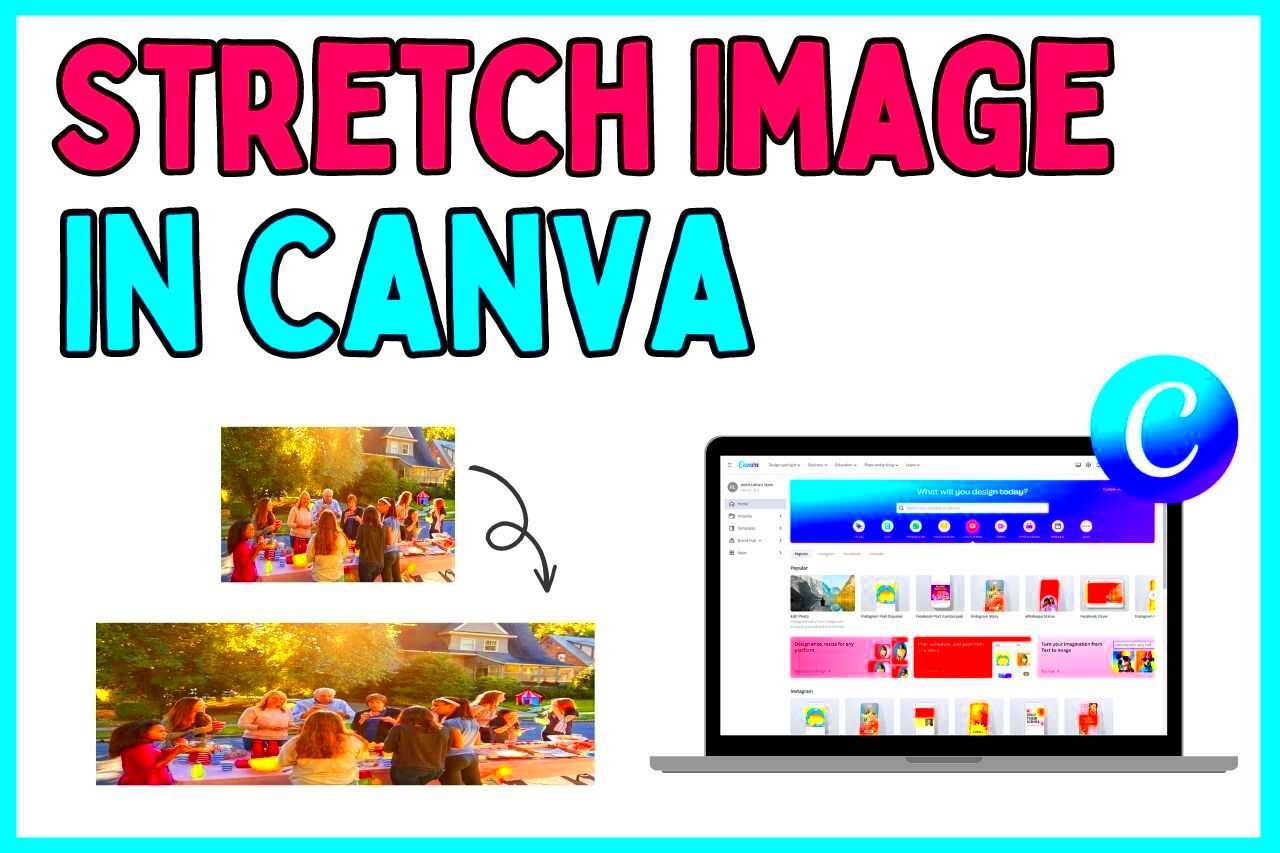
Image stretching simply refers to the alteration of an image’s dimensions to ensure that essential parts remain intact while adjusting its size. Within Canva, this technique is much easier and allows for greater creativity especially in social media posts, website designs or presentations. This method comes in handy when one requires fitting an image into certain areas without distorting its crucial content.
This guide will detail the benefits of stretching images in Canva before sharing tips on how to start, and finally give some of the best techniques for ensuring that image quality is preserved while at the same time making them visually appealing.
Benefits of Stretching an Image in Canva

Polished and professional looking design assignments can be realized through image stretching using Canva. There are several benefits to this technique.
- Versatility: It allows for custom resizing that aligns with specific dimensions, whether for print or digital use.
- Improved Aesthetics: A stretched image can enhance layout, making designs appear complete without empty spaces or misaligned elements.
- Consistent Branding: By resizing images to fit consistent dimensions, your projects can have a cohesive visual appearance across all platforms.
- Efficiency: Canva’s tools make the stretching process quick, reducing the time you’d spend adjusting images manually.
In order for your designs to maintain their intended appearance across all types of media, it’s essential that the pictures in Canva are stretched correctly.
Also Read This: Using Edible Images on Buttercream Cakes
Getting Started with Canva for Image Stretching

These are the simple steps you can follow to begin stretching images in Canva:
- Log in to your Canva account or sign up if you’re a new user.
- Once logged in, click on Create a Design and select the specific size you want your design to be.
- Upload the image you wish to stretch by clicking on the Uploads tab, then Upload Files.
- Once the image is uploaded, drag it into your workspace.
- Use the Resize handles on the image corners to adjust its size. Drag carefully to prevent unnecessary distortion.
Canva provides a resizing tool for premium accounts which allows you to specify exact dimensions to achieve that perfect fit.
No matter the reason, whether to make it fit a social media post, a blog banner, or a presentation, Canva makes it easy to reach your desired look without compromising on quality.
Also Read This: Making Images Transparent in Google Slides
How to Use Canva's Resize Tool for a Perfect Fit

The resize tool from Canva is a great option for you to change the sizes of your images so that they blend in with your design. If you are designing a flyer, a social media post, or even a presentation slide, the way you use this tool will matter so much. This part gives us guidelines on how to use the resizing instrument in Canva easily.
In order to extract maximum benefits from it:
- After uploading your image, click on it to select it.
- On the toolbar above, click on the Resize button. This will open a dropdown menu with preset dimensions.
- Select from the suggested sizes or enter custom dimensions based on your needs.
- As you adjust the size, keep an eye on the Aspect Ratio toggle. Locking this option helps maintain the image’s proportions, preventing distortion.
- Click Resize to apply the changes.
It is possible for you to go back and change the dimensions until you attain that ideal proportion!
Also Read This: How to Pixelate an Image in Krita
Maintaining Image Quality while Stretching

True pro look of any design in canva requires that the image be stretched without losing its initial original quality. So how does someone do this? Here are some things you need to remember:
- Start with High-Resolution Images: Always use images that are high resolution to begin with. Low-resolution images can appear pixelated when stretched.
- Avoid Extreme Stretching: Try not to stretch an image beyond its natural dimensions. A good rule of thumb is to stay within 20% of the original size to maintain quality.
- Use the Crop Tool: If stretching distorts the image too much, consider cropping instead. This can help you keep the essential parts of the image intact.
- Check the Preview: Before finalizing your design, preview it to see how the image looks in context. This helps you catch any quality issues.
These tips will help you stretch out the picture while still making it appear sharp and professional.
Also Read This: How the Image Displays Photosynthesis in an Ecosystem
Best Practices for a Professional Look
by simply stretching images that look visually appealing in your Canva designs isn’t sufficient. Here are some best practices for achieving that professional look:
- Consistency is Key: Use similar styles, colors, and fonts across your designs to create a cohesive look.
- Use Grids and Guides: Canva offers grids and guides that help align elements. This can make your design more organized.
- Limit Text Overlays: When stretching images, avoid covering too much of the image with text. This can distract from the visual impact.
- Choose the Right Fonts: Select fonts that are easy to read. Stick to one or two font styles to maintain a clean look.
- Seek Feedback: Sometimes a fresh pair of eyes can catch things you might miss. Don’t hesitate to ask for opinions from friends or colleagues.
By following these tips and tricks, your designs may become more sophisticated than before resulting in an elegant appearance each time.
Also Read This: How to Save Getty Images Without Watermark on Tumblr
Frequently Asked Questions about Image Stretching in Canva
Some brand new users of Canva often want to know how to stretch images on the platform. Here are some of the most common inquiries which can assist in clarifying the confusion:
1. Can I stretch an image without losing quality?
Image quality could be preserved if you start with a high-resolution image and do not stretch it too much. Resizing while keeping the aspect ratio locked is another way to maintain the quality.
2. What if my image looks distorted after stretching?
Distorted images may be handled better by cropping them rather than stretching. By doing this, significant areas of the image will remain unchanged while still keeping its original dimensions almost intact.
3. Are there specific dimensions I should use for social media posts?
Many social media platforms have specific suggestions for image dimensions. Among these common sizes are:
| Platform | Recommended Size |
|---|---|
| Instagram Post | 1080 x 1080 pixels |
| Facebook Cover | 820 x 312 pixels |
| Twitter Header | 1500 x 500 pixels |
Whenever you utilize these measurements for your pictures, they will probably show up nicely without resizing issues across several social media sites.
4. Can I stretch a video in Canva as well?
Certainly, it is possible to alter the dimension of videos in Canva by employing methodologies analogous to that of images. The only thing you need to do is to pull the ends of the video file and make it bigger or smaller but be careful and do not forget to keep the aspect ratio for the quality reasons.
5. Is there a limit to how much I can stretch an image?
Though there are no real boundaries, you ought to refrain from enlarging a picture by more than 20% of its original size so as to avoid pixelation and deformation.
Conclusion on Stretching Images for Ideal Fit in Canva
Using the resizing tool properly can enhance the quality of your images, and help you obtain visually appealing content that suits your needs. Stretching images in Canva is a simple yet powerful tool for enhancing your designs. For personal projects or professional presentations, learning these techniques will help you get perfectly fitting and looking images.

 admin
admin


