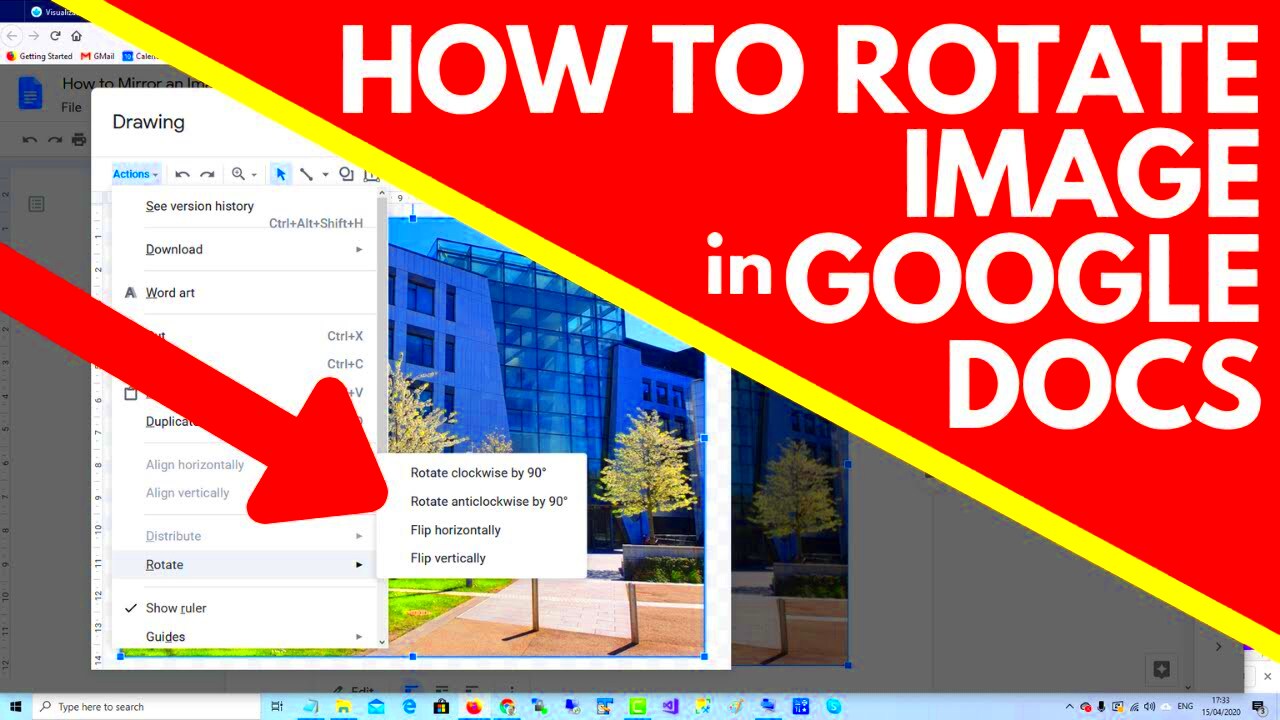
Image rotation in Google Drive is a simple yet essential feature that allows you to adjust the orientation of your images. Whether you're dealing with photos taken at odd angles or need to make images fit better in your documents, rotating images can enhance their presentation. Understanding how to utilize this feature can save you time and improve the visual appeal of your files. In this section, we will cover what image rotation means and why it is useful in your everyday tasks.
How to Access Google Drive and Locate Your Image

Accessing Google Drive is straightforward, and it can be done from any device connected to the internet. Here’s a simple guide to help you get started:
- Open Your Web Browser: Launch any web browser such as Chrome, Firefox, or Safari.
- Visit Google Drive: Go to the Google Drive website at drive.google.com.
- Sign In: Enter your Google account credentials to log in. If you don’t have an account, you can create one for free.
- Locate Your Image: Navigate through your folders or use the search bar at the top to find the image you want to rotate.
Once you've located your image, you're ready to proceed to the next steps for rotation.
Steps to Rotate an Image in Google Drive
Rotating an image in Google Drive is a quick process. Follow these steps to adjust the orientation of your image:
- Select the Image: Click on the image you want to rotate. This will open it in the preview mode.
- Access the Options Menu: In the top right corner of the preview screen, you will see an icon with three vertical dots. Click on this icon to open the options menu.
- Choose Rotate Options: From the menu, select “Rotate left” or “Rotate right” as needed. Each click will rotate the image 90 degrees.
- View Your Changes: After rotating, check how the image looks in the preview. If you’re satisfied, you can proceed to save the changes.
This straightforward method allows you to quickly adjust images, ensuring they appear just as you want them.
Saving Your Rotated Image for Future Use
After rotating your image in Google Drive, you’ll want to ensure that your changes are saved properly. This step is crucial for keeping your images organized and accessible. Fortunately, saving in Google Drive is pretty straightforward. Here’s how you can do it:
- Confirm Your Changes: After rotating your image, take a moment to review it. Make sure the orientation is exactly how you want it.
- Close the Preview: Click the 'X' at the top right corner of the preview screen to close it. Google Drive automatically saves changes to your image, so there’s no need to worry about losing your edits.
- Check the Updated Image: Navigate back to your Drive and locate the image again. Open it to confirm that the rotation has been saved.
Remember, Google Drive syncs your changes across all devices, meaning your rotated image will be available on your phone, tablet, or computer. This seamless integration is one of the many reasons why users love Google Drive for storing their files.
Common Issues When Rotating Images in Google Drive
While rotating images in Google Drive is usually a smooth process, you may encounter a few common issues. Understanding these can help you resolve problems quickly and effectively. Here are some frequent challenges:
- Image Not Rotating: Sometimes, clicking the rotate option doesn’t seem to work. This can happen due to temporary glitches. Refreshing the page or reopening the image often resolves this.
- Loss of Quality: Users occasionally notice a loss in image quality after rotation. To prevent this, make sure to upload high-resolution images.
- Changes Not Saving: If you close the image and notice it reverted back to its original orientation, check your internet connection. A weak connection can hinder saving.
By being aware of these issues, you can troubleshoot them as they arise and enjoy a hassle-free experience with your images.
Best Practices for Managing Images in Google Drive
Managing your images effectively in Google Drive can save you time and enhance your productivity. Here are some best practices to keep your image files organized and easy to access:
- Create Folders: Organize images by creating specific folders for different projects, events, or categories. This makes locating files much easier.
- Use Descriptive File Names: Instead of generic names like "Image1," use descriptive titles. For example, “Vacation_Beach_2024” helps you remember what the image is about.
- Regularly Clean Up: Periodically review your images and delete any duplicates or files you no longer need. This keeps your Drive clutter-free.
- Back Up Important Images: Although Google Drive is reliable, consider backing up essential images to another cloud service or an external hard drive.
By following these practices, you can ensure that your images are well-organized and easy to find whenever you need them.
Frequently Asked Questions About Image Rotation
When it comes to rotating images in Google Drive, you might have some questions. Here are some frequently asked questions that can help clarify common concerns:
1. Can I rotate multiple images at once?
No, Google Drive currently allows you to rotate only one image at a time. To streamline your workflow, consider organizing your images into folders for easier access before rotating them individually.2. Will rotating an image affect its quality?
Typically, rotating an image does not alter its quality. However, if you notice a loss in quality, ensure that you are working with high-resolution images.3. What should I do if the image won't rotate?
If the rotate option doesn't seem to work, try refreshing the page or reopening the image. Temporary glitches can usually be resolved this way.4. What if my changes aren’t saving?
If your changes revert after closing the image, check your internet connection. A weak connection can hinder the saving process.5. How can I ensure my images are organized?
To keep your images well-organized, create specific folders, use descriptive file names, and periodically clean up by deleting duplicates or unnecessary files.Conclusion
Image rotation in Google Drive is a valuable feature that enhances the presentation of your files. By following the simple steps outlined for accessing, rotating, and saving images, you can easily improve the orientation of your photos. Being aware of common issues and adopting best practices for image management will further streamline your workflow. With these tools at your disposal, you can ensure that your images remain organized and visually appealing, making your overall experience with Google Drive even more efficient. Accessing Google Drive is straightforward, and it can be done from any device connected to the internet. Here’s a simple guide to help you get started:
 admin
admin


