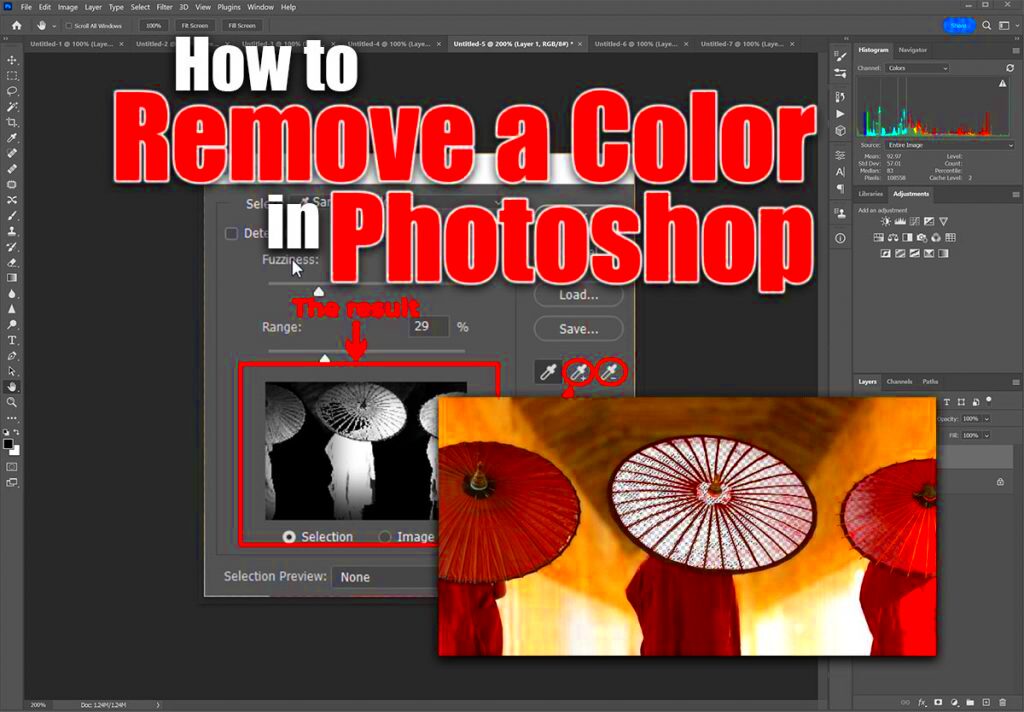
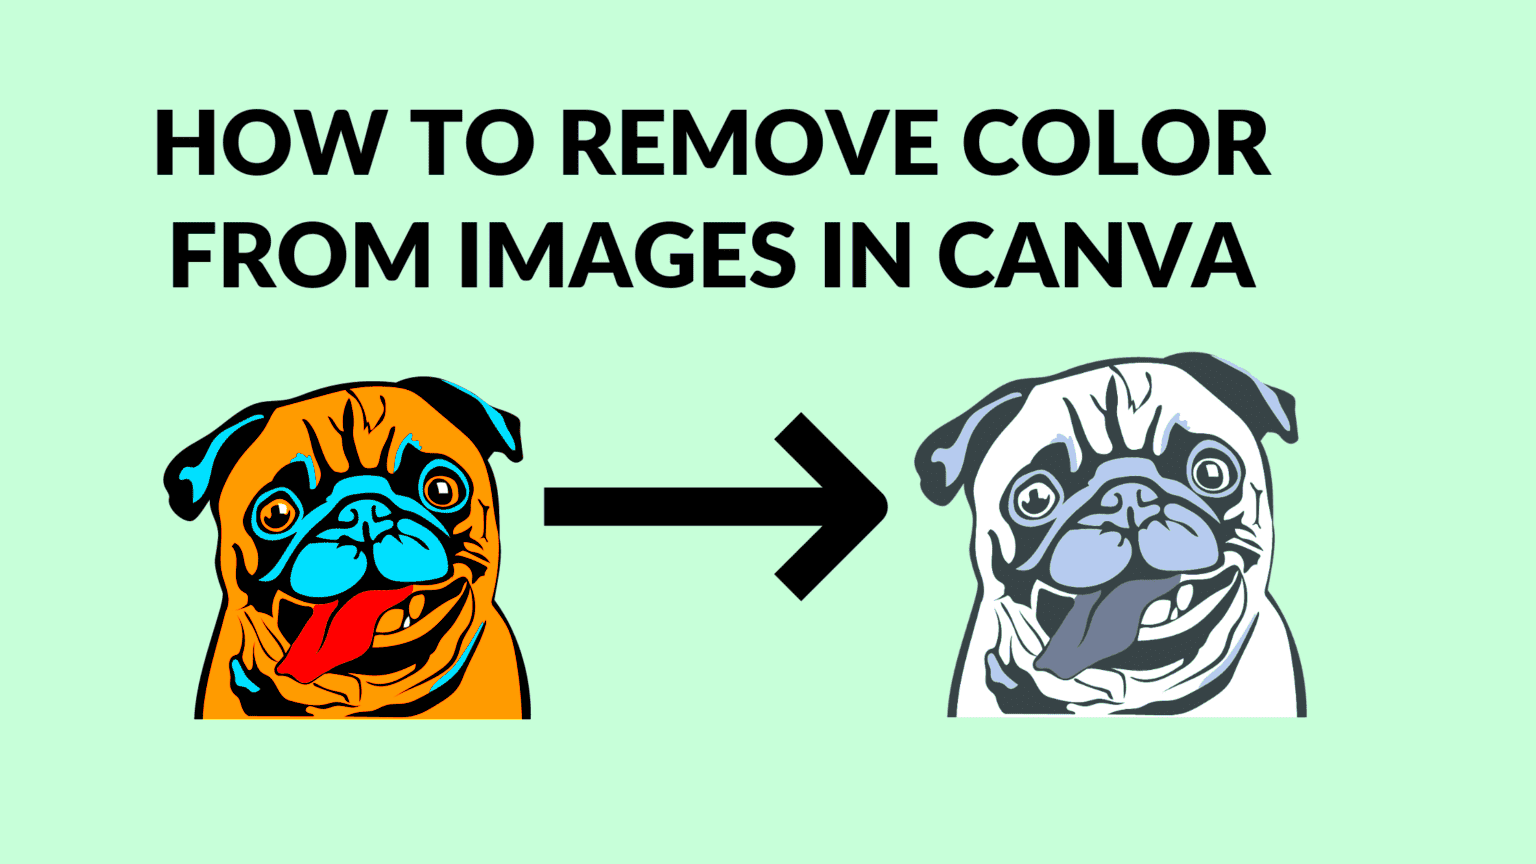
Removing color from an image can be an excellent way to emphasize its structure, textures, and details without the distraction of hues. Black-and-white or monochrome images often feel more refined, focusing the viewer’s eye on shapes, shadows, and contrast rather than vibrant colors. For certain images, like portraits or architectural shots, this color removal can bring out subtle details that might be overlooked in full color.
Another reason for color removal is to create a timeless look. Many classic and artistic styles rely on monochrome for a clean, professional feel. Additionally, colorless images can fit into almost any design theme, allowing you to use them in various contexts without worrying about color clashing. This technique is popular in branding, art, and content creation for social media.
Choosing the Right Tool for Color Removal

Before you start, selecting the right tool for the job is essential. Many photo editing programs and apps provide color removal options, so consider factors like ease of use, the level of control needed, and your familiarity with the software. Here are some popular tools:
- Adobe Photoshop: Known for its advanced features, Photoshop allows you to remove color while preserving quality and offers precise control over each step.
- GIMP: A free alternative to Photoshop, GIMP also has comprehensive color editing options for effective color removal.
- Online Editors: For quick edits, online tools like Canva or Pixlr provide simple color removal functions without needing a download.
Each tool varies in capability, so choose based on your project’s needs. For instance, Photoshop is ideal for professional-quality work, while Canva may be perfect for simple social media images.
Also Read This: Pixelating Images for Privacy and Style
Applying Basic Techniques to Remove Color

There are several simple methods to remove color from an image, and many editing tools make it straightforward. Basic techniques usually involve desaturation or grayscale adjustments. These options can quickly transform a colored image into a black-and-white version without requiring advanced skills.
Here are some common ways to achieve basic color removal:
- Desaturation: This is often a one-click option in photo editors. By desaturating, you remove color information while retaining brightness and contrast, creating a grayscale effect.
- Grayscale Conversion: Many tools offer a grayscale option that removes color by converting the image into black and white. This technique generally works well for simple images and is very quick.
- Hue/Saturation Slider: Some programs, like Photoshop, allow you to use the Hue/Saturation slider to manually adjust each color channel. Setting the saturation to zero effectively removes all color from the image.
These methods are ideal for quick edits or when you want a simple black-and-white effect. For more control, you may want to explore advanced techniques, especially for images with complex color gradients or specific tonal qualities.
Also Read This: how to print a large image on multiple pages
Exploring Advanced Methods for Complete Desaturation

If you’re looking for more nuanced control over the color removal process, advanced techniques can help you achieve a balanced, high-quality black-and-white image. These methods are typically found in professional software like Adobe Photoshop and Lightroom. Here are some advanced approaches:
- Black and White Adjustment Layer: In Photoshop, a Black and White adjustment layer allows you to control the brightness of each color channel individually. This can help emphasize details in certain parts of the image, such as making skies darker or highlighting skin tones.
- Channel Mixer: This tool lets you adjust the red, green, and blue channels separately. You can fine-tune each channel to bring out specific details, which is especially useful for complex images with layered textures.
- Dodge and Burn: This technique adjusts light and dark areas manually. By dodging (lightening) or burning (darkening) specific areas, you can add depth and contrast to a colorless image, creating a striking black-and-white photo.
Using these techniques can help create a polished, artistic image. While they require more time and skill, the results are often worth the effort, especially for professional projects.
Also Read This: Page Building 101: Crafting an IMDb Page – A Step-by-Step Guide
Maintaining Quality During Color Removal

When removing color, maintaining image quality is essential to avoid a pixelated or washed-out look. High-quality color removal keeps the details intact, ensuring a crisp, professional final product. Here are some tips for preserving quality:
| Tip | Description |
|---|---|
| Use High-Resolution Images | Starting with a high-resolution file minimizes quality loss during editing. Low-res images can lose clarity when colors are removed. |
| Apply Noise Reduction | Some color removal techniques introduce noise, particularly in shadows. Use a noise reduction tool to soften the image without sacrificing detail. |
| Adjust Brightness and Contrast | After color removal, fine-tuning brightness and contrast can help maintain a balanced look, ensuring the image does not appear too flat or too harsh. |
By following these guidelines, you can keep your images looking sharp and detailed even after color removal. This step is crucial for professional projects where quality is essential, helping to create visually appealing results every time.
Also Read This: How to Speed Up Video Uploads on YouTube
Saving and Exporting the Edited Image
After you’ve spent time editing your image and removing color, the last step is saving and exporting your work. This process is crucial because it determines how your image will look when viewed or printed. Different formats have their benefits and limitations, so it’s essential to choose the right one for your needs.
Here are some popular formats to consider:
- JPEG: Great for photographs and web use, JPEG files are compressed, which reduces file size. However, this compression can lead to quality loss, especially after multiple edits.
- PNG: Ideal for images with transparency or those requiring higher quality, PNG files maintain image quality without the same level of compression as JPEG.
- TIFF: This format is perfect for professional printing due to its high quality. TIFF files are large and retain all image data, making them a preferred choice for photographers.
Before saving, consider the following tips:
- Use a different file name for the edited version to keep the original intact.
- Check the resolution settings; a higher resolution is better for printing.
- Export your image in multiple formats if necessary, especially if you plan to use it across different platforms.
By following these steps, you can ensure that your edited image retains its quality and is ready for whatever you have planned next.
Also Read This: How to Remove Transparent Backgrounds from iStock Images
Frequently Asked Questions on Color Removal
When it comes to color removal, many people have questions. Here are some common queries to help you understand the process better:
| Question | Answer |
|---|---|
| Will removing color affect the image quality? | Not if done correctly. Using high-resolution images and appropriate editing techniques can maintain quality. |
| Can I revert back to the original color? | If you save a copy of the original file, you can always return to it. Many editing programs also have an undo function. |
| What’s the best software for color removal? | Photoshop is popular for its features, but GIMP and online editors like Canva also do a great job. |
If you have more specific questions or need guidance, don’t hesitate to look for tutorials or ask in editing communities. There’s plenty of support out there!
Conclusion for Achieving a Clean Look Through Color Removal
Color removal can significantly enhance your images by focusing on essential details and creating a timeless, professional look. Whether you’re working on personal projects or professional designs, mastering the techniques of color removal can set your work apart. Start by understanding the basics, choose the right tools, and don’t hesitate to explore advanced methods.
As you gain confidence, you’ll find that color removal opens new creative avenues. Remember to pay attention to quality during the process, and always save your work properly. With practice, you’ll be able to transform ordinary images into stunning visuals that resonate with your audience. So go ahead, try out these techniques, and see how a clean look can elevate your work!

 admin
admin


