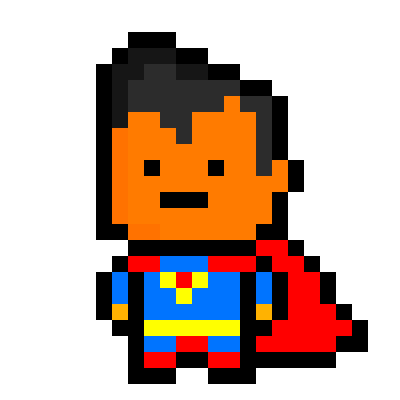
When you think about digital images, pixels are the building blocks that come to mind. A pixel is the smallest unit of a digital image, and each one contributes to the overall picture you see on your screen. Images are made up of grids of these tiny squares, and their arrangement and color combine to create the visuals we love.
Here are a few key points to keep in mind:
- Pixel Dimensions: The size of an image is often described by its pixel dimensions, such as 100x100 pixels. This means the image has 100 pixels in width and 100 pixels in height.
- Color Depth: This refers to the number of colors a pixel can represent. The more bits used for each pixel, the more colors can be displayed.
- Resolution: This term often indicates how sharp an image looks. Higher resolutions usually mean more detail.
Choosing the Right Tools for Image Creation

Selecting the right tools is crucial when creating pixel images. Thankfully, there are many software options available, catering to both beginners and experienced designers. Here’s a breakdown of popular tools you can consider:
| Tool Name | Best For | Features |
|---|---|---|
| Adobe Photoshop | Professional designers | Advanced editing tools, layers, and effects |
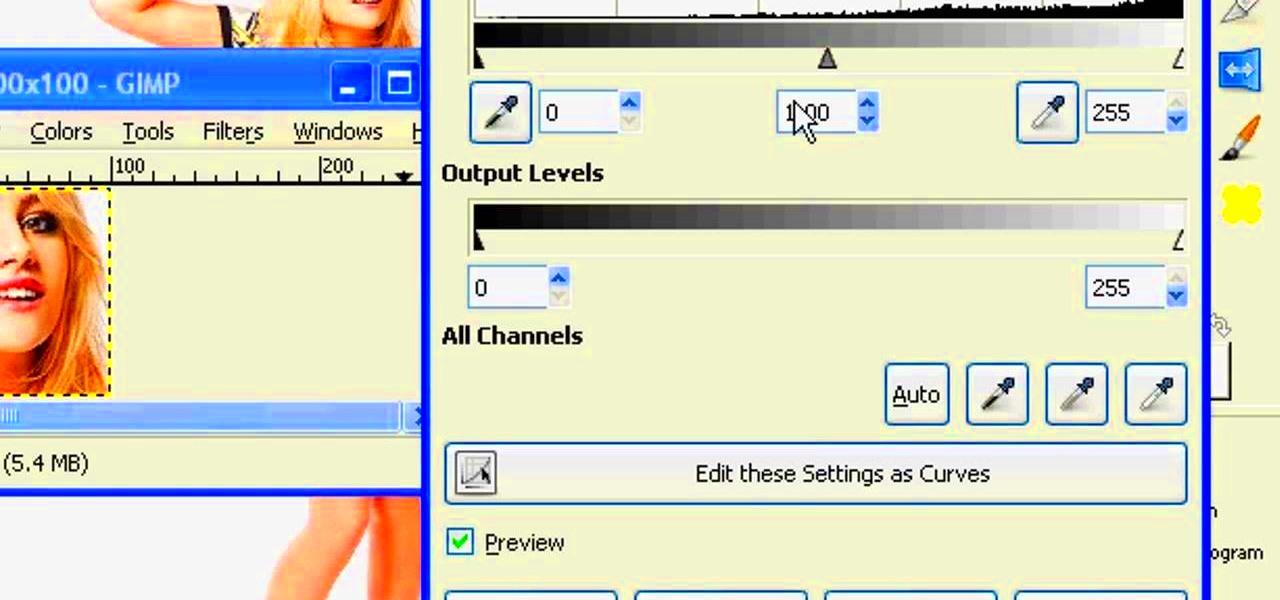
| GIMP | Free software users | Comprehensive image manipulation tools |
| Paint.NET | Beginners | Simple interface, essential editing features |
| Pixlr | Online users | Web-based, easy-to-use editing tools |
Consider your skill level and the complexity of your project when making your choice. Remember, the right tool can make a big difference in the quality of your image.
Also Read This: How to Reverse a PDF Image
Setting Up Your Workspace for Success

Creating pixel images requires a well-organized workspace. This helps you focus and boosts your productivity. Here are some steps to set up your ideal workspace:
- Choose a Comfortable Area: Find a spot where you can work without distractions. Good lighting is essential.
- Organize Your Tools: Make sure all your software and resources are easily accessible. Consider creating folders for different projects.
- Adjust Your Screen Settings: Ensure your monitor displays colors accurately. Calibrate it if necessary.
- Use a Quality Mouse and Keyboard: These tools can enhance your precision and comfort during the design process.
By taking the time to set up your workspace properly, you'll create a conducive environment for bringing your pixel images to life.
Also Read This: Finding Transparent Images on Google Slides
Steps to Create a 100x100 Pixel Image

Creating a 100x100 pixel image can seem tricky, but with the right approach, it becomes a fun and straightforward process. This small image size is perfect for icons, avatars, or simple graphics. Let’s break down the steps to make your creation smooth and enjoyable.
- Open Your Image Editing Software: Start by launching the program you’ve chosen, such as Adobe Photoshop or GIMP.
- Create a New Document: Select the option to create a new file and set the dimensions to 100 pixels by 100 pixels. Make sure to set the resolution to 72 DPI for web use.
- Select Your Color Palette: Choose a color palette that suits your design. You can create a palette in advance or select colors as you go.
- Design Your Image: Use the tools in your software to draw or place elements in your 100x100 canvas. Remember to keep it simple, as small images can become cluttered easily.
- Zoom In and Out: Zoom in to work on details and zoom out to see how your image looks overall.
- Finalize Your Design: Once satisfied, review your image to ensure everything looks good. Make any necessary adjustments before saving.
By following these steps, you’ll have a polished 100x100 pixel image ready for use in no time!
Also Read This: how to round image corners in google slides
Saving and Exporting Your Image Correctly

Once your 100x100 pixel image is complete, it’s important to save and export it correctly. The format you choose affects how the image appears and how large the file size is. Here’s a simple guide to help you navigate this process.
Follow these steps to save and export:
- Select the Save Option: In your image editing software, go to the “File” menu and click on “Save As.” Choose a file name that makes sense for your project.
- Choose the Right File Format: Common formats include:
- JPEG: Great for photographs, but may lose some quality.
- PNG: Ideal for graphics with transparency; retains quality.
- GIF: Good for simple animations and small images, but limited color range.
- Adjust Quality Settings: If saving as JPEG, you may see a quality slider. Aim for a balance between quality and file size. For PNG, you typically won’t have to adjust much.
- Check Dimensions: Ensure your image is still 100x100 pixels before exporting.
- Save Your Project: If you want to edit later, save a copy of your project file (like .PSD for Photoshop) in addition to the exported version.
With these steps, you can ensure that your image is saved in the best format for your needs.
Also Read This: How to Easily Share YouTube Videos on Instagram
Using Your 100x100 Pixel Image Effectively
Your 100x100 pixel image can serve many purposes, whether it’s for a website, social media, or even as part of a larger graphic project. Knowing how to use it effectively can enhance your digital presence. Let’s explore some practical ways to utilize your image.
Here are a few tips:
- Optimize for Web Use: If you’re using the image on a website, make sure it’s optimized for fast loading. This often means keeping file sizes small without sacrificing quality.
- Incorporate into User Profiles: Many social platforms use small images for avatars. Your 100x100 pixel image could be a perfect fit!
- Design Consistency: If you’re using multiple images, maintain a similar style or color scheme across them to create a cohesive look.
- Experiment with Backgrounds: Place your image on different backgrounds to see how it interacts. Sometimes, a simple color or gradient can make your image pop.
- Use in Thumbnails: Small images work great as thumbnails for videos or blog posts, helping to catch viewers’ attention.
By applying these strategies, you’ll maximize the impact of your 100x100 pixel image in various contexts, making it a valuable asset for your projects.
Also Read This: How to Put an Edible Image on a Cake for Personalized Desserts
Common Issues and Troubleshooting Tips
Even the most experienced designers encounter issues while creating pixel images. Thankfully, many common problems have straightforward solutions. Understanding these can save you time and frustration in your creative process. Let's look at some typical challenges you might face and how to resolve them.
- Image Quality Looks Poor: If your image appears blurry or pixelated, double-check your resolution settings. Ensure that you’re working at 100x100 pixels without any resizing.
- Color Discrepancies: Sometimes, the colors in your design might look different when viewed on various screens. Calibrating your monitor can help maintain color consistency across devices.
- Software Crashes: If your image editing software frequently crashes, make sure it's updated to the latest version. Also, consider reducing the number of open files to free up system resources.
- File Size is Too Large: If your image file size is bigger than expected, try saving it in a different format, like JPEG or optimizing the image before saving.
- Exporting Issues: If you encounter problems when exporting your image, ensure that you’re selecting the correct format and quality settings. Checking your export settings can save a lot of headaches.
By being aware of these common issues and their solutions, you can navigate challenges effectively and keep your creative process flowing smoothly.
Also Read This: Saving Images from Google Slides: A Guide
Frequently Asked Questions
As you dive into creating and using 100x100 pixel images, you might have some questions. Here are answers to a few frequently asked questions to help clarify common concerns.
- What is the best software for creating pixel images? While it depends on your skill level, options like Adobe Photoshop, GIMP, and Pixlr are popular choices.
- Can I resize a 100x100 pixel image without losing quality? Resizing can cause loss of quality, especially if you increase the dimensions. It’s best to create a new image at the desired size.
- What file format should I use for web images? PNG is often preferred for graphics because it supports transparency and maintains quality, while JPEG is great for photos.
- How can I improve the visibility of my image? Use contrasting colors and simple designs to ensure your image stands out, especially when placed against different backgrounds.
- Can I use my image in print? A 100x100 pixel image is typically too small for print. For printed materials, use a higher resolution image to ensure quality.
These FAQs address some of the most common concerns, but don’t hesitate to reach out if you have more questions!
Conclusion and Final Thoughts
Creating and using a 100x100 pixel image can be a rewarding experience, allowing you to express your creativity in a compact format. From understanding pixel basics to troubleshooting common issues, this guide has covered essential aspects to enhance your image-making skills.
As you move forward, remember to:
- Experiment with different designs and tools.
- Keep your workspace organized for maximum productivity.
- Utilize the tips and troubleshooting methods shared to streamline your workflow.
Whether you’re using these images for web design, social media, or personal projects, they can significantly impact your digital presence. Keep practicing, and don’t hesitate to seek out resources or communities for support and inspiration. Happy designing!

 admin
admin


