Adding an image to an audio file is not just about aesthetics; it’s about creating a more engaging and memorable experience for your audience. Whether you’re a content creator, a podcaster, or a musician, visuals can help convey the story behind your audio.
Visual effects make your content stand out, especially on platforms like YouTube or social media where people are drawn to visuals first. A relevant image adds context, evokes emotions, and helps listeners connect with your message. For businesses, it’s also a great way to reinforce branding.
So, while your audio content might be excellent, pairing it with the right visual can take it to the next level.
Choosing the Right Image for Your Audio

Picking the perfect image to pair with your audio is crucial. The image should align with the theme, mood, and message of your audio file. Here are some tips to help you decide:
- Consider the tone of your audio: If your audio is upbeat, go for vibrant and colorful images. For something mellow, choose softer tones.
- Stay relevant to the content: If you’re discussing a specific topic, ensure the image reflects that subject.
- Think about your audience: Use visuals that resonate with the preferences and expectations of your target audience.
You can also explore stock image websites like Pikbest to find high-quality visuals that match your needs.
Also Read This: Guide to Uploading Editorial Content to Adobe Stock
Preparing the Image and Audio Files

Before merging, you’ll need to ensure both the image and audio files are ready. Here’s how you can prepare:
- For the image: Ensure the resolution is appropriate for the platform you’ll upload it to. For example, YouTube works well with 1920x1080 pixels.
- For the audio: Check the file format (e.g., MP3 or WAV) and make sure it’s clear and free of background noise.
Organize both files in a folder to make the merging process smoother. Naming the files appropriately can also save time during editing.
Also Read This: A Comprehensive List of Image Processing Companies in the USA
Using Software or Online Tools for Merging

Merging an image with an audio file is simpler than it sounds, thanks to the wide range of tools available. You can choose from software or online tools, depending on your preference and the complexity of your project. Let’s break it down:
Software options:
- Adobe Premiere Pro: A professional tool with robust features for syncing images and audio.
- Windows Movie Maker or iMovie: Easy-to-use options for beginners.
- VLC Media Player: A free tool with basic capabilities for this task.
Online tools:
- Kapwing: A user-friendly website for adding visuals to audio files.
- Clideo: An online platform that works seamlessly for quick edits.
- Canva Video Editor: A creative tool for visually appealing outputs.
Choose a tool that matches your skill level and the desired outcome. Online tools are quick and convenient, while software offers more control for detailed edits.
Also Read This: Understanding the Cost of Adobe Stock Images
Adding the Image to the Audio Step by Step
Once you’ve chosen your tool, it’s time to merge the image and audio. Here’s a simple step-by-step guide:
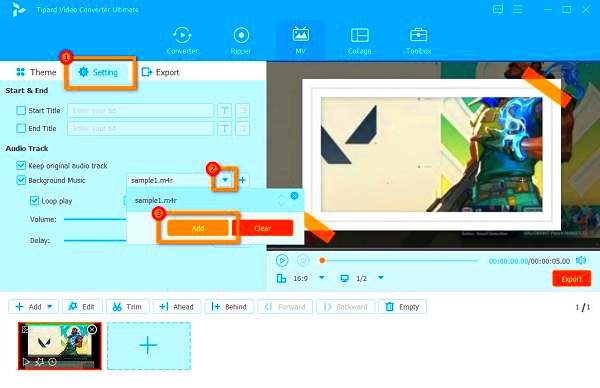
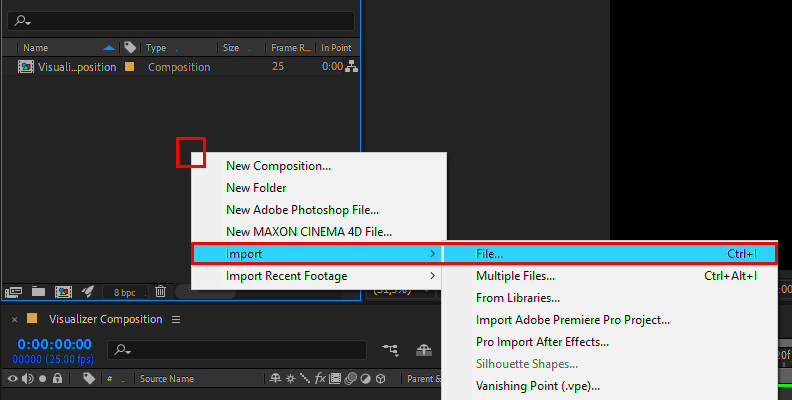
- Import your files: Open your chosen tool and upload the image and audio files.
- Drag and drop: Place the image on the video timeline and align it with the audio track.
- Adjust settings: Set the duration of the image to match the length of the audio.
- Preview your work: Check the synchronization and make adjustments if needed.
- Add enhancements: Include text or transitions if your tool supports it.
Following these steps ensures a smooth merging process and a professional-looking output.
Also Read This: Access Getty Images Without Watermark in 2016
Saving and Exporting Your Final File
After merging the image and audio, saving and exporting the file properly is essential to ensure compatibility with your intended platform. Here’s what to do:
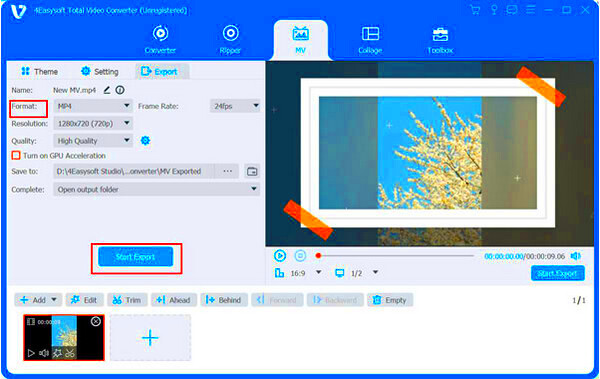
- Choose the correct format: For platforms like YouTube, export your file as MP4. Other formats like MOV or AVI may be suitable for personal use.
- Select the right resolution: Ensure the resolution aligns with platform requirements (e.g., 1080p for YouTube).
- Name your file: Use a clear and descriptive file name to make it easy to locate later.
After saving, test the file by playing it on your computer or device. Ensure the image quality is sharp, and the audio is synchronized perfectly. Once satisfied, your file is ready for uploading or sharing!
Also Read This: How to Round Corners of Images in Google Slides
Frequently Asked Questions
Here are some common questions about adding images to audio files, along with their answers to help you get started:
| Question | Answer |
|---|---|
| Do I need professional software for this task? | No, you can use free tools like VLC or online platforms like Kapwing. However, professional software like Adobe Premiere Pro offers more advanced features. |
| What file formats are supported? | Most tools accept common formats like MP3, WAV for audio, and JPG, PNG for images. Ensure the output format (e.g., MP4) matches your platform’s requirements. |
| Can I add multiple images to one audio file? | Yes, many tools allow you to add a sequence of images, making it suitable for creating slideshows with audio. |
| How can I ensure good quality for the final output? | Use high-resolution images and clear audio. Also, check the export settings to maintain quality during compression. |
| Is it possible to do this on a smartphone? | Yes, apps like InShot and Canva are great for merging audio and images directly from your phone. |
Conclusion
Adding an image to an audio file is a simple yet effective way to enhance your content and make it more visually engaging. By following the steps and tips outlined above, you can create professional-looking results that resonate with your audience. Whether using software or online tools, the process is accessible to everyone, regardless of technical expertise.


