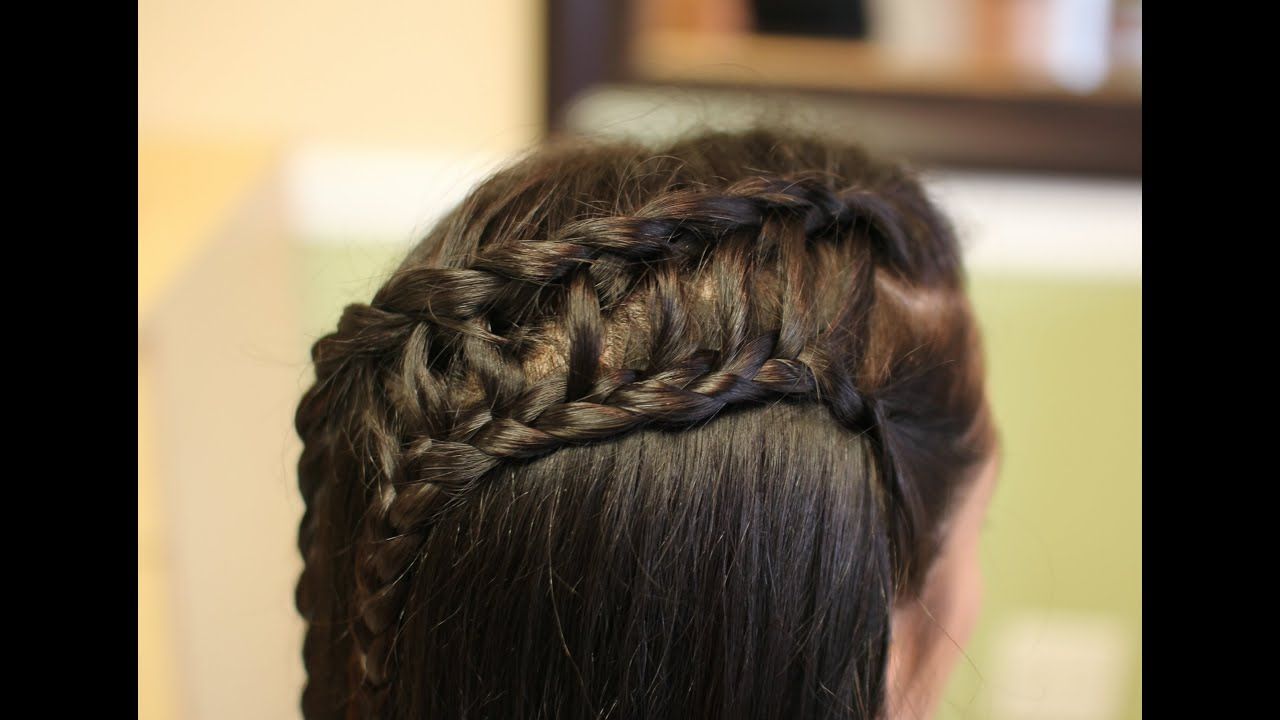
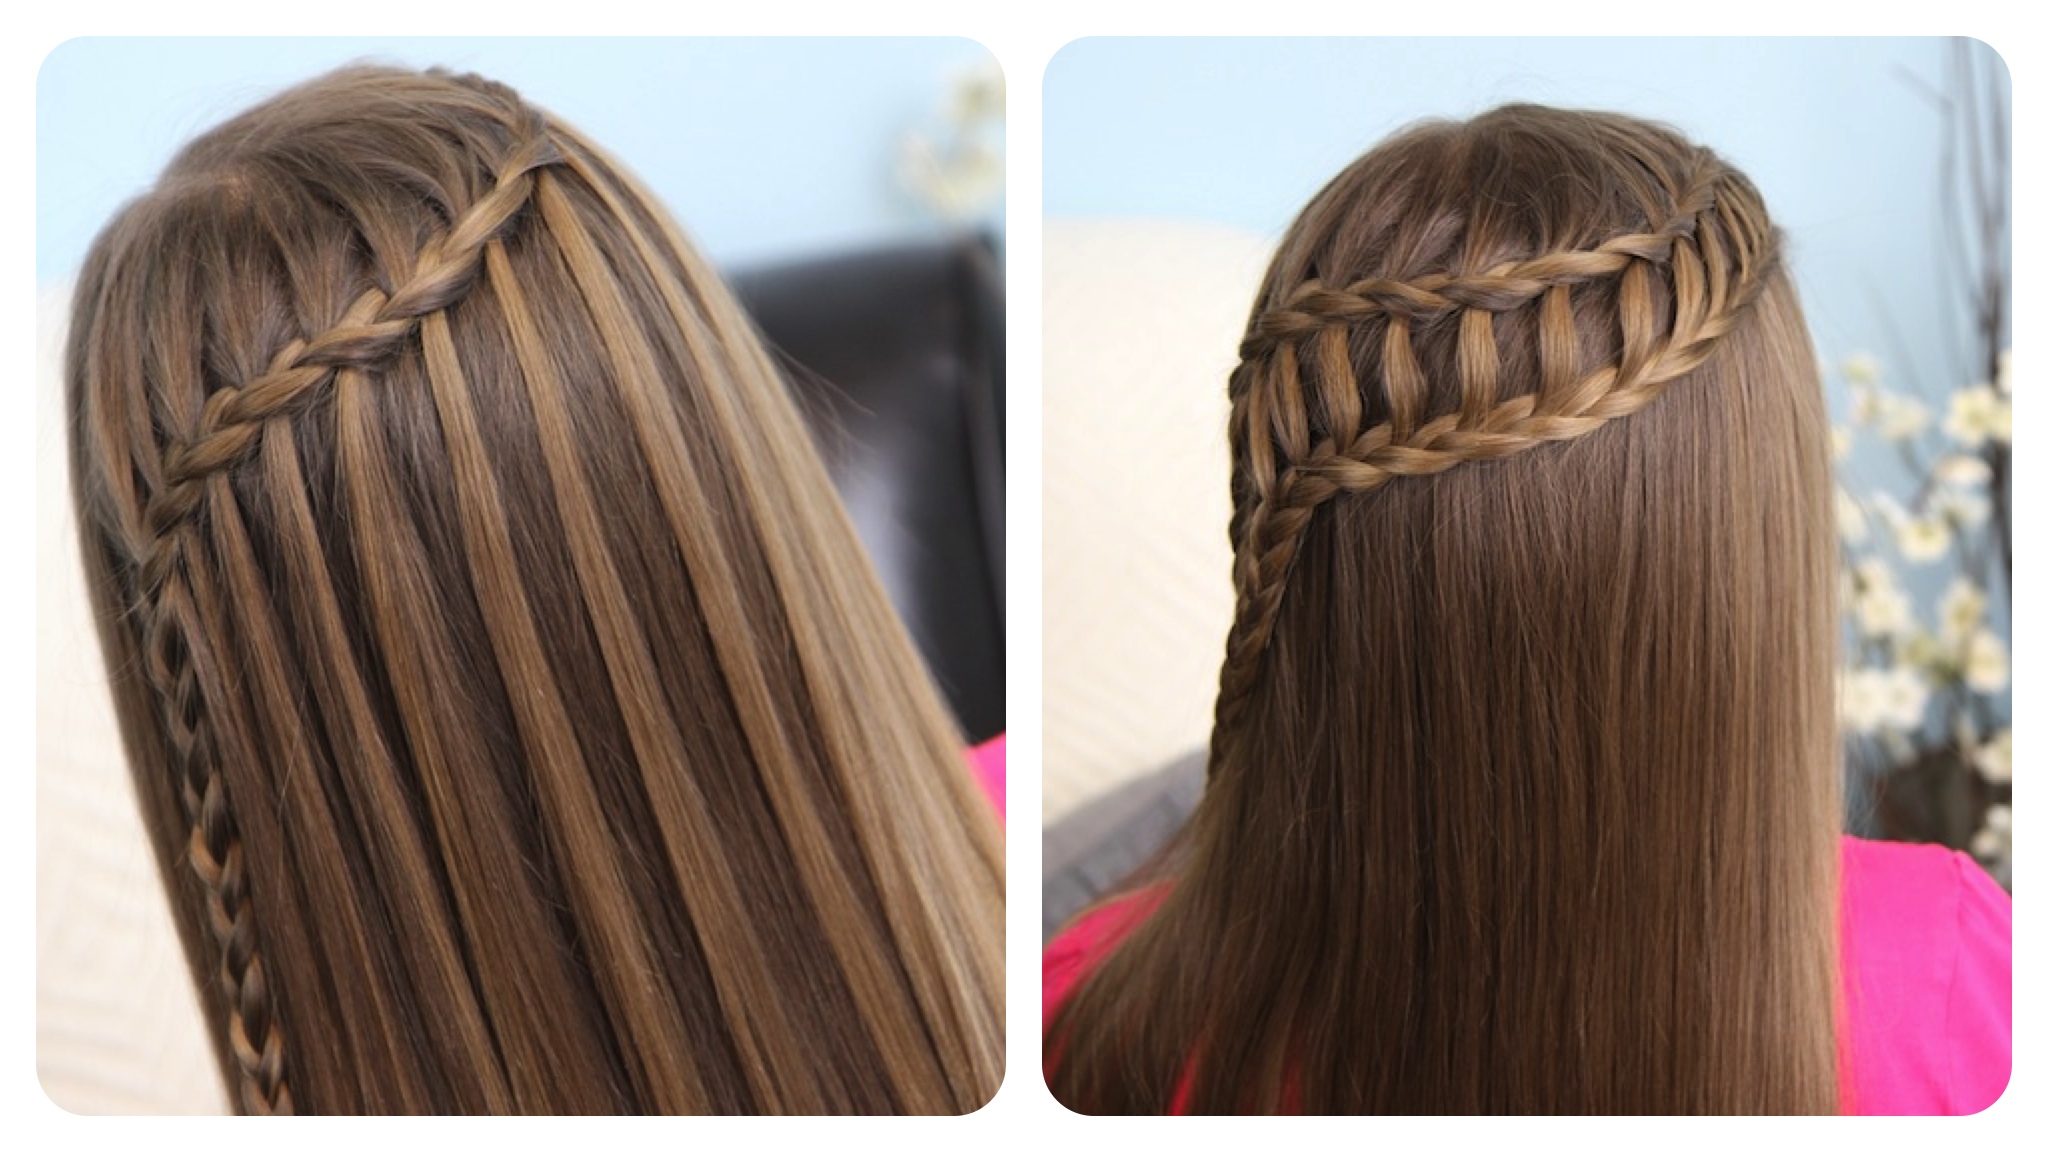
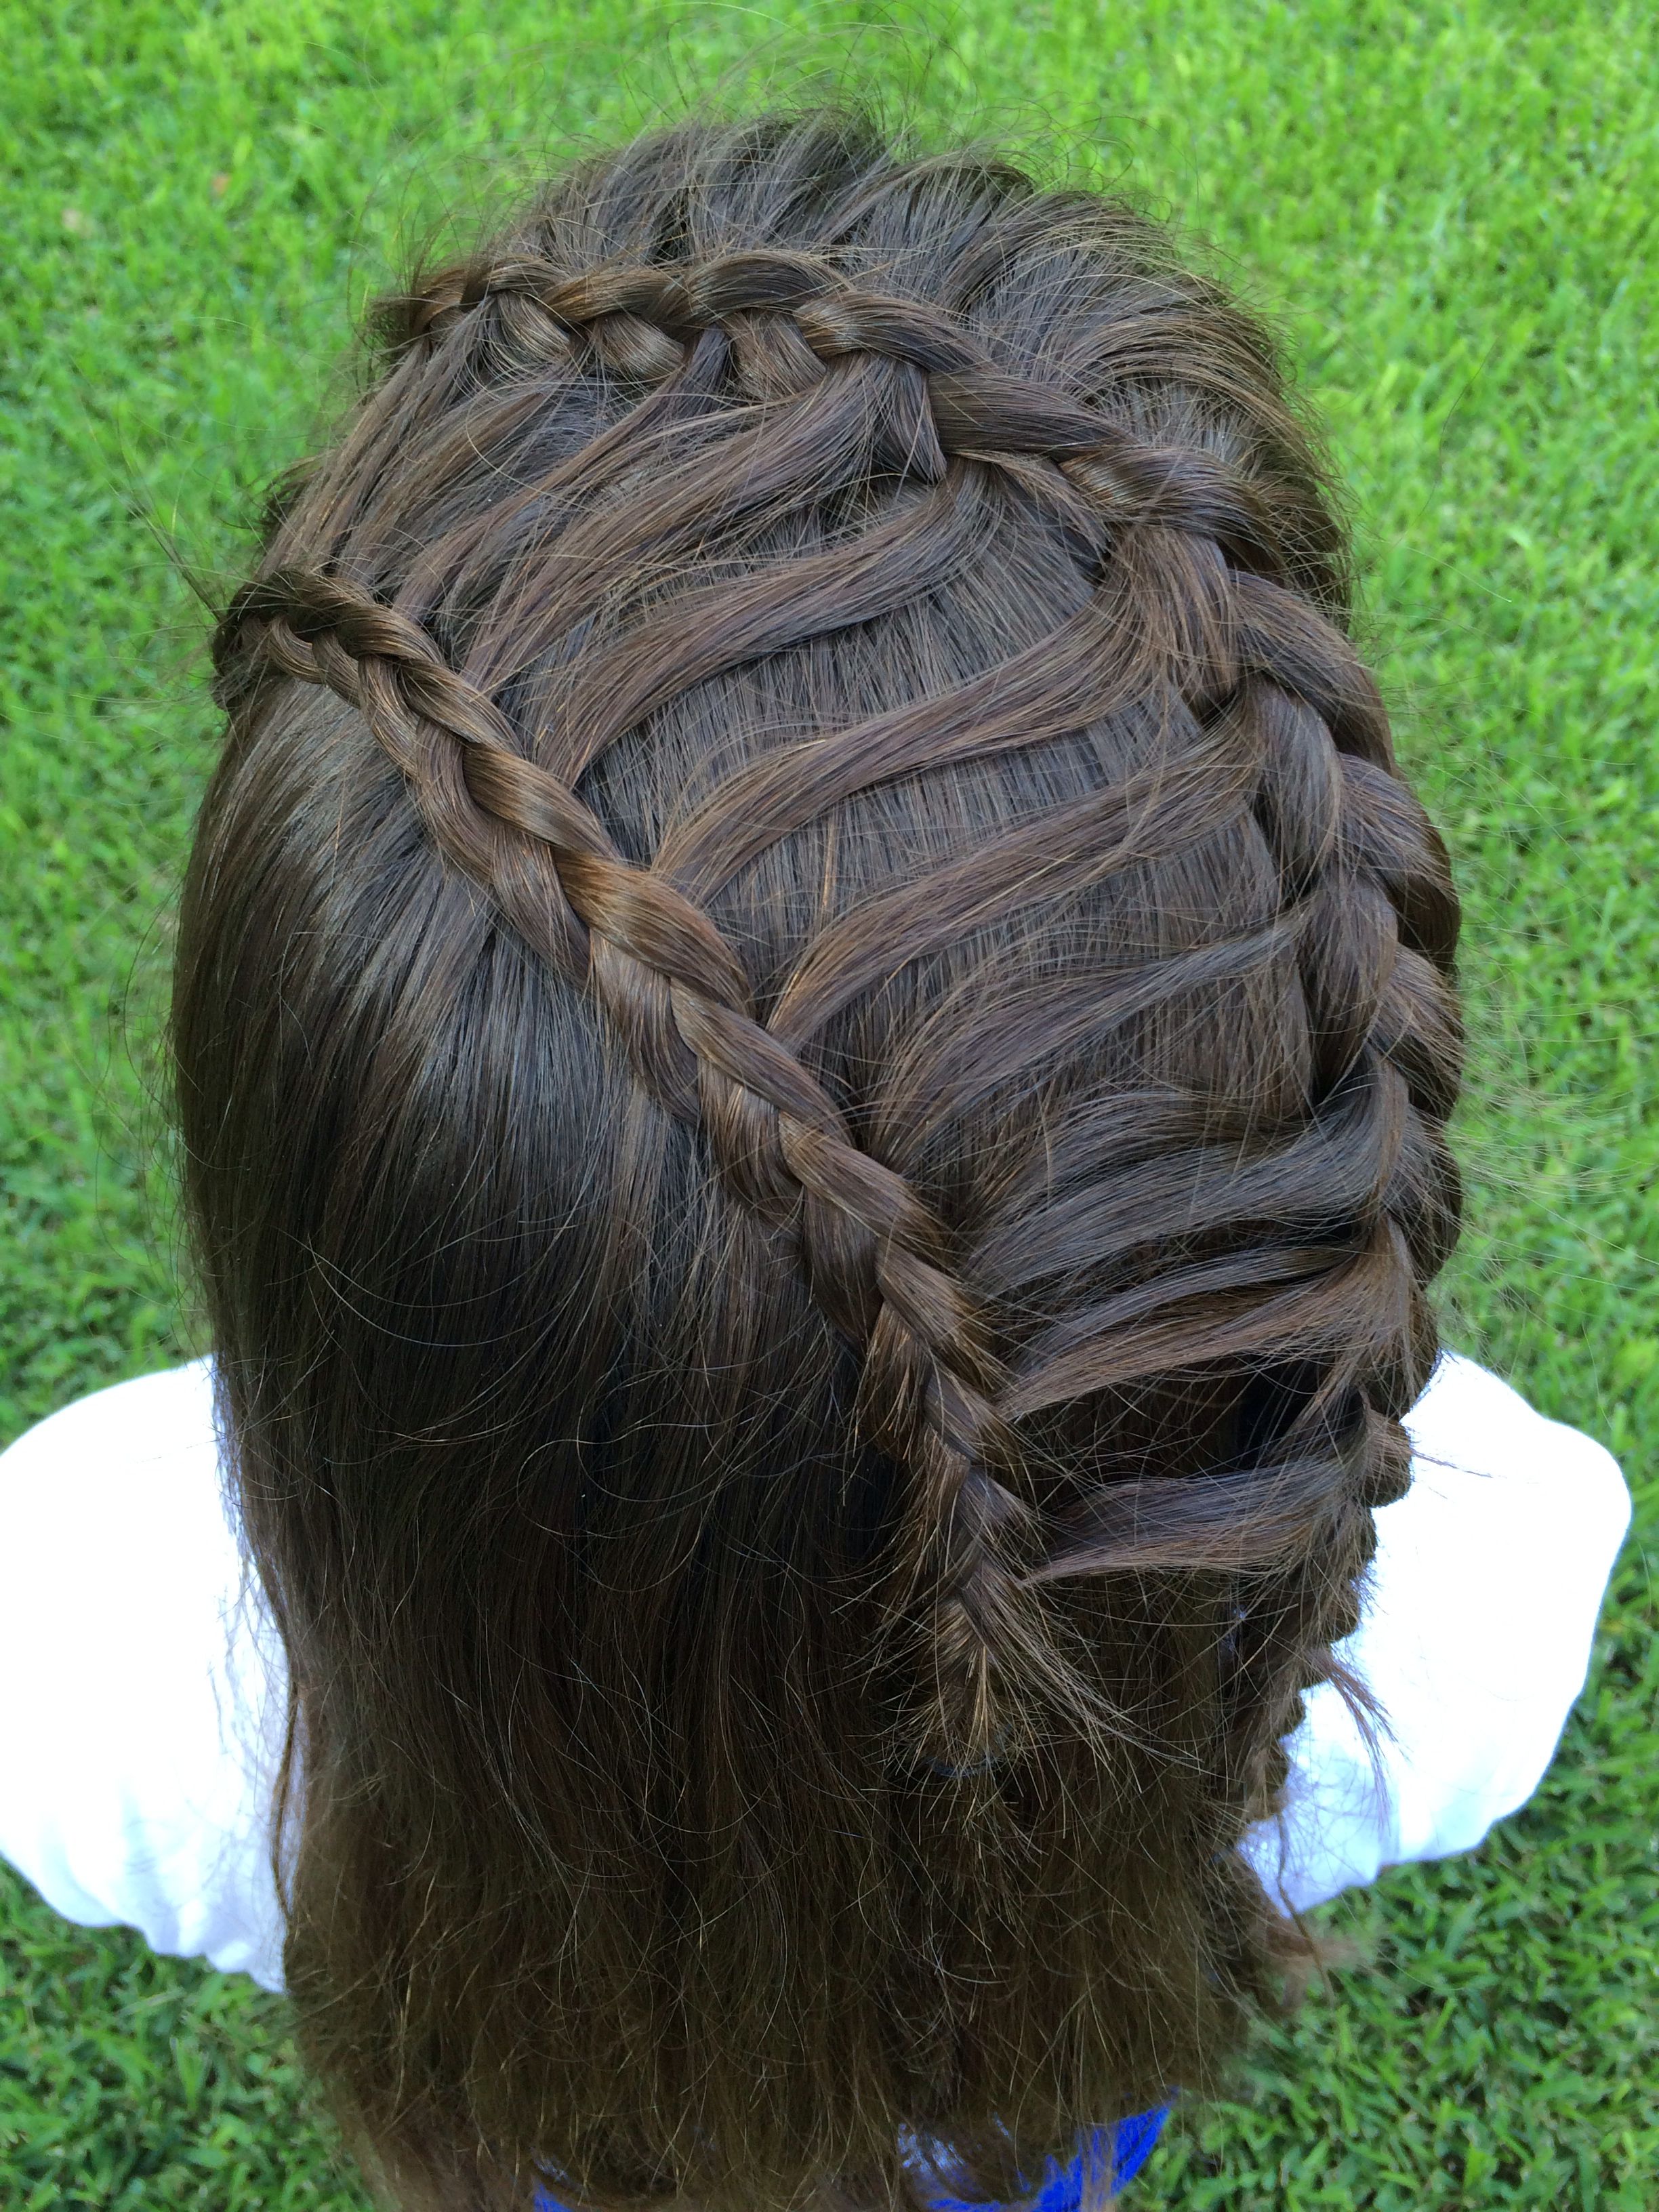
Ladder braids are not just a hairstyle; they're a statement! This stunning braid style combines elegance and creativity, making it perfect for both casual outings and special occasions. If you’ve been looking for a captivating way to style your hair, ladder braids could be your new go-to. This gorgeous braid creates a unique, visually striking effect that resembles a ladder—hence the name. In this guide, we’ll walk you through everything you need to know to create a ladder braid that will turn heads. Grab your ponytail holders and let’s dive in!
Tools and Products Needed for Ladder Braids

To achieve a perfect ladder braid, you'll need the right tools and products. Here’s a simple list to help you gather everything before you start styling:
- Hairbrush or Wide-Toothed Comb: Smooth hair is essential for any braid, and a quality hairbrush helps reduce tangles.
- Ponytail Holders: You’ll need several elastic bands to secure sections of hair as you braid.
- Hairpins or Bobby Pins: These will keep everything in place and prevent any flyaways.
- Hair Spray: A light hold hairspray can help maintain your braid's integrity throughout the day.
- Texturizing Spray or Mousse: Applying texturizing products can give your hair extra grip, making it easier to braid.
- Mirror: A good mirror is essential for checking the symmetry of your braid as you go.
Optional tools include a dental comb to separate sections and a heat protectant if you plan to use heat styling tools beforehand. By gathering these tools, you will set yourself up for success, making your journey into the realm of ladder braids a smooth and enjoyable experience. Happy braiding!
Preparing Your Hair for Braiding

Before we dive into the intricate artistry of the ladder braid, it's essential to prepare your hair. Proper preparation not only makes the braiding process smoother but also results in a more polished final look!
Here's a simple checklist to get your hair ready:
- Wash Your Hair: Start with clean, dry hair. If you've just washed it, let it air dry or blow-dry it gently to avoid frizz.
- Detangle: Use a wide-tooth comb or a detangling brush to remove any knots. Start from the ends and work your way up to minimize breakage.
- Use Product Wisely: Apply a light leave-in conditioner or styling cream to give your hair some texture without weighing it down. Avoid heavy oils unless your hair is extremely dry.
- Section It Off: For easier braiding, consider sectioning your hair. Use clips to divide it into manageable parts. This helps keep your hair from getting tangled again.
Once your hair is all prepped, you're ready to create that stunning ladder braid. Remember, the neater your prep, the easier the braiding will be, and the better the outcome will look!
Step-by-Step Instructions for Creating a Ladder Braid

Alright, let’s get into the fun part! Here’s a step-by-step guide to help you create a beautiful ladder braid that will turn heads.
- Section Your Hair: Start by creating a rectangular section along the top of your head. You can use a comb to ensure it's perfectly aligned.
- Start the French Braid: Divide this section into three equal parts. Begin a French braid by crossing the right section over the middle, then the left over the new middle, and continue braiding down a few inches.
- Incorporate New Hair: As you braid, add hair from the sides of your section into the braid. This creates the "ladder" look.
- Drop the Braid: Instead of continuing the braid down, let the bottom section drop free while you continue braiding the top sections. This creates that characteristic ladder effect!
- Secure the Braid: Once you’ve reached your desired length, secure it with a small hair tie. Consider using a clear elastic for a more discreet finish.
- Finish with a Hairspray: To hold everything in place, spritz on a light hairspray. Voila! Your ladder braid is complete.
Remember, practice makes perfect! The more you braid, the more natural it will feel. Don’t hesitate to experiment with different textures and products to find what works best for your hair type. Happy braiding!
5. Tips for Perfecting Your Ladder Braid
Creating a ladder braid might seem daunting at first, but with a few expert tips under your belt, you’ll be on your way to achieving that stunning look in no time! Here are some handy tips to ensure your ladder braid is flawless:
- Prep Your Hair: Make sure your hair is clean and slightly damp for better grip. Using a light leave-in conditioner can also help to manage frizz.
- Use the Right Tools: Have a fine-tooth comb and hair ties on hand. Hair clips can also be helpful to keep sections out of the way while you braid.
- Sectioning is Key: Take your time to section off your hair evenly. Uniform sections will give your braid a polished look!
- Tight vs. Loose: Decide if you want your braid tight and sleek or loose and bohemian. Experiment to find what you like best!
- Practice Makes Perfect: Don’t be discouraged if it doesn’t turn out right away. Keep practicing, and you’ll soon perfect your technique!
Remember, confidence is key! The more relaxed and confident you are while braiding, the better your final look will be. So, put on some music, take a deep breath, and enjoy the process!
6. Styling Variations of the Ladder Braid
The ladder braid is incredibly versatile and can be styled in various ways to suit any occasion. Here are some creative variations that you can try:
| Styling Variation | Description |
|---|---|
| Half-Up Ladder Braid | This style incorporates a ladder braid in the upper half of your hair while the rest flows down. It's perfect for a laid-back yet chic look! |
| Ladder Braid Ponytail | After completing your ladder braid, gather your hair into a low ponytail. It combines elegance with a playful vibe. |
| Ladder Braid Bun | Style the ladder braid around a bun for a sophisticated updo that's great for formal events. |
| Side Ladder Braid | Instead of placing your braid in the center, shift it to one side for an asymmetrical, modern twist. |
| Ladder Braid with Flowers | Adorn your ladder braid with small flowers or hair accessories for a romantic, boho style. |
Feel free to mix and match these variations based on your personal style. You can create a new design every time you braid! The ladder braid is about exploring your creativity while showcasing your unique flair.
Common Mistakes to Avoid While Braiding
So, you’re excited to dive into the world of ladder braids! Before you get started, let’s chat about some common mistakes that can trip up even the most enthusiastic braiders. Avoiding these blunders will save you time and frustration. Here’s what to watch out for:
- Not Detangling Your Hair: One of the biggest mistakes is skipping the detangling step. Make sure to comb through your hair first, as knots and tangles will make braiding a nightmare!
- Uneven Sections: Taking uneven sections of hair can lead to a lopsided braid. Aim for consistency! Think about dividing your hair into equal parts. It doesn’t have to be perfect, but a little symmetry goes a long way.
- Pulling Too Tightly: While it might be tempting to tighten your braid for a polished look, pulling too tightly can cause unnecessary tension on your scalp. This can lead to discomfort or even hair fall.
- Ignoring the Base: Remember to secure the base of your braid properly. A loose start can unravel your hard work. Use a good quality hair tie that won’t slip.
- Forgetting to Practice: Like anything else, practice makes perfect! Don’t be discouraged if your first few attempts don’t turn out perfectly. Embrace the learning curve!
If you can steer clear of these mistakes, you’ll be well on your way to mastering the stunning ladder braid technique!
Conclusion and Final Thoughts
And there you have it—a comprehensive guide to creating a stunning ladder braid! We’ve explored every step, from preparation to mastering the technique. But let’s wrap things up with a few final thoughts:
Remember, braiding is an art form, and like all art, it requires patience and a bit of practice. Don’t be afraid to experiment with different hair textures and lengths, as they can all yield beautiful variations of the ladder braid. Also, feel free to add your unique flair by incorporating accessories such as ribbons or clips!
In summary:
| Key Takeaways |
|---|
| Practice regularly to build confidence |
| Don’t rush; take your time for better results |
| Have fun! Enjoy the process of learning |
Whether you’re styling for a casual day out or a fancy event, the ladder braid is versatile and beautiful. So grab your brush, channel your creativity, and have fun braiding!


