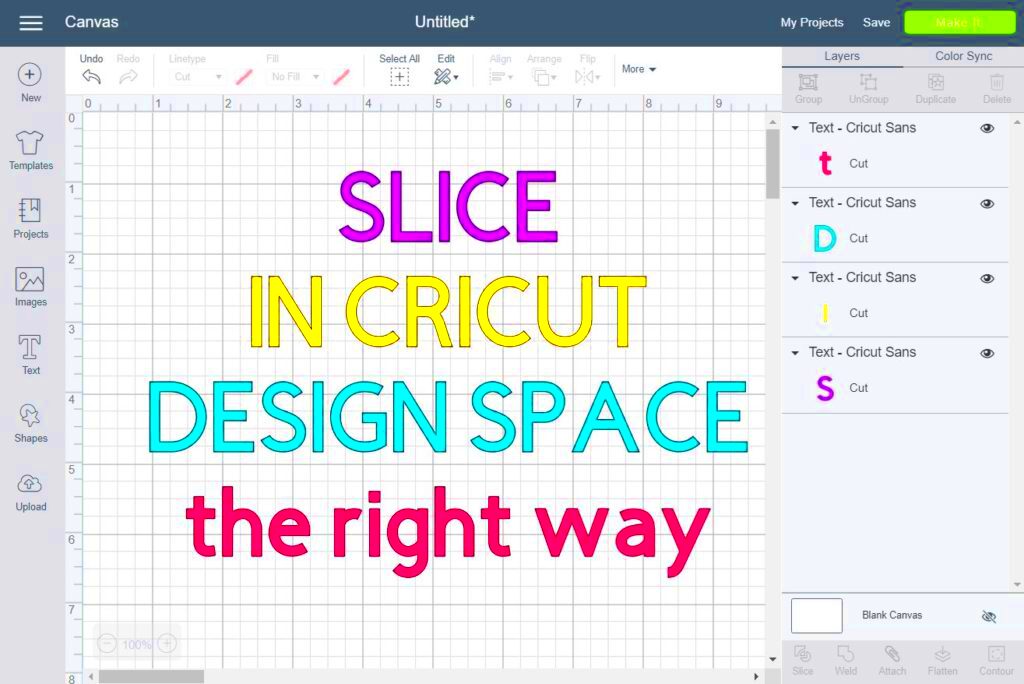
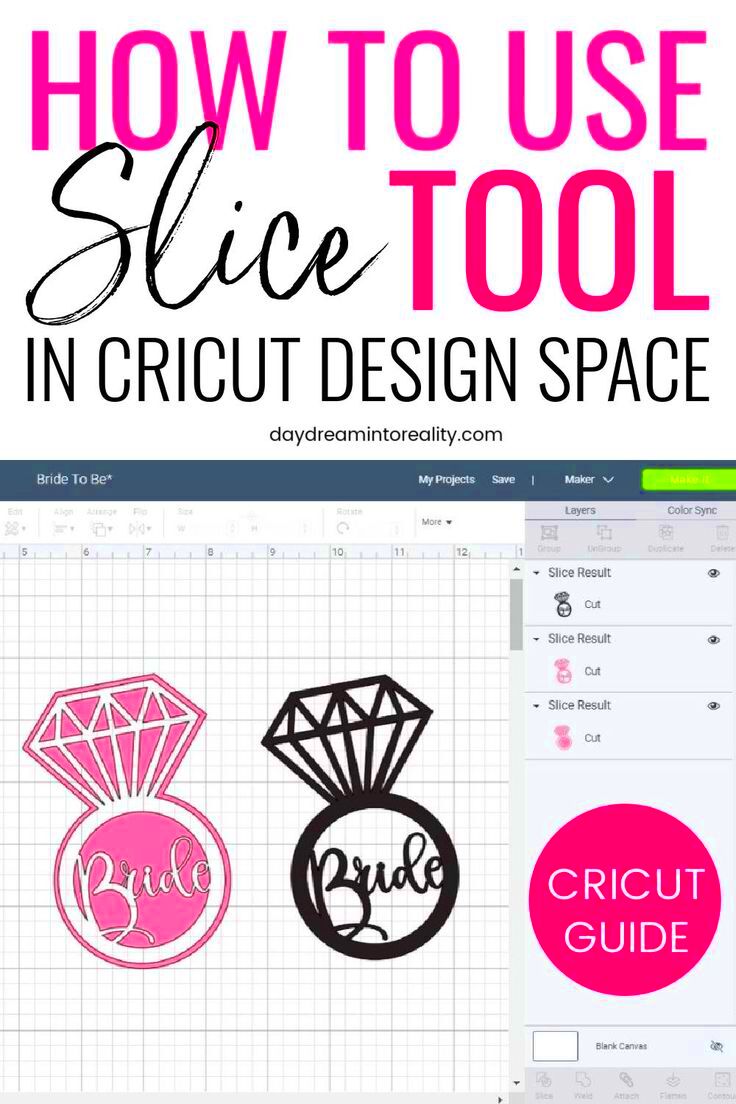
If you're new to Cricut, slicing might seem complicated, but it's one of the best features for creating unique designs. The Slice tool in Cricut Design Space allows you to cut one image from another, essentially splitting an image into separate pieces. This is perfect for creating layered designs, intricate cut-outs, or combining multiple images into one custom look. Learning how slicing works can open up a world of possibilities for your DIY projects.
Slicing only works on two layers at a time, which means you’ll want to plan your layers carefully for the best results. It’s also worth noting that the Slice tool isn’t available for grouped images, so ungroup any complex images before you begin. With these basics in mind, let’s dive into choosing the best
How to Choose the Right Image for Slicing

Not all images are ideal for slicing. Some work better than others, depending on the design and detail you want. Here are a few tips to help you select the right image:
- Simple Shapes: Images with clean, simple lines are easier to slice and reassemble in Cricut. These images produce neat cuts that align perfectly.
- Layered Designs: If you plan to make a multi-layered design, choose images that can be split into distinct sections. Layered designs work well for creating unique color patterns and textures.
- Transparent Backgrounds: Images with transparent backgrounds are typically easier to slice. This reduces any background clutter that could affect the final design.
- Avoid Small Details: Highly detailed images can be challenging to slice accurately. Small parts may not align well, so stick with simpler designs to start.
Choosing the right image sets you up for a smooth slicing process and a polished final product.
Also Read This: Leveraging Adobe Stock for Editorial Photography: Guidelines and Best Practices
Setting Up Your Image in Cricut Design Space

Once you've selected your image, it's time to set it up in Cricut Design Space. This software is user-friendly, but there are a few essential steps to ensure your design is ready for slicing:
- Upload Your Image: In the Design Space toolbar, click on the “Upload” button. Select your image and add it to your canvas. Adjust the size to fit your project by using the corner handles.
- Ungroup Layers: If your image has multiple layers or is part of a group, ungroup it by selecting “Ungroup” from the Layers panel. This is important because slicing only works with individual layers.
- Arrange Layers: Position the layers exactly where you want the slice to occur. Aligning your layers is crucial, especially for multi-layer designs, as each layer’s position affects the slicing result.
- Resize if Necessary: Adjust the size of each layer if needed. Resizing can help you achieve the best fit and layout for your design before slicing.
With everything set up correctly, your image is ready for slicing. Following these steps will make the slicing process smoother and give you more control over the final design.
Also Read This: How to Apply Thick Mascara for Lush Voluminous Lashes on Dailymotion
Step-by-Step Guide to Slicing an Image

Once you've set up your image, it's time to start slicing. Here’s a simple, step-by-step guide to walk you through the process in Cricut Design Space:
- Select the Layers: Begin by selecting the two layers you want to slice. Remember, slicing only works with two layers, so if you have more, you'll need to slice them in pairs.
- Position Layers Correctly: Place the top layer exactly where you want to cut. This top layer serves as your "cutting guide." It will determine the area that gets sliced out of the bottom layer.
- Click on the Slice Tool: With the layers selected, navigate to the Slice option in the bottom toolbar. Click it to create your slice. You’ll see multiple cut-out pieces appear on the canvas once the slicing is done.
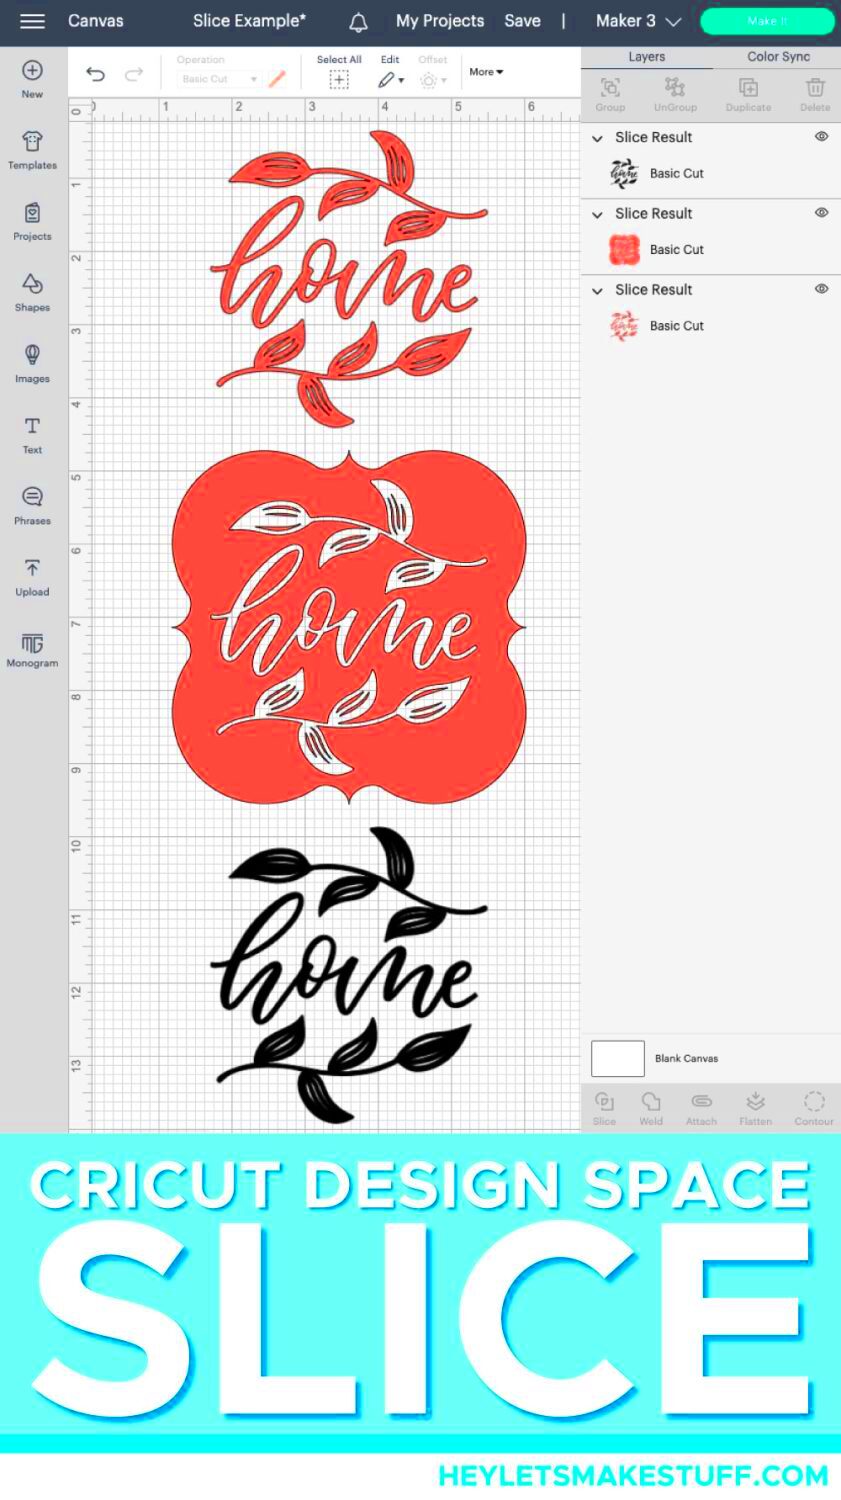
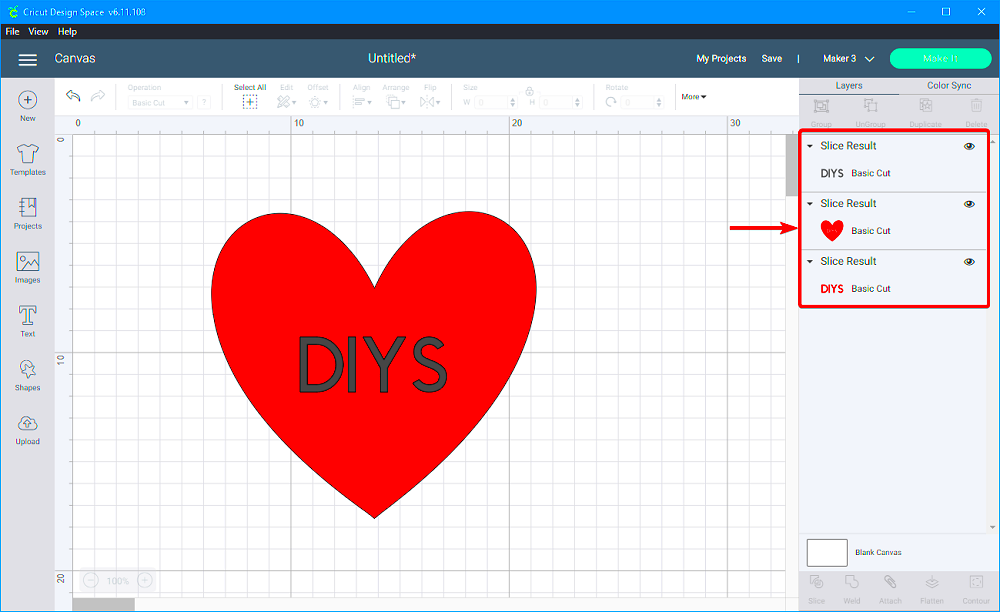
- Separate the Pieces: Move each piece away from the original position to see the results. You'll have several parts, including the sliced-out piece and the leftover sections.
- Delete Unwanted Pieces: If you only need specific parts of the design, delete the extra pieces. Keep the ones that fit your project vision, and you're done!
This slicing process can be repeated as many times as you need. Just keep slicing in pairs until your design is exactly how you want it. By following these steps, you’ll have a clean, professional-looking sliced image for your project.
Also Read This: Tracing an Image in Canva: How-To Guide
Tips for Creating Custom Designs with Sliced Images
Using sliced images can bring a lot of creativity to your projects. Here are some practical tips to make your custom designs stand out:
- Experiment with Layering: Layering different sliced images can add depth and visual interest. Try layering complementary colors or textures to make your designs pop.
- Use Text with Slices: Add text as a slice layer to cut words out of shapes or other images. This technique creates a striking, custom look for everything from logos to wall art.
- Combine Shapes: Experiment with combining basic shapes like circles, squares, and triangles. Using simple shapes with slicing allows you to create intricate patterns without over-complicating the design.
- Play with Negative Space: Negative space can be an excellent design element in sliced images. Use slices to create empty spaces within the image that add a unique, modern look.
- Try Color Overlays: For a bold look, layer sliced images with color overlays. This technique can be great for multicolor projects like decals, shirts, or paper crafts.
With these tips, you can take advantage of slicing to create unique and personalized designs, perfect for any project type.
Also Read This: How to Make Donuts Without an Oven Easy Recipe
Common Mistakes to Avoid When Slicing
Slicing on Cricut can be easy with practice, but some common mistakes can make the process frustrating. Here are a few pitfalls to avoid:
- Forgetting to Ungroup: If you try to slice grouped images, Cricut won’t allow it. Always make sure to ungroup any complex images first.
- Attempting to Slice Multiple Layers: Slicing only works with two layers at a time. Trying to slice more than two layers will cause an error. Work in pairs for a smoother experience.
- Misaligning Layers: Before you slice, double-check that your layers are aligned correctly. Misaligned layers can lead to uneven cuts that are hard to fix later.
- Ignoring the Background: If your image has a background, it may interfere with the slicing. Transparent or solid backgrounds are easier to work with and won’t create unexpected results.
- Deleting Necessary Pieces: After slicing, it’s easy to accidentally delete pieces you need. Double-check before you delete to make sure you’re only removing unwanted sections.
Avoiding these mistakes will help you get the best possible results and ensure a stress-free slicing process. Practice will make slicing feel like second nature in no time!
Also Read This: Top Benefits of Using Imago Images for Your Business Visuals
FAQs About Slicing Images on Cricut
Here are answers to some common questions about slicing images on Cricut. Whether you’re new to slicing or looking to perfect your technique, these answers can help make your projects easier.
1. Why can't I slice more than two layers at once?
The Slice tool only works with two layers at a time, which is a Cricut Design Space limitation. If you want to slice multiple layers, try doing it in stages, working with only two layers at a time.
2. How do I fix it if my sliced image looks incorrect?
If your slice isn’t turning out as expected, check that your layers are properly aligned and ungrouped. Make sure there aren’t any additional layers interfering with the slice. Also, preview your image to see if everything is positioned correctly before slicing.
3. Can I slice text in Cricut Design Space?
Yes, you can slice text, but make sure to weld your letters together first if they’re overlapping. This ensures the text behaves as a single layer, allowing you to cut it from other images or shapes.
4. What types of projects work best with sliced images?
Sliced images are great for layered designs, decals, custom apparel, wall art, and greeting cards. Projects that benefit from unique cut-outs or layered effects work especially well with slicing.
5. Is there a way to undo a slice?
If you need to undo a slice, simply use the undo button in Design Space or delete the sliced pieces and start again. Unfortunately, there’s no way to “unslice” once it’s done, so double-check before confirming.
Final Thoughts on Slicing for Custom Designs
Slicing is a powerful tool that can transform your Cricut projects, allowing for more complex and creative designs. By understanding the basics, selecting the right images, and avoiding common mistakes, you’ll be able to use slicing to make your custom designs truly unique. Happy crafting!

 admin
admin


