Changing the thumbnail image on your YouTube channel is a simple yet effective way to refresh your channel's look and attract more viewers. Thumbnails act like the cover of a book; they should be eye-catching and give potential viewers a taste of what to expect from your videos. In just a few straightforward steps, you can update your channel's thumbnail to showcase your style and personality. Let’s dive into the process!
Accessing Your YouTube Channel

The first step to changing your YouTube channel thumbnail is accessing your channel settings. Here’s how you can do it:
- Sign in to YouTube: Open your web browser and go to the YouTube website. If you’re not already logged in, click on the “Sign In” button at the top right corner and enter your Google account credentials.
- Navigate to Your Channel: Once you’re signed in, click on your profile icon in the upper right corner. A dropdown menu will appear; click on “Your Channel.” This will take you to your channel's homepage.
- Go to Customization: On your channel page, look for the “Customize Channel” button. Clicking this will redirect you to the channel customization interface.
- Access Branding Settings: In the customization menu, select the “Branding” tab. This section allows you to change various visual elements of your channel, including the thumbnail.
Once you’re in the branding section, you’ll see options to upload a new thumbnail. But hang tight; we’ll get to that in the next steps! For now, familiarize yourself with this interface, as it’s your go-to for all channel branding updates.
Also Read This: How to Claim YouTube Drops: A Guide to Accessing Free Content
Choosing the Right Thumbnail Image
When it comes to YouTube, your thumbnail is like a book cover; it’s the first thing viewers see and can make a world of difference in whether they click on your video or scroll past it. So, how do you choose the right one?
Here are some tips to help you select the perfect thumbnail:
- Relevance: Ensure your thumbnail reflects the content of your video. If your video is about cooking, avoid using a random cat image!
- High Quality: Use clear, high-resolution images. A blurry or pixelated thumbnail can create a negative impression.
- Colors: Bright and contrasting colors catch the eye! Use colors that stand out to attract viewers’ attention.
- Text: Including short, bold text can provide context. For example, “5 Easy Recipes” can give a quick idea of what to expect.
- Branding: If you have a logo or a specific style, incorporate it. Consistent branding helps viewers recognize your content instantly.
Remember, the goal is to spark curiosity. So, think outside the box and consider what would make you click on a video!
Also Read This: How to See Who Liked Your Video on YouTube: The Full Process
Uploading Your Thumbnail Image
Once you’ve crafted the perfect thumbnail, uploading it to your YouTube channel is a breeze! Just follow these simple steps:
- Sign in to YouTube: Log into your YouTube account and navigate to the “YouTube Studio” dashboard.
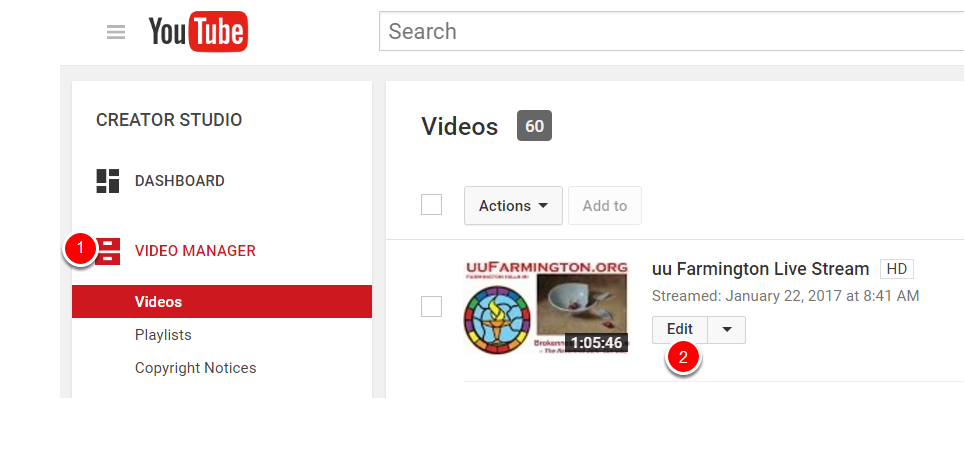
- Select Your Video: Click on “Content” from the left menu, and find the video for which you want to upload a thumbnail.
- Edit Video: Click on the pencil icon (edit) next to the video title.
- Thumbnail Section: In the video details, locate the “Thumbnail” section. Here, you’ll see options for auto-generated thumbnails and the option to upload your own.
- Upload Your Image: Click on “Upload thumbnail,” select your image from your device, and hit “Open.”
- Save Changes: Don’t forget to click the “Save” button at the top right to ensure your new thumbnail is applied!
And just like that, your video is now dressed to impress! Remember to check how it looks on various devices to ensure it shines everywhere.
Also Read This: Can You See Who Likes Your Videos on YouTube and How to Track Engagement
5. Verifying Your Changes
Once you've updated your thumbnail image, it's important to verify that the changes have been applied correctly. This step ensures your channel looks polished and the new thumbnail represents your content effectively.
Here’s how to check your new thumbnail:
- Refresh Your Channel Page: Start by refreshing your YouTube channel page. Sometimes it takes a moment for the changes to reflect, so give it a minute.
- Check on Different Devices: Open your channel on various devices like a smartphone, tablet, and computer. This ensures that your thumbnail appears correctly across platforms.
- Look at Video Previews: Navigate to your videos and check how the thumbnail looks in different views, including the video list and suggested video sections.
- Engage with Your Audience: Consider asking your viewers for feedback on the new thumbnail. A quick community poll or post can provide valuable insights.
If your new thumbnail isn’t showing up right away, don’t worry! It may just take some time to propagate. However, if it still doesn’t appear after a while, double-check that you saved the changes correctly during the upload process.
6. Conclusion
Changing the thumbnail image on your YouTube channel is a simple yet crucial task that can significantly impact your channel’s appeal. A well-designed thumbnail not only attracts viewers but also sets the tone for your content. Remember, it only takes a few minutes to create or upload a catchy thumbnail that encapsulates your video’s essence.
To sum it up:
- Choose a Compelling Image: Make sure your thumbnail is visually appealing and related to the content.
- Utilize Tools: Use graphic design tools like Canva or Adobe Spark to create stunning thumbnails.
- Follow the Steps: From uploading to verifying, follow each step carefully to ensure a smooth process.
In a nutshell, your thumbnail is your first impression—so make it count! Dive in, explore your creative options, and watch as your engagement soars. Happy YouTubing!
 admin
admin


