Have you ever stumbled upon an image and wondered about its origin or context? Reversing image search on your MacBook can help you find answers quickly. This tool allows you to search for images by uploading them or using their URLs. Whether you want to identify a product, find a similar photo, or check if your images are used elsewhere, this process is straightforward and efficient. Let's dive deeper into what image search is and how it can benefit you.
Understanding Image Search and Its Benefits

Image search is a feature that allows users to find images using other images rather than text. This can be especially helpful in several situations:
- Identifying Unknown Objects: You can find out more about an image you’ve come across.
- Checking Image Usage: If you're concerned about copyright, you can see where your images appear online.
- Finding Higher Resolutions: You can search for better quality versions of an image.
- Similar Images: You can discover similar pictures for design inspiration.
The benefits are vast. This feature can save you time and enhance your research skills. By understanding how to utilize image search effectively, you can become more informed and resourceful.
Steps to Perform a Reversing Image Search on MacBook

Performing a reversing image search on your MacBook is quite simple. Here’s how to do it:
- Open Your Browser: Launch Safari, Chrome, or any browser of your choice.
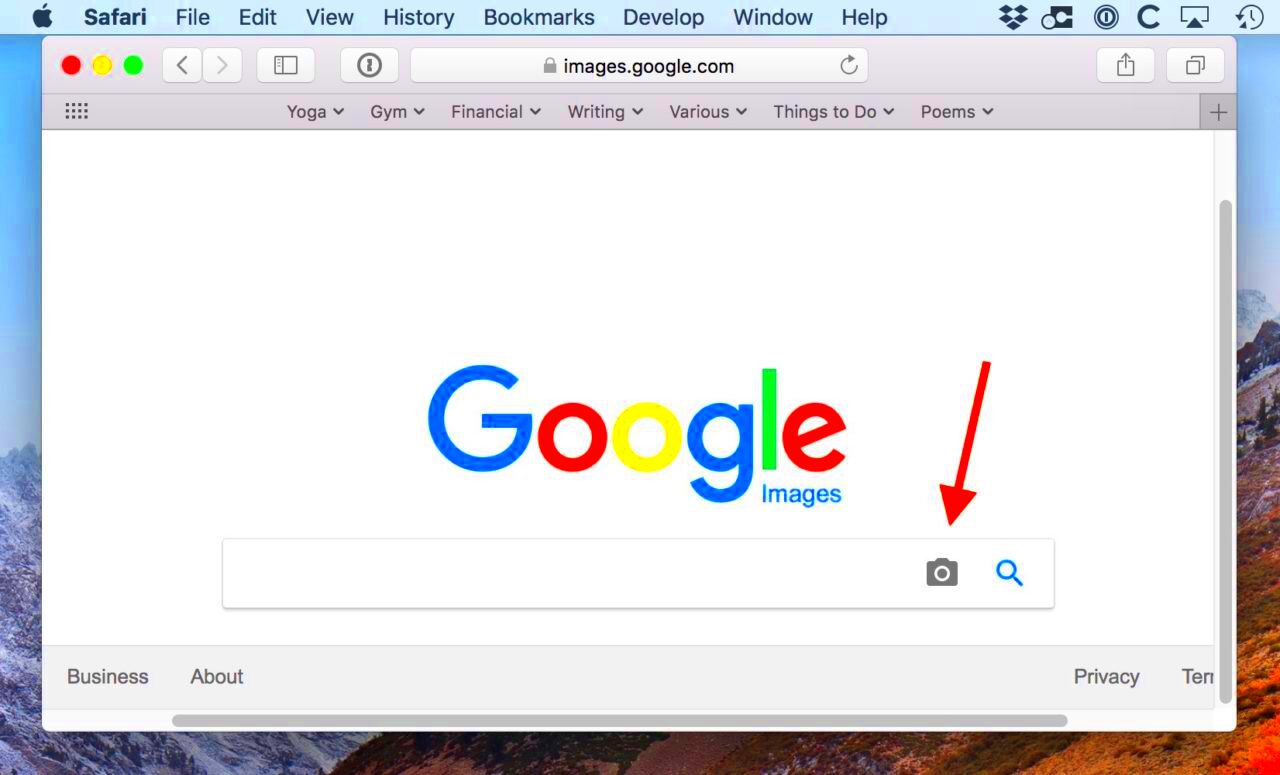
- Access Google Images: Go to the Google Images website.
- Click on the Camera Icon: You will see a camera icon in the search bar. Click on it.
- Upload the Image: You have two options: either upload the image from your device or paste the URL of the image you want to search.
- View Results: Once uploaded, Google will show you related images and sources where the image appears.
That's it! In just a few clicks, you can find useful information about any image on your MacBook.
Using Google Images for Reversing Image Search

Google Images is one of the most popular tools for reversing image searches. It’s user-friendly and provides a wealth of information. To start, go to the Google Images website. Here’s how you can make the most of this powerful feature:
- Search by Image: After clicking the camera icon, you can either upload an image or paste a URL. This makes it easy to find the source of an image you love or even just want to learn more about.
- Refine Your Search: Once the results are displayed, use the filters at the top to narrow down by size, color, or type. This can help you find more specific images or similar variations.
- Explore Related Content: Google also shows related images and links to web pages where the image is found. This feature is great for uncovering more context or discovering other visuals that catch your eye.
Using Google Images is efficient and effective. By leveraging its features, you can gather valuable insights and even unearth creative inspiration.
Exploring Alternative Tools for Image Search
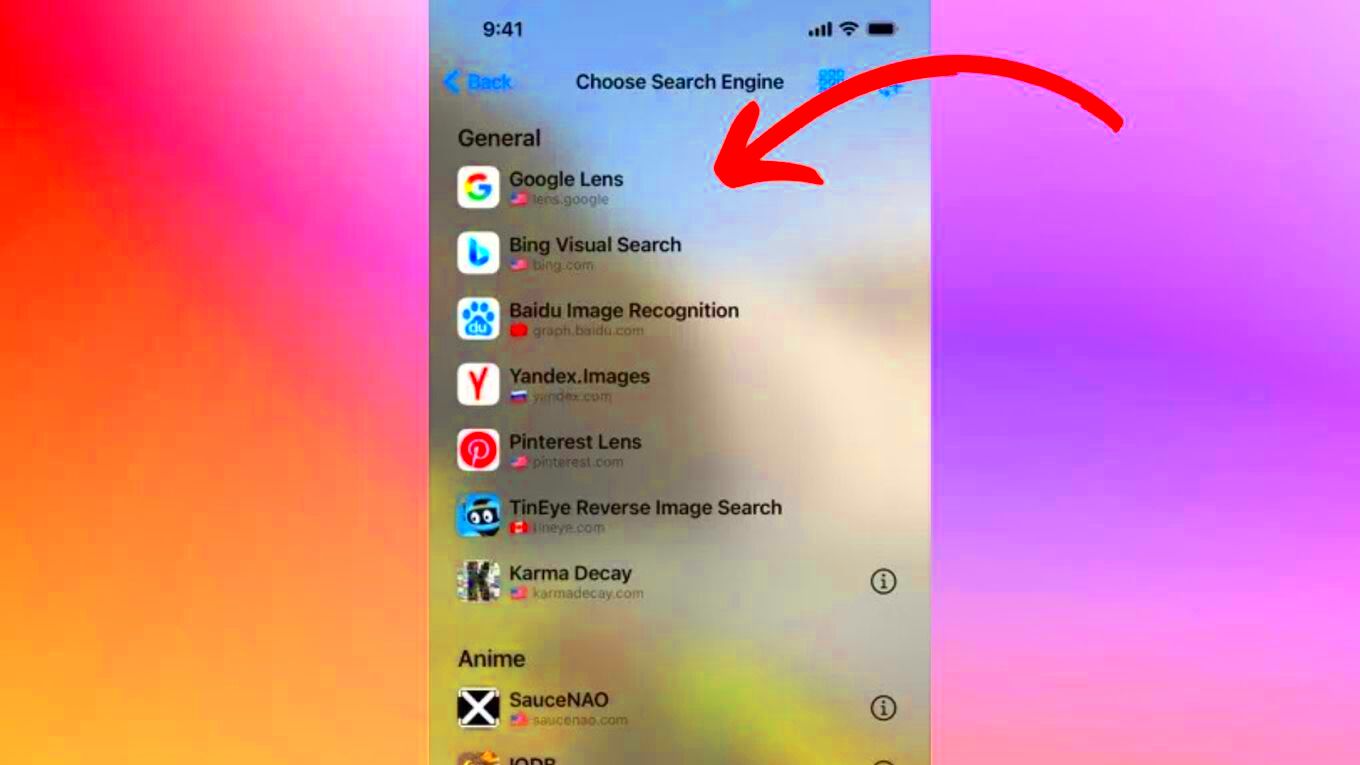
While Google Images is excellent, there are several other tools you can use for reversing image searches. Here are some popular alternatives:
- Tineye: Tineye specializes in image recognition and can help you find where an image appears online. Its interface is straightforward and easy to navigate.
- ImageRaider: This tool allows users to search multiple image sources at once, making it useful for extensive searches.
- Pinterest: Although primarily a social platform, Pinterest's visual search tool can help you find similar images based on your uploaded photo.
Each of these tools has unique features, so try a few to see which one suits your needs best. They can enhance your research, especially when looking for specific visuals.
Common Issues and How to Fix Them
Even though reversing image search is usually smooth, you may encounter some issues. Here are a few common problems and solutions:
| Issue | Solution |
|---|---|
| Image Not Found | Try using a different image format or check the image's resolution. Sometimes low-quality images may not yield results. |
| Slow Loading | Make sure your internet connection is stable. Refreshing the page can also help. |
| Incorrect Results | Ensure the image is clear and not too cropped. Adjust the search parameters to improve accuracy. |
By being aware of these issues and their fixes, you can enjoy a smoother experience while performing image searches on your MacBook.
Tips for Effective Image Searches
To get the most out of your reversing image searches, it helps to know a few tricks. Here are some practical tips that can enhance your search experience:
- Use High-Quality Images: The clearer the image, the better the results. A blurry or pixelated image may not yield accurate information.
- Try Different Angles: If you don't find what you're looking for, try cropping the image or using a different angle. This can sometimes lead to better results.
- Be Specific: If you're searching for a particular type of image, add relevant keywords when using image search tools. This helps narrow down the results.
- Check Image Metadata: If possible, look into the image’s metadata for additional context. Some images come with tags or descriptions that can guide your search.
- Explore Similar Images: After finding an image, don’t hesitate to click on similar images for more options. You might discover something even better!
By following these tips, you can improve your chances of finding the exact images you need while saving time in the process.
Frequently Asked Questions
Here are some common questions about reversing image searches that might help clarify your doubts:
- Can I reverse search any image? Yes, you can reverse search most images as long as they are clear and accessible.
- Is there a limit to the size of the image I can upload? Different platforms may have size limits, but most tools handle standard image sizes well.
- Are there privacy concerns? Always be cautious about uploading personal images. Use these tools for public images to protect your privacy.
- Can I use images from social media? Yes, as long as you have access to the image and it is not protected by copyright.
If you have any other questions, feel free to explore forums or resources dedicated to image searching!
Conclusion on Reversing Image Search
Reversing image search is a powerful tool that can greatly enhance your online experience. Whether you want to track down the origin of an image, find similar visuals, or check how your own images are being used, knowing how to perform a reverse image search can save you a lot of time and effort. By using platforms like Google Images and exploring alternative tools, you can easily gather valuable information. Remember to follow the tips we've shared for effective searches and troubleshoot any common issues that may arise. Happy searching!

 admin
admin


