Printify is a popular print-on-demand platform that allows you to design custom products and sell them online. Whether you're designing t-shirts, mugs, or phone cases, understanding Printify's image requirements is crucial for ensuring your products look their best. Printify offers a range of products with specific image dimensions and file requirements. Failing to meet these guidelines could lead to blurry or pixelated designs, which can negatively affect your sales and customer satisfaction.
Here are some key things to know about Printify's image requirements:
- Image Resolution: High-resolution images (at least 300 DPI) are essential for crisp, clear prints. Low-resolution images may result in poor-quality prints.
- File Format: Printify accepts PNG, JPG, and TIFF file formats, with PNG being the best option for designs with transparent backgrounds.
- Color Mode: Use RGB color mode when designing images, as this is the standard for digital printing.
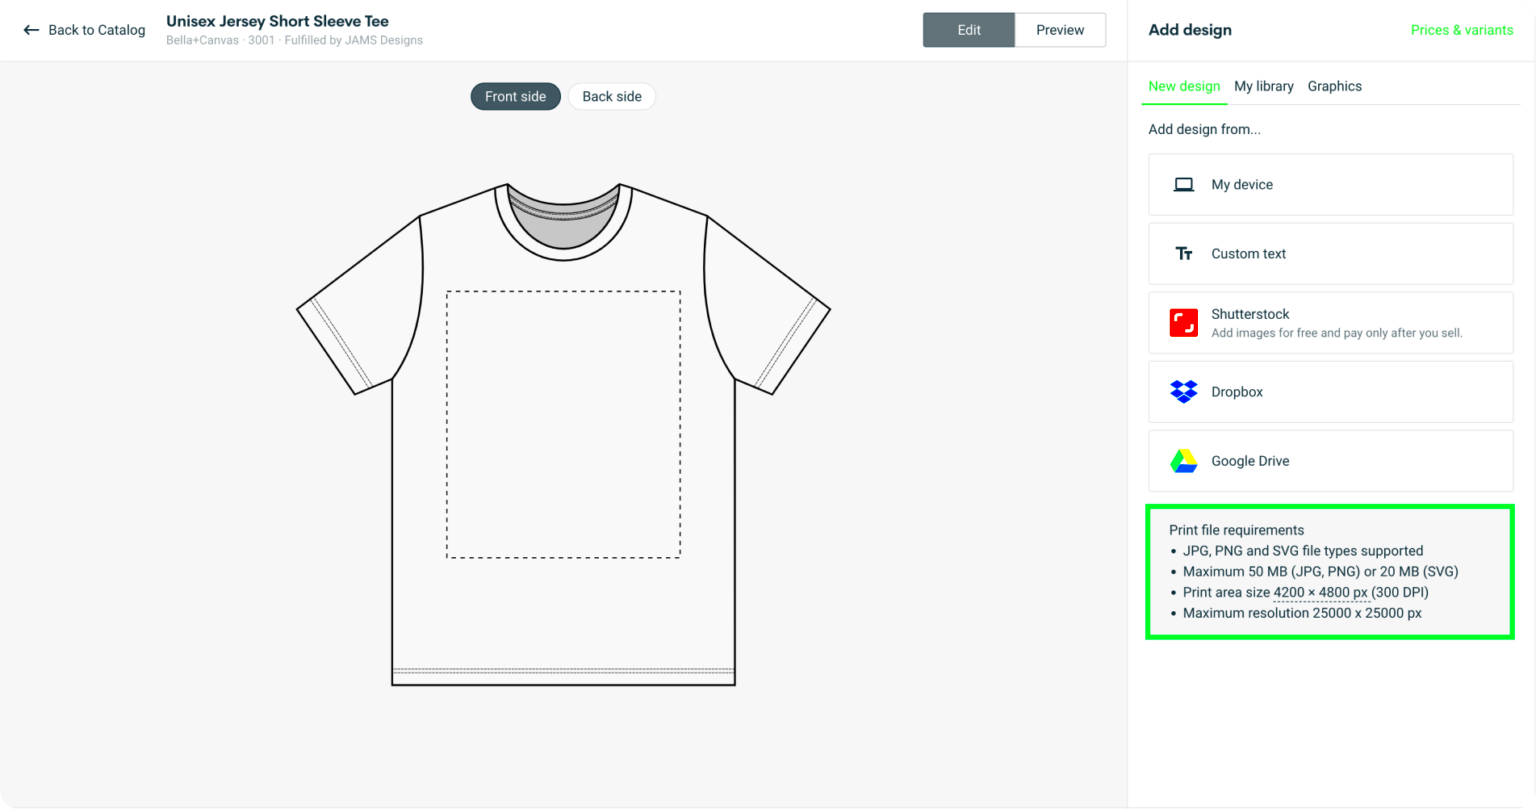
- Image Size: Each product has its own recommended image size. Make sure to check these sizes for the best fit and to avoid image stretching or distortion.
By understanding these requirements, you can ensure that your designs look professional and print perfectly on Printify's products.
Choosing the Right Image Size for Your Product

Choosing the correct image size is one of the most important aspects of creating successful designs on Printify. Different products require different image sizes, so it’s important to tailor your images for each specific item. For instance, a t-shirt will need a different
Here are some guidelines for choosing the right image size for various Printify products:
| Product | Recommended Image Size |
|---|---|
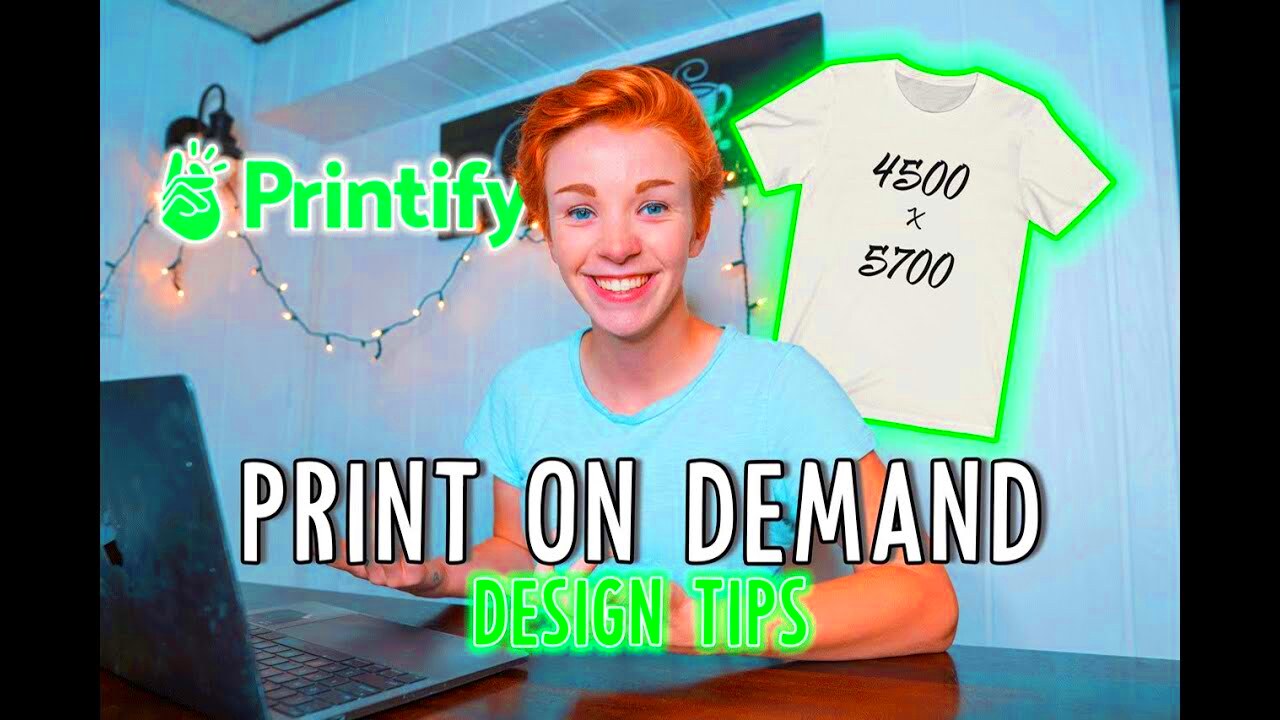
| T-Shirts | 4500 x 5400 pixels |
| Mugs | 2700 x 1200 pixels |
| Posters | 3000 x 4000 pixels |
| Phone Cases | 2400 x 3200 pixels |
It’s always a good idea to check Printify’s product guidelines to ensure your image fits perfectly. This will save you time and effort by preventing resizing issues or poor-quality prints.
Also Read This: Deleting Images from Your Constant Contact Library
Steps to Resize Your Image on Printify

Resizing your image for Printify is a simple process, but it’s important to do it correctly to avoid any issues with your designs. Printify’s platform allows you to upload and resize your images, but it’s still up to you to ensure the image size and resolution match the product requirements.
Here are the steps to resize your image for Printify:
- Step 1: Choose your design file. Make sure the image is high resolution (at least 300 DPI) and in the correct file format (PNG is preferred).
- Step 2: Log into your Printify account and choose the product you want to create.
- Step 3: Upload your image to the product design tool. Printify will automatically prompt you if the image needs resizing.
- Step 4: Use the drag-and-drop feature to adjust the position and size of your image. You can zoom in or out to fit the design area.
- Step 5: Preview the design on the product mockup to ensure it looks good. Check for any stretching or pixelation.
- Step 6: Once satisfied with the resizing, save the design and proceed with the product creation process.
By following these steps, you can easily resize your images for Printify and ensure your designs look great on your chosen products.
Also Read This: how to put a border around an image in word
Adjusting Image Resolution for Better Quality
When it comes to printing on-demand products, image resolution plays a critical role in ensuring high-quality results. A high-resolution image will ensure that your design is sharp and clear, while a low-resolution image can lead to blurry or pixelated prints. Printify recommends using images with a resolution of at least 300 DPI (dots per inch) for the best printing quality. Adjusting the resolution is a simple step, but it can have a big impact on how your final product looks.
Here’s how adjusting the resolution can affect your designs:
- Clear, Crisp Designs: A higher resolution results in more detail, making your design appear sharper and more professional.
- Print Quality: If you use a low-resolution image, your design may look fuzzy or distorted once printed, especially on larger products.
- File Size: While higher resolutions are better for print quality, they can also increase file size. It’s important to balance resolution and file size to meet Printify’s requirements.
Here’s how to adjust the resolution of your image:
- Using Photoshop: Open the image in Photoshop and go to Image > Image Size. Set the resolution to 300 DPI while ensuring that the physical dimensions remain the same.
- Using GIMP: Open the image, go to Image > Scale Image, and set the resolution to 300 DPI.
By adjusting the resolution correctly, you can ensure that your design prints with the highest quality possible on Printify’s products.
Also Read This: Setting Up Adobe Stock in Lightroom
Best Image Formats for Printify
Choosing the right file format for your design is just as important as the image resolution. Printify supports several image formats, but not all of them are equally suited for every design. Each format has its strengths and weaknesses depending on your product and design type. Let’s take a closer look at the best image formats to use on Printify.
The best image formats for Printify are:
- PNG: PNG is the most commonly used file format for Printify because it supports transparent backgrounds, which is ideal for logo and graphic designs. It’s also a lossless format, meaning it doesn’t lose any image quality when saved.
- JPG: JPG is another widely used format that works well for photo-based designs. However, it does not support transparent backgrounds and can lose some quality due to compression.
- TIFF: TIFF files are often used in professional printing, offering high quality. However, they tend to have larger file sizes, so they’re less commonly used for online orders but still supported by Printify.
For the best results, use:
| Format | Best For | Transparency |
|---|---|---|
| PNG | Graphics, logos, designs with transparent backgrounds | Yes |
| JPG | Photographs and images with lots of colors | No |
| TIFF | High-quality print designs, professional use | No |
Using the right format ensures that your designs look crisp, clean, and professional when printed on Printify’s products.
Also Read This: Do I Need to Credit Photos from Depositphotos
Common Image Resizing Mistakes to Avoid
Resizing images for Printify seems like a simple task, but there are some common mistakes that can negatively affect your designs. These mistakes can result in blurry, distorted, or poorly cropped images on your products. Let’s take a look at some of the most frequent resizing errors and how to avoid them.
Here are some common image resizing mistakes:
- Using Low-Resolution Images: One of the biggest mistakes is resizing low-resolution images to fit larger products. This will result in pixelation and poor print quality. Always start with a high-resolution image.
- Stretching or Distorting the Image: Stretching an image to make it fit a different aspect ratio can distort your design. Use the right dimensions for each product and avoid stretching.
- Ignoring Aspect Ratio: Different products have different aspect ratios. Forcing an image into a box that doesn’t match the product's shape can lead to cropping or stretching. Always maintain the correct aspect ratio for each product.
- Over-resizing: Trying to make an image too large can lead to unnecessary file sizes and slower loading times. Only resize the image as much as needed to meet Printify’s recommendations.
To avoid these issues, follow these tips:
- Check Printify’s guidelines: Always check the recommended image sizes for each product to ensure your design fits properly.
- Maintain the correct aspect ratio: Use a tool like Photoshop or GIMP to resize your images while maintaining their aspect ratio.
- Start with high-quality images: Always use images with the highest resolution possible to avoid quality loss when resizing.
By avoiding these common mistakes, you can ensure that your designs are resized properly and look great when printed on Printify’s products.
Also Read This: Discover the Best AI Art Generator in 2024
How to Check Image Quality After Resizing
Once you’ve resized your image, it’s essential to check its quality before uploading it to Printify. A common mistake many people make is assuming that resizing alone will solve their design problems, but checking the image after resizing ensures that it still meets your expectations. This step helps you avoid issues like pixelation, blurriness, or distorted designs that may not be visible until the printing process begins.
Here’s how you can check the quality of your image after resizing:
- Zoom In: After resizing, zoom in to 100% or higher on your image. This allows you to see any pixelation or loss of detail that might not be obvious at lower zoom levels.
- Check Resolution: Ensure that the resolution is still 300 DPI. If it’s lower than this, you may notice a drop in quality when the image is printed.
- Inspect for Distortion: Check for any stretching or warping that may have occurred during resizing. If the image looks stretched or the aspect ratio is off, it may need further adjustments.
- Use Printify’s Preview Tool: Printify provides a preview tool that shows how your design will look on the product. Make sure to review this carefully to catch any issues before placing an order.
If you notice any issues, go back to the editing software and tweak the image again. By performing these checks, you ensure that your design looks perfect on the final product.
Also Read This: Registering and Contributing on iStock Made Easy
FAQ
Here are some frequently asked questions about resizing images for Printify:
- What is the best resolution for images on Printify?
Printify recommends using images with a resolution of at least 300 DPI for the best print quality. - Can I resize my image on Printify?
Yes, Printify has a built-in design tool that allows you to resize and adjust your images when you upload them. - What formats are best for Printify designs?
PNG is generally the best format for graphics and designs with transparent backgrounds. JPG is good for photos, but it doesn’t support transparency. - How do I know if my image will print well?
Make sure your image is high-resolution (300 DPI), correctly sized for the product, and that there are no visible distortions or pixelation after resizing. - Can I use images with transparent backgrounds?
Yes, PNG files with transparent backgrounds are ideal for logos, illustrations, and other designs that need to overlay onto different product colors.
Conclusion
Resizing images for Printify is an essential step in creating high-quality products. By understanding the image requirements and using the right techniques, you can ensure that your designs come out looking sharp and professional. Whether you’re working with photos, logos, or custom illustrations, following best practices for image resolution, size, and format will help you avoid common mistakes and produce top-notch products that your customers will love.
Always double-check the image quality after resizing, and make use of Printify’s design tools and preview options to fine-tune your design. By investing time in getting your images just right, you can ensure a smooth and successful print-on-demand experience.

 admin
admin


