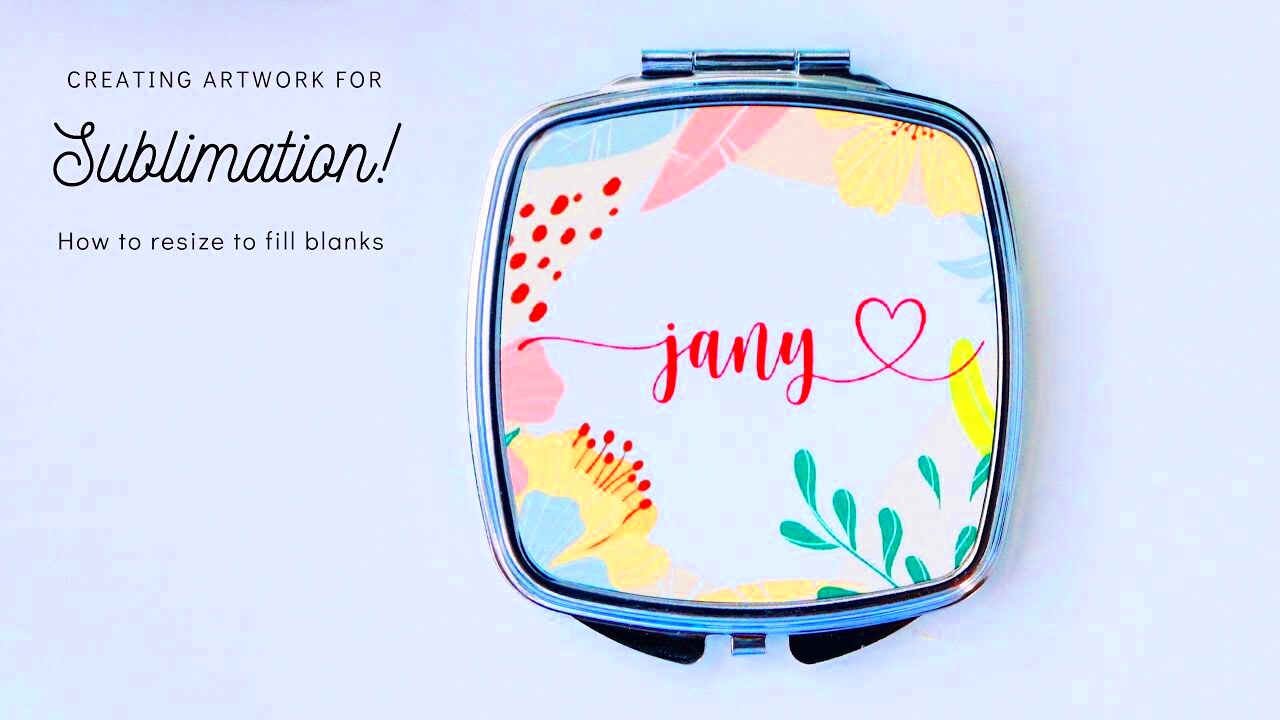
Resizing a sublimation image is an essential step to ensure your design looks great on your products. Whether you're printing on mugs, t-shirts, or other items, the image size needs to match the dimensions of the surface you're printing on. If the
Why Resizing is Important for Sublimation

When sublimating an image onto a product, resizing plays a crucial role in maintaining both image quality and print accuracy. Here’s why it matters:
- Clarity and Sharpness: An image that is too small may look fuzzy or pixelated. Resizing ensures your image is clear and sharp on the printed product.
- Proper Fit: Every sublimation product has its own size and shape. Resizing the image ensures it fits the area properly without distortion.
- File Size Optimization: A properly resized image reduces file size, which is important for faster processing and printing.
- Preventing Image Loss: Enlarging an image too much can cause it to lose detail. Resizing helps maintain its original quality.
Without resizing, you risk ruining your project by either stretching the image too much or making it too small to fit the product. It’s essential to understand how to adjust your images correctly for the best results.
Also Read This: How to Save a Webpage as an Image
Understanding the Ideal Image Size for Sublimation

Before you start resizing your image, it's important to know the ideal size for sublimation. The ideal image size depends on the product you’re printing on. Here are some key factors to consider:
- Product Dimensions: The size of the item you are sublimating on, such as a mug or t-shirt, will determine how large the image should be.
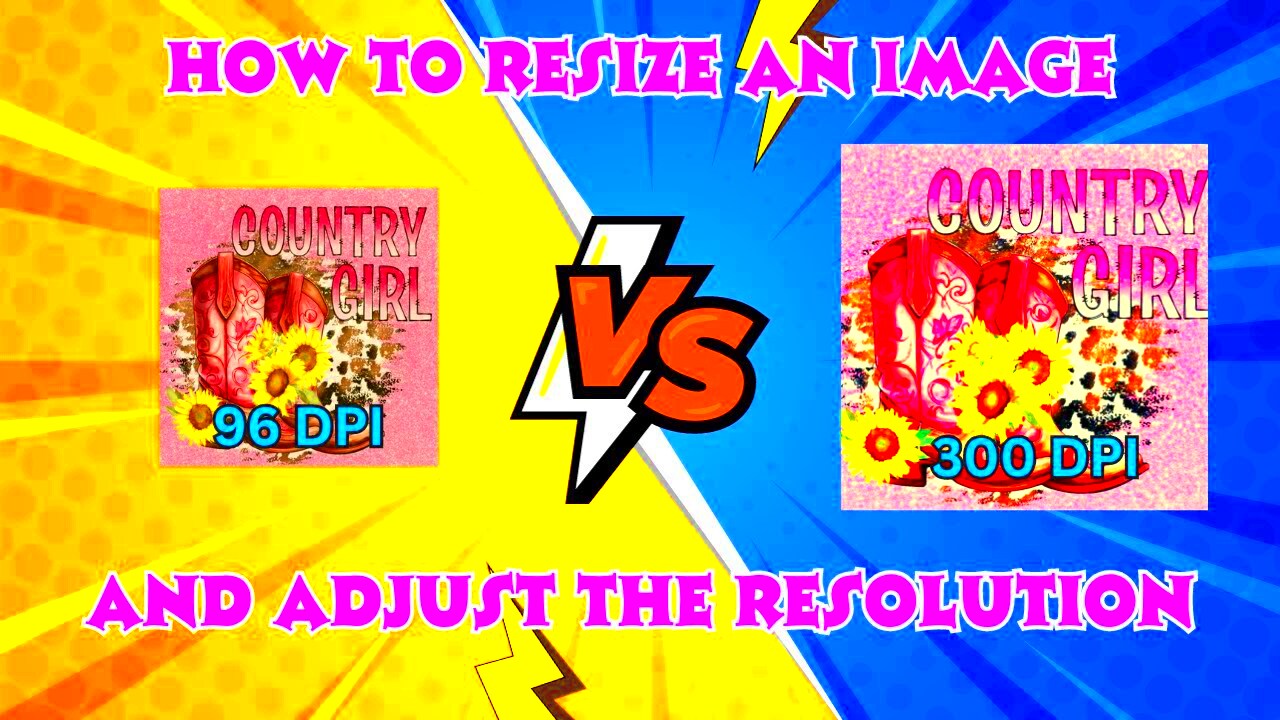
- Resolution: For high-quality prints, the image resolution should be at least 300 DPI (dots per inch). This ensures the image remains sharp and detailed when printed.
- Print Area: Understand the print area on the product. The image should be sized to fit this area perfectly without overextending.
Here's a simple guide for common sublimation products:
| Product Type | Recommended Image Size (in inches) | Resolution (DPI) |
|---|---|---|
| Mugs | 8 x 3.5 inches | 300 DPI |
| T-shirts | 10 x 12 inches | 300 DPI |
| Mousepads | 8.5 x 7.5 inches | 300 DPI |
Knowing these details will help you resize your image with precision, ensuring your sublimation prints turn out beautifully every time.
Also Read This: Tips for Removing the Getty Images Logo from Your Photos
Steps for Resizing a Sublimation Image

Resizing a sublimation image can be done in just a few simple steps, but it’s essential to approach it carefully to maintain the quality of your image. Here’s a step-by-step guide to help you resize your images effectively:
- Open the Image Editing Software: Use a reliable image editing tool such as Photoshop, GIMP, or an online tool like Canva to open your image.
- Check the Current Image Size: Before resizing, check the current dimensions of your image. This will give you a reference point for resizing.
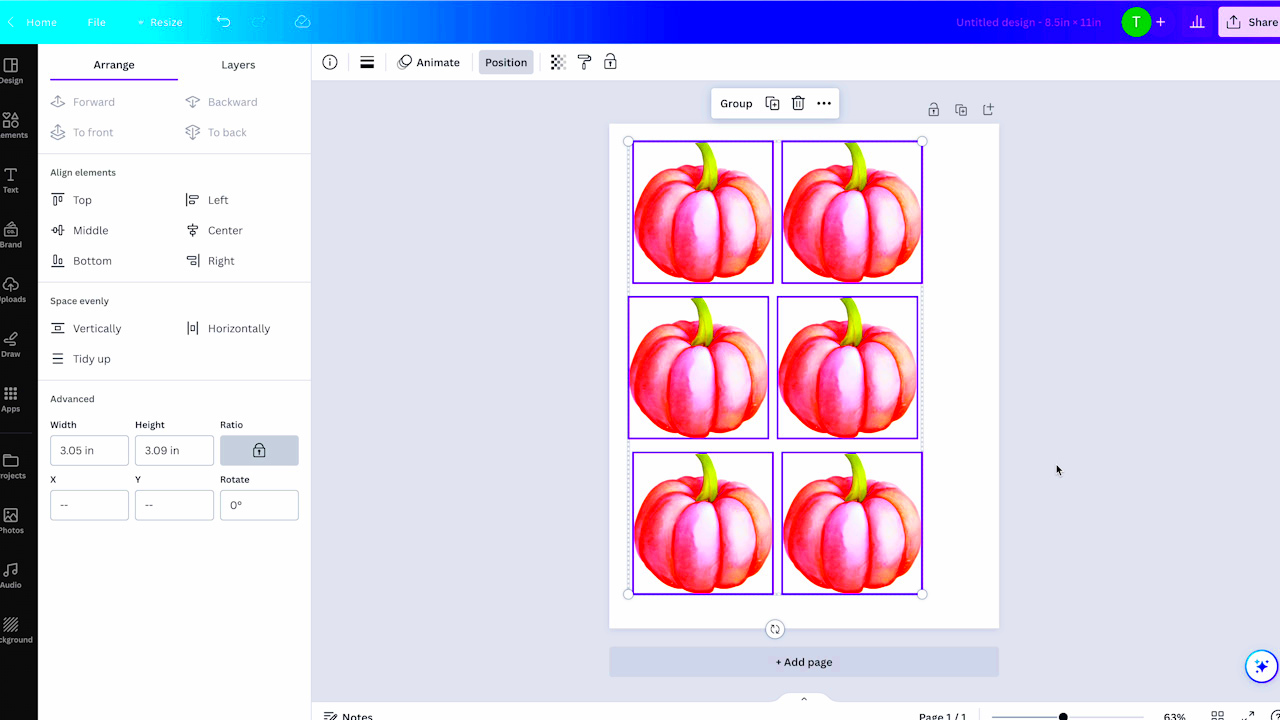
- Set the Desired Image Dimensions: Enter the ideal dimensions for your sublimation project (as mentioned in the previous section). Ensure you maintain the correct aspect ratio so the image doesn’t get stretched or squished.
- Adjust Resolution: Make sure your image resolution is set to 300 DPI for the best print quality. Some software will automatically adjust resolution when you resize, so keep an eye on this setting.
- Save the Image in the Right Format: After resizing, save your image in the appropriate file format (usually PNG or JPEG for sublimation printing). PNG is preferred as it maintains high quality and transparency if needed.
- Check Image Quality: After resizing, zoom in on your image to check for any pixelation or blurriness. If the image looks distorted, undo the resize and try adjusting the dimensions again.
By following these steps, you can ensure that your sublimation image fits perfectly and retains its clarity and sharpness when printed.
Also Read This: Reasons Why Graphic Designers Prefer VectorStock for Their Projects
Tools You Can Use to Resize Sublimation Images
There are several tools available that make resizing sublimation images quick and easy. Below are some of the best options:
- Adobe Photoshop: This professional software offers a wide range of editing features, including resizing. Photoshop gives you full control over resolution, image dimensions, and quality.
- GIMP: A free and open-source alternative to Photoshop, GIMP is a great tool for resizing images while maintaining quality. It supports advanced features and is ideal for those on a budget.
- Canva: Canva is an online tool that’s perfect for beginners. It has easy-to-use features for resizing images with preset templates for sublimation designs.
- Paint.NET: This is another free option that works well for simple image resizing tasks. It’s user-friendly and ideal for those who need basic editing capabilities.
- Pixlr: An online image editor that provides resizing and editing tools similar to Photoshop but is accessible without any downloads. It's convenient for quick resizing tasks.
Each of these tools has its strengths, so choose the one that best suits your needs and skill level. Whether you’re a professional or a beginner, there’s a tool available to help you resize your sublimation images with ease.
Also Read This: how to invest in adobe stock
How to Maintain Image Quality When Resizing
Maintaining image quality while resizing is crucial for sublimation printing. Resizing can sometimes lead to pixelation or blurriness if not done carefully. Here are some tips to preserve the quality of your image:
- Don’t Enlarge Too Much: Enlarging an image too much can cause it to lose quality. If your image is too small, try to use a higher resolution image to begin with instead of simply stretching it.
- Maintain High Resolution: Always keep the resolution at 300 DPI for sublimation printing. Reducing the resolution will result in a blurry or pixelated print.
- Use Lossless Formats: Save your images in a lossless format like PNG or TIFF, as they retain more detail and quality compared to lossy formats like JPEG.
- Avoid Excessive Compression: When saving your resized image, avoid high compression settings that can degrade the quality. Choose the appropriate file size without sacrificing clarity.
- Resize Gradually: If you're enlarging an image, try resizing it in smaller steps (e.g., 10-20% at a time) rather than all at once. This helps prevent pixelation and keeps the image smooth.
By following these tips, you can ensure that your resized sublimation images maintain their crispness, sharpness, and overall quality, ensuring a perfect print every time.
Also Read This: Mastering LinkedIn Networking and Effective Approaches to Connect with People
Common Mistakes to Avoid While Resizing Sublimation Images
When resizing sublimation images, it’s easy to make mistakes that could affect the final print quality. Here are some common errors to watch out for:
- Resizing Without Maintaining Aspect Ratio: Always maintain the aspect ratio when resizing your image. Stretching or squishing the image can distort it and make it look unnatural. Most image editing tools allow you to lock the aspect ratio so this doesn’t happen.
- Enlarging Small Images Too Much: Enlarging an image that is too small can lead to pixelation, making the final print look blurry and low quality. If the original image is too small, it’s better to find a higher-resolution version.
- Using Low-Resolution Images: Avoid resizing low-resolution images for sublimation. Low-resolution images (under 150 DPI) may look fine on screen but will print poorly, with visible pixelation and blurriness.
- Not Adjusting the Resolution: After resizing your image, make sure the resolution is set to 300 DPI. If you don’t adjust the resolution, the image may lose sharpness and clarity when printed.
- Forgetting to Save in the Right Format: After resizing, always save the image in a suitable format such as PNG or TIFF. These formats preserve image quality better than JPEG, which can cause compression and loss of detail.
By avoiding these common mistakes, you can ensure that your sublimation images are resized properly and ready for high-quality printing.
Also Read This: How to Get an Image for Your ESPN Fantasy Team Profile
Tips for Optimizing Sublimation Images for Printing
Optimizing your sublimation images is just as important as resizing them. Here are some tips to make sure your images are print-ready and look amazing on your products:
- Use High-Quality Images: Start with high-resolution images (at least 300 DPI). The higher the quality of the image, the better the print will look, especially on fabrics or ceramics where fine details matter.
- Choose the Right File Format: For sublimation printing, use lossless formats like PNG or TIFF. These formats retain image details and transparency, ensuring the best possible print quality.
- Adjust the Colors: Ensure your colors are well-optimized for printing. Use the CMYK color model (used in printing) to avoid color shifts when the image is printed. Some programs like Photoshop let you convert RGB to CMYK.
- Check the Print Area: Measure the area where your image will be printed and make sure the image fits properly. This will help you avoid cropping or stretching during the sublimation process.
- Test Print: Before committing to a full run, do a test print on a similar material. This allows you to check colors, image clarity, and alignment, helping to avoid mistakes.
- Use Software with Color Management Tools: Many sublimation printers and image editing software have color management tools. These can help ensure that the colors you see on screen match the ones that will be printed.
By following these tips, you can ensure your sublimation images are perfectly optimized for printing, producing clear, vibrant designs that will impress your customers.
Also Read This: Remove Adobe Stock Watermark From Video: Free and Paid Methods
FAQ
1. What is the best resolution for sublimation printing?
The ideal resolution for sublimation printing is 300 DPI (dots per inch). This ensures that your image is clear, detailed, and sharp when printed onto your product.
2. Can I resize an image if it's low resolution?
Resizing a low-resolution image may lead to pixelation and a blurry print. It’s best to use a high-resolution image whenever possible. If you must use a low-resolution image, try to limit resizing to avoid quality loss.
3. What file format is best for sublimation images?
For the best quality, save your sublimation images in a lossless format like PNG or TIFF. These formats preserve the image’s quality, transparency, and details. Avoid using JPEG, as it can result in compression and loss of image quality.
4. Can I use any image editing software for resizing sublimation images?
Yes, you can use various image editing software such as Adobe Photoshop, GIMP, or even online tools like Canva. The key is ensuring the software allows you to control the resolution and image dimensions accurately.
5. How can I avoid color issues when sublimating?
To avoid color issues, use the CMYK color model (used in printing) rather than RGB. It’s also helpful to use color management tools within your image editing software to ensure colors print as expected.
By addressing these frequently asked questions, you’ll be better prepared to handle your sublimation image resizing and printing with ease!
Conclusion
Resizing sublimation images is a crucial step to ensure your designs print clearly and accurately on various products. By understanding the ideal image size, using the right tools, and avoiding common mistakes, you can achieve high-quality prints that look professional and vibrant. Remember, resizing isn’t just about adjusting dimensions—it’s about maintaining resolution, clarity, and color accuracy to create the best results. Whether you're printing on t-shirts, mugs, or other items, following the proper steps for resizing and optimizing your images will help you achieve the best possible sublimation prints every time.

 admin
admin


