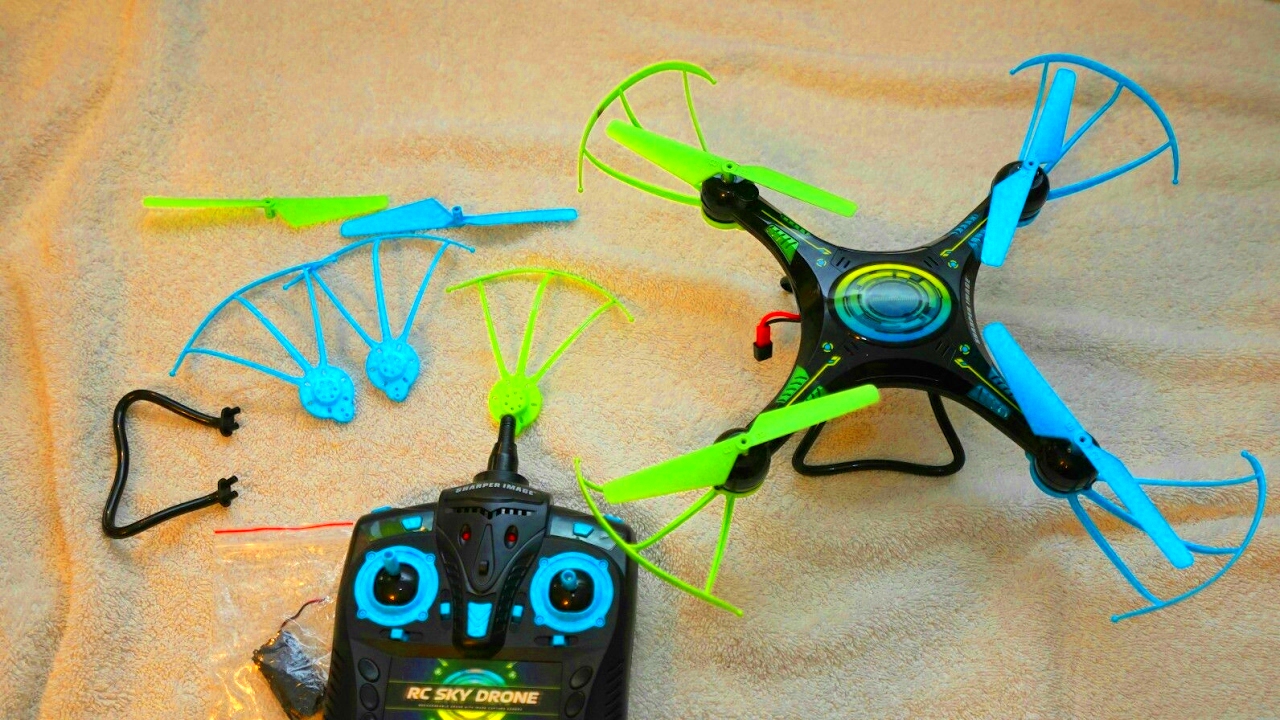
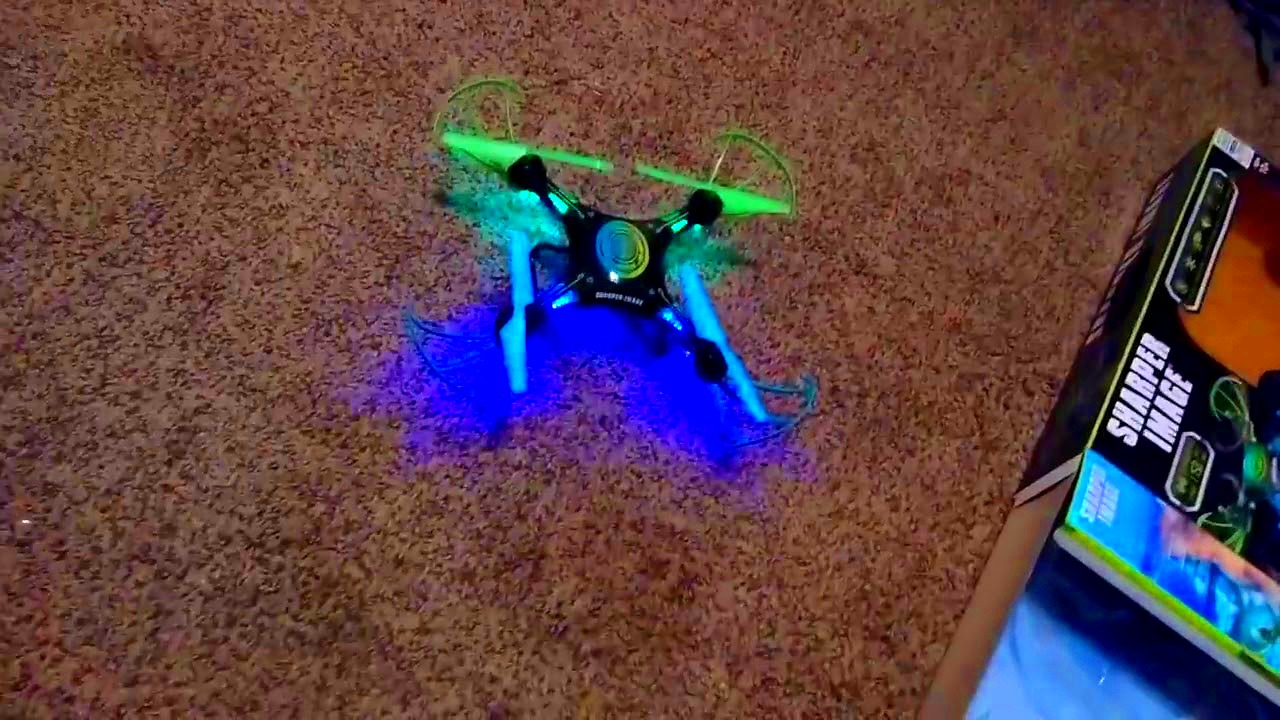
Resetting a Sharper Image drone is often necessary to resolve technical issues and improve its performance. From minor connection errors to calibration problems, a reset can address many common challenges, making your drone operate smoothly again. Knowing when and why to reset can save you time and ensure a better flying experience.
A reset may be needed if your drone is facing:
- Connectivity problems with the remote control
- Stability issues during flight
- Calibration errors that affect maneuvering
- Battery or power problems causing abrupt disconnections
By understanding how to reset your drone, you’ll be able to troubleshoot these issues effectively, restoring your drone to optimal condition without needing professional assistance.
Preparing Your Drone for Reset

Before performing a reset, it's essential to prepare your drone to make the process as smooth and effective as possible. Taking a few preliminary steps helps you avoid potential complications and ensures a successful reset.
Here’s how to prepare:
- Check the Battery: Make sure your drone’s battery is fully charged. A low battery can interfere with the reset process and may prevent your drone from restarting correctly.
- Inspect the Remote Control: Confirm that your remote control has fresh batteries and is properly paired with your drone. A weak connection or depleted batteries can complicate the reset.
- Examine Physical Condition: Check for any visible damage or loose parts. Cracks or hardware issues can impact the reset and should be fixed beforehand if possible.
Taking these preparatory steps minimizes potential errors and ensures that your reset process will be as effective as possible, leading to a smoother post-reset experience.
Step-by-Step Guide to Resetting a Sharper Image Drone
Resetting your Sharper Image drone is straightforward if you follow these steps carefully. Here’s a step-by-step guide to help you reset your drone, whether you're dealing with connectivity issues or flight stability problems.
- Turn Off the Drone: Start by powering off the drone completely. This is crucial for ensuring that any errors are fully cleared out during the reset.
- Press and Hold the Reset Button (if available): Some Sharper Image drones have a reset button. Hold it for a few seconds to initiate a system reset. If your model doesn’t have this button, skip to the next step.
- Recalibrate the Drone: Power the drone back on and initiate the calibration process, usually by following the specific instructions provided in the drone’s manual. Calibration helps the drone’s sensors reset to their default settings.
- Re-Pair the Remote Control: Turn on the remote and ensure it’s properly synced with the drone. Re-pairing helps resolve any communication issues that may have occurred.
- Test the Drone: Once you’ve completed the reset, test your drone’s flight to ensure that issues are resolved. Check for smooth maneuvering, stable hovering, and consistent controls.
Following these steps will help your Sharper Image drone function better and can resolve common performance issues. If problems persist, consider exploring more advanced troubleshooting options or reaching out to customer support.
What to Do If Your Drone Fails to Reset
If your Sharper Image drone doesn’t reset as expected, don’t worry—there are still several options to try before seeking professional help. Failed resets can happen due to software issues, connectivity problems, or hardware malfunctions. Troubleshooting these issues can often get your drone back in the air without further complications.
Here’s what you can try if the reset doesn’t work:
- Check for Firmware Updates: Some issues stem from outdated firmware. Visit the manufacturer's website or consult the app that pairs with your drone to ensure you have the latest updates. Updating firmware can fix bugs that prevent successful resets.
- Inspect for Physical Damage: Look for loose parts, cracks, or damage on the drone’s body and propellers. Physical damage can interfere with the reset process, especially if sensors or key components are compromised.
- Disconnect and Reconnect the Battery: Sometimes, simply removing the battery for a few minutes before reinserting it can allow the drone to reset. Ensure the battery is fully charged before reconnecting it.
- Re-Pair the Remote and Drone: Unpair the remote control and re-pair it with the drone. This can resolve connectivity issues that prevent proper resetting.
If none of these methods work, consider reaching out to Sharper Image support for additional guidance. They may offer model-specific solutions or suggest a repair if there are hardware issues.
Calibrating Your Drone After a Reset
Calibrating your Sharper Image drone after a reset is essential to ensure it performs smoothly in flight. Calibration helps your drone's sensors, gyroscope, and compass recalibrate to default settings, enhancing stability and control during maneuvers.
Here’s a simple guide to calibrate your drone after a reset:
- Find a Flat Surface: Place your drone on a flat, stable surface to prevent interference with the calibration process.
- Turn On the Drone: Power up the drone and wait for it to initialize. Ensure it remains stationary during this step.
- Activate Calibration Mode: Check your drone’s user manual for calibration instructions specific to your model. Most drones have a combination of buttons to press on the remote to initiate calibration.
- Watch for Calibration Signals: The drone might flash its lights or make sounds to indicate that calibration is in progress. Wait for these signals to stop, as this usually means calibration is complete.
- Test Flight for Stability: After calibration, perform a quick test flight to check for stability. Your drone should now respond accurately to controls and maintain steady hovering.
Calibrating after each reset ensures your drone is stable and ready for reliable flying, helping to avoid issues related to drifting or unsteady flight.
Maintaining Your Drone to Avoid Future Resets
Regular maintenance is key to keeping your Sharper Image drone in top condition and reducing the need for frequent resets. By following simple maintenance practices, you can prolong the life of your drone and ensure smoother flights over time.
Consider these maintenance tips:
- Clean the Drone Regularly: Remove dust, dirt, and debris from the propellers and body after each use. Built-up grime can affect performance, especially in outdoor environments.
- Store in a Safe Place: Keep your drone in a dry, cool place when not in use. High temperatures or moisture can damage electronic components and lead to connectivity problems.
- Check Battery Health: Avoid overcharging and fully depleting the battery. Charging the battery correctly helps maintain its capacity and prevents abrupt shutdowns during flights.
- Inspect for Loose Parts: Before each flight, check for any loose screws, damaged propellers, or worn parts. Tighten screws and replace damaged parts to prevent potential issues.
- Update Firmware Regularly: Manufacturers release firmware updates to improve performance and fix bugs. Checking for updates every few months can help prevent issues that might require a reset.
By incorporating these practices into your routine, you can keep your drone in great shape, avoid common performance issues, and reduce the need for resets.
FAQs for Resetting Sharper Image Drones
Here are some frequently asked questions that many users have when it comes to resetting their Sharper Image drones. These answers can help clarify any remaining doubts and guide you through common concerns.
1. How often should I reset my drone?
There’s no set rule for resetting your drone. Generally, a reset is only needed if the drone starts experiencing connectivity, stability, or calibration issues. Regular maintenance can reduce the need for frequent resets.
2. Will resetting my drone delete saved settings or flight data?
In most cases, a standard reset will only affect the drone’s immediate settings, like its calibration and connection with the remote. Any saved flight data or app-based settings are typically stored separately and won’t be lost during a reset.
3. What should I do if my drone won’t reset using the recommended steps?
If the standard reset steps aren’t working, try a few additional troubleshooting methods, such as disconnecting and reconnecting the battery, checking for firmware updates, or re-pairing the remote control. If the issue persists, contact Sharper Image support for further assistance.
4. Do all Sharper Image drones have a reset button?
Not all models come with a dedicated reset button. If yours doesn’t, you can still perform a reset by turning off the drone, disconnecting the battery, and re-pairing it with the remote. Always refer to the manual for model-specific instructions.
5. Why does my drone drift after resetting?
Drone drift after a reset is often due to misalignment in the sensors or gyroscope. Performing a proper calibration after a reset can help eliminate drifting, providing a more stable flight.
Conclusion on Resetting Sharper Image Drones
Resetting your Sharper Image drone is a straightforward process that can solve common performance issues like connectivity errors and flight instability. By following the reset steps, preparing your drone beforehand, and performing post-reset calibrations, you can ensure a smoother flying experience. Proper maintenance will help minimize future resets, keeping your drone ready for the skies.

 admin
admin


