Blender is a powerful tool used for 3D modeling, animation, and rendering. While working with Blender, you might encounter situations where you need to relink images. Relinking is simply the process of reconnecting image files that Blender can’t locate due to changes in file paths or file location. This guide will walk you through how to efficiently relink images in Blender to ensure your project runs smoothly without losing any visual data.
Why You Might Need to Relink Images in Blender
There are several reasons why you may need to relink images in Blender. Here are some common scenarios:
- File Relocation: If you move your project files or assets to a new folder or drive, Blender may no longer be able to locate the images associated with your project.
- Renaming Files: If you rename an image file outside of Blender, the software won’t recognize the new name and you’ll need to relink it.
- External Drive Issues: If your project is stored on an external drive that gets disconnected or unplugged, Blender will lose access to the image files.
- Rendering Problems: Sometimes, missing textures or images can cause rendering issues. Relinking these assets can help resolve such problems.
In all these cases, relinking ensures that your images are properly connected to the project, saving you time and preventing errors in your work.
Also Read This: How to Resize an Image for Printing Without Cropping
Steps to Relink Images in Blender
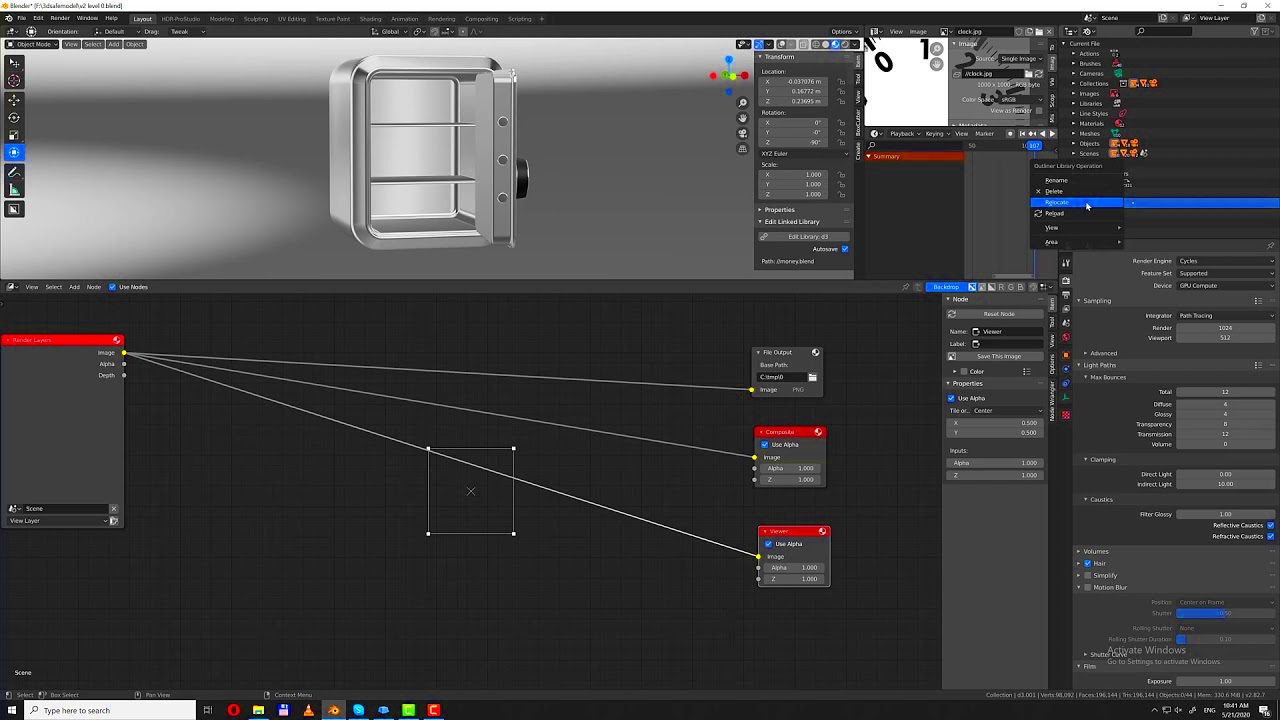
Relinking images in Blender is a simple process. Follow these steps to ensure your images are properly connected:
- Open Blender: Launch Blender and open your project file.
- Locate the Missing Image: When an image is missing, a warning will appear in the Image Texture node or the UV/Image Editor. Click on the missing image to proceed.
- Use the File Browser: In the Image Texture or UV/Image Editor window, click the "Open" button. This will open a file browser.
- Navigate to the New Location: In the file browser, find the folder or directory where the image is now stored. Select the image to relink it.
- Update the File Path: Once selected, the path to the image will be updated automatically, and Blender will now be able to use the newly linked image in your project.
If you have multiple images to relink, you can use the "Relink Missing Files" feature found in the "File" menu to streamline the process and update the links in bulk.
Also Read This: How to Make an Image Higher Resolution Easily
Understanding File Paths and Their Importance
In Blender, file paths play a critical role in how images, textures, and other assets are linked to your project. A file path is essentially the location of a file on your computer or external storage device. Understanding how file paths work and how they impact your project is essential for maintaining a smooth workflow, especially when relinking images. If Blender can’t find the file because the path has changed, it can’t display or render your images correctly.
File paths can either be absolute or relative:
- Absolute File Paths: These paths include the full directory from the root of your storage device, such as "C:/Users/Name/Projects/Image.jpg". These paths are fixed and may break if you move your files to a different location.
- Relative File Paths: These paths are relative to the project file’s location, such as "Images/Image.jpg". This makes it easier to move or share the project with others without breaking links.
It's important to organize your files and set up your project with relative paths whenever possible, especially if you're working in a team or planning to move files around. Blender’s ability to locate assets depends on how the paths are defined and maintained.
Also Read This: How to Remove Text from Shutterstock Images: A Comprehensive Guide
How to Use the File Browser for Relinking
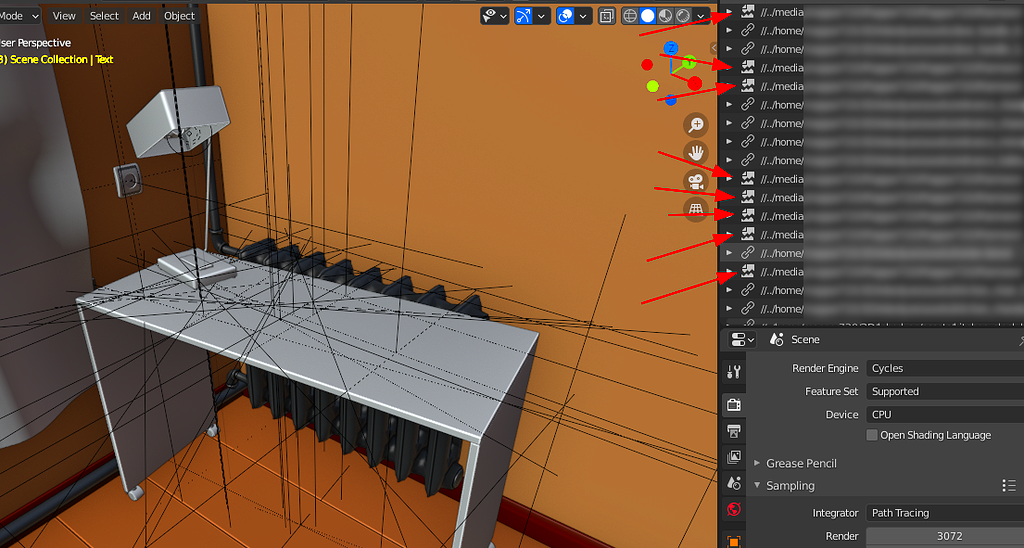
Blender’s File Browser is an efficient way to manage and relink missing images. When you encounter missing images, the File Browser provides a user-friendly interface to quickly find and relink assets. Here’s how you can use it to relink your images:
- Open Blender: Launch Blender and open your project where the missing image is located.
- Identify the Missing Image: In the Image Texture node or the UV/Image Editor, you’ll see a warning that an image is missing. Click on it to proceed.
- Open the File Browser: Click on the “Open” button in the Image Texture or UV/Image Editor window. This will open the File Browser dialog.
- Locate the Image: In the File Browser, navigate to the location where the image has been moved or stored. You can also search for the file by name if you're unsure of the location.
- Relink the Image: Once you've found the image, simply select it. Blender will automatically update the file path and relink the image to your project.
The File Browser can also be used to update multiple missing files at once, making it a valuable tool for larger projects. Make sure to save your project after relinking to confirm the changes.
Also Read This: how to find the best images on adobe stock
Common Issues and How to Fix Them
While relinking images in Blender is generally a straightforward process, you may encounter some issues along the way. Here are a few common problems and how to fix them:
- Missing Image After Relinking: If you relink an image, but it still doesn’t show up, check if the file path was correctly updated. Ensure the image is in the right format and not corrupted. Also, verify that the correct file version is being used.
- Broken File Paths: If Blender can’t find an image, it’s likely that the file path was changed. To fix this, either move the image back to its original location or use the File Browser to update the file path.
- Relative Paths Not Working: If you use relative paths but have moved your project folder, Blender might struggle to locate your images. Always double-check the folder structure and ensure that the project file and assets are in the right locations.
- Multiple Missing Files: If multiple images are missing, consider using the “Relink Missing Files” feature in Blender’s “File” menu. This option can help you relink all missing files at once by pointing Blender to the correct directory.
- Texture Issues After Relinking: Sometimes, even after relinking an image, it may not display correctly in the render. In this case, check your texture settings, ensure the correct mapping is applied, and make sure the image is in the correct resolution.
By understanding these common issues and solutions, you can avoid delays and ensure your Blender projects run smoothly.
Also Read This: Viewing Your Saved Adobe Stock Images
Best Practices for Managing Image Files in Blender
Efficiently managing image files in Blender is crucial for keeping your project organized, especially as it grows. Proper file management not only makes it easier to relink missing images, but it also improves overall workflow and ensures that you don’t encounter errors later. Here are some best practices for managing image files in Blender:
- Use Consistent Naming Conventions: Naming your image files clearly and consistently will help you quickly identify them later. Avoid using spaces or special characters, and stick to a simple format, like "Texture_01" or "Logo_Design".
- Organize Files Into Folders: Keeping image files organized in specific folders (e.g., “Textures,” “Backgrounds,” “References”) will help maintain a tidy project structure. Consider creating subfolders for different categories of assets.
- Use Relative Paths: Whenever possible, use relative file paths instead of absolute ones. This ensures that if you move your project to a different computer or directory, Blender will still be able to locate the assets correctly.
- Store Files Locally: If you're working on a large project, it's best to store your images locally rather than relying on external drives or cloud storage. This reduces the risk of Blender losing access to files when drives are disconnected.
- Regular Backups: Always back up your image files and project data to avoid losing important assets. Using version control systems or simply keeping copies on an external drive can be a lifesaver if something goes wrong.
By following these best practices, you can reduce the chances of encountering missing image issues and keep your project running smoothly.
Also Read This: Understanding Earnings Per Download on Adobe Stock
Conclusion
Relinking images in Blender is an essential skill for ensuring your 3D projects stay intact, especially when files move or are renamed. Understanding file paths, using the File Browser for quick updates, and following best practices for file management will help you avoid common issues and make your workflow more efficient. With these tips, you can spend less time troubleshooting and more time focusing on creating amazing 3D designs and animations.
Frequently Asked Questions
1. What is the difference between relative and absolute file paths in Blender?
Relative file paths are based on the location of your project file. They are ideal for moving or sharing your project with others because the paths remain valid as long as the folder structure stays the same. Absolute file paths, on the other hand, specify the full directory location of a file, making them less flexible if you move your files to a different location.
2. How can I avoid missing image issues in Blender?
To avoid missing image issues, organize your project with clear naming conventions and folders, use relative file paths, and regularly back up your files. It's also a good idea to keep all assets within the project directory to reduce the risk of Blender losing track of them.
3. What should I do if I can’t find the image I need in Blender?
If Blender can’t locate an image, check the file path to ensure it’s still correct. If the image has been moved or renamed, use the File Browser in Blender to locate the new file and relink it. If multiple images are missing, consider using the "Relink Missing Files" feature to update all links at once.
4. Can I relink images for multiple assets at the same time?
Yes, Blender offers a "Relink Missing Files" option under the "File" menu that lets you relink multiple assets at once. This is especially helpful for large projects where several images might be missing.
5. What if Blender still doesn’t display the image after relinking?
If an image still doesn’t display after relinking, make sure the file is not corrupted and that the correct resolution is being used. Also, verify that the texture settings and mapping are applied correctly. If the problem persists, try restarting Blender or reloading the project.
 admin
admin


