Wave noise can significantly affect the quality of your images, making them look unprofessional or distracting. It often appears as unwanted patterns or distortions, disrupting the overall visual appeal. Understanding what wave noise is and how it manifests in images is the first step toward effective noise reduction. In this section, we’ll break down the concept of wave noise, its characteristics, and why it’s essential to address it.
Wave noise is typically caused by various factors, including:
- Interference from electronic devices
- Environmental conditions like humidity and temperature
- Low-quality camera equipment
- Improper image processing techniques
By recognizing these aspects, you can better manage and reduce wave noise in your photography.
Common Sources of Wave Noise

Identifying the sources of wave noise is crucial for prevention and reduction. Here are some common culprits:
- Electronic Interference: Devices like routers and mobile phones can create electromagnetic interference, leading to wave noise in images.
- Camera Settings: Using incorrect ISO settings can amplify noise. Higher ISO settings often result in grainy images.
- Lighting Conditions: Poor lighting can exacerbate wave noise. Insufficient light can force your camera to work harder, increasing the chances of noise.
- Compression Artifacts: Saving images in compressed formats can introduce wave noise, particularly in JPEG files.
Being aware of these sources will help you take proactive measures to minimize noise in your images.
Also Read This: Steps to Insert an Image in an Excel Comment Box
Tools Needed for Noise Reduction

To effectively reduce wave noise, having the right tools at your disposal is essential. Here are some recommended tools and software:
| Tool/Software | Purpose |
|---|---|
| Adobe Photoshop | Powerful editing tool with noise reduction filters |
| Lightroom | Offers advanced noise reduction settings |
| Topaz DeNoise AI | Specialized software for AI-based noise reduction |
| GIMP | Free alternative to Photoshop with noise reduction capabilities |
Additionally, investing in high-quality camera gear and understanding your camera settings will also contribute to better image quality and reduced wave noise.
Also Read This: How to Post YouTube Videos to Instagram Easily
Steps to Reduce Wave Noise Effectively

Reducing wave noise in images might seem daunting, but with the right approach, it can be straightforward. Following a series of clear steps can help you effectively minimize noise and enhance image quality. Here’s a simple guide to get you started.
1. Assess Your Image: Begin by closely examining your image to identify areas affected by wave noise. Zoom in to spot the noise clearly.
2. Adjust Camera Settings: If you’re shooting new images, consider adjusting your camera settings. Use a lower ISO setting to minimize noise from the start.
3. Use Image Editing Software: Open your image in your preferred editing software. Most programs have built-in noise reduction tools. Look for options like “Reduce Noise” or “Noise Reduction.”
4. Apply Noise Reduction Filters: Experiment with noise reduction filters. Start with a light touch to avoid losing image detail. You can gradually increase the effect until you achieve the desired quality.
5. Sharpen the Image: After reducing noise, apply a sharpening filter to bring back some lost details. Be careful not to overdo it, as this can create new noise.
6. Save Your Image: Finally, save your edited image in a high-quality format, such as TIFF or PNG, to prevent compression artifacts.
By following these steps, you’ll be well on your way to achieving clearer, more professional-looking images.
Also Read This: How to Remove Colors from an Image
Using Software for Noise Reduction
Software plays a vital role in reducing wave noise effectively. With various tools available, you can select the one that best fits your needs. Here’s a closer look at how to use software for noise reduction.
1. Choose Your Software: Popular options include:
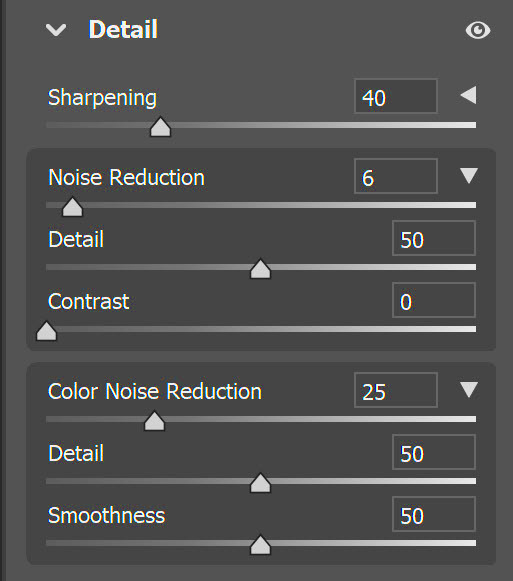
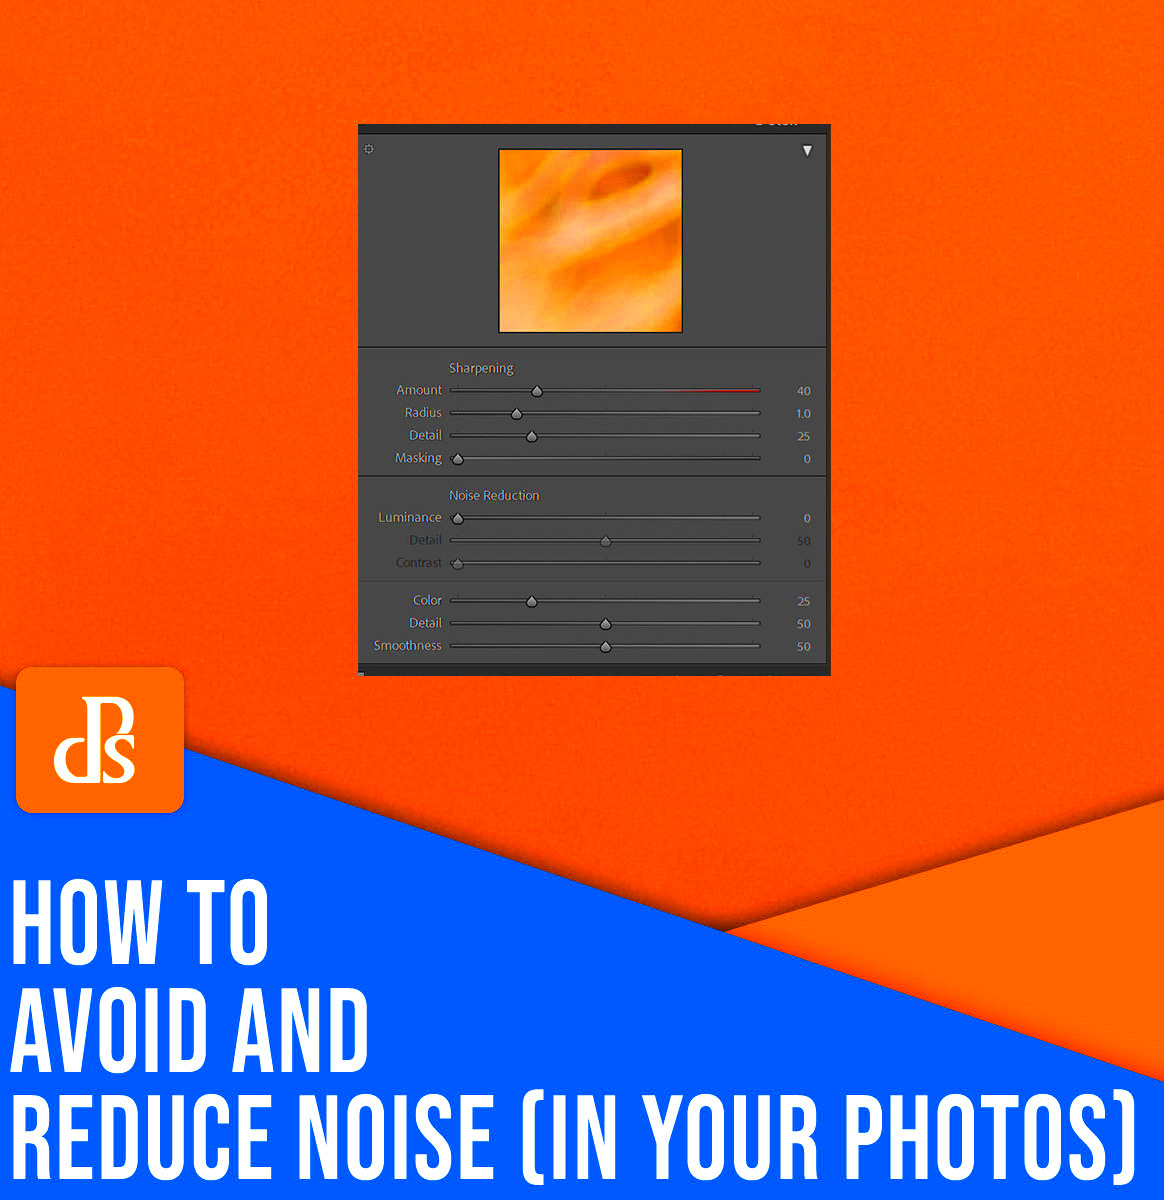
- Adobe Lightroom: Offers advanced noise reduction options. Navigate to the “Detail” panel to find sliders for Luminance and Color noise.
- Photoshop: Use the “Reduce Noise” filter under the “Filter” menu. You can fine-tune the settings to achieve the best result.
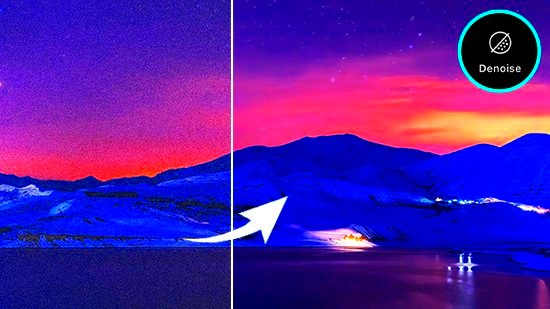
- Topaz DeNoise AI: This software uses AI to analyze your image and intelligently reduce noise while preserving details.
- GIMP: A free tool with various plugins available for noise reduction, including the “G'MIC” plugin.
2. Import Your Image: Open your image in the chosen software and locate the noise reduction features.
3. Adjust Settings: Experiment with sliders and settings. Always start with conservative adjustments and gradually increase until you see improvements.
4. Preview Changes: Most software allows you to preview changes in real-time. Use this feature to ensure you’re satisfied with the adjustments.
5. Finalize and Save: Once you’re happy with the results, save your image in a high-quality format to maintain its clarity.
By utilizing the right software, you can achieve remarkable results in noise reduction.
Also Read This: DIY Kinder Joy Chocolate Creative Ideas on Dailymotion
Tips for Preventing Wave Noise in Future Images
Preventing wave noise is much easier than dealing with it after the fact. Here are some practical tips to help you capture cleaner images right from the start.
1. Use the Right Camera Settings: Always aim for a lower ISO setting when possible. Higher ISO can introduce more noise, especially in low-light conditions.
2. Invest in Quality Equipment: Using a good quality camera and lens can significantly reduce noise. Consider investing in better gear if you're serious about photography.
3. Ensure Good Lighting: Good lighting can help minimize noise. Whenever possible, use natural light or invest in proper lighting setups.
4. Avoid Over-Compression: When saving your images, choose formats that maintain quality. Avoid excessive compression, which can introduce artifacts.
5. Keep Your Equipment Clean: Dust and smudges on your camera sensor can also affect image quality. Regularly clean your equipment to prevent these issues.
6. Practice Good Technique: Steady your camera while shooting. Use a tripod if necessary, especially in low-light situations, to avoid blurriness that can enhance noise.
By incorporating these tips into your photography routine, you’ll be able to capture images with less wave noise and enjoy better overall quality.
Also Read This: Effective Ways to Block YouTube on Your PC for Enhanced Productivity
Frequently Asked Questions about Wave Noise Reduction
When it comes to wave noise reduction, many photographers have similar concerns and questions. Here, we’ll address some of the most frequently asked questions to help clarify common doubts.
What is wave noise?
Wave noise refers to unwanted visual patterns or distortions in images that can distract from the overall quality. It can manifest as graininess or blotchy colors, often caused by electronic interference, poor lighting, or improper camera settings.
How can I identify wave noise in my images?
To spot wave noise, zoom in on your images, particularly in areas with flat colors or shadows. Look for grainy textures or unwanted patterns that differ from the intended image quality.
Does higher ISO always result in more noise?
Generally, yes. Higher ISO settings amplify the camera's sensitivity to light, but this also increases the risk of noise, particularly in low-light conditions. It's often better to use a lower ISO and adjust other settings like aperture and shutter speed to maintain image quality.
Can noise be completely removed from an image?
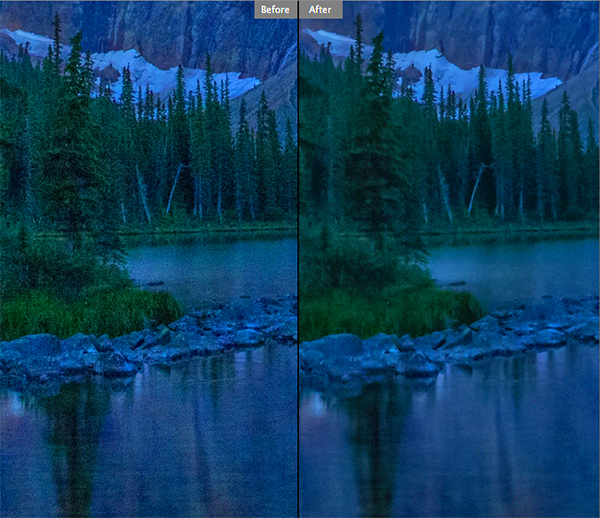
While it’s challenging to eliminate noise completely, especially in heavily affected images, effective noise reduction techniques can significantly improve the visual quality. Using the right software and techniques can minimize its appearance.
What are the best software options for noise reduction?
Popular software options for noise reduction include:
- Adobe Lightroom
- Adobe Photoshop
- Topaz DeNoise AI
- GIMP
How can I prevent wave noise in future images?
Preventive measures include using lower ISO settings, ensuring good lighting conditions, investing in quality equipment, and practicing good camera techniques. Keeping your equipment clean and avoiding excessive image compression also helps.
Conclusion and Key Takeaways
Reducing wave noise in images is essential for achieving professional-quality photographs. By understanding wave noise, recognizing its sources, and using the right tools and techniques, you can effectively minimize its impact. Remember to adjust camera settings, utilize editing software, and take preventive measures for future shoots. With practice, you can enhance your photography skills and capture clearer, more stunning images.

 admin
admin


