When you lose precious photos from your SD card, it can feel like a nightmare. Whether it’s due to accidental deletion, corruption, or a technical failure, losing images can be frustrating. But the good news is that recovering lost images is possible in most cases. In this guide, we'll walk you through the process of recovering those lost photos and videos from an SD card. You don’t need to be a tech expert to do it – with the right tools and steps, you can retrieve your memories.
Understanding Common Causes of Image Loss

Before jumping into recovery methods, it’s helpful to understand why images get lost from an SD card in the first place. Knowing the cause can guide your recovery process and help you avoid future issues. Here are some common reasons:
- Accidental Deletion: It’s easy to delete the wrong file while organizing your photos.
- Corrupted SD Card: Physical damage, power failures, or bad sectors can make your SD card unreadable.
- Improper Ejection: Removing the SD card without safely ejecting it can cause data corruption.
- Formatting Error: Formatting your SD card can erase all the data stored on it.
- Virus or Malware Infection: A virus may delete or corrupt files on the SD card.
Identifying the cause of image loss can help determine the best course of action for recovery. It’s essential to act quickly to increase your chances of success.
How to Recover Lost Images Using Software

Recovering lost images from an SD card is made easier with the help of data recovery software. These programs can scan your SD card for lost or deleted files and retrieve them. Here’s a step-by-step guide on how to use recovery software:
- Choose a Recovery Tool: There are many data recovery tools available, such as Recuva, Disk Drill, and EaseUS Data Recovery. Pick one that suits your needs and install it on your computer.
- Connect Your SD Card: Insert the SD card into your computer or use a card reader to connect it. Ensure that the SD card is detected by the software.
- Run a Scan: Open the recovery software and select the SD card as the target drive. Start a scan for lost files. The software will look for traces of deleted images and videos.
- Preview and Select Files: After the scan is complete, the software will show a list of recoverable files. You can preview the images to make sure they are the ones you need.
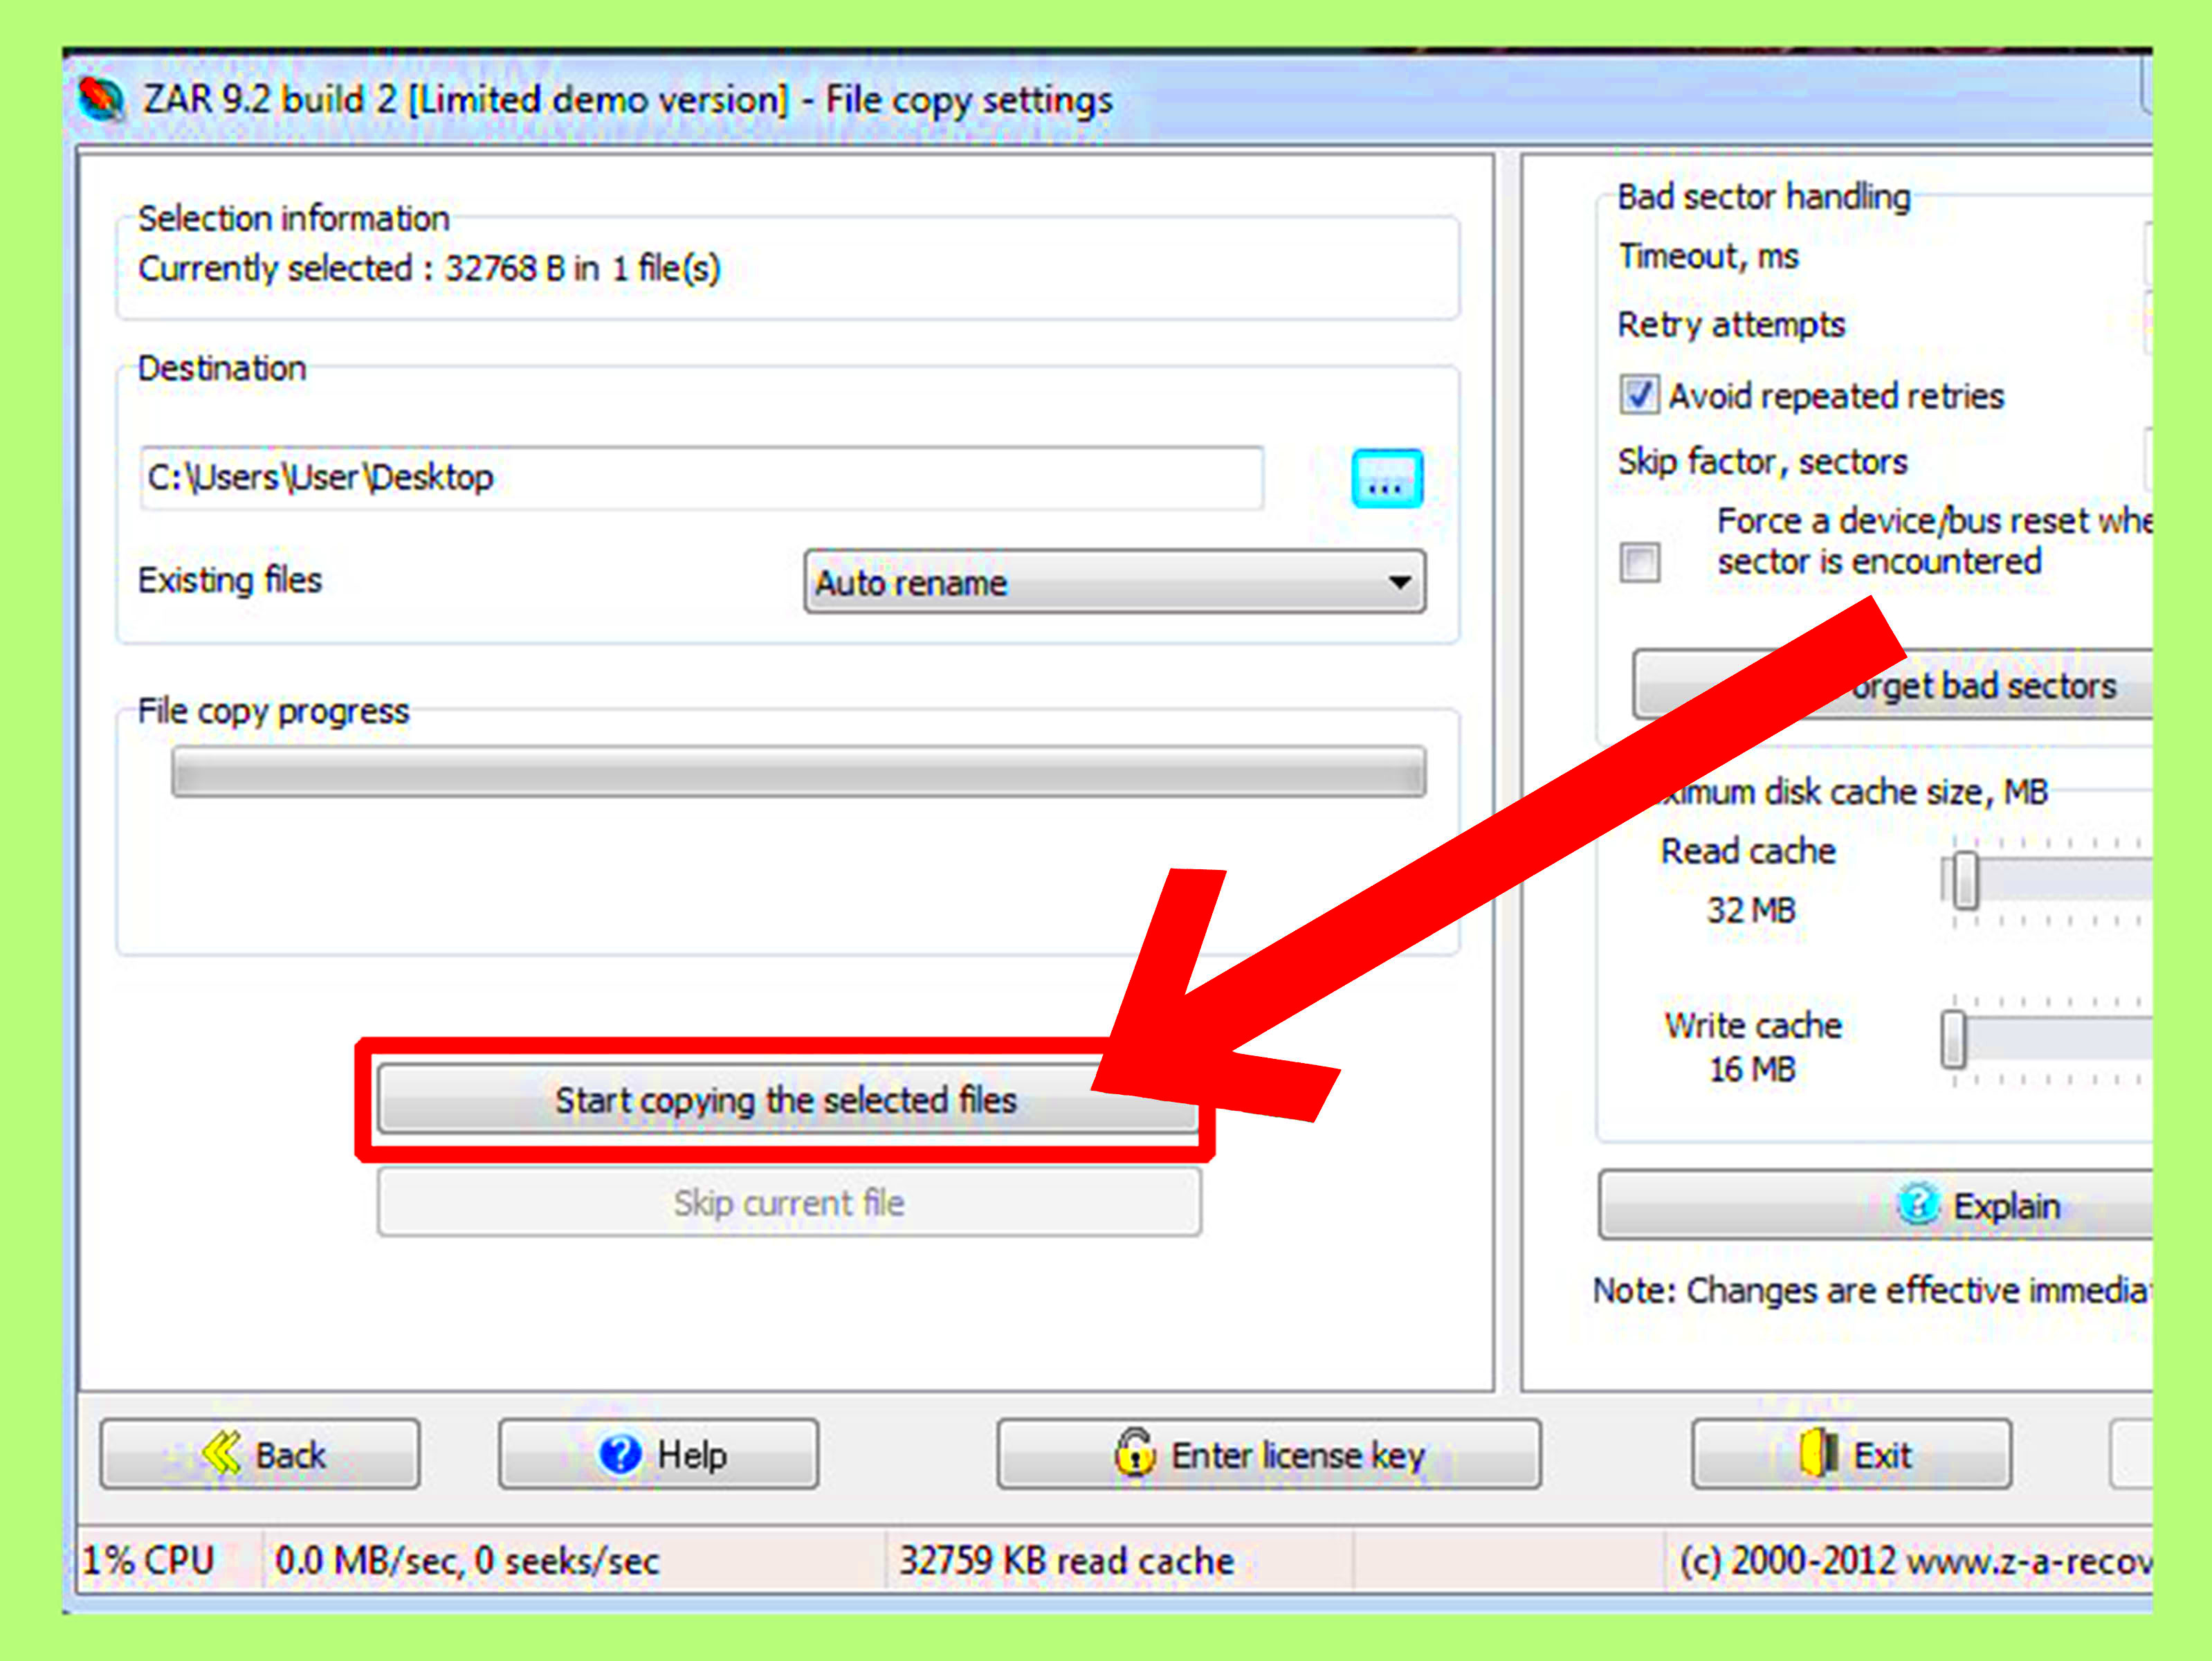
- Recover and Save: Once you’ve selected the files, click the ‘Recover’ button. Save the recovered images to a different drive (not the SD card) to avoid overwriting any remaining data.
Recovery success varies depending on factors like how long ago the files were deleted and the extent of damage to the SD card. However, using reliable recovery software can significantly improve your chances of retrieving your lost images.
Steps to Take Before Using Recovery Software
Before diving into the recovery process, there are a few important steps to follow that can maximize your chances of success. These steps are crucial because every action you take can either help or hinder the recovery of your lost images.
- Stop Using the SD Card: As soon as you realize images are lost, stop using the SD card. New data can overwrite the old data, making recovery difficult or even impossible.
- Check the Card on Different Devices: Sometimes the issue is not with the card, but with the device. Try using the SD card in a different computer or card reader to rule out any hardware problems.
- Use a Reliable Card Reader: Ensure you're using a trusted card reader to connect the SD card to your computer. Sometimes faulty readers can cause problems during the recovery process.
- Back Up Existing Data: If your SD card is still accessible and has some data intact, back it up before attempting recovery. This will help prevent further data loss.
- Ensure Enough Storage on Your Computer: Recovery software may require ample space to store the files being recovered. Make sure your computer has enough storage before starting the process.
Taking these preparatory steps seriously can increase the likelihood of a successful recovery. Once you’ve completed these actions, you’re ready to move forward with the recovery software.
Best Practices for Preventing Image Loss on SD Cards
Preventing data loss is always better than recovering it. Here are some key practices that can help you protect your images and ensure that your SD card remains in good condition:
- Always Safely Eject Your SD Card: Never remove your SD card from a device without using the ‘safely eject’ option. This prevents data corruption caused by abrupt disconnections.
- Format the SD Card Regularly: Rather than just deleting files, format the SD card from time to time. This ensures the card is properly organized and reduces the chances of file corruption.
- Use Trusted Devices and Software: Only insert your SD card into trusted devices and use reliable software for file management. Avoid using the card on devices that may have malware or outdated drivers.
- Keep Your SD Card in a Safe Place: Protect your card from physical damage. Store it in a dry, cool, and safe location, and avoid exposing it to water or extreme temperatures.
- Regularly Back Up Your Files: Make it a habit to back up your photos and videos. Cloud services or external hard drives are good options for keeping copies of your important files.
By adopting these practices, you can greatly reduce the chances of losing data from your SD card and ensure that your precious photos stay safe for years to come.
How to Use SD Card Recovery Tools Effectively
Using SD card recovery tools can be straightforward, but to make the most out of them, it’s important to follow some key strategies. Below are steps to effectively use recovery tools for retrieving your lost images:
- Select the Right Recovery Tool: Choose recovery software that is compatible with your operating system and supports SD card recovery. Popular tools include Recuva, Disk Drill, and EaseUS Data Recovery.
- Install and Run the Software: Download the chosen tool, install it on your computer, and launch the program. Make sure to only install the software on a different drive to avoid overwriting the lost data on the SD card.
- Scan the SD Card: When prompted, select the SD card as the drive to scan. The software will begin searching for recoverable files. This may take some time depending on the size of the card and the number of files.
- Preview the Results: After the scan, most recovery tools will show a preview of recoverable files. Carefully review the list of files and select the ones you want to recover. Avoid selecting all files if you only need specific images.
- Save the Recovered Files: Choose a different location (such as your computer's hard drive) to save the recovered images. Saving them back to the same SD card may overwrite the remaining data, making recovery impossible.
- Perform a Deep Scan (If Necessary): If the initial scan doesn’t find everything, many tools offer a ‘deep scan’ feature, which takes longer but can recover more files. Use this if you’re not seeing all your lost photos.
To get the best results, make sure to follow these steps carefully and patiently. Effective use of recovery software can bring back most of your lost images, but remember that no tool guarantees 100% success, especially if the data has been overwritten.
What to Do When Software Recovery Doesn't Work
Even with the best data recovery software, there’s always a chance that recovery may not work as expected. If the software fails to retrieve your lost images, it can be frustrating, but don’t give up just yet. There are still a few options left to try before you completely lose hope.
- Check for Physical Damage: If your SD card has been physically damaged, software alone won’t help. In this case, look for signs of wear, such as cracks or bent connectors. If the card appears damaged, consider consulting a professional data recovery service.
- Try a Different Software: Not all recovery software is created equal. If one tool doesn’t work, try another. Some software programs may be better at recovering specific file types or handling certain types of data corruption.
- Consult a Professional Recovery Service: If you’ve tried everything and the data is still inaccessible, it might be time to consult a professional. Data recovery experts have specialized tools and knowledge to recover data from severely damaged or corrupted SD cards.
- Use Backup (If Available): If you’ve backed up your images regularly, now is the time to restore from your backup. This can be the quickest and most reliable way to recover lost files.
- Learn from the Experience: If recovery fails, consider what went wrong and learn from it. Make sure to follow better data management practices moving forward, such as backing up data more frequently or replacing aging SD cards.
While recovery doesn’t always work, these steps can help you decide what to do next and prevent future data loss from happening.
Conclusion and Final Thoughts on Image Recovery
Recovering lost images from an SD card can be a stressful process, but it’s often possible with the right tools and techniques. Whether you're using data recovery software or seeking professional help, the chances of success depend on how quickly you act, the condition of your SD card, and the methods you use. It's important to remember that not all files are recoverable, and some loss may be permanent, but with proper preparation and backup strategies, you can significantly reduce the risk of losing important images in the future.
Take the time to understand the causes of data loss, use reliable recovery methods, and apply best practices for keeping your SD card in good shape. Regular backups are your best defense against unexpected data loss, ensuring that your images are always safe, even if something goes wrong.
In the end, patience and preparation are key. By following the right steps and knowing when to ask for professional help, you can successfully recover lost images and protect your digital memories.
FAQ
1. Can I recover images from a corrupted SD card?
Yes, you can often recover images from a corrupted SD card using data recovery software. However, the success of recovery depends on the extent of the corruption. If the corruption is severe, you may need professional help.
2. How long does it take to recover lost images from an SD card?
The time required for recovery depends on the size of the SD card and the type of recovery process. A quick scan can take minutes, but a deep scan for larger cards may take several hours. Patience is essential during the process.
3. Will data recovery software always work?
Data recovery software doesn’t always guarantee 100% recovery, especially if the data has been overwritten or if the SD card has physical damage. However, it’s often successful if you act quickly and follow the recovery steps carefully.
4. Can I use recovery software on a damaged SD card?
Recovery software can only help if the SD card is still readable. If the SD card is physically damaged, the software may not be able to access it. In this case, consider professional data recovery services for better results.
5. How can I prevent losing images in the future?
To prevent image loss, regularly back up your photos to external drives or cloud services. Avoid abrupt removal of the SD card, use safe eject methods, and replace old SD cards before they fail. Proper care and regular backups can save you from the frustration of data loss.

 admin
admin


