In today's digital age, on-demand content is king, and YouTube TV has emerged as a trailblazer in this arena. With a diverse selection of channels, shows, and movies, it's a go-to platform for many. However, one of the standout features that truly enhances the viewing experience is its DVR functionality. In this blog post, we'll explore how to record your favorite shows and movies on YouTube TV and enjoy them at your leisure.
Understanding YouTube TV's DVR Features

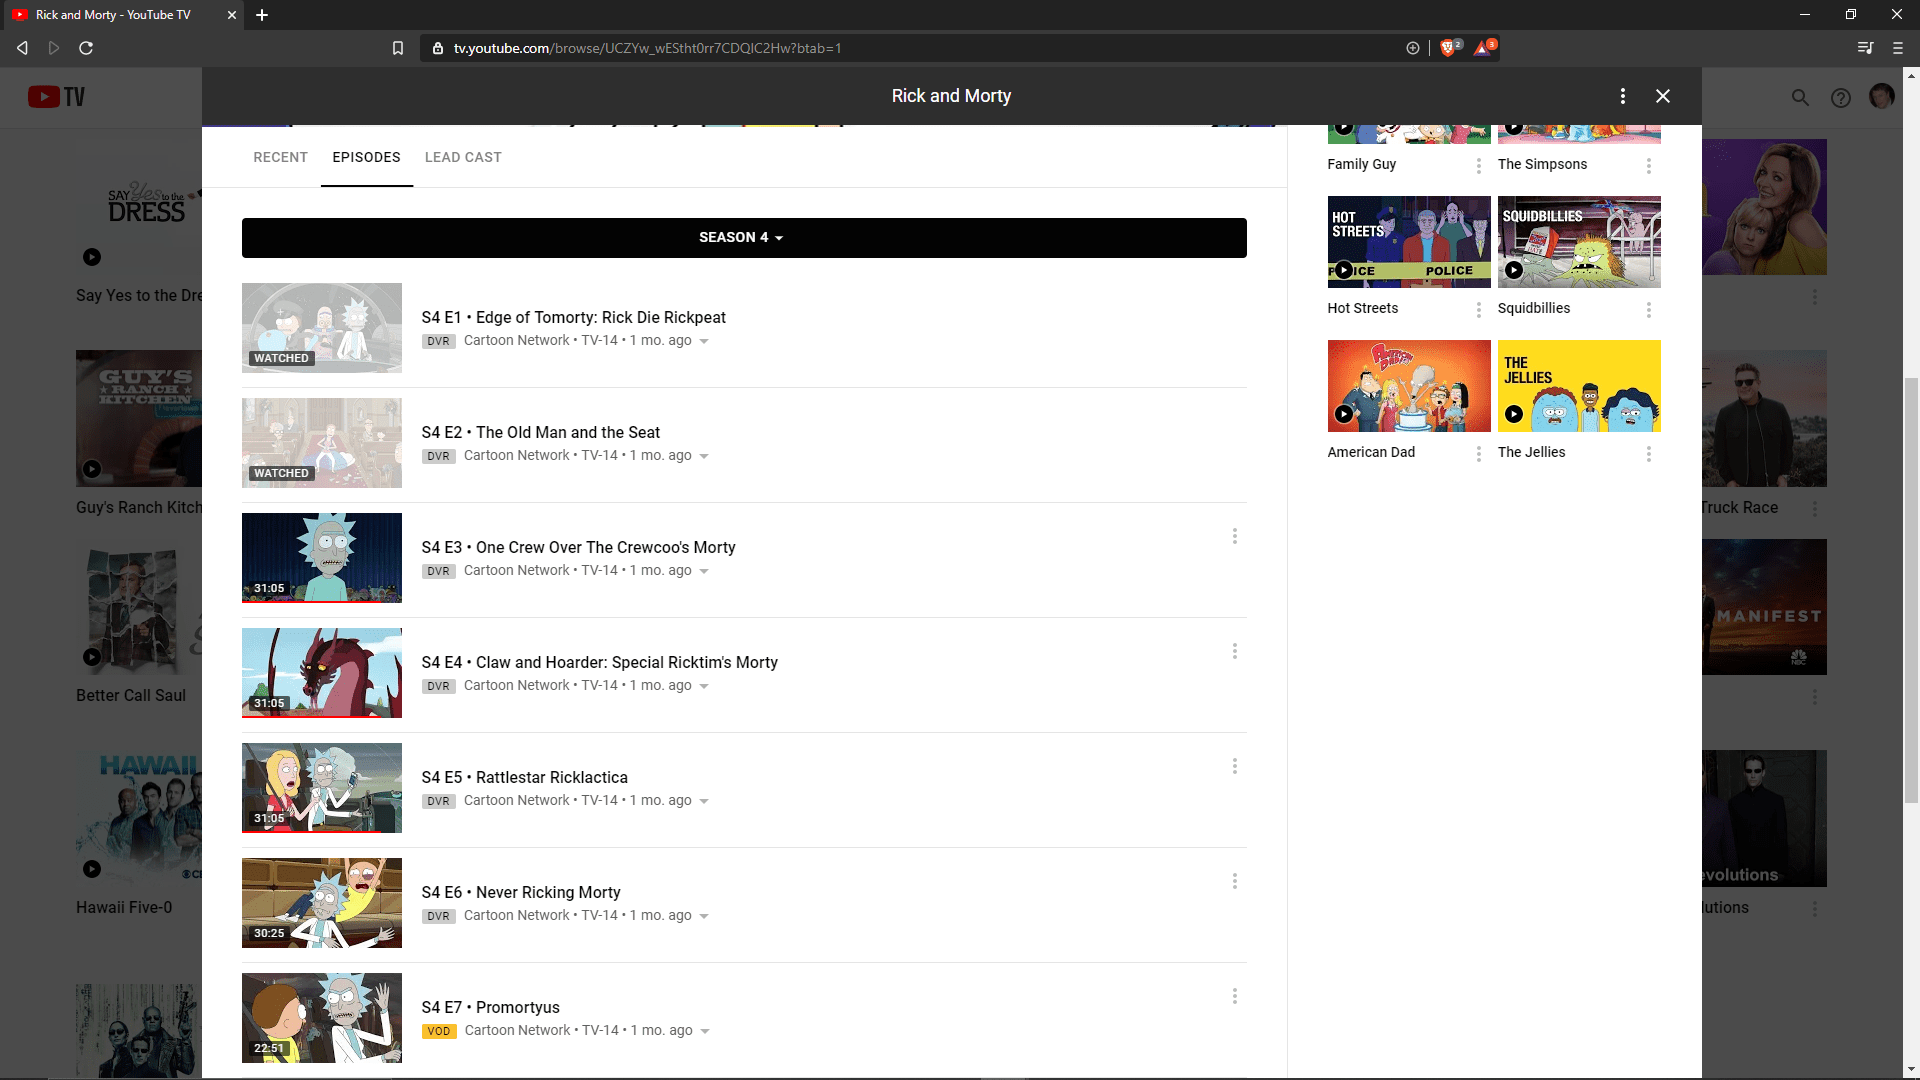
YouTube TV comes equipped with a powerful DVR (Digital Video Recorder) feature that allows users to record live TV, making it easier than ever to catch up on missed episodes or binge-watch entire seasons. Here's a breakdown of some of its key aspects:
- Unlimited Storage: One of the biggest perks is the unlimited cloud storage. You can record as many shows as you want without worrying about running out of space.
- Recording Duration: Your recordings are saved for up to nine months, giving you ample time to watch your favorite programs whenever you choose.
- Simple Recording Process: Recording is a breeze! Just click the '+' icon next to any show or movie title, and it’s added to your library.
- Catch-Up Viewing: If you've missed an episode of a show, YouTube TV often provides the option to watch previous episodes that aired recently, even without a recording.
- Multiple Device Access: You can access your recordings on various devices, including smartphones, tablets, computers, and smart TVs, allowing you to watch on your schedule.
These features make YouTube TV's DVR functionality not only user-friendly but also a game-changer for cord-cutters looking to have total control over their viewing experience. Whether you’re a casual viewer or a binge-watching enthusiast, understanding these features can significantly enhance how you enjoy your favorite content.
Step-by-Step Guide to Recording Shows

Recording shows on YouTube TV is a breeze, and once you get the hang of it, you’ll wonder how you ever watched live TV without it! Let’s break it down step-by-step so you can start saving those must-watch episodes and movies.
- Sign into Your YouTube TV Account: First things first, make sure you're logged into your YouTube TV account. This is the key to accessing all your favorite content.
- Find the Show or Movie: Use the search bar at the top of the screen to locate the show or movie you wish to record. You can also browse through the categories on the homepage.
- Access the Show’s Page: Once you find the show or movie, click on it to open its dedicated page. Here, you’ll see information like the synopsis, season details, and more.
- Select the 'Record' Button: Look for the red 'Record' button, typically located alongside the show's title. Click it! You can choose to record the entire series or just a single episode.
- Adjust Recording Preferences: If it’s a series, you might have options to customize your recordings (like keeping it for a certain period). Adjust these settings as per your preference.
- Confirmation: After selecting your options, a confirmation message usually pops up, letting you know your recording has been successfully scheduled.
- Enjoy Your Content: Sit back and relax! You’re all set to watch your favorite episodes or movies whenever it fits your schedule.
And there you have it! You’re now ready to record and enjoy your favorite shows anytime you want.
Managing Your Recorded Content

Now that you’ve mastered recording shows on YouTube TV, let’s talk about how to manage that growing library of recorded content. Keeping your recordings organized and accessible is essential, especially when you start to build up your favorites!
Here’s how to efficiently manage your recorded content:
- Access Your Library: Simply navigate to the ‘Library’ section in YouTube TV, where all your recorded shows and movies are stored.
- Organize by Category: You can categorize your recordings by genre, release date, or watch status, making it easier to find what you want in a hurry.
- Delete Unwanted Recordings: If you’ve finished a series or something just didn’t resonate, click on the three-dot menu next to the recording to delete it. Clearing out old content helps free up space for new shows!
- Set Recording Preferences: If you find you're recording too much, consider adjusting your settings. You can limit how long to keep recorded content or manage automatically recorded series to ensure your library remains relevant.
- Watch Offline: If you're on the go, remember you can download select recordings to watch later offline, which adds to the flexibility of managing your viewing experience.
With these simple management tips, you’ll keep your YouTube TV library tidy and only filled with golden content that you absolutely love to revisit. Happy watching!
Tips for Optimal Recording
Recording your favorite shows and movies on YouTube TV can be a game-changer, but to make sure you’re getting the best quality and efficiency, here are some practical tips:
- Check Your Storage Space: Before hitting that 'record' button, always ensure you have sufficient storage available. YouTube TV offers unlimited cloud DVR storage, but make sure you're not nearing your limit with other recordings.
- Schedule Recordings Ahead of Time: If you know you’ll be busy, don’t wait until the last minute to record your shows. Take a few minutes each week to schedule recordings for upcoming events. This prevents any last-minute surprises!
- Clear Out Old Recordings: Regularly review your library and delete any shows or movies you no longer need. This keeps your recordings organized and your storage optimized.
- Adjust Recording Settings: You can set specific preferences for your recordings, such as choosing to record all episodes of a series, just the new ones, or even setting expiration dates for how long they’ll be saved.
- Watch in HD: If available, make sure you’re watching in High Definition. This improves the quality of the recording. YouTube TV automatically records in the highest quality available, but confirming your settings can enhance your experience.
By keeping these tips in mind, you can ensure that your YouTube TV recordings are streamlined and that you'll never miss a moment of your beloved content!
Conclusion
To sum it all up, YouTube TV offers a fantastic and user-friendly platform to record your favorite shows and movies. With its unlimited cloud DVR feature, you can capture content without worrying about running out of space. Plus, with smart scheduling and recording options, you have the flexibility to watch what you want when you want.
Always remember to:
- Monitor your storage and clear out old recordings.
- Utilize the scheduling feature to take control of your viewing experience.
- Customize your recording settings to suit your preferences.
In a world where we’re often busy and sometimes miss our favorite shows, knowing how to effectively record and save content can be incredibly beneficial. So, take advantage of these tips and enjoy a library full of entertainment at your fingertips! Happy watching!
 admin
admin


