Putting
images on wood is an exciting way to create unique decor items for your home or office. This method allows you to transform ordinary wooden surfaces into personalized masterpieces. Whether it’s a family photo, a piece of art, or a motivational quote, transferring
images onto wood adds a special touch that can make any space feel more inviting.
Choosing the Right Wood for Your Project
Choosing the right type of wood is essential for a successful image transfer project. Different woods have different textures, colors, and finishes, which can all affect the final look of your decor. Here are some popular options to consider:
- Pine: Lightweight and easy to work with, pine is great for beginners.
- Birch: Known for its smooth surface, birch offers a clean backdrop for images.
- Maple: A bit denser, maple provides a sturdy option that enhances image quality.
- Oak: With its rich grain, oak adds a rustic charm to your decor.
When selecting wood, also think about the size and shape of your project. You want to ensure that the piece you choose complements the image you plan to use. Additionally, consider whether you want a natural finish or something painted or stained.
Preparing Your Image for Transfer onto Wood
Before you can transfer an image onto wood, you need to prepare it properly. Here are some key steps to follow:
- Select Your Image: Choose a high-resolution image for the best results. This could be a photograph, artwork, or a graphic design.
- Edit Your Image: Use editing software to adjust the size and brightness. Make sure the image looks good on your chosen wood type.
- Print the Image: Print your image on regular paper. For a better transfer, use laser printers as they produce sharper images compared to inkjet printers.
- Test the Image: Before the final transfer, do a test run on a scrap piece of wood to see how it looks and make any necessary adjustments.
By taking these steps, you set yourself up for a successful transfer and ensure that the final result looks professional and appealing.
Selecting the Best Transfer Method for Your Needs
When it comes to putting
images on wood, choosing the right transfer method is crucial. Different techniques yield different results, so it’s essential to pick one that aligns with your project goals and materials. Here are some popular methods to consider:
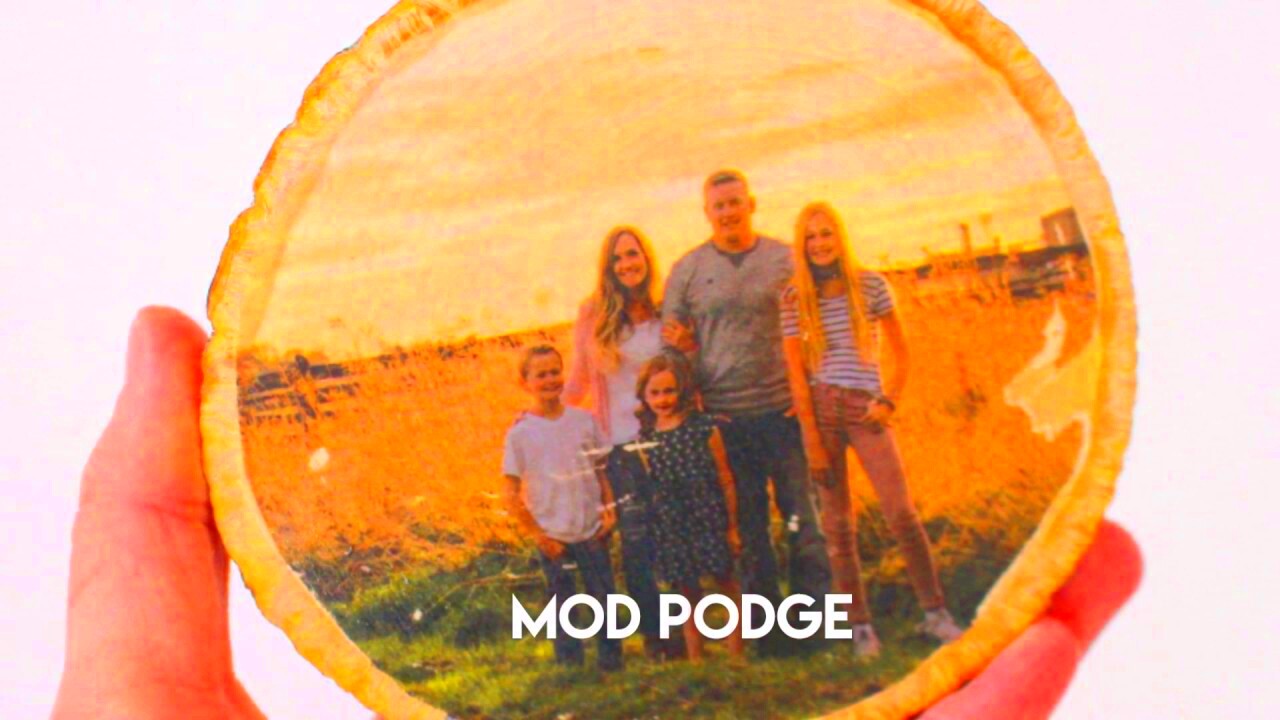
- Mod Podge Transfer: This method is user-friendly and perfect for beginners. It uses Mod Podge to adhere your image to the wood surface.
- Inkjet Transfer: Great for detailed images, this method involves printing on special transfer paper and then using heat to transfer the ink onto the wood.
- Gel Medium Transfer: This technique provides a more professional finish. You apply a gel medium to the wood and the printed image, allowing for a seamless transfer.
- Photo Transfer Paper: Using photo transfer paper is ideal for those looking for a quick and straightforward process. Simply print your image, cut it out, and apply it to the wood.
Each method has its pros and cons, so think about the complexity of your image, the desired look, and your comfort level with these techniques. Don't forget to test your chosen method on a small piece of wood before diving into your main project!
Step by Step Process of Transferring Images onto Wood
Now that you’ve chosen a transfer method, it’s time to get started! Here’s a step-by-step guide to help you through the process:
- Gather Your Materials: You’ll need your chosen wood, image, transfer medium (like Mod Podge or gel medium), a brush, and a sponge or cloth.
- Prepare the Wood: Sand the wood surface lightly to create a smooth base. Wipe it clean to remove dust.
- Apply the Transfer Medium: Using a brush, apply a generous layer of your chosen medium to the wood where the image will go.
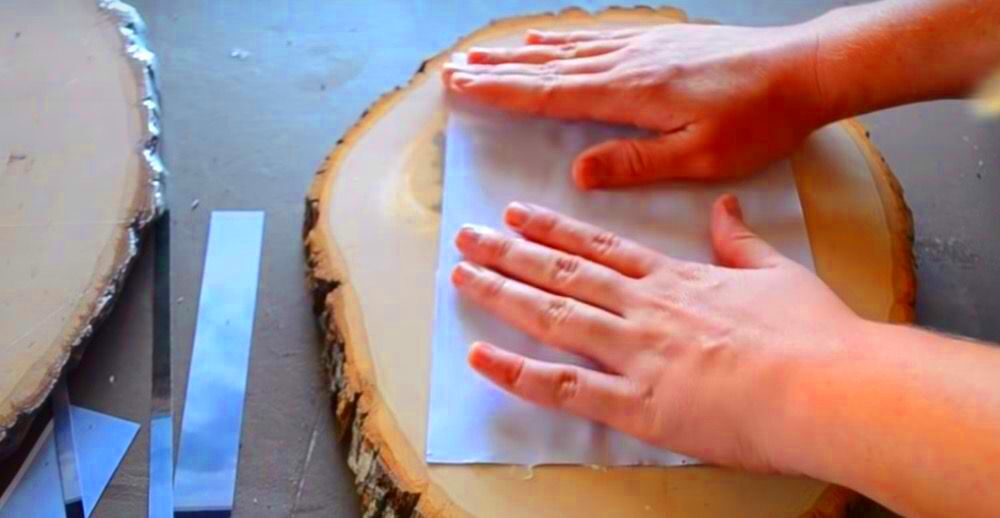
- Place the Image: Carefully position your printed image face down onto the medium-covered wood. Smooth out any bubbles or wrinkles.
- Let It Dry: Allow the transfer to dry completely, usually for a few hours or overnight.
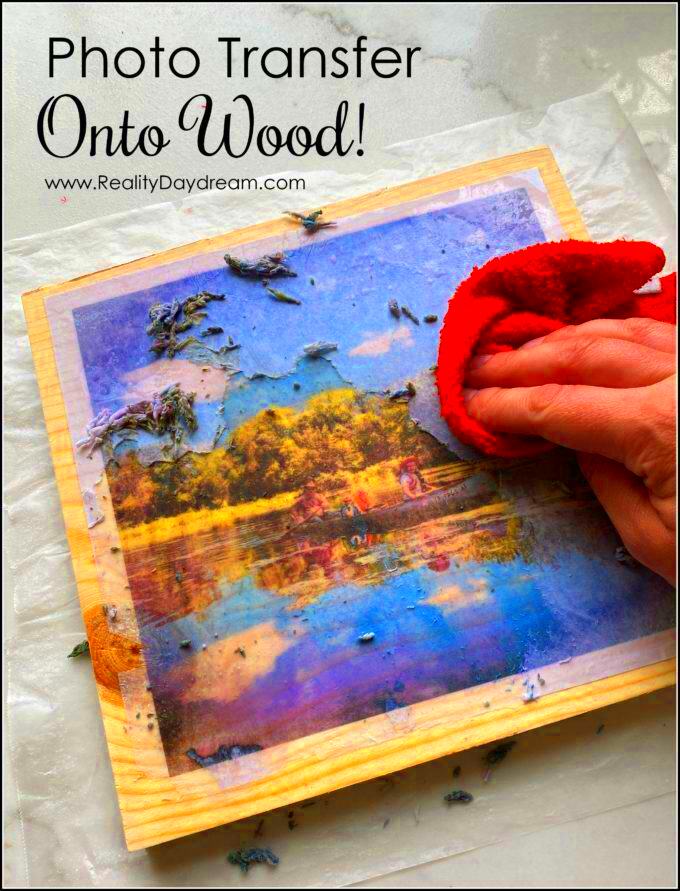
- Reveal the Image: Dampen the paper with a sponge and gently rub it off to reveal your image underneath. Be patient—this step takes time!
- Final Touches: After the image is revealed, apply a top coat of the medium for protection and shine.
Following these steps carefully will ensure your project turns out beautifully, giving your decor a personal touch.
Finishing Touches for a Polished Look
Once you’ve successfully transferred your image onto wood, the finishing touches can take your project to the next level. Here are some ideas to consider:
- Sealing the Image: To protect your image, apply a clear sealant or varnish. This will enhance the colors and provide durability.
- Adding a Frame: Consider framing your wood piece to give it a polished appearance. This also protects the edges and adds a decorative touch.
- Incorporating Additional Elements: You can embellish your piece with paint, wood stains, or additional decorations like twine or embellishments.
- Choosing the Right Display Method: Whether it’s hanging on the wall or standing on a shelf, think about how best to display your new decor piece.
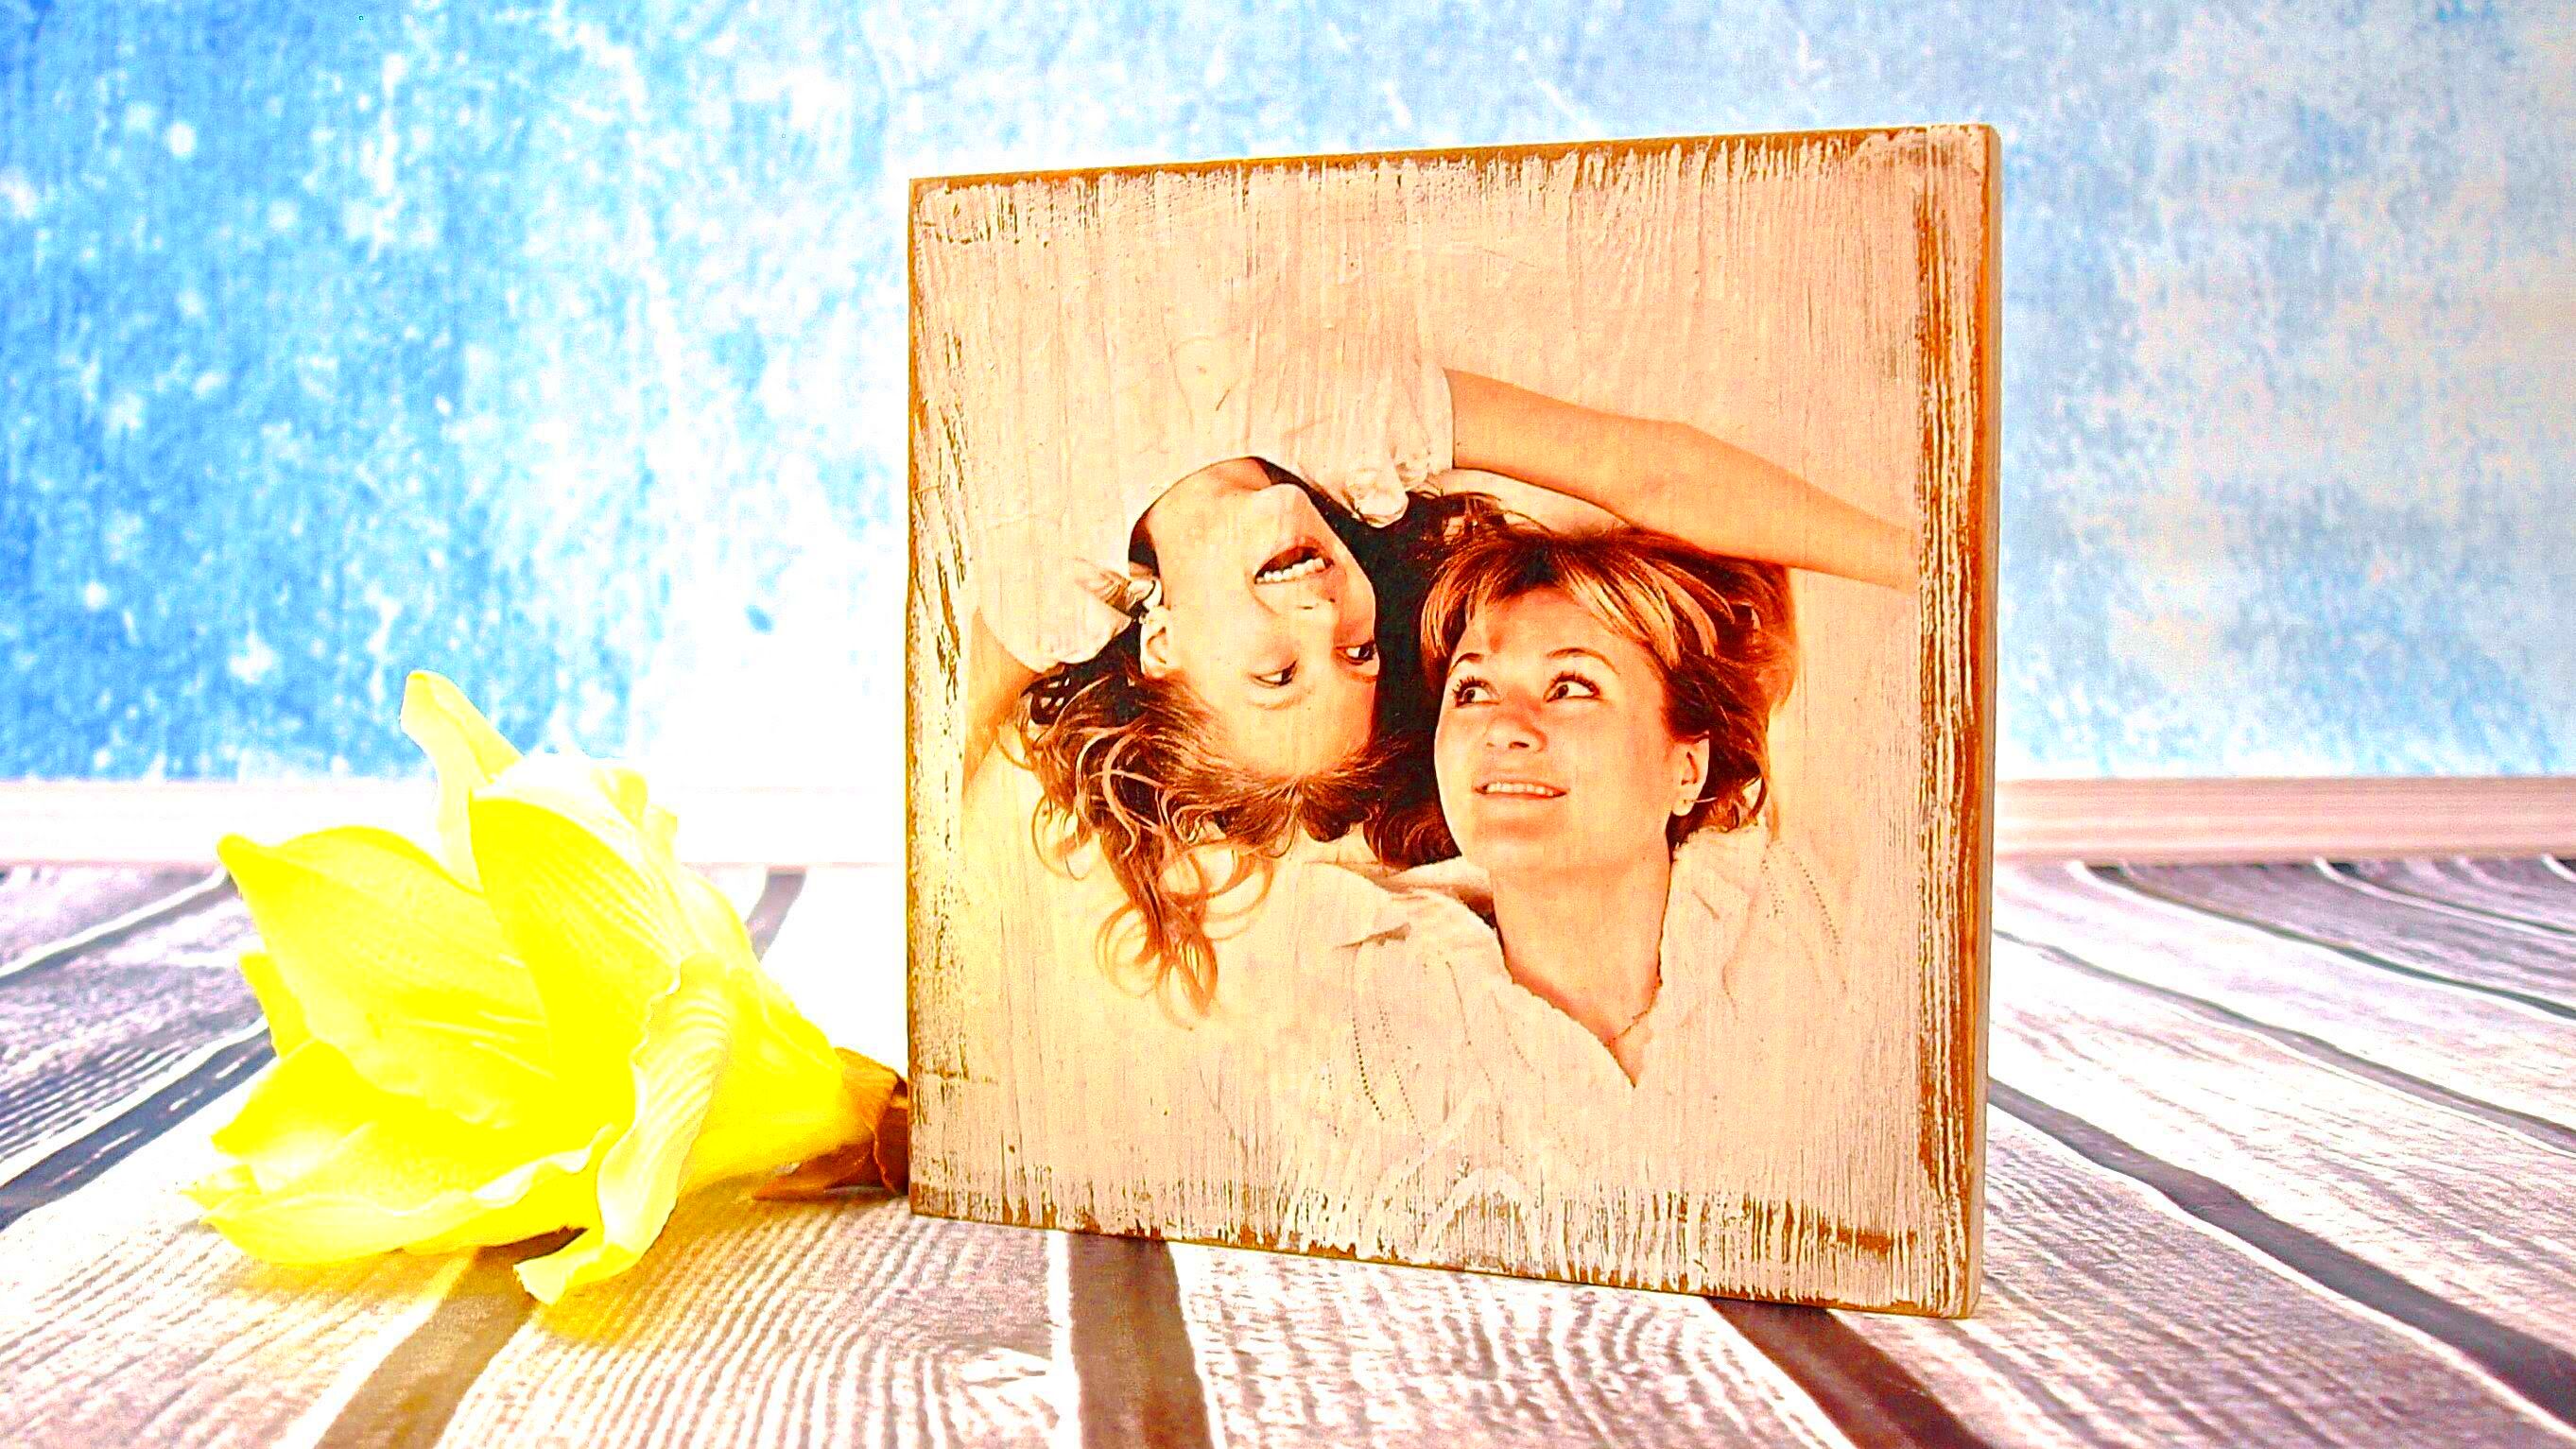
These finishing touches not only enhance the aesthetics of your project but also ensure that your image transfer lasts for years to come. With a bit of creativity, your wood decor can become a stunning focal point in any space!
Maintaining and Caring for Your Wood Decor
Once you’ve put in the effort to create beautiful wood decor with
images, it's important to take care of it so it lasts. Maintaining your wood decor doesn’t have to be complicated. Here are some practical tips to keep your creations looking fresh and vibrant:
- Dust Regularly: Use a soft cloth or a duster to remove dust. Regular cleaning helps prevent dirt buildup.
- Avoid Direct Sunlight: Keep your wood decor away from direct sunlight to prevent fading and discoloration of the image.
- Use Coasters: If your wood piece is used for functional purposes, like a tabletop, consider using coasters to avoid water rings.
- Limit Moisture Exposure: Avoid placing your decor in humid areas. If it gets wet, dry it off immediately with a soft cloth.
- Reapply Sealant: Depending on the finish used, reapply a clear sealant or varnish every few years to maintain the protective layer.
By following these simple maintenance tips, you can ensure that your wood decor remains beautiful and functional for years to come. Taking the time to care for your pieces will make all the difference in their longevity and appearance.
Frequently Asked Questions About Image Transfer on Wood
Many people have questions when it comes to transferring
images onto wood. Here are some frequently asked questions that might help you:
| Question | Answer |
|---|
| Can I use any type of image? | Yes, but high-resolution images work best for clarity. |
| What is the best transfer method for beginners? | The Mod Podge transfer method is simple and beginner-friendly. |
| How do I prevent my image from fading? | Keep your decor away from direct sunlight and reapply sealant as needed. |
| Can I use photos printed from an inkjet printer? | Yes, but using a laser printer often yields better results. |
| How long does the transfer process take? | The entire process can take a few hours, including drying time. |
These FAQs cover some common concerns and can help you feel more confident about your image transfer projects.
Conclusion on Creating Unique Wood Decor with Images
Creating unique wood decor with
images is a rewarding and enjoyable process. From selecting the right wood to choosing the perfect transfer method, each step allows you to express your creativity. Remember that patience is key; each phase of the project contributes to the final look and feel of your piece. With the right care and maintenance, your wood decor will not only enhance your space but also tell a personal story. So gather your materials and let your imagination run wild. Your beautiful wood creations are just a project away!
 admin
admin


