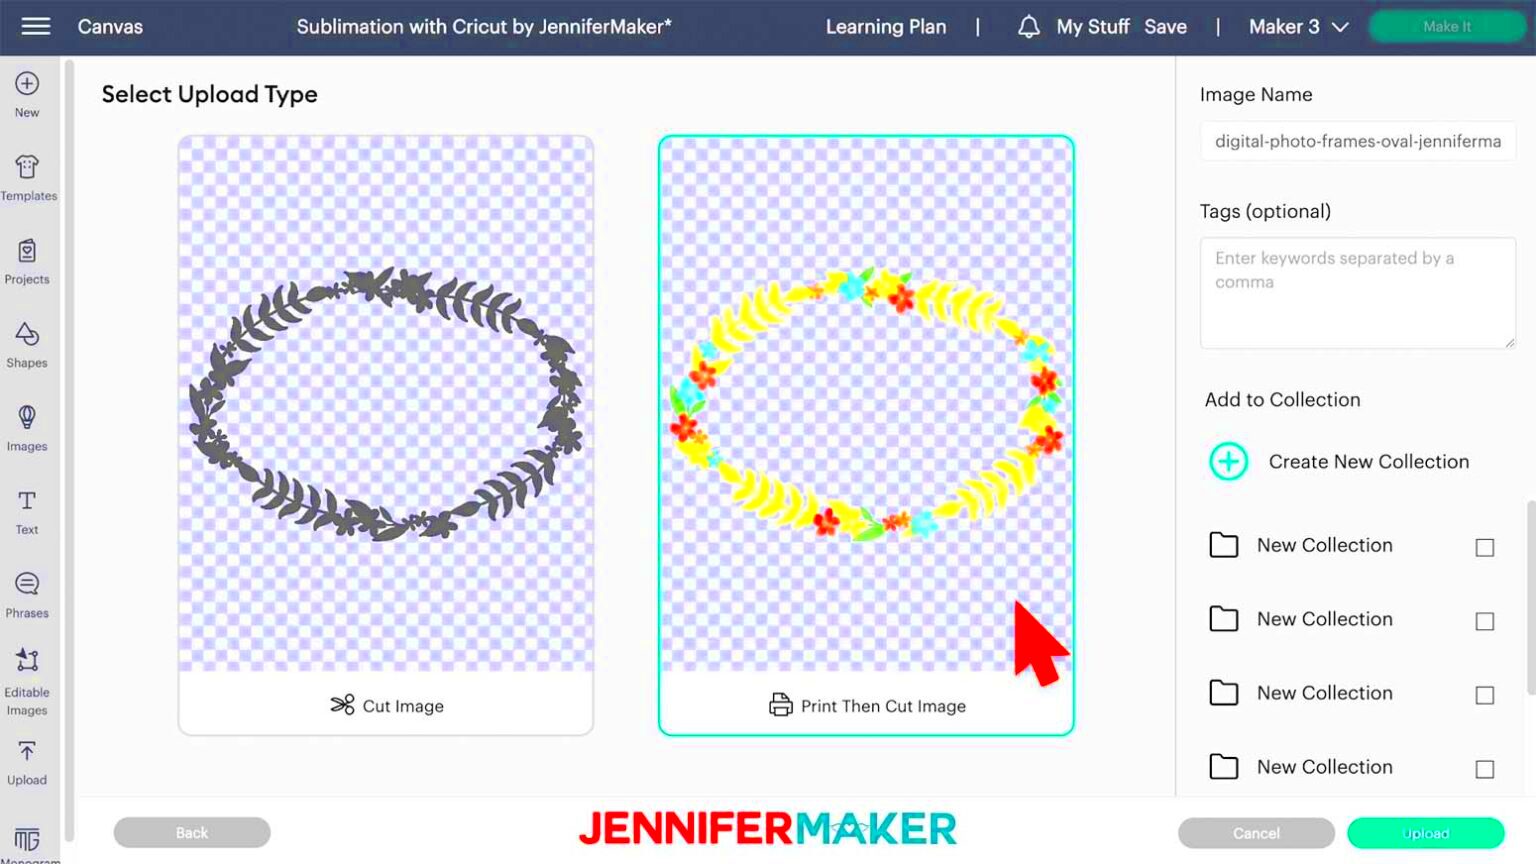
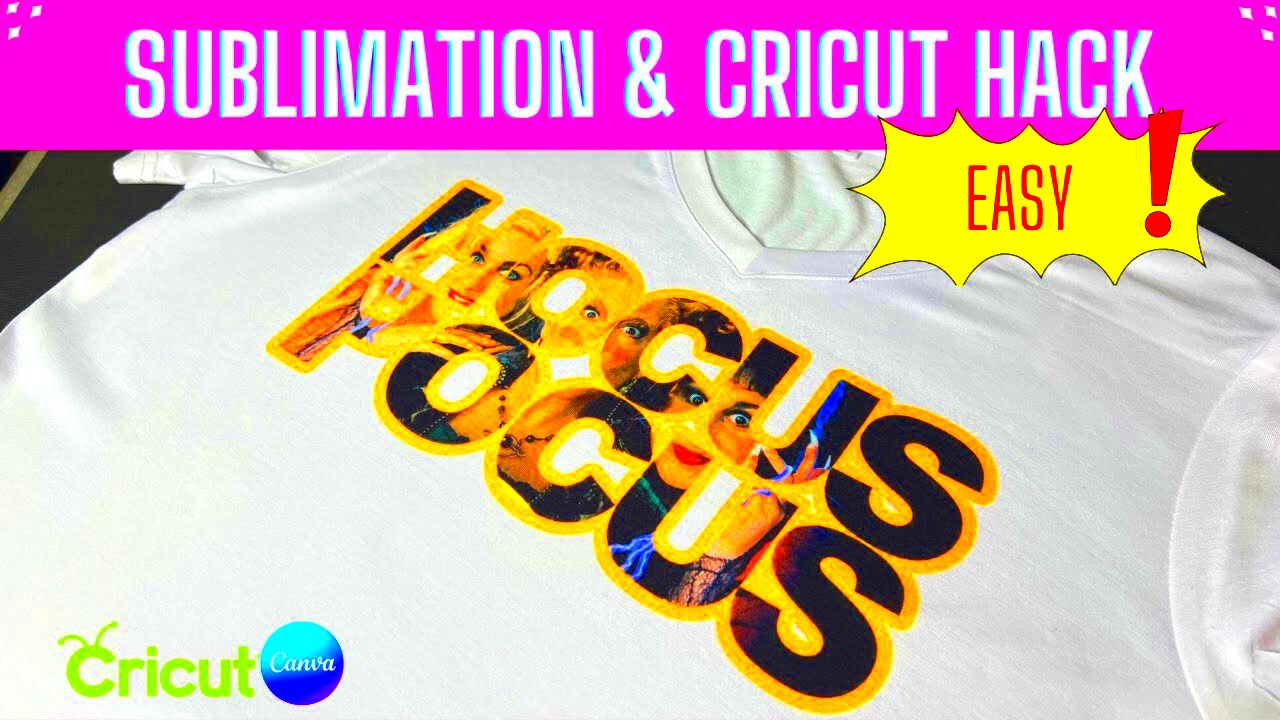
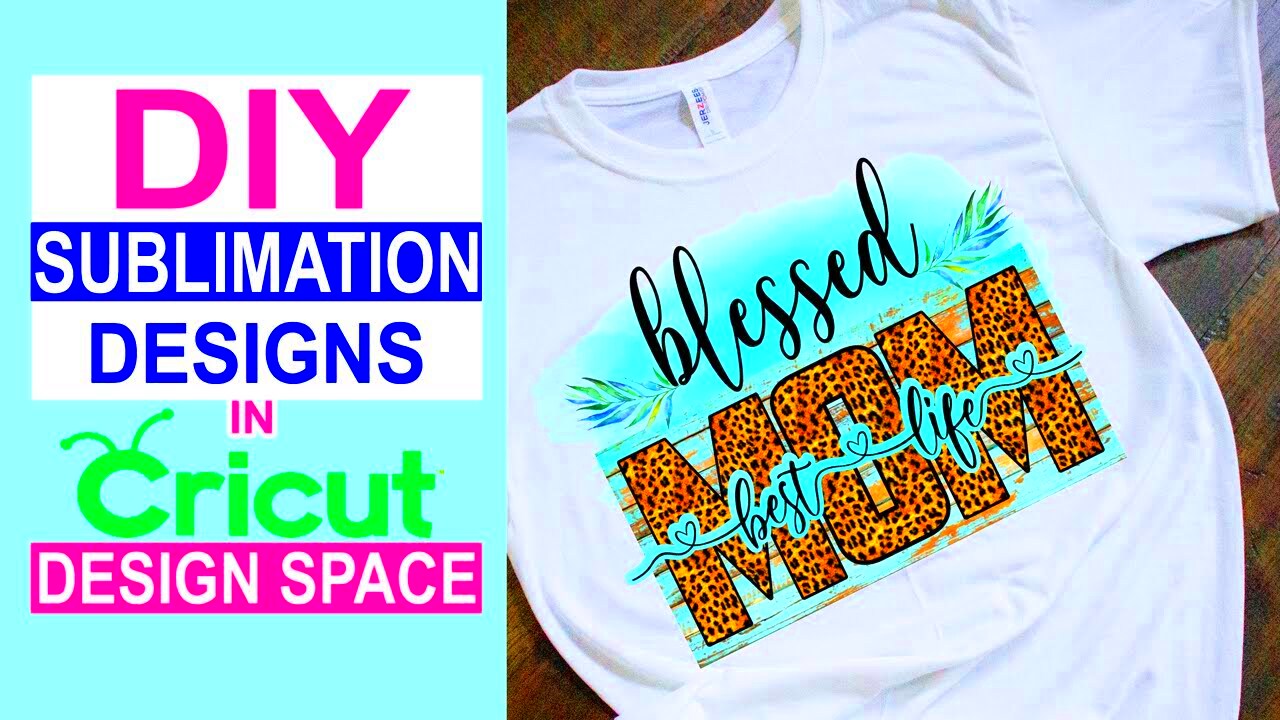
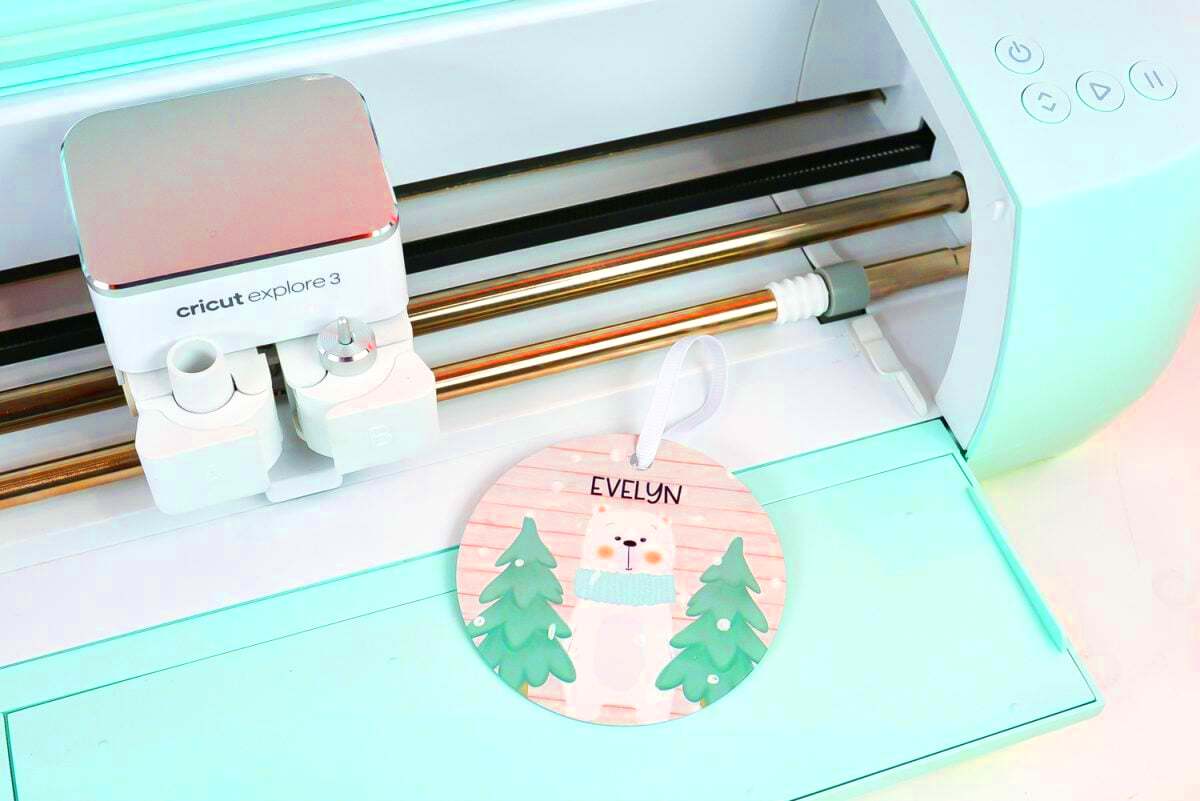
For Cricut users who enjoy crafting, the process of sublimation printing is an avenue of creativity that will surprise you. In sublimation, the dye is converted into a gas directly, so the fabric or material assimilates it and becomes a permanent design on it. However, unlike vinyl printing, sublimated prints are not only colorful but also durable since sublimation ink merges with the medium of printing.
Now this is the best way to make personalized items like T-shirts, cups and home decoration. But there are some specific tools and techniques needed especially when working with large designs. Let’s look at how you can use this method of sublimation printing in your Cricut projects as well as what you require for starters.
Choosing the Right Equipment for Large Sublimation Projects

To achieve high-quality outcomes for massive sublimation projects, having the appropriate machinery is crucial. In this regard, you will require:
- Sublimation Printer: A sublimation printer like the Sawgrass SG500 or Epson EcoTank is essential. These printers use special sublimation inks that bond with polyester materials.
- Sublimation Inks: These inks transform into gas under heat and are crucial for the sublimation process.
- Heat Press: A large heat press, preferably 15”x15” or larger, is necessary to evenly transfer your design to your material. A smaller heat press may not be sufficient for bigger designs.
- High-Quality Paper: Use sublimation paper to ensure that the ink transfers properly onto your material. Poor-quality paper can result in faded or blurry prints.
- Polyester-Based Materials: Sublimation only works on materials with a high polyester count, so keep that in mind when choosing blanks for your projects.
Choosing appropriate equipment ensures that your massive dye sublimation designs will be bright and long-lasting, hence justifying its exorbitant price!
Preparing Your Image for Sublimation Printing

In order to get the very best results when printing, it is necessary to prepare your image accordingly before you start printing. The following are ways through which you can prepare sublimation printing images:
- Design Size: Ensure your design size matches the size of the material you are printing on. You can use software like Adobe Illustrator, Cricut Design Space, or Photoshop to resize your images accurately.
- Image Resolution: For crisp, clear prints, use high-resolution images (at least 300 DPI). Low-resolution images may appear pixelated or blurry after printing.
- Color Correction: Sublimation colors often look dull before the heat is applied. To ensure accurate colors, use ICC color profiles provided by your printer or ink manufacturer.
- Mirror the Image: Always mirror your design before printing, especially when working with text. This ensures that the design transfers correctly onto your material.
So that your design can be printed onto the sublimation paper, ensure that you have selected the proper settings for your printer and ink. When the picture is well prepared, its colors are usually more vivid and images sharper than what you had imagined they would be.Once you have your design, print it on sublimation paper using the appropriate settings for your printer and ink. Properly preparing the image ensures that the end product is as sharp and vibrant as you imagine it to be.
How to Print Large Sublimation Images with Cricut

While printing large sublimation images with a Cricut machine may seem a little challenging at first, mastering it is really easy if you have appropriate steps. You can print wider designs on large t-shirts, blankets or wall art by sectioning them and utilizing your Cricut optimally. Here’s how to do it!
- Break Your Design into Sections: Cricut machines typically handle standard-sized materials, so for larger designs, divide your image into smaller parts using software like Cricut Design Space. Ensure that the sections align perfectly to create a seamless final design.
- Print Each Section on Sublimation Paper: After breaking the design into parts, print each section individually on sublimation paper using your sublimation printer. Remember to mirror each part before printing!
- Align the Sections on Your Material: Carefully position each section on your blank item, ensuring that the edges match. Use heat-resistant tape to secure the design, preventing it from shifting during the heat transfer process.
- Use a Large Heat Press: For large sublimation designs, use a heat press that can cover the entire area or press the design in stages, if needed. Apply even pressure and heat to transfer each part of the design seamlessly.
Vibrant, flawless large sublimation prints on your chosen materials can be created by breaking down your design and printing it piece by piece.
Common Mistakes and How to Avoid Them

Errors during sublimation printing may still occur whether you have experience or not. Some of the common mistakes made by Cricut users, as well as ways through which they can be avoided for better results are illustrated below:
- Not Using High-Quality Images: Low-resolution images often result in blurry prints. Always use images with at least 300 DPI to avoid pixelation.
- Forgetting to Mirror the Image: One of the most frequent mistakes is printing the design without mirroring it, which leads to reversed prints—especially problematic for text-based designs. Always check your settings before printing.
- Improper Heat Press Settings: Incorrect temperature or time settings can cause undercooked (faded) or overcooked (burnt) prints. Always follow the recommended settings based on your material and ink.
- Misalignment of Sections: For larger projects, aligning the design sections perfectly is crucial. Misalignment results in gaps or overlaps in your print. Take your time to place each section carefully on your blank.
- Not Preparing the Surface: Dust or moisture on the blank surface can affect the quality of the transfer. Make sure the material is clean and dry before starting the process.
To ensure you not having to encounter these failures, be ready to have a turbulent ride yet high-quality prints each and every time.
Best Practices for Achieving High-Quality Prints
For optimal outcomes in all sublimation endeavors it is crucial to abide by certain recommended procedures. To this end, these guiding principles will enable you produce exceptional quality and long-lasting prints:
- Choose the Right Materials: Sublimation works best on items with a high polyester content (at least 65% polyester for fabrics). For other surfaces like mugs or metal, make sure they are coated for sublimation.
- Use the Correct Paper: Always use sublimation-specific paper. Regular paper won’t transfer the ink properly, leading to dull or incomplete prints.
- Maintain Proper Printer Settings: Set your sublimation printer to the recommended print settings. Use ICC profiles for accurate color representation and high-quality images.
- Ensure Proper Pressure and Heat: Use the correct temperature (usually between 380°F to 400°F) and pressure settings on your heat press. Too much or too little pressure can affect the clarity of the print.
- Pre-Press the Material: Before applying your design, pre-press your fabric for a few seconds to remove moisture and wrinkles. This ensures a smooth and even print.
- Protect Your Heat Press: Use a Teflon sheet or parchment paper to protect your heat press from ink bleed, ensuring the ink doesn’t transfer back onto other projects.
By adhering to these optimum practices, you will be able to generate clear-cut, colorful, and hard-wearing prints on a regular basis using your Cricut and sublimation equipment.
FAQs About Sublimation Printing for Cricut Users
If you are new to sublimation printing especially using Cricut machine, it can be quite perplexing. To help you understand better, here are some of the most frequently asked questions:
- Can I use my regular inkjet printer for sublimation?
- What types of materials work with sublimation printing?
- Why does my printed design look faded?
- Do I need to mirror my design for sublimation?
- Can I sublimate onto dark fabrics?
- What is the ideal temperature for sublimation printing?
No, regular inkjet printers cannot handle sublimation ink. You need a dedicated sublimation printer or a converted inkjet printer that supports sublimation ink.
Sublimation works best on polyester-based fabrics and specially coated surfaces like sublimation blanks (mugs, metal, and ceramics). It does not work on cotton or other natural fabrics without a polyester coating.
This is normal before heat pressing. Sublimation inks look dull on paper, but once heat and pressure are applied, the colors become vibrant on the final product.
Yes, always mirror your image before printing, especially if the design contains text. This ensures the image transfers correctly onto your material during the heat press process.
Unfortunately, sublimation is best suited for white or light-colored materials. It does not show up well on dark fabrics because the ink is translucent and blends into darker colors.
The ideal temperature for sublimation printing is typically between 380°F to 400°F, depending on the material. Be sure to follow the recommended settings provided by the manufacturer of your blanks and heat press.
Conclusion: Mastering Large Sublimation Prints with Cricut
Sublimation printing gives Cricut users an excellent method for creating personalized and durable designs. If you have a grasp of the right image preparation, equipment selection and best practices, this will ensure that your prints are big yet high-quality and professional looking as well as long lasting. In no time at all, you’ll know how to perform large sublimation projects with poise and simplicity!

 admin
admin


