Printing large images on multiple pages can be tricky, but Canva makes the process a lot easier. Whether you’re creating a poster, banner, or any large visual, Canva offers tools that help you split the image into sections that fit on individual sheets of paper. This way, you can print your large image at home or at a print shop without worrying about having to resize or crop it manually. In this guide, we’ll walk through the steps to print large images on multiple pages, ensuring the result looks seamless when assembled.
Steps to Prepare Your Image for Printing

Before you can print your large image on multiple pages, you need to ensure that it's properly prepared. Follow these simple steps:
- Choose the Right Dimensions: Start by selecting the appropriate dimensions for your image. If you're printing a large image, ensure it fits within the paper size you're using (e.g., A4 or letter size).
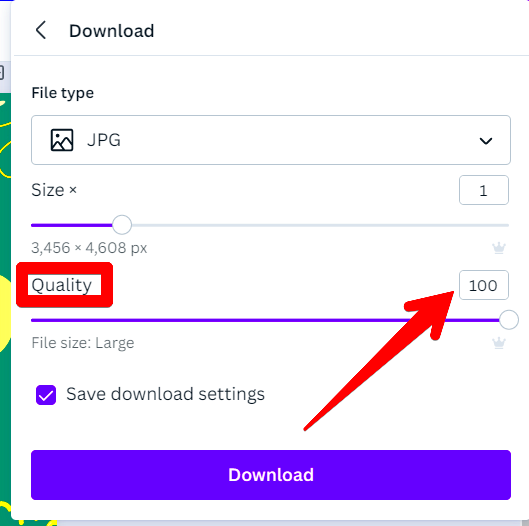
- Set the Resolution: Make sure your image has a high resolution for a crisp, clear print. Canva allows you to set the resolution before downloading the image, so you can be confident it will print well.
- Crop or Adjust the Image: If your image needs cropping or adjusting, do so in Canva. Ensure the focus of the image stays in the center to prevent losing any important details.
- Save the Image: After adjusting, save the image in a high-quality format such as PNG or PDF to maintain its quality during printing.
By following these steps, you'll set up your image perfectly for printing without losing any quality or important details.
Also Read This: Enhance Your YouTube Shorts with Creative Effects
How to Split the Image for Multiple Pages in Canva

Once your image is ready, it’s time to split it into sections that will print across multiple pages. Here's how you can do it in Canva:
- Use Canva's Grid Feature: Canva allows you to use a grid layout to divide your image into equal sections. You can select a grid and adjust it to match the number of pages you need.
- Create a Custom Canvas: If the grid feature doesn’t work for you, create a custom canvas. Choose a larger canvas size to match the dimensions of your image when it's printed in multiple sections.
- Download in Segments: Once your design is ready, download each section individually. Download each part of the image as a separate file, ensuring each part fits the paper size.
- Use the “Tile” Method: Canva doesn't have a built-in tiling option, but you can manually create multiple designs for each section of the image. Create new pages and position the different parts of the image on each one.
After following these steps, you’ll have all the image segments saved and ready to print. Just make sure they are aligned properly when you print them for the best results!
Also Read This: How to Train Your Dragon Toothless Images
Using Canva’s Grid to Print Large Images on Multiple Pages

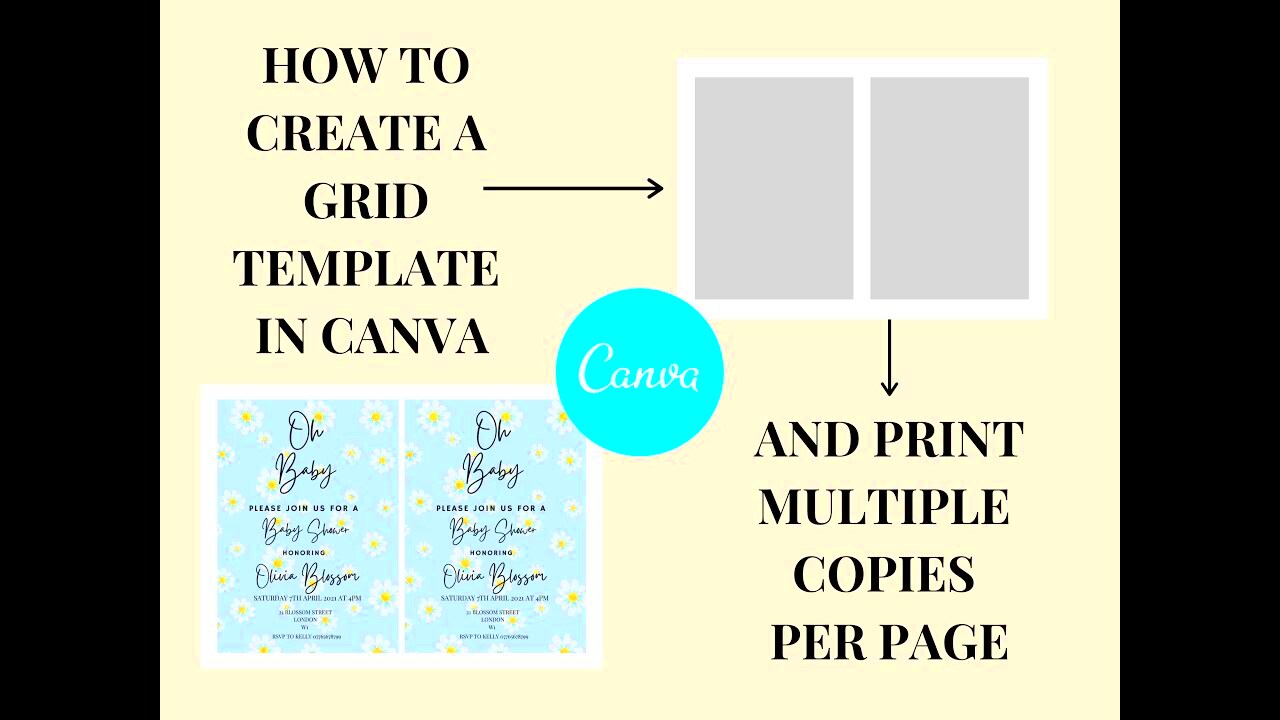
Canva's grid feature is an excellent tool for breaking down large images into multiple sections. This feature makes it easier to visualize how your image will be split and ensures everything aligns properly when you print and assemble the pieces. Here's how you can use Canva's grid system:
- Enable Grids in Canva: Start by opening your design in Canva. Click on the "Elements" tab and search for "grid." Select a grid with the number of sections you want for your image. For instance, a 2x2 grid will divide your image into four parts.
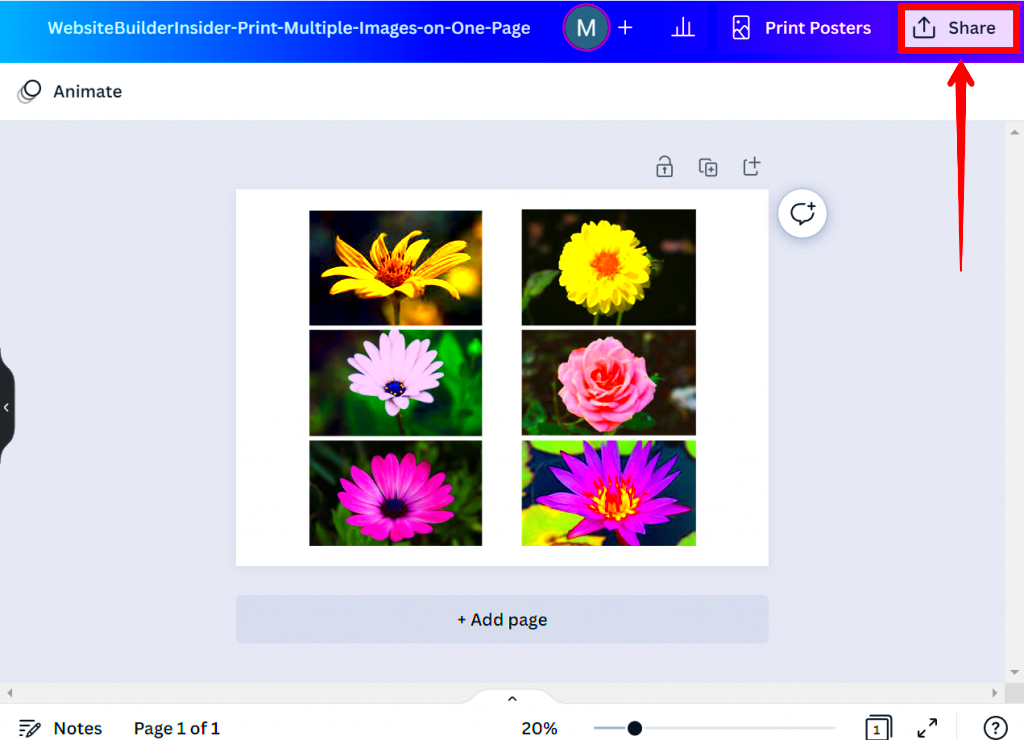
- Adjust Your Image in the Grid: Drag and drop your large image into the grid. Canva will automatically place the image within each section of the grid. If the image doesn’t fit perfectly, you can adjust the grid size or crop the image to fit.
- Customize Each Grid Section: If you want to get more specific, you can adjust the image inside each grid section. Ensure important parts of the image aren’t cut off or placed in a way that could confuse the assembly process.
- Use Multiple Grids if Necessary: If your design is too large for a single grid, simply create more grids or additional pages. Canva allows you to use multiple grids across different pages for seamless printing.
Once you’ve set up your grid, it will be much easier to print your image in sections, ensuring that the parts fit together perfectly when assembled.
Also Read This: Step-by-Step Guide to Sketching a Face
Choosing the Right Paper Size and Layout
When printing large images across multiple pages, selecting the right paper size and layout is crucial to ensure the pieces fit together properly. Here are some key factors to consider:
- Determine the Final Size: Before selecting a paper size, decide on the final dimensions of your image. Are you printing a poster, banner, or another large print? This will help you decide the paper size.
- Select an Appropriate Paper Size: Common paper sizes include A4, A3, or larger formats like tabloid or ledger. Ensure the paper size you choose accommodates your design. You can also select custom sizes based on your needs.
- Use Landscape or Portrait Orientation: Depending on the aspect ratio of your image, choose between landscape or portrait orientation. Landscape might work better for wide designs, while portrait suits vertical layouts.
- Consider Margins and Bleed: If your design extends to the edges of the paper, be sure to set up bleed areas to avoid cutting off any important elements during printing. Canva allows you to add bleed areas during design setup.
- Check Printer Settings: Ensure your printer is set to print at the correct paper size and orientation. You can usually adjust this in the print settings before printing your sections.
By selecting the right paper size and layout, you ensure that your large image will print correctly and that the sections will line up properly when assembled.
Also Read This: Creating a Comprehensive LinkedIn Article Publishing Guide
Printing Your Image in Sections
After preparing your large image and setting up the right paper size, it’s time to print the image in sections. Here’s a guide to make sure your print job goes smoothly:
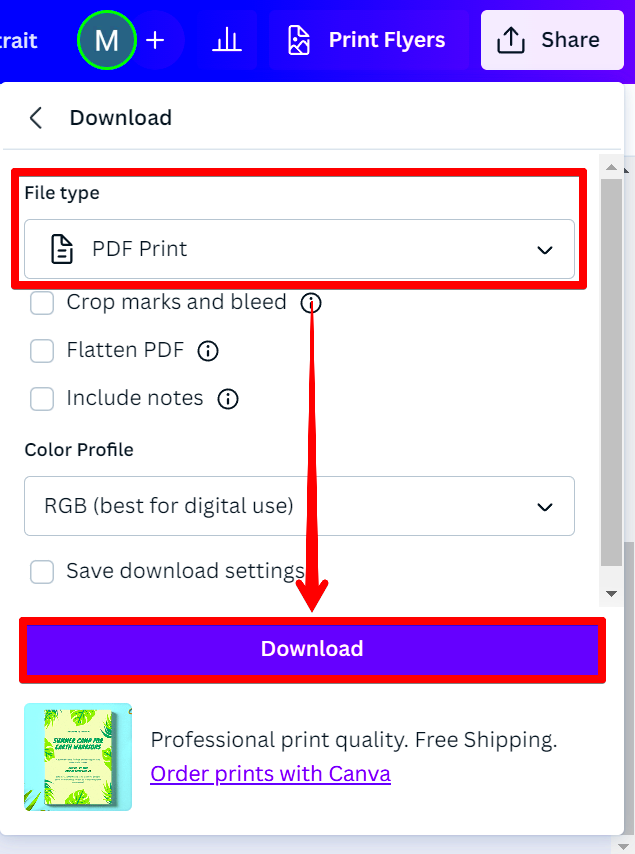
- Download Your Design as a PDF or PNG: Once your image is ready and split across multiple pages, download each page as a PDF or PNG. Make sure to choose high resolution for clear prints.
- Check Print Settings: Before printing, double-check your printer settings. Make sure the correct paper size and orientation are selected. Also, ensure that any bleed areas or margins are correctly set up to avoid cutting off the design.
- Print Each Section: Start printing each page of the design one by one. Ensure you don’t skip any pages, as each one will contain a portion of the overall image.
- Ensure Proper Alignment: After printing, arrange the pages in order to ensure the image aligns perfectly. You might need to trim some edges slightly for a better fit.
- Assemble the Printed Pages: Carefully align each section and tape or glue them together. Pay attention to the overlapping areas to ensure a smooth transition between pages.
By following these steps, you can successfully print your large image across multiple pages and assemble it into a large, seamless print. Just remember to take your time and double-check each section before printing for the best results.
Also Read This: Using iStock Photos Legally on Facebook
Tips for Aligning and Assembling the Printed Pages
After printing each section of your large image, it’s essential to align and assemble them carefully to create a seamless final product. Here are some practical tips to make the process easier and more precise:
- Organize the Printed Pages: Lay out all the printed pages in the correct order before you start assembling. You can number the pages in the corner as a reminder of the order, especially if you’re working with a complex design.
- Leave Extra Space for Alignment: When setting up the grids in Canva, allow for a small overlap on each page to help align the sections when assembling them. This overlap makes it easier to match edges and align patterns or images that span across multiple pages.
- Use a Flat Surface: Always work on a flat surface to avoid warping the paper or misaligning the edges while gluing or taping the pages together. A large table or the floor works best.
- Use Ruler and Level: A ruler and level can help ensure that your lines are straight and that the image stays aligned as you assemble it. This is particularly important for designs with borders or symmetrical elements.
- Trim Excess Paper: If your printer has left unwanted margins or edges, carefully trim them with a paper cutter or scissors to ensure a clean fit. Trim each page consistently to avoid size discrepancies.
- Secure with Tape or Glue: When attaching the pages, use tape or glue that won’t leave a sticky residue. It’s best to tape the edges or corners to avoid distorting the image.
With these tips, you’ll be able to align and assemble your printed pages accurately, ensuring a smooth and professional-looking large print.
Also Read This: Easy Crafting Tutorial to Make Decorations Out of Tissue Paper
Frequently Asked Questions
Here are some common questions and answers related to printing large images on multiple pages in Canva:
- Can I print a large image in Canva directly? Unfortunately, Canva doesn’t offer a direct feature to print large images across multiple pages. However, you can split the image manually by using grids or cropping the design into sections.
- What is the best resolution for printing large images? For the best quality, your image should have a resolution of at least 300 DPI (dots per inch) to ensure it doesn’t appear pixelated when printed at a large size.
- How do I ensure the printed pages align correctly? The key to proper alignment is overlapping the sections slightly when creating your design in Canva. Also, using a flat surface, ruler, and level when assembling will ensure everything lines up neatly.
- Can I use any type of paper for printing large images? You can use various types of paper, but it’s important to choose one that suits your design. For larger prints, consider using thicker paper or matte photo paper for a professional look.
- Do I need a special printer for large images? While most standard printers can handle common paper sizes like A4 or A3, you may need a wide-format printer for larger designs. Alternatively, you can print in sections on a regular printer and then assemble them.
Conclusion
Printing large images on multiple pages in Canva may seem challenging at first, but with the right preparation and attention to detail, the process becomes straightforward. By using Canva’s grid tool, selecting the proper paper size and layout, and following a step-by-step approach to printing and assembling, you can create impressive large-format prints from home. Don’t forget to align your sections carefully and use quality materials for the best results. With patience and practice, you’ll have a stunning large image that looks professional and well-crafted.

 admin
admin


