Printing large images can transform your space and make a bold statement. Whether you want to create stunning wall art or impactful presentations, understanding how to print images effectively is essential. This process allows you to showcase details that might otherwise go unnoticed. In this guide, we'll explore everything you need to know about printing large
Understanding Image Sizes and Formats

When printing large images, knowing the difference between image sizes and formats is crucial. Here are some key points to consider:
- Image Resolution: Measured in pixels per inch (PPI), resolution affects clarity. Higher resolutions yield sharper images.
- Image Dimensions: The physical size of your image influences how it looks when printed. Common large formats include 24x36 inches or 36x48 inches.
- File Formats: Use formats like JPEG, TIFF, or PNG. TIFF is preferred for high-quality prints, while JPEG is good for smaller file sizes.
To ensure the best results, always start with a high-resolution image. A lower resolution can lead to pixelation when enlarged.
Also Read This: How to Project an Image on a Wall Without Using a Projector
Choosing the Right Printer for Large Images

Selecting the right printer is vital for achieving great results. Here are factors to consider:
- Printer Type: Consider inkjet or wide-format printers. Inkjet printers are versatile, while wide-format printers handle larger paper sizes.
- Ink Quality: Look for printers with pigment-based inks for durability and vibrancy. Dye-based inks are typically less expensive but may fade faster.
- Paper Compatibility: Make sure the printer supports the type of paper you plan to use, such as canvas, photo paper, or fine art paper.
- Print Speed: If you're printing multiple images, consider a printer with a good print speed without compromising quality.
Investing in a quality printer tailored to your needs can significantly enhance your printing experience and final results.
Also Read This: A Complete Guide on Locating and Downloading Dailymotion Videos
Preparing Your Image for Printing

Preparing your image for printing is an important step that ensures your final product looks fantastic. This process involves several key actions that will enhance the quality of your print. First, start by selecting the right image resolution. Aim for at least 300 PPI for clear prints. Next, adjust the image dimensions to fit your desired print size. You may need to crop or resize the image to maintain the aspect ratio.
Here are some additional tips for preparation:
- Color Mode: Use CMYK color mode instead of RGB for printing. CMYK better represents how colors appear on paper.
- Check for Bleed: Add a bleed area around your image, typically 0.125 inches. This ensures no white edges appear after trimming.
- Sharpen the Image: Use sharpening tools in your editing software to enhance details before printing.
- Save in the Right Format: Save your final image as a TIFF or high-quality JPEG to preserve quality.
Taking the time to prepare your image properly will result in a more vibrant and professional-looking print.
Also Read This: how much is adobe stock with student subscription
Using Software for Multi-Page Printing
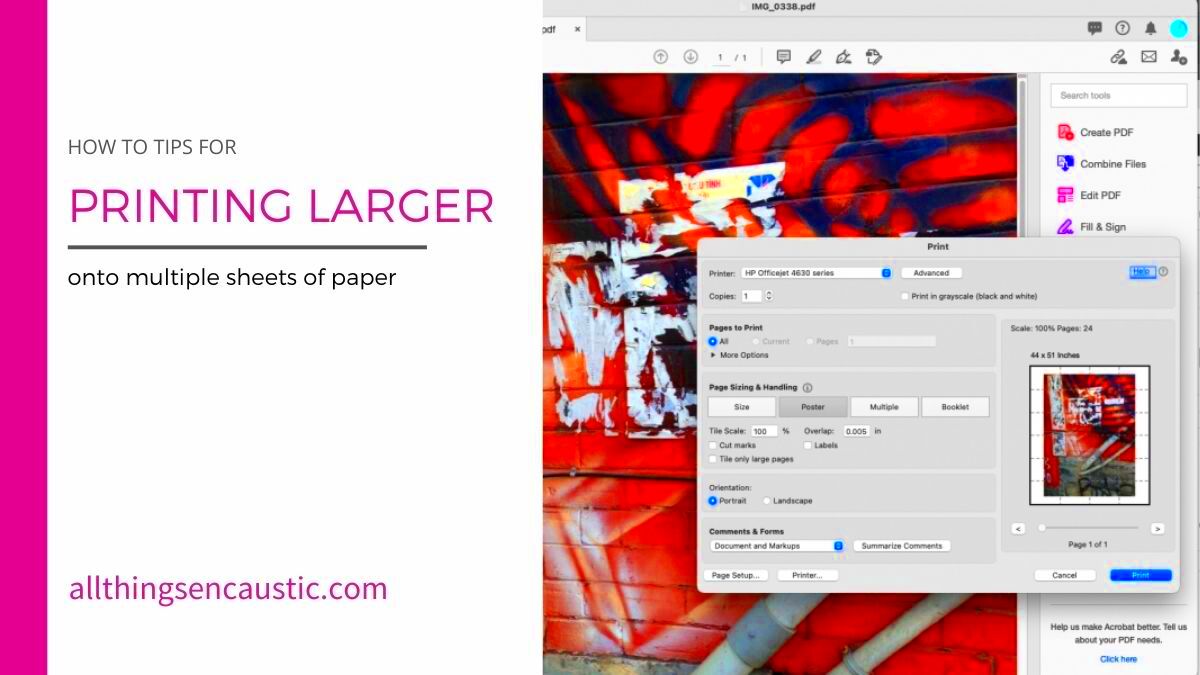
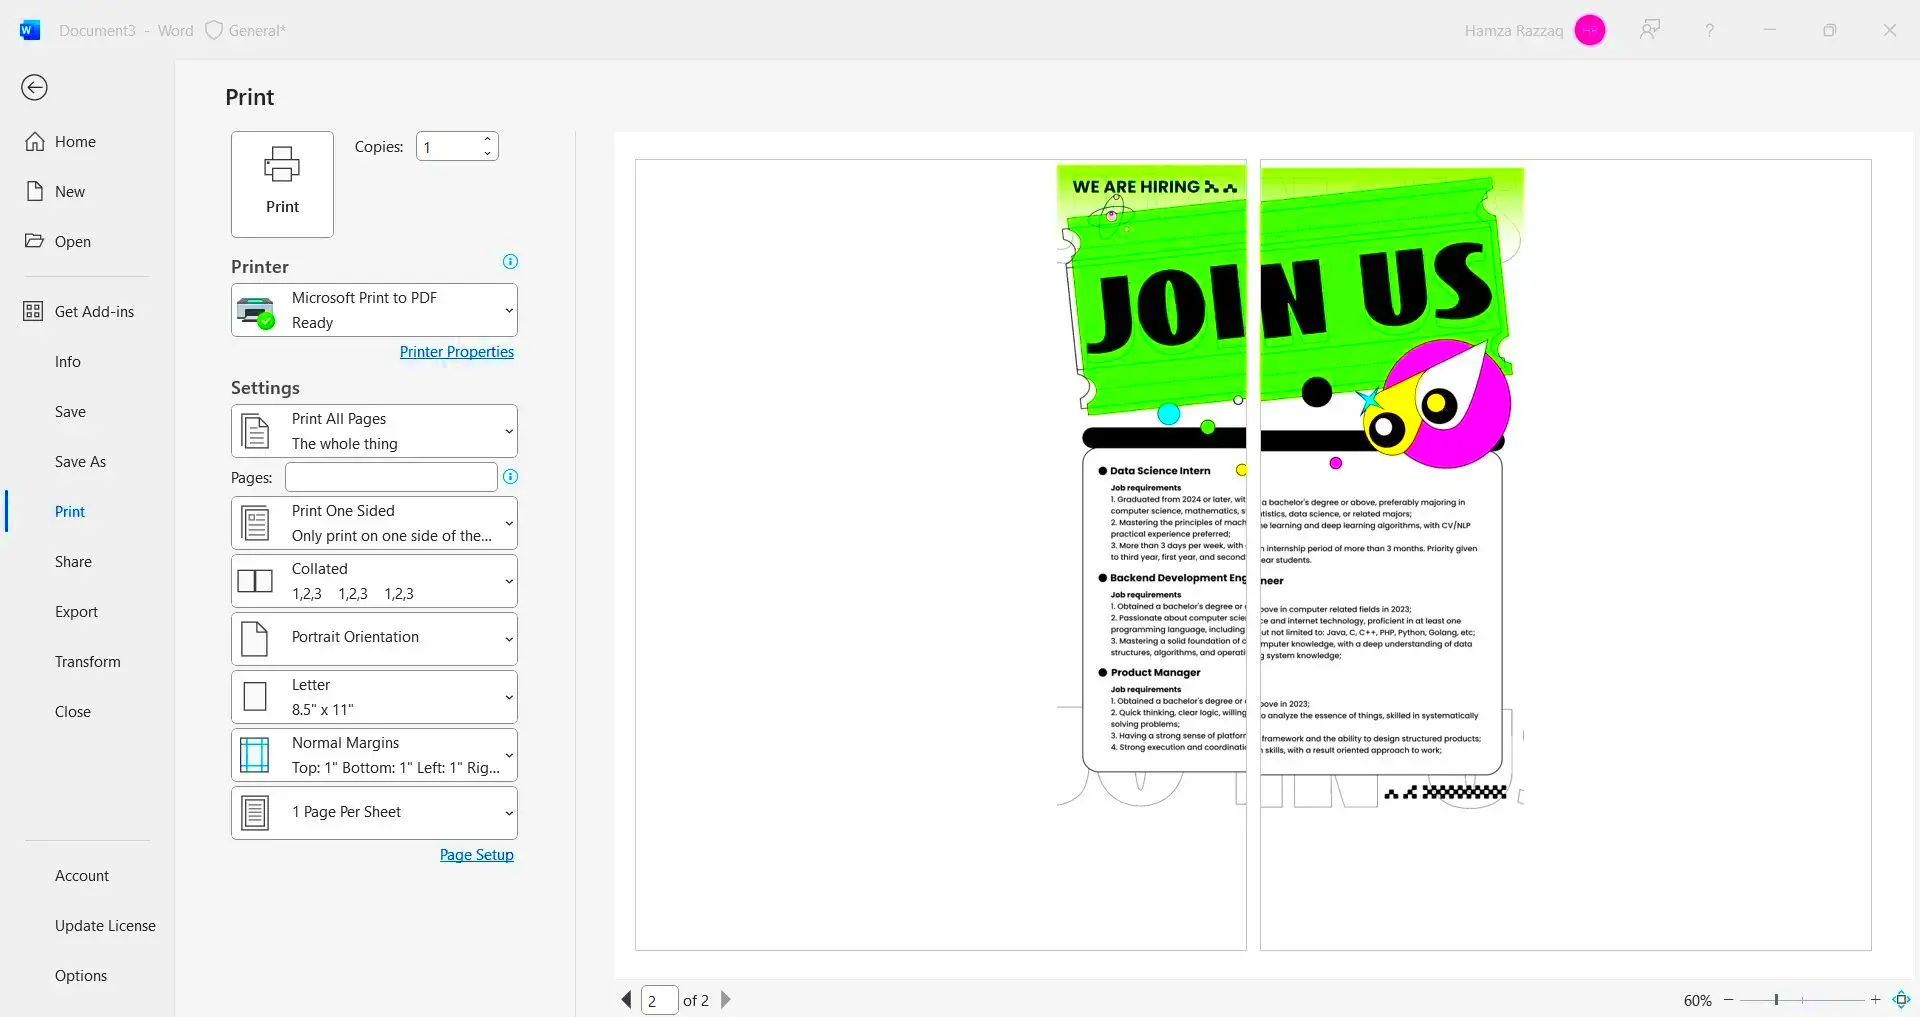
Using the right software for multi-page printing can simplify the process of printing large images across several pages. Various programs are available that help you split an image into manageable sections for printing. Here’s what you need to know:
- Popular Software Options:
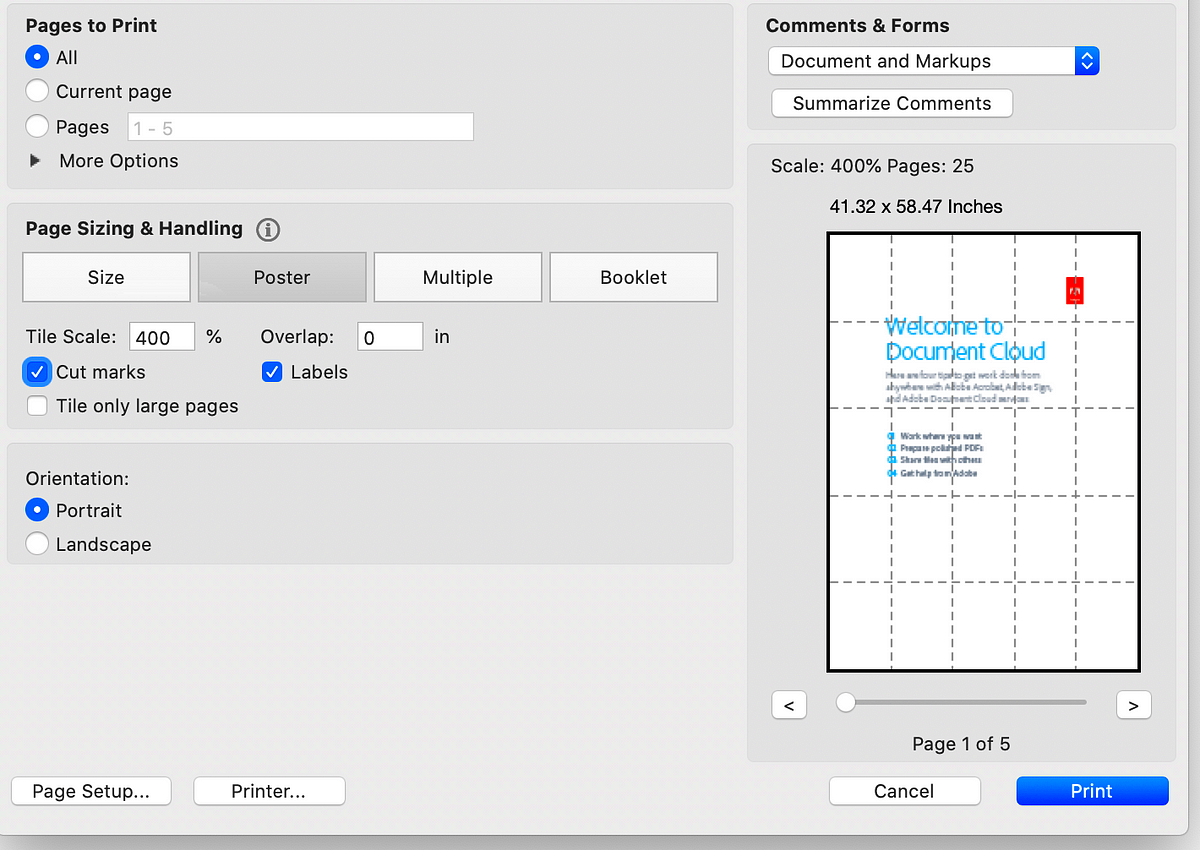
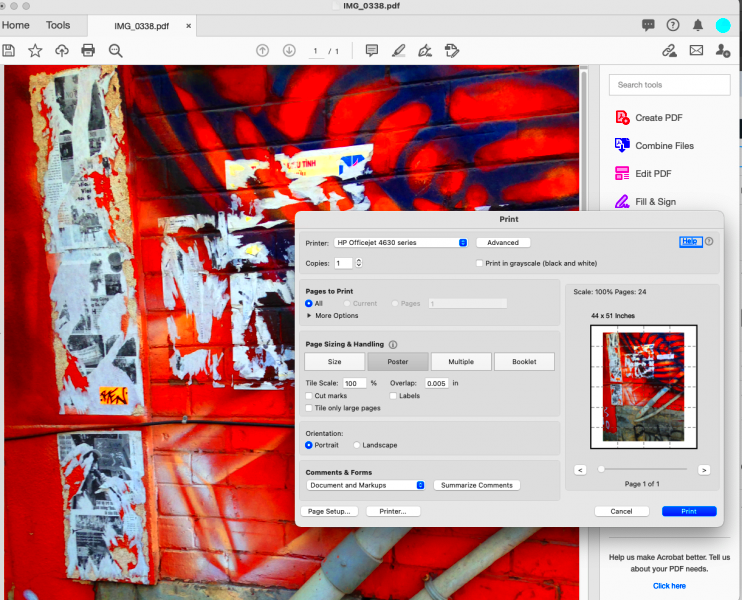
- Adobe Acrobat: Excellent for PDFs and can tile large images easily.
- Microsoft Publisher: Good for designing layouts with image placement.
- ImageMagick: A powerful command-line tool for advanced users.
- Posteriza: A user-friendly option specifically for poster printing.
- Tiling Options: Most software allows you to adjust settings for overlap and margins, helping create a seamless image.
- Preview Feature: Always use the preview feature to ensure your image sections align properly before printing.
Choosing the right software not only saves time but also helps you achieve a polished final product.
Also Read This: Ultimate Beginner’s Guide to Painting with Poster Colors Using Dailymotion Videos
Step-by-Step Guide to Printing Across Multiple Pages
Printing across multiple pages may seem daunting, but with a clear step-by-step guide, you can tackle it with confidence. Follow these steps for a successful print:
- Prepare Your Image: Make sure your image is high-resolution and set up in the correct format.
- Select Your Software: Choose the software that best suits your needs for splitting the image.
- Import the Image: Open your image in the chosen software and select the option to tile or split the image into sections.
- Adjust Settings: Set the print dimensions, margins, and overlap as needed. Check the preview to ensure everything looks correct.
- Print Test Page: Print a test page to confirm the alignment and quality before doing the final print.
- Print the Full Image: Once satisfied with the test, print all sections. Make sure to keep track of the order of pages.
- Trim and Assemble: After printing, carefully trim the edges where necessary and assemble the pieces to create your large image.
By following these steps, you can achieve a stunning large print that is sure to impress!
Also Read This: Picture Perfect: Mastering the Art of Taking Good Photos for eBay
Common Challenges and How to Solve Them
When printing large images across multiple pages, you may face several challenges. Knowing these issues ahead of time can help you prepare and find solutions quickly. Here are some common challenges along with their solutions:
- Image Pixelation: If the image resolution is too low, it can appear pixelated when printed.
- Solution: Always start with high-resolution images (300 PPI or higher).
- Alignment Issues: Sometimes, sections may not line up perfectly, creating visible seams.
- Solution: Use software with a good tiling feature and check the alignment in the preview mode before printing.
- Inconsistent Colors: Colors can look different when printed than on your screen.
- Solution: Use the CMYK color mode for printing and ensure your printer is calibrated properly.
- Paper Jam: Printing on larger paper sizes can sometimes lead to jams or misfeeds.
- Solution: Ensure the paper is loaded correctly and is compatible with your printer.
By being aware of these challenges and how to address them, you can achieve a smooth printing process and stunning results.
Also Read This: How to Embed a PDF for Behance Projects
FAQ
Here are some frequently asked questions about printing large images across multiple pages:
- What is the best image size for printing large images?
The best image size is one with at least 300 PPI. This ensures clarity and detail in your print.
- Can I use a regular printer for large images?
Yes, but for the best results, consider using a wide-format printer designed for larger paper sizes.
- What software is recommended for multi-page printing?
Popular options include Adobe Acrobat, Microsoft Publisher, and Posteriza, among others.
- How do I avoid color discrepancies between my screen and print?
Use CMYK color mode and calibrate your printer to achieve more accurate colors.
Conclusion
Printing large images across multiple pages can be an exciting project that allows you to create stunning visual displays. By understanding image preparation, choosing the right printer, and effectively using software, you can overcome common challenges and achieve impressive results. Remember to keep a close eye on resolution and color settings, and don't hesitate to troubleshoot any issues that arise. With the right approach, you can turn your large images into captivating prints that enhance your space or impress your audience. Happy printing!

 admin
admin


