Printing edible images is a fun and creative way to add a personal touch to your baked goods. This technique allows you to turn ordinary cakes, cupcakes, and cookies into beautiful works of art. Whether you want to celebrate a birthday, anniversary, or any special occasion, edible images can make your treats stand out. With the right tools and techniques, you can easily print
Choosing the Right Printer for Edible Images

Choosing the right printer is crucial for achieving the best results when printing edible images. Here are some key factors to consider:
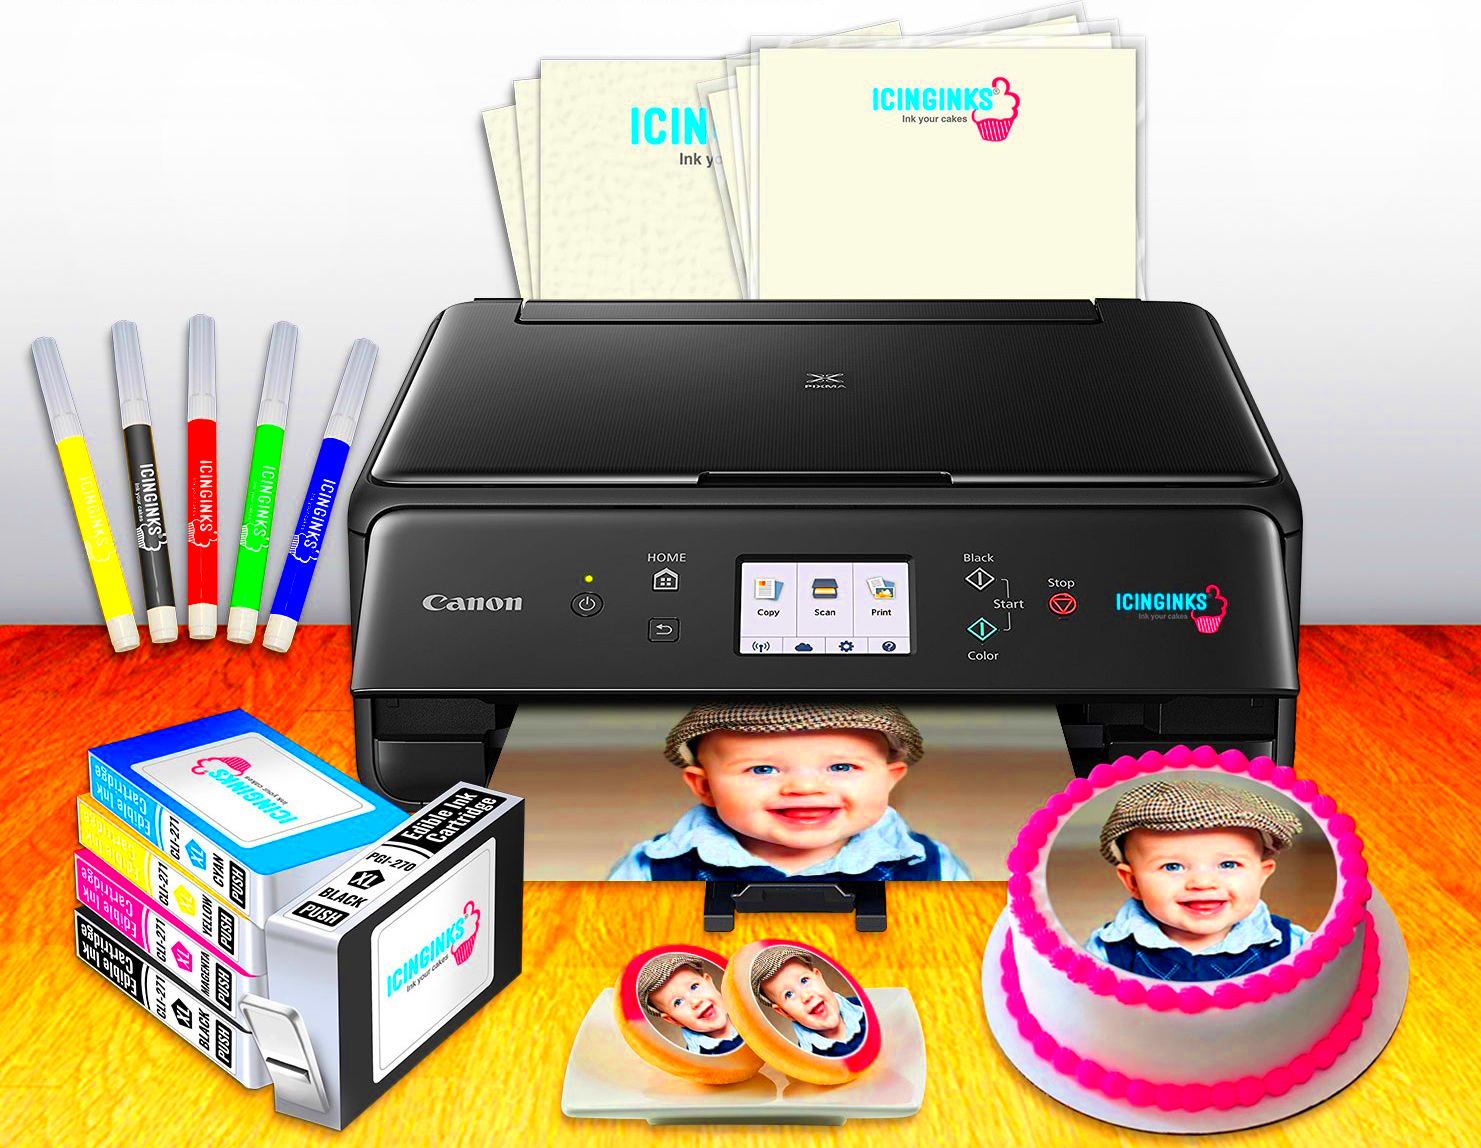
- Type of Printer: Use an inkjet printer specifically designed for edible printing or one that can be converted for this purpose.
- Print Quality: Look for printers that offer high-resolution printing (at least 4800 x 1200 dpi) for sharp, clear images.
- Cost of Replacement Cartridges: Consider the ongoing costs of ink cartridges, as edible ink can be more expensive than regular ink.
- Size of the Printer: Make sure your printer can handle the size of the edible paper you plan to use.
Brands like Canon and Epson are popular choices among bakers. It's also worth checking reviews and recommendations from fellow bakers to find the best fit for your needs.
Selecting Edible Ink and Paper

Choosing the right edible ink and paper is essential for successful printing. Here are some tips to help you select the best options:
- Edible Ink: Look for food-grade edible ink cartridges that are compatible with your printer. Popular options include:
- Made by reputable brands
- Available in a variety of colors
- Edible Paper: Use specially designed edible paper, such as:
- Rice Paper: Thin and suitable for printing detailed images.
- Wafer Paper: Slightly thicker, great for 3D designs.
- Icing Sheets: Best for vibrant colors and glossy finishes.
When selecting edible paper, make sure it is compatible with your printer and will absorb the edible ink properly. Always check the manufacturer's guidelines for best practices.
Steps for Printing Edible Images

Printing edible images may seem daunting at first, but with a few simple steps, you can create beautiful designs for your baked goods. Here’s how to get started:
- Design Your Image: Use graphic design software or online tools to create or customize your image. Make sure it’s the right size for your baked item.
- Prepare Your Printer: Install edible ink cartridges in your printer and load it with edible paper. Always check that you’re using the right type of paper.
- Print a Test Page: It’s a good idea to print a test page on regular paper to ensure the image looks as you expect before using the edible paper.
- Adjust Printer Settings: Set your printer to the best quality settings. Use the appropriate paper type setting for edible paper.
- Print Your Edible Image: Once you’re satisfied with the test print, print your image on the edible paper. Be careful when handling the printed paper as it can smudge easily.
- Let It Dry: Allow the printed image to dry for about 10-15 minutes before using it on your baked goods to avoid smudging.
Following these steps ensures that your edible images turn out beautifully and are ready to impress!
Creative Ideas for Using Edible Images in Baking
Edible images open up a world of creativity in baking. Here are some fun ideas to inspire you:
- Birthday Cakes: Personalize birthday cakes with the birthday person's favorite photos or themed designs.
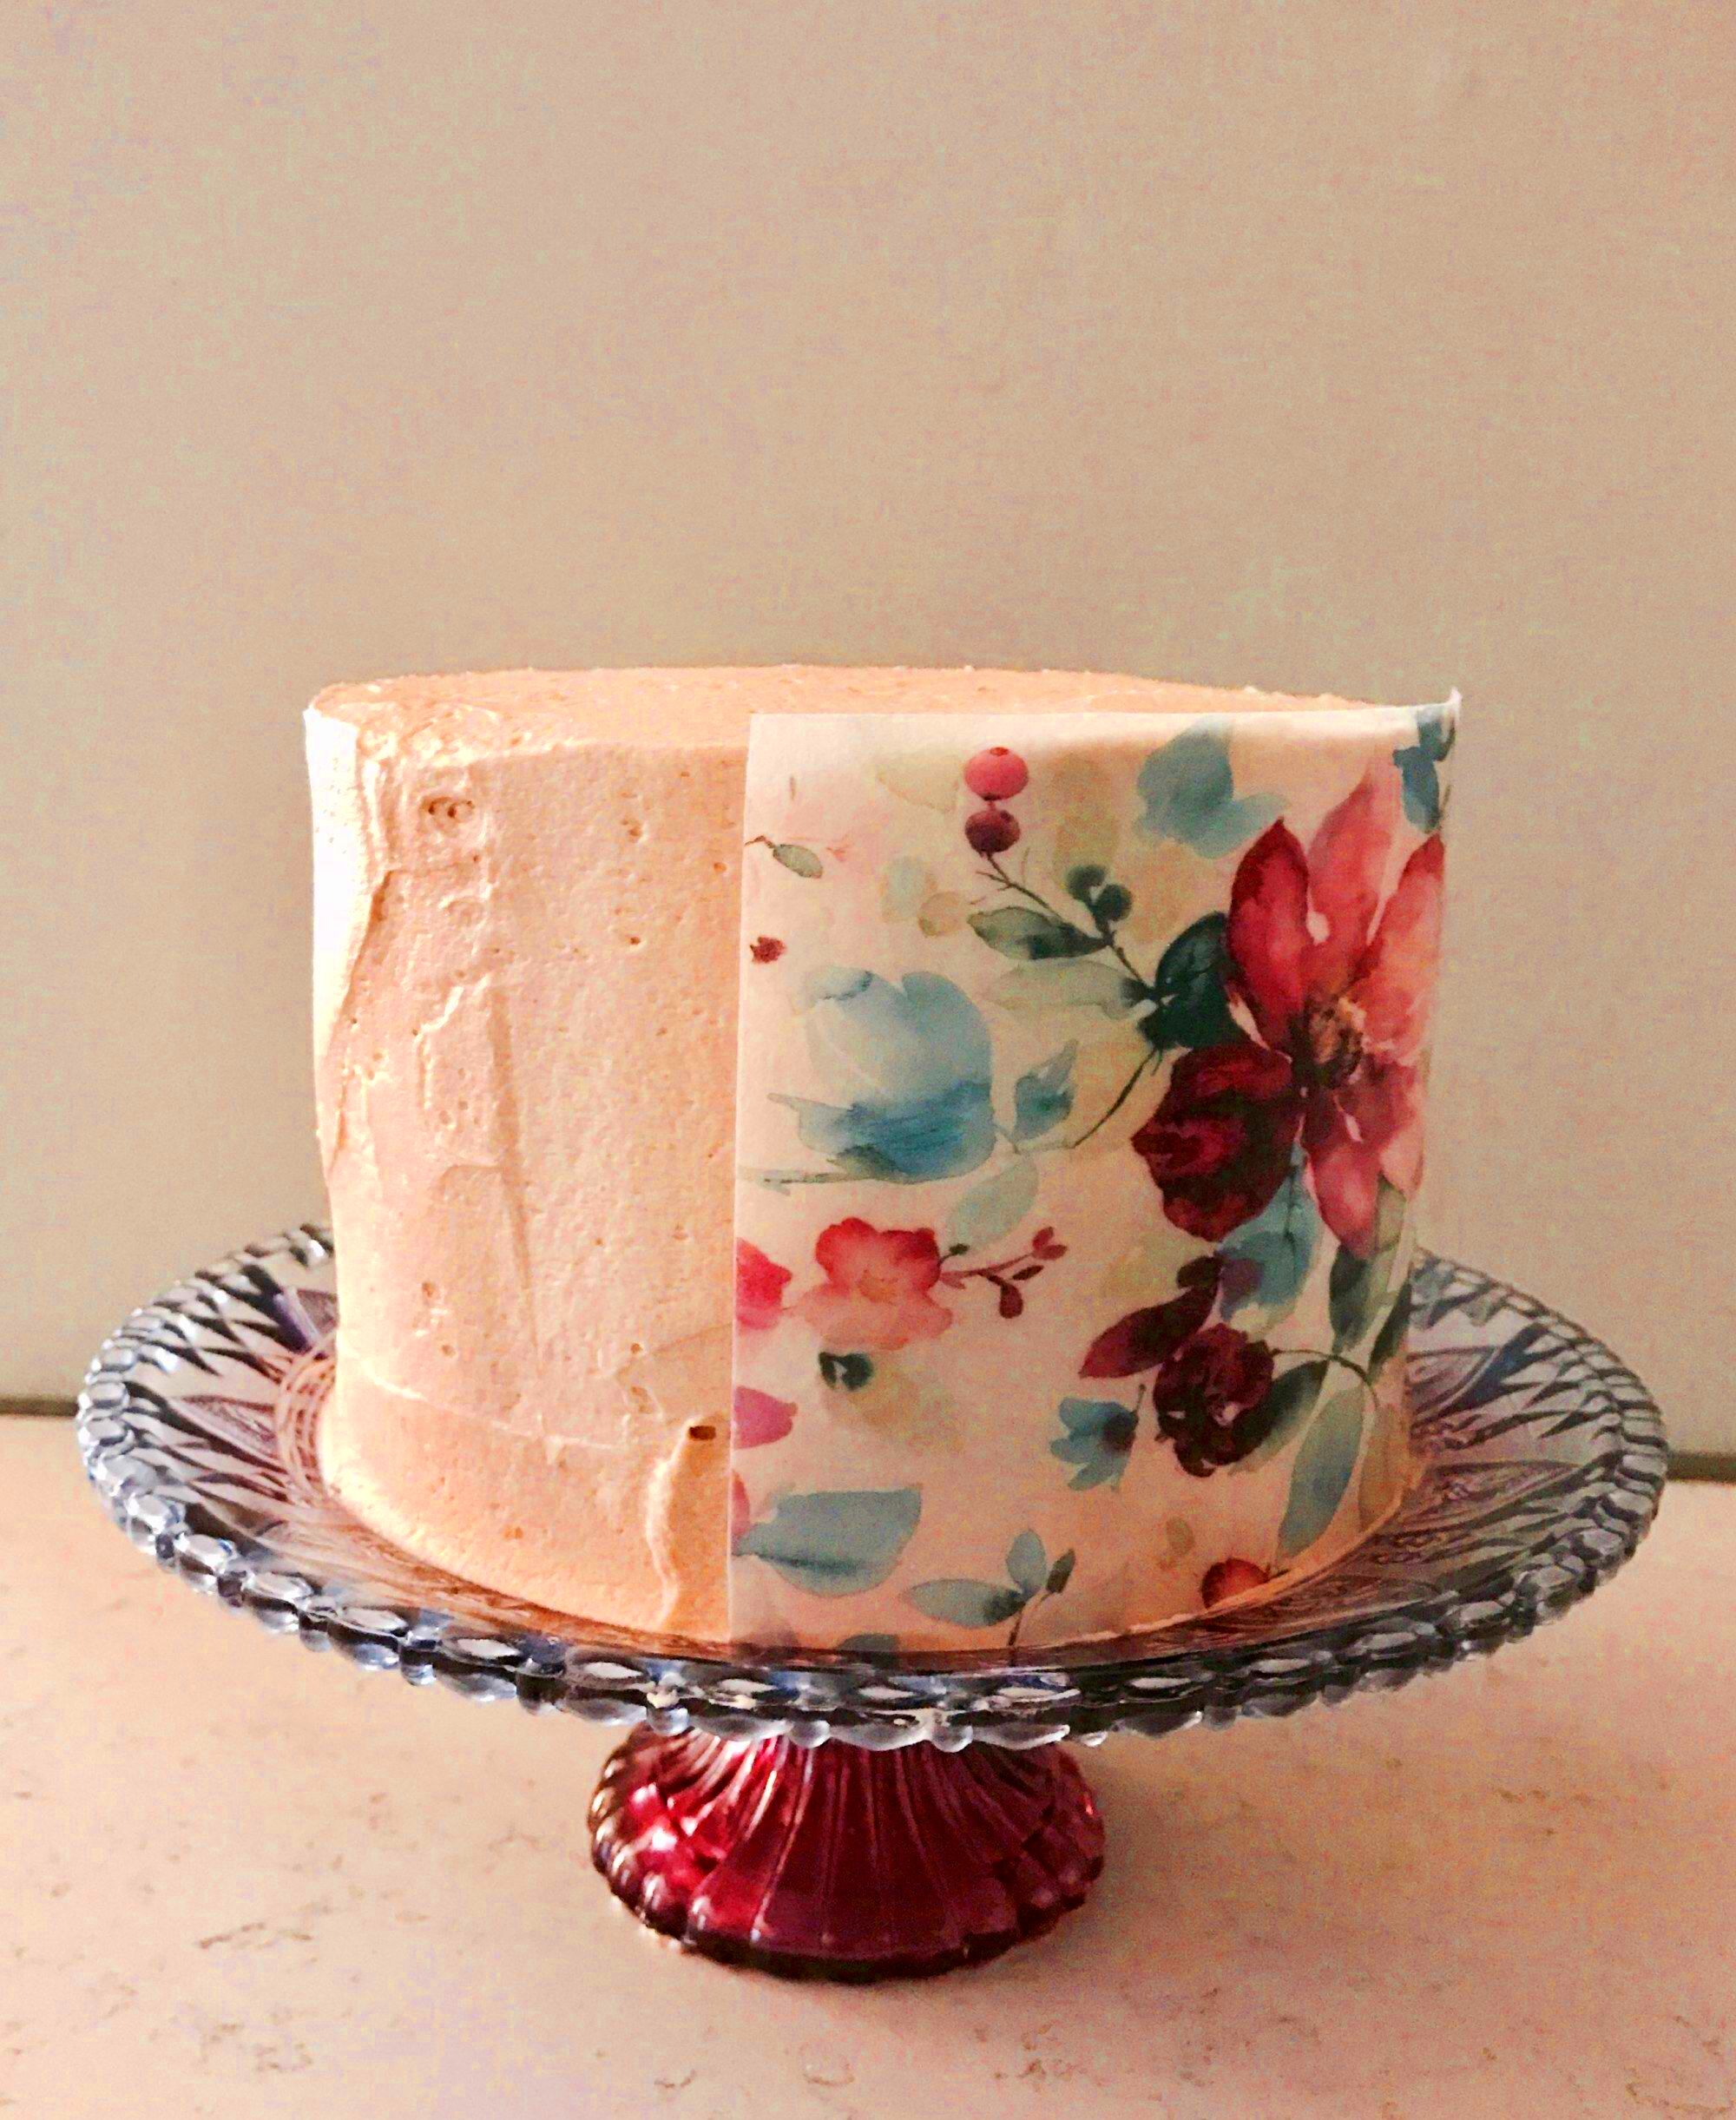
- Wedding Cakes: Use elegant edible images of the couple or floral designs to enhance wedding cakes.
- Cookies: Create themed cookies for holidays or special events by printing images of decorations, logos, or messages.
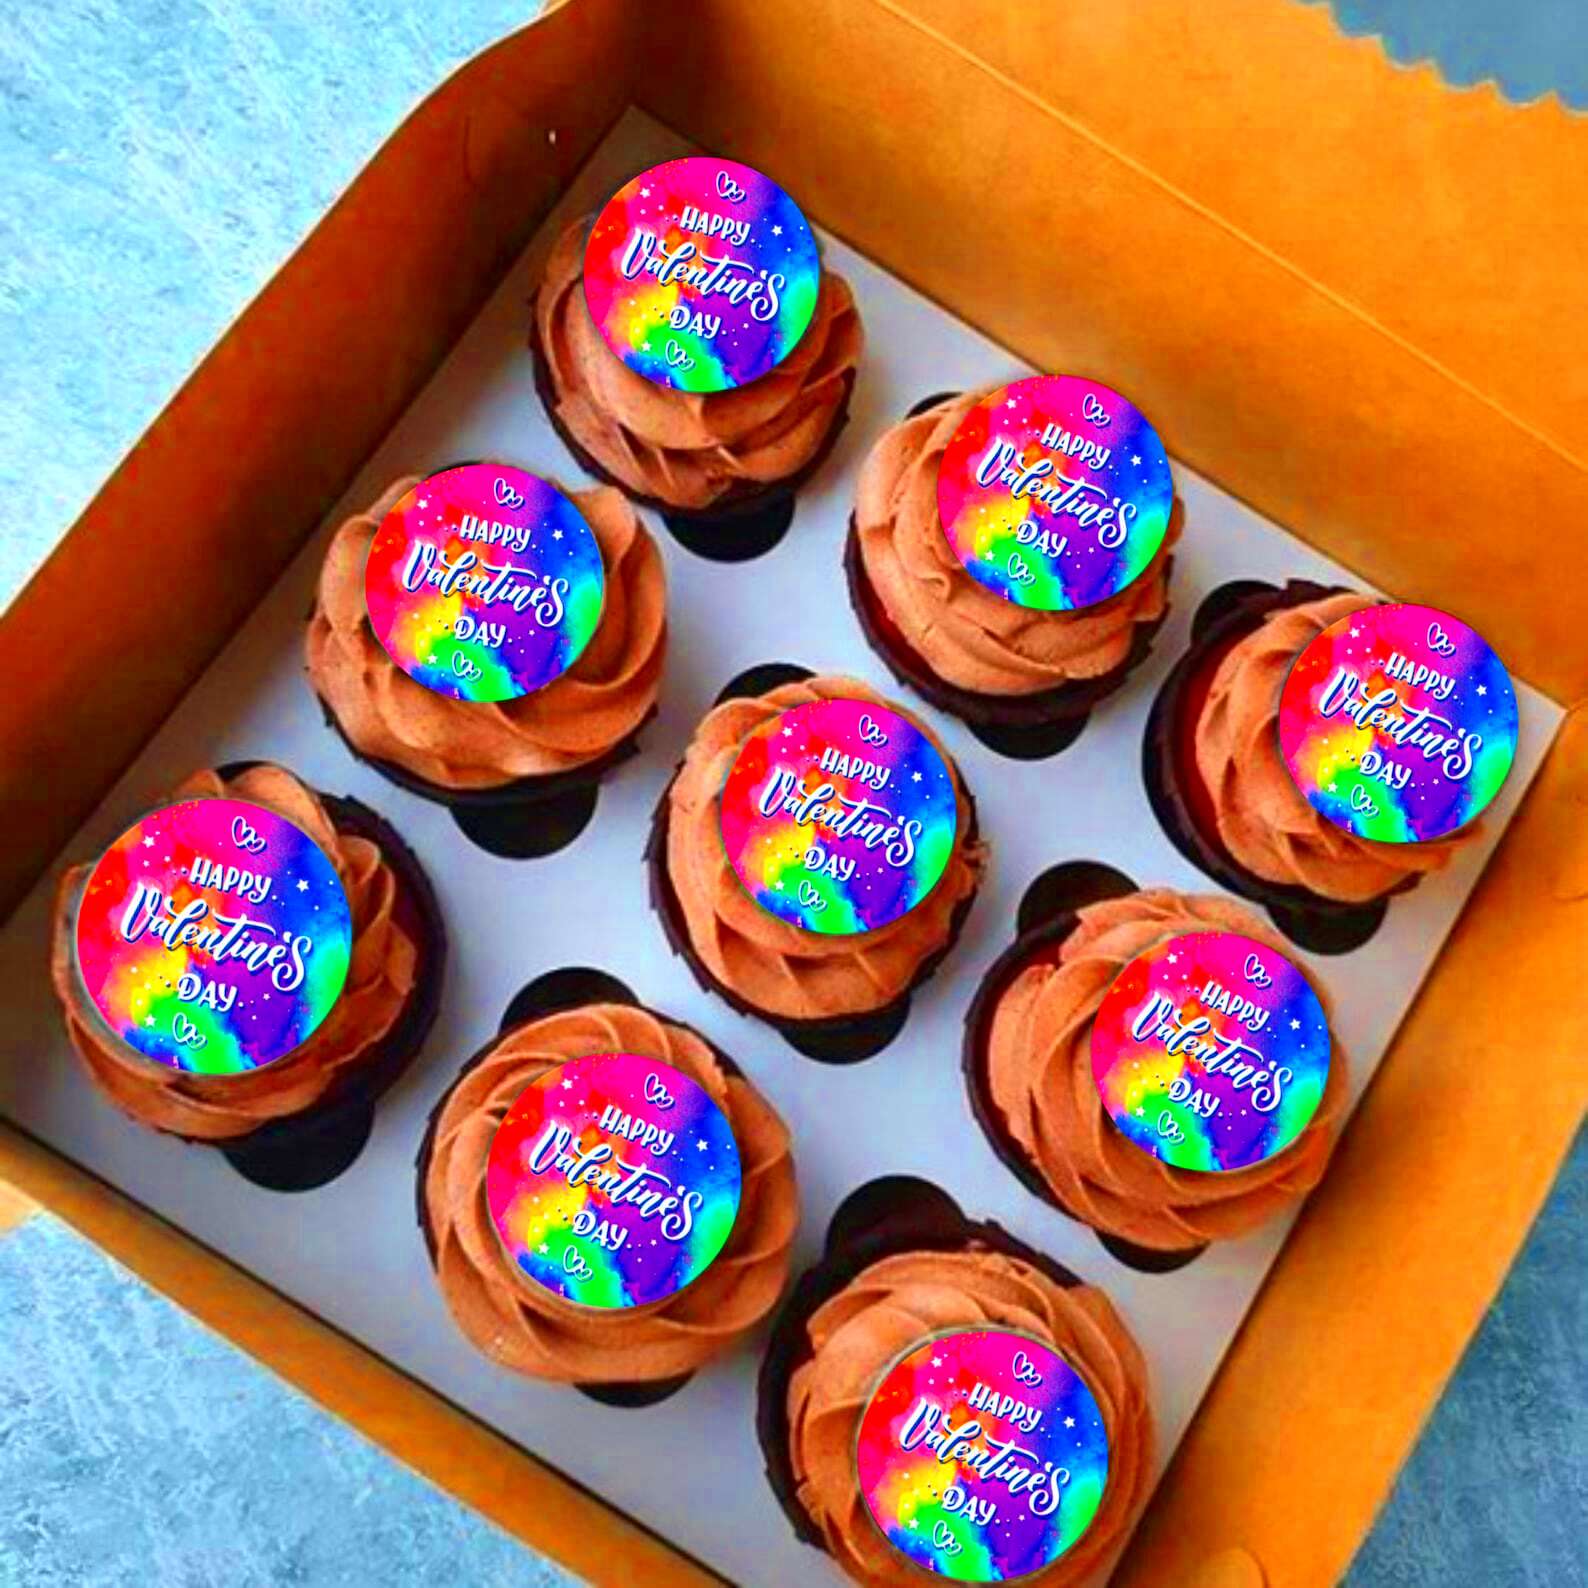
- Cupcakes: Add a touch of fun to cupcakes with small edible images that match your party theme.
- Party Treats: Use edible images for themed events, like sports, movies, or holidays, to make your treats memorable.
With edible images, you can take your baking to the next level and make every occasion extra special!
Storing and Handling Edible Images
Proper storage and handling of edible images are key to maintaining their quality. Here are some tips to keep your edible images in perfect condition:
- Storage Conditions: Keep printed edible images in a cool, dry place away from direct sunlight. Ideal conditions will prevent them from becoming too soft or melting.
- Use Immediately: For the best results, use the edible images as soon as possible after printing. If you need to store them, try to use them within a few days.
- Avoid Humidity: Humidity can ruin edible images. If you're in a humid environment, consider using an airtight container to protect them.
- Handling with Care: When transferring printed images to your baked goods, use a clean spatula or knife to avoid smudging or tearing.
By following these guidelines, you can ensure that your edible images remain vibrant and ready to enhance your delicious creations!
Common Mistakes to Avoid When Printing Edible Images
When printing edible images, it’s easy to make a few common mistakes that can affect the final result. Here’s a list of pitfalls to watch out for:
- Using Regular Ink: Always use edible ink for printing. Regular ink can be harmful and is not safe for consumption.
- Ignoring Printer Settings: Not adjusting your printer settings for edible paper can lead to poor print quality. Always select the best quality and the correct paper type.
- Rushing the Drying Process: Skipping the drying time can cause smudging. Make sure to let your printed images dry completely before using them.
- Not Testing Your Images: Failing to print a test image on regular paper can lead to surprises. Always check your design and colors before printing on edible paper.
- Neglecting Storage Conditions: Not storing your edible images properly can ruin them. Keep them in a cool, dry place away from sunlight.
Avoiding these common mistakes can help ensure that your edible images turn out beautifully and are ready to impress everyone at your next baking event!
FAQ about Printing Edible Images
Here are some frequently asked questions about printing edible images that can help you get started:
- Can I use any printer for edible images? No, you should use an inkjet printer compatible with edible ink or one that can be converted for this purpose.
- Is edible ink safe to eat? Yes, edible ink is made from food-grade ingredients and is safe for consumption.
- How long do printed edible images last? If stored properly, printed edible images can last for about a week. It's best to use them as soon as possible for the best results.
- Can I freeze baked goods with edible images? It's not recommended to freeze baked goods with edible images, as the moisture can damage the image when thawed.
- Do I need special paper for printing? Yes, you should use edible paper specifically designed for printing with edible ink, like icing sheets or wafer paper.
These FAQs should help clarify some common concerns and get you started on your edible image journey!
Conclusion
Printing edible images is a fantastic way to add a personal touch to your baked creations. With the right printer, ink, and paper, you can easily bring your ideas to life and impress friends and family. Remember to avoid common mistakes, follow proper storage techniques, and explore your creativity with edible images. Whether you’re celebrating a special occasion or just want to make a regular day more fun, edible images can transform your baking into a delightful experience. So go ahead, start printing, and enjoy the sweet rewards of your creativity!

 admin
admin


