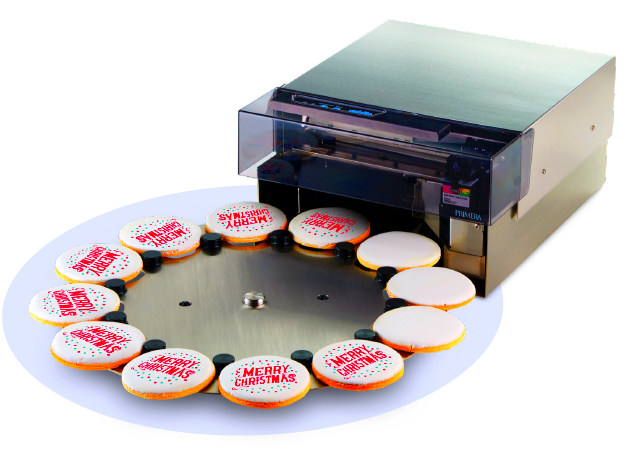
Printing edible images for cookies has become a popular way to elevate cookie decorating. Whether you're a professional baker or a hobbyist, this technique allows you to create visually stunning cookies that stand out at any event. From birthdays to weddings, edible images add a personal touch to your cookies, turning them into works of art. The best part? It’s easier than it sounds! In this guide, we’ll walk you through the process of printing edible images for cookies, from selecting the right materials to applying them smoothly on your baked goods.
What Are Edible Images?
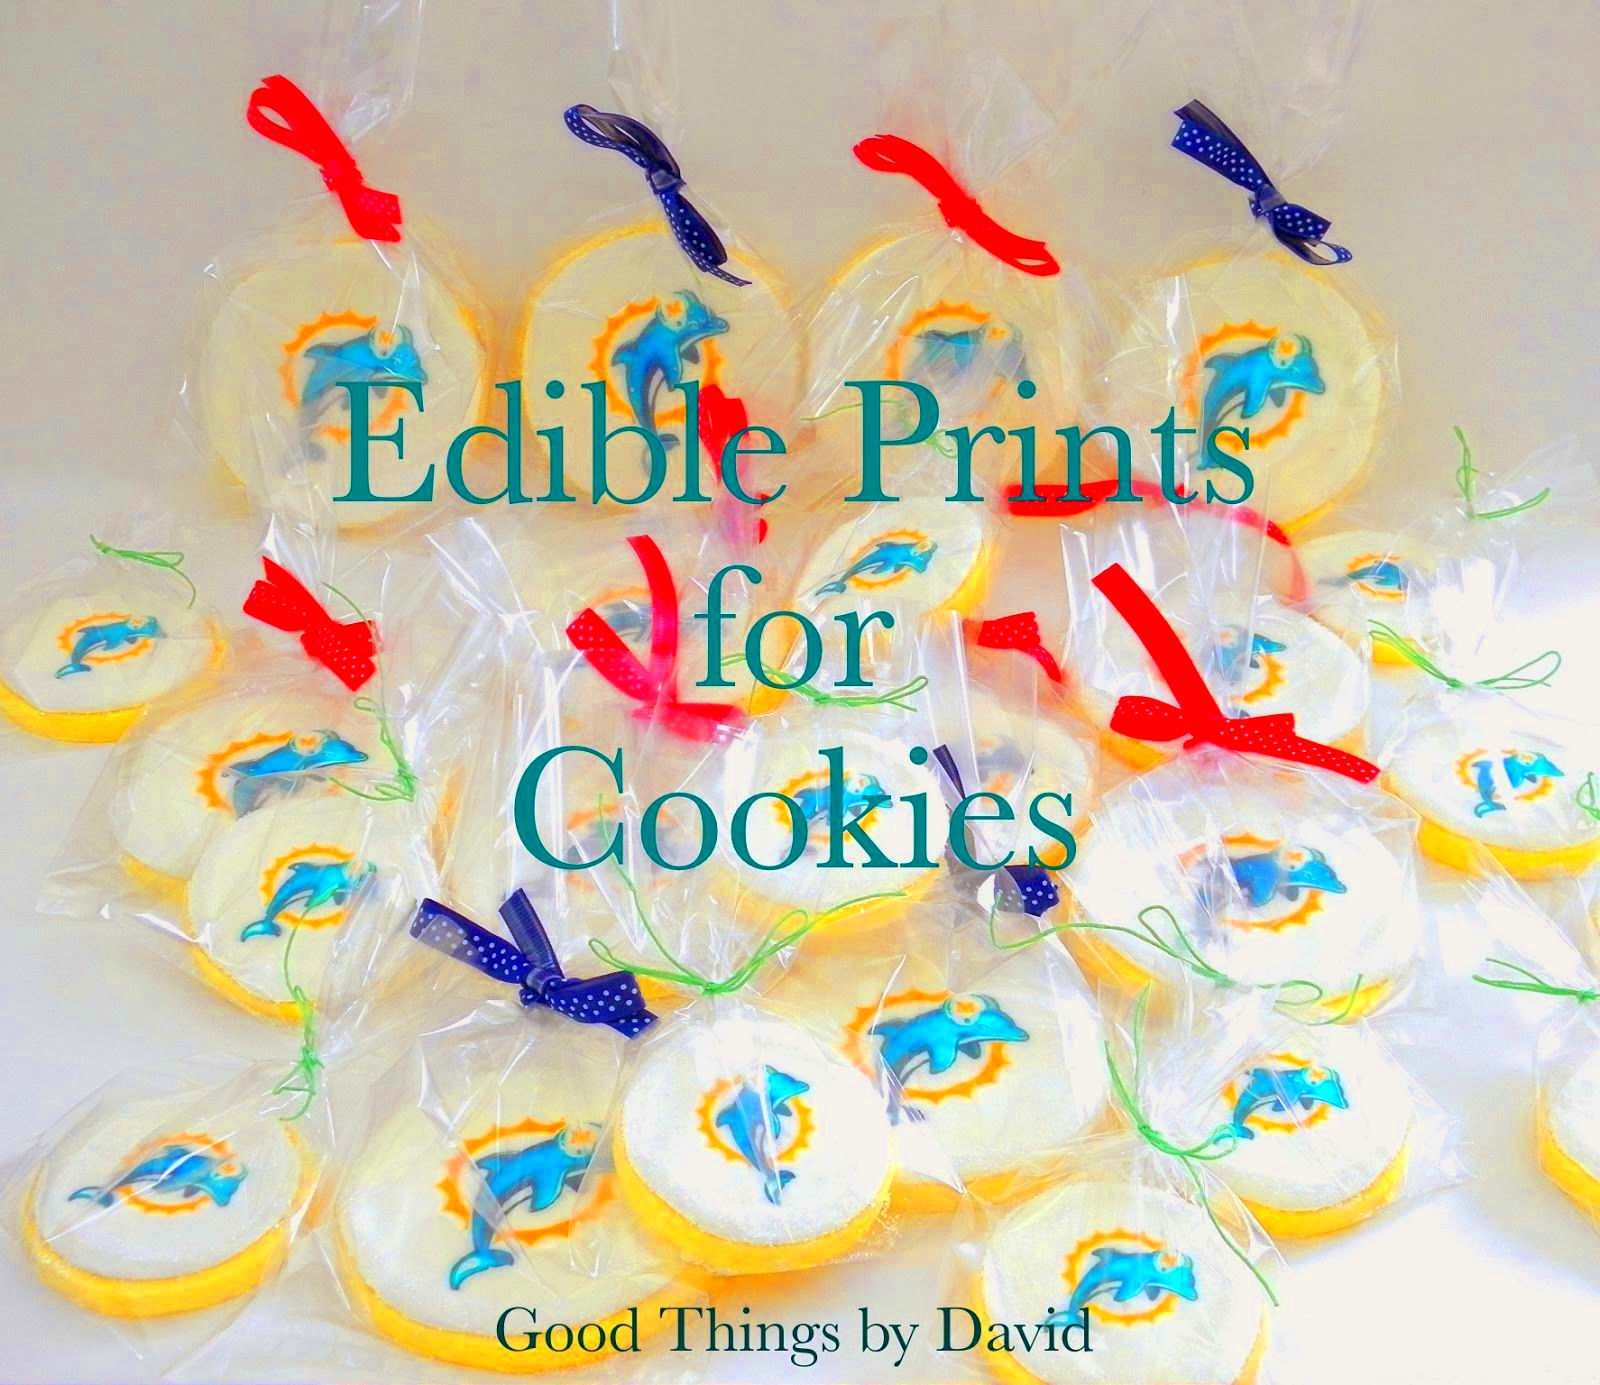
Edible images are designs printed on edible paper using food-safe ink. These images can be anything from logos and photos to intricate designs, making them perfect for personalizing cookies. They are typically printed on wafer paper or frosting sheets, which are both safe to consume. When applied to cookies, edible images add a professional and unique touch, making them look like they came straight from a bakery.
Edible images are most commonly used for:
- Personalized birthday or holiday cookies
- Branding and promotional materials for businesses
- Wedding and event treats with custom designs
The edible ink used for printing these images is made from food coloring, ensuring it's safe for consumption. The printer used for printing edible images is just like a regular inkjet printer, but instead of traditional ink cartridges, it uses edible ink cartridges.
Also Read This: Where Getty Images Is Headquartered
How to Print Edible Images for Cookies
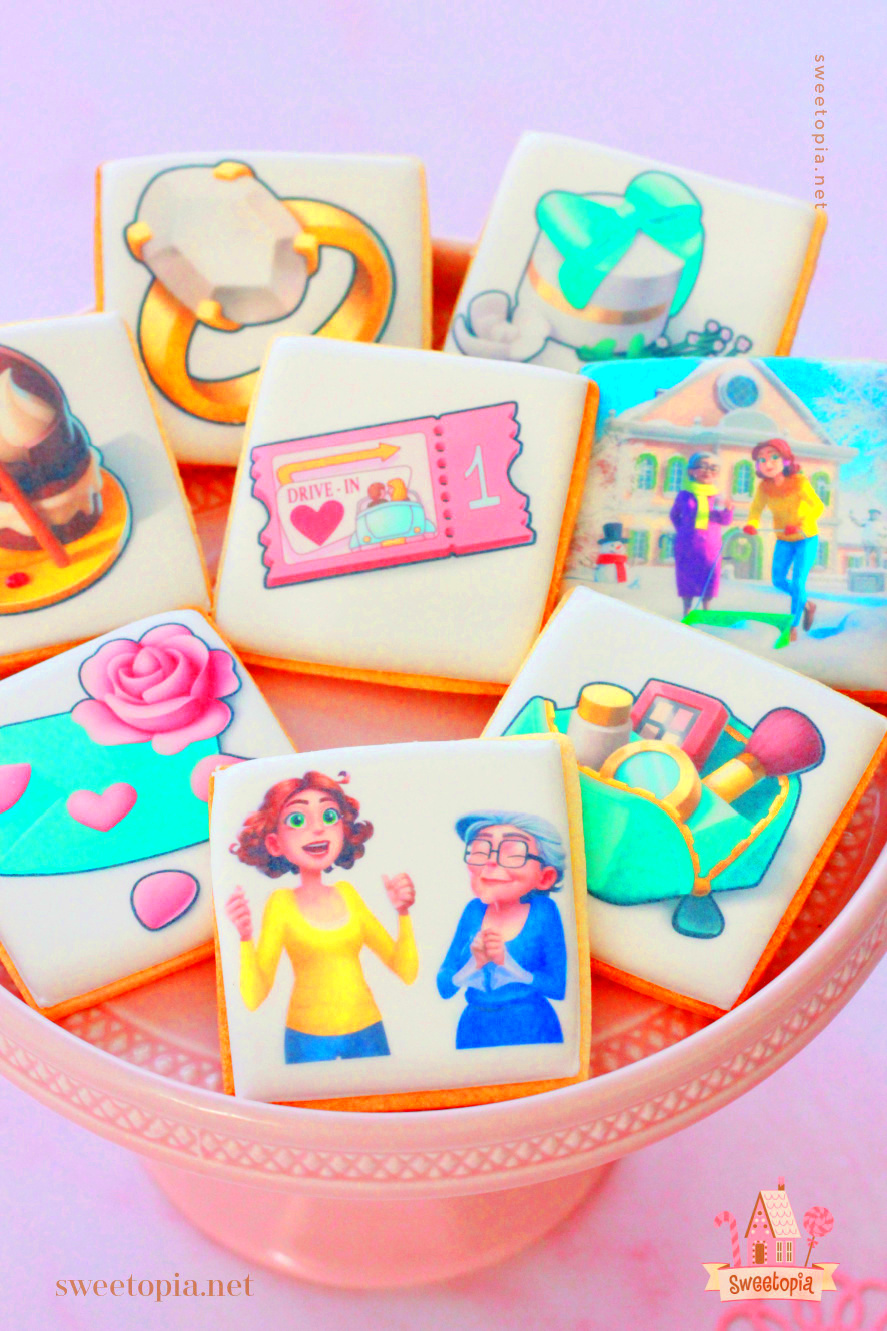
Printing edible images for cookies is a relatively simple process, and with the right tools, you can create professional-looking designs from the comfort of your own home. Here’s a step-by-step guide to help you get started:
- Choose the right edible paper: There are two main types of edible paper—wafer paper and frosting sheets. Wafer paper is thinner and works best for dry decorations, while frosting sheets are thicker and perfect for more intricate designs.
- Select your edible ink: Make sure you use food-grade edible ink that’s designed for printing. You’ll need an inkjet printer that is compatible with edible ink cartridges.
- Design your image: You can either create your own designs or download ready-made templates. Make sure the resolution of your image is high to ensure clarity when printed.
- Load the edible paper: Carefully load your edible paper into the printer, ensuring it’s aligned correctly for smooth printing.
- Print the image: Using your printer, print your design onto the edible paper. Be sure to let the printed image dry before handling it to avoid smudging.
- Cut and apply the image: Once the image is dry, cut it out and gently apply it to your prepared cookie surface.
And that's it! With a little practice, you'll be able to print beautiful edible images that will wow your friends and family. Whether you’re creating themed cookies for a party or adding custom designs for a special occasion, edible image printing is a fun and creative way to enhance your cookie decorating skills.
Also Read This: How to Sign Up for Getty Images to Submit Photos: A Complete Guide for New Contributors
Choosing the Right Edible Paper and Ink
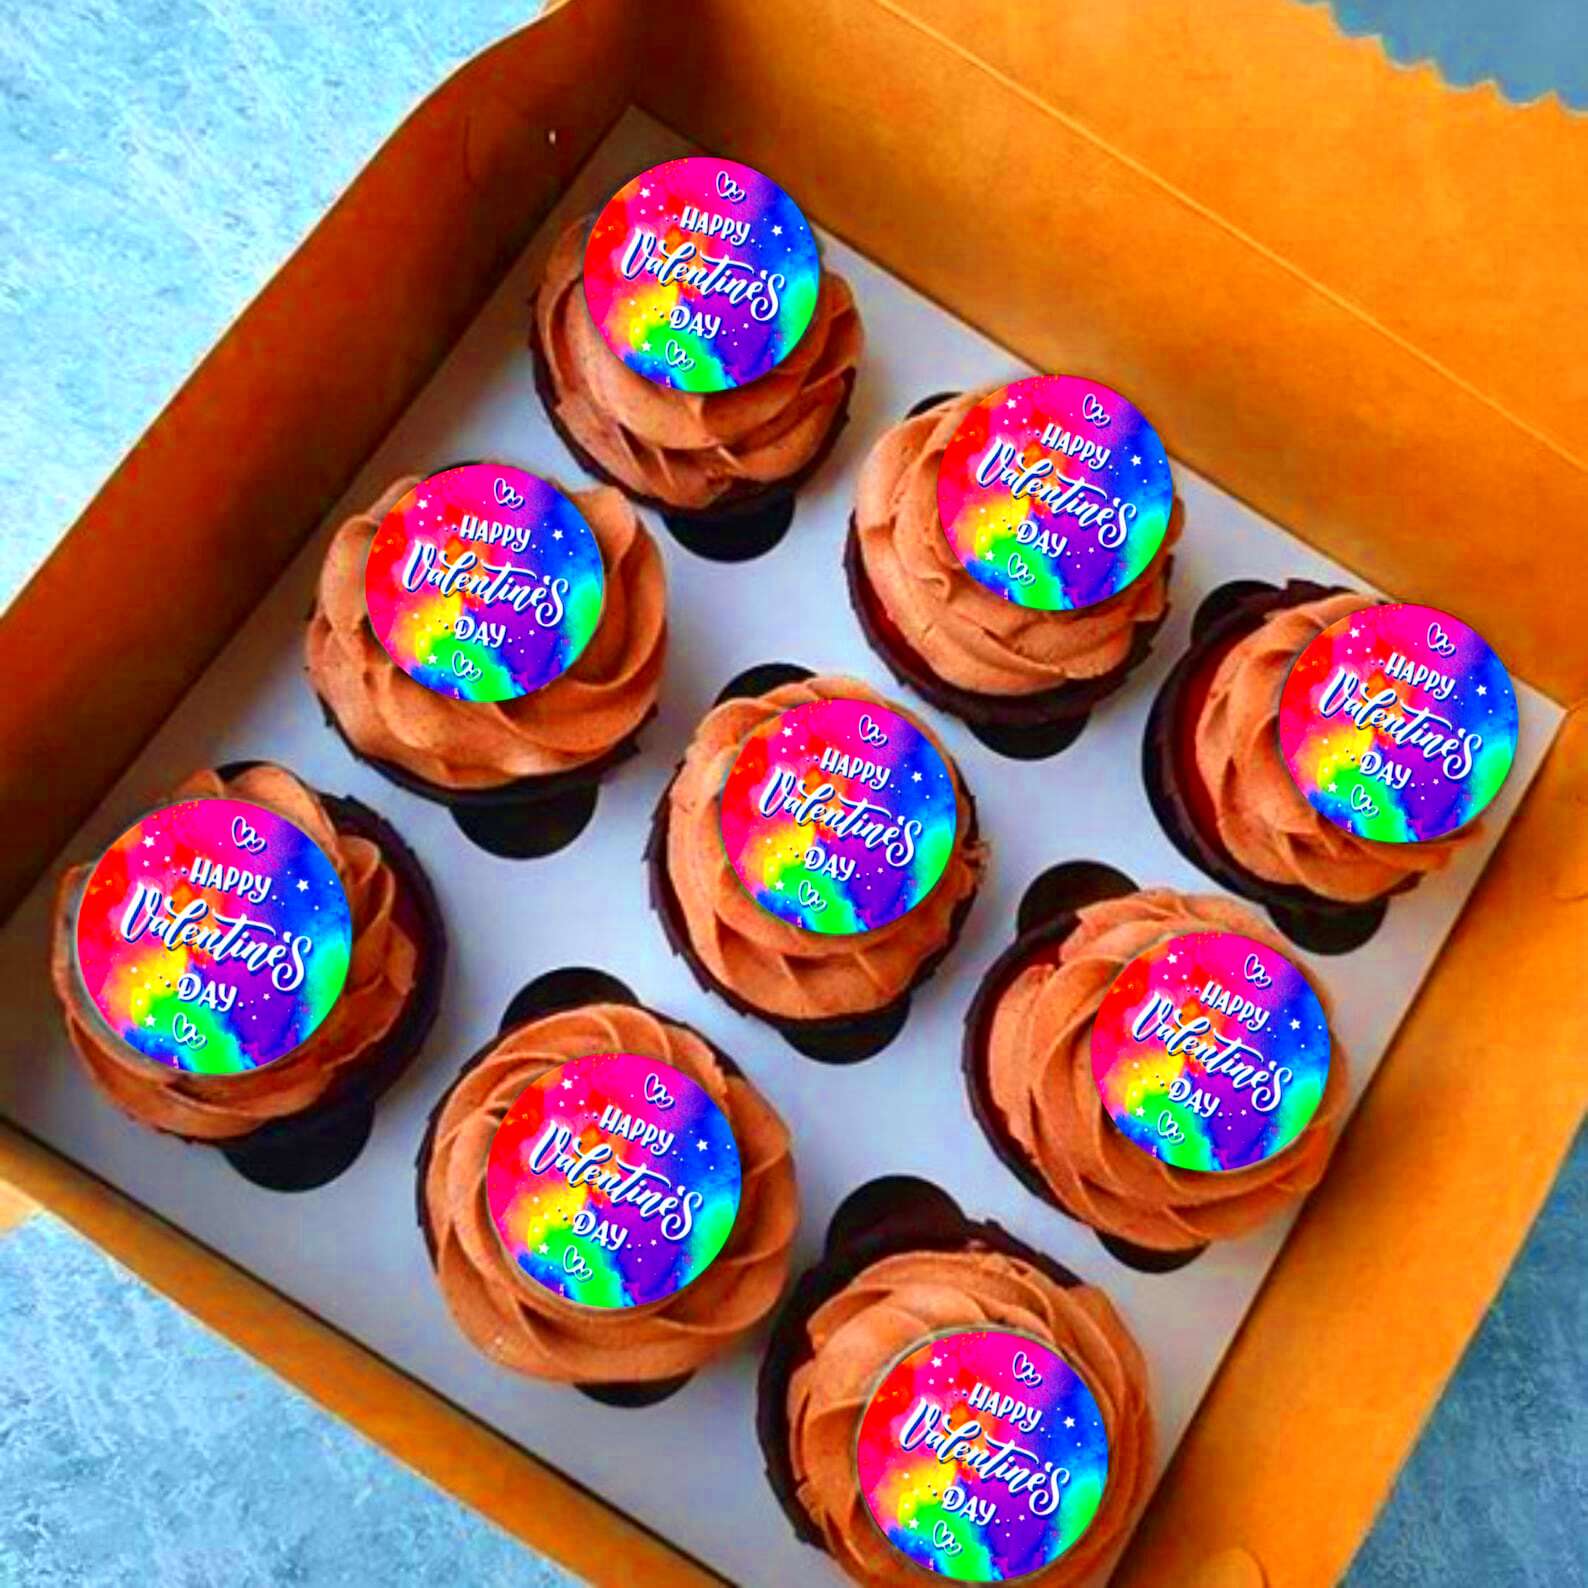
Choosing the right edible paper and ink is crucial for achieving the best results when printing edible images for cookies. Not all edible papers and inks are the same, and using the wrong materials can lead to poor-quality prints or difficult application. In this section, we’ll explore the different types of edible papers and inks available, and how to select the best ones for your cookie printing project.
Types of Edible Paper: There are primarily two types of edible paper used for printing edible images: wafer paper and frosting sheets. Here's a quick breakdown:
| Paper Type | Best For | Characteristics |
|---|---|---|
| Wafer Paper | Simple, dry decorations | Thin, crispy, and translucent. Ideal for lightweight designs, such as flower petals or simple graphics. |
| Frosting Sheets | Intricate designs, full-color images | Thicker, soft, and flexible. Works great for detailed, vibrant images and can be easily applied to cookies with a soft texture. |
Types of Edible Ink: The ink used for printing must be food-safe. Edible ink cartridges are available for most standard inkjet printers, so you don’t need to purchase a special printer. These inks are made from food-grade colorants and are safe to consume.
There are two main types of edible ink:
- Liquid Ink: Typically used for printing onto frosting sheets. It dries more quickly but may be slightly more expensive.
- Gel Ink: Thicker ink that works well for printing on wafer paper. It may take longer to dry, but it delivers vibrant colors.
Choosing the right paper and ink for your project depends on the type of image you want to print and the texture you desire for your cookies. Make sure to test a small design first to ensure compatibility with your printer and edible paper.
Also Read This: How to Get Free Images from Getty and Use Them Legally
Tools You Need for Printing Edible Images
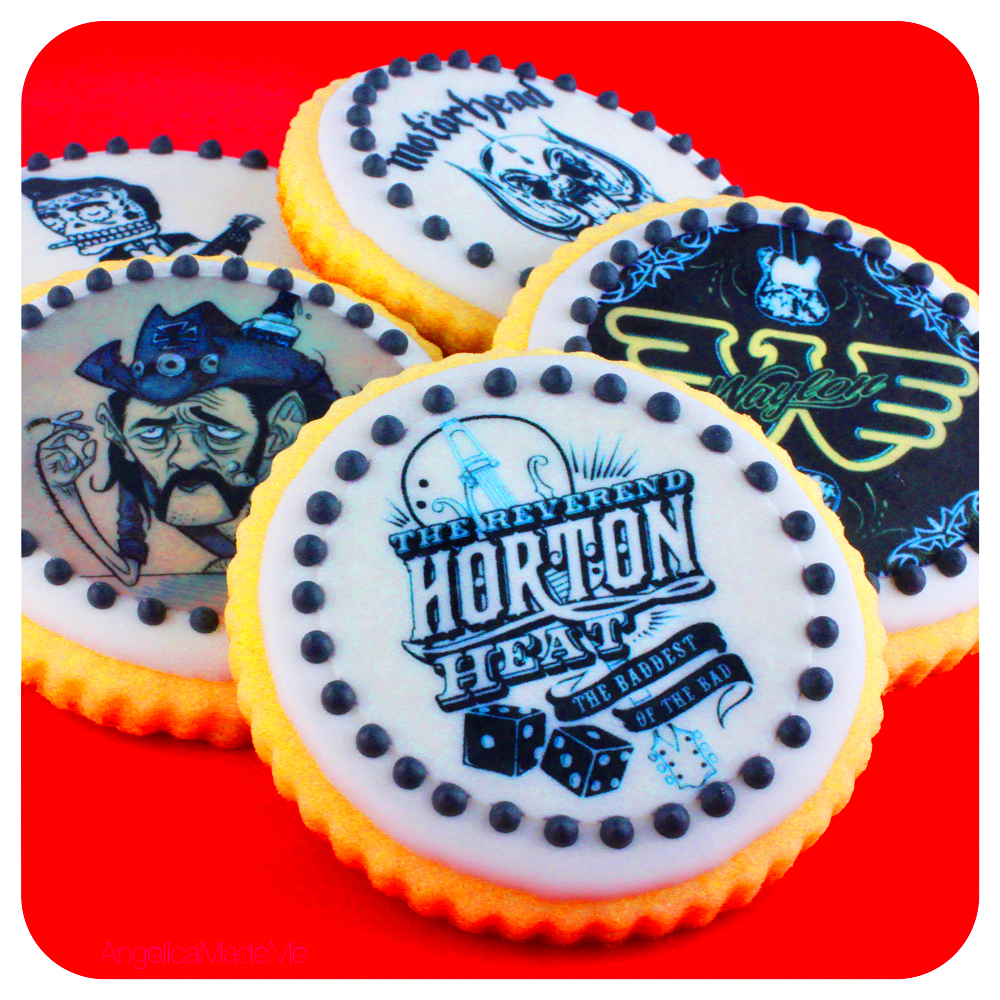
To print edible images for cookies, you'll need a few specific tools to get the job done right. These tools can be easily found online or in stores specializing in baking supplies. Let’s take a look at the essential tools you’ll need for your edible image printing process.
1. Edible Ink Printer: You will need a printer that can handle edible ink cartridges. While you can use a standard inkjet printer, you must replace the regular ink cartridges with edible ink cartridges. Make sure the printer is clean before using it for edible ink, as any residual non-edible ink could cause contamination.
2. Edible Ink Cartridges: As mentioned earlier, these are special cartridges filled with food-safe ink. Ensure you choose the right cartridges that are compatible with your printer model.
3. Edible Paper: Whether you choose wafer paper or frosting sheets, make sure the paper is specifically labeled as edible. Regular paper is not safe for consumption.
4. Scissors or a Cutter: After printing your design, you’ll need to cut it out. A pair of clean scissors or a specialized paper cutter will give you clean, precise edges.
5. Icing or Cookie Base: You’ll need a smooth, solid surface to apply your edible image to. A simple layer of icing or a freshly baked cookie works best for this.
6. Drying Rack: After printing, let your edible images dry before applying them to the cookies. A drying rack or flat surface is perfect for this.
With these tools in hand, you’ll be ready to start printing and decorating your cookies with ease. Just make sure to keep everything clean and organized to avoid any mess during the printing process!
Also Read This: Getty Images Affiliate Program: Earning Opportunities and Benefits for Promoting Getty Images Images
Preparing Your Cookie Surface for Edible Images
Preparing your cookie surface is an essential step in the process of printing edible images. A well-prepared cookie ensures that the edible image will adhere properly and maintain its vibrant colors. Let’s walk through how to get your cookies ready for those perfect prints.
Step 1: Bake Your Cookies
The first step is to bake your cookies. Make sure they are completely cooled before proceeding. Warm cookies can cause the edible image to melt or smudge, ruining your design.
Step 2: Smooth Icing or Royal Icing
Once your cookies are cooled, you need to apply a thin layer of icing or royal icing. This creates a smooth, sticky surface that helps the edible image stick to the cookie. Use a small offset spatula or a butter knife to spread the icing evenly over the cookie's surface.
Step 3: Allow the Icing to Set
Before applying your edible image, allow the icing to set for about 15–20 minutes. The surface should be slightly tacky but not wet. If the icing is too wet, it can cause the edible paper to absorb moisture and lose its shape.
Step 4: Trim the Edible Image
If needed, trim your printed edible image to fit the size of your cookie. Use a clean pair of scissors or a sharp knife to carefully cut around the design, ensuring the edges are neat and precise.
Step 5: Apply the Edible Image
Now, gently place the edible image onto the prepared cookie surface. Smooth it down lightly to eliminate any air bubbles or wrinkles. Be careful not to press too hard to avoid distorting the design.
Step 6: Allow the Cookie to Set
Let the cookie sit for a while to allow the edible image to adhere properly to the icing. Once it’s set, your cookie is ready to serve or package!
By following these steps, you’ll ensure your edible images look clean, professional, and visually appealing on every cookie. A well-prepared surface makes a big difference in how your designs turn out!
Also Read This: Challenges and Expectations of Becoming an iStock Contributor
Common Mistakes to Avoid When Printing Edible Images
While printing edible images for cookies can be a fun and creative process, there are some common mistakes that can easily ruin your design. Whether you're new to edible image printing or have some experience, knowing what to avoid will help you achieve the best results. In this section, we’ll highlight some of the most common errors and how to avoid them.
1. Using the Wrong Type of Paper:
Choosing the wrong edible paper can lead to disappointing results. Wafer paper works best for simple, dry designs, while frosting sheets are better for vibrant, detailed images. Be sure to pick the right paper for the look and texture you're going for.
2. Not Using Food-Safe Ink:
Only food-safe edible ink should be used when printing images. Using regular ink can be harmful and unsafe to consume. Always ensure you are using edible ink cartridges that are specifically designed for food applications.
3. Overloading the Printer:
It's tempting to print multiple images at once, but overloading your printer can cause the edible ink to smudge or result in uneven prints. Always load one sheet at a time and make sure the paper is aligned properly to avoid misprints.
4. Not Waiting for Ink to Dry:
After printing, it’s important to let the edible ink dry completely before handling it. If you rush this step, you may accidentally smudge the design. Allowing the image to air dry for at least 15–20 minutes ensures it stays intact when applied to the cookie.
5. Applying the Image to a Warm Cookie:
Warm cookies can cause the edible image to melt or distort. Always ensure that your cookies are completely cooled before applying the edible image. This will help the image adhere properly and stay intact.
By avoiding these common mistakes, you’ll be well on your way to creating beautiful, professional-looking edible images for your cookies every time!
Also Read This: Does Shutterstock Have a Free Trial? Exploring Options for Exploring the Platform
FAQs About Printing Edible Images for Cookies
Printing edible images for cookies is a creative and fun way to personalize your treats, but there are always questions that come up. In this section, we’ll address some of the most frequently asked questions about the edible image printing process, so you can get the most out of your cookie decorating experience.
1. Can I print edible images at home?
Yes! You can print edible images at home if you have an inkjet printer that is compatible with edible ink cartridges. Simply replace the regular ink cartridges with edible ink, and you’re ready to start printing.
2. How long does it take for the ink to dry?
Edible ink typically dries within 15–20 minutes, depending on the type of paper and ink you use. It’s important to allow the image to dry completely to prevent smudging.
3. Can I print on any type of cookie?
It’s best to use cookies with a smooth surface, such as sugar cookies or cookies iced with royal icing. These surfaces allow the edible image to adhere better and create a clean look.
4. How do I store cookies with edible images?
Once your cookies are decorated, store them in an airtight container to keep them fresh. Avoid placing them in the refrigerator, as moisture can cause the edible images to melt or smudge.
5. Can I print edible images in color?
Absolutely! Edible ink comes in a variety of colors, allowing you to print full-color designs on your cookies. Whether it’s a simple logo or a detailed photo, edible image printing can capture vibrant colors and fine details.
These are just a few of the questions people often have when printing edible images for cookies. With the right tools and a little practice, you can create beautiful, personalized cookies in no time!
Conclusion and Final Thoughts
Printing edible images for cookies is a great way to add a personal touch to your treats. Whether you’re creating cookies for a special occasion or simply experimenting with a new hobby, the process is fun and rewarding. By choosing the right materials, tools, and following the steps carefully, you can achieve beautiful, professional results.
Remember, the key to successful edible image printing is preparation. From selecting the right edible paper and ink to ensuring your cookies are properly prepared, each step plays a vital role in getting the perfect finish. And by avoiding common mistakes, you’ll be able to print with confidence every time.
So, grab your printer, some edible paper, and start creating amazing cookie designs! With a little practice, you’ll soon be able to decorate cookies like a pro, impressing friends, family, and customers alike with your custom creations.
 admin
admin


