If you’re venturing into the world of stock photography and considering Alamy as your go-to platform, it's important to grasp how their download system works. Alamy offers a diverse range of images that can be used for various purposes—from commercial projects to personal prints. But, how do you ensure the images you download meet high professional standards? Let's break it down!
When you purchase an image from Alamy, you get access to different file types and resolutions. The main types are:
- Standard Definition (SD): This is great for low-resolution prints and online use. However, if you’re aiming for high-quality prints, you might want to consider higher resolutions.
- High Definition (HD): A better choice for larger prints, ensuring clarity and vibrancy in your final work.
- Original Files: This includes the highest resolution available. Ideal for large displays or professional-grade prints where every detail matters.
Understanding the differences in file types is key. Always check the dimensions and DPI (dots per inch) of the image before downloading. Images with a DPI of 300 or higher are best for print quality, while those at 72 DPI are optimal for web use. Take a moment to read through Alamy's licensing info as well—it will help clarify what you can and cannot do with the images you choose.
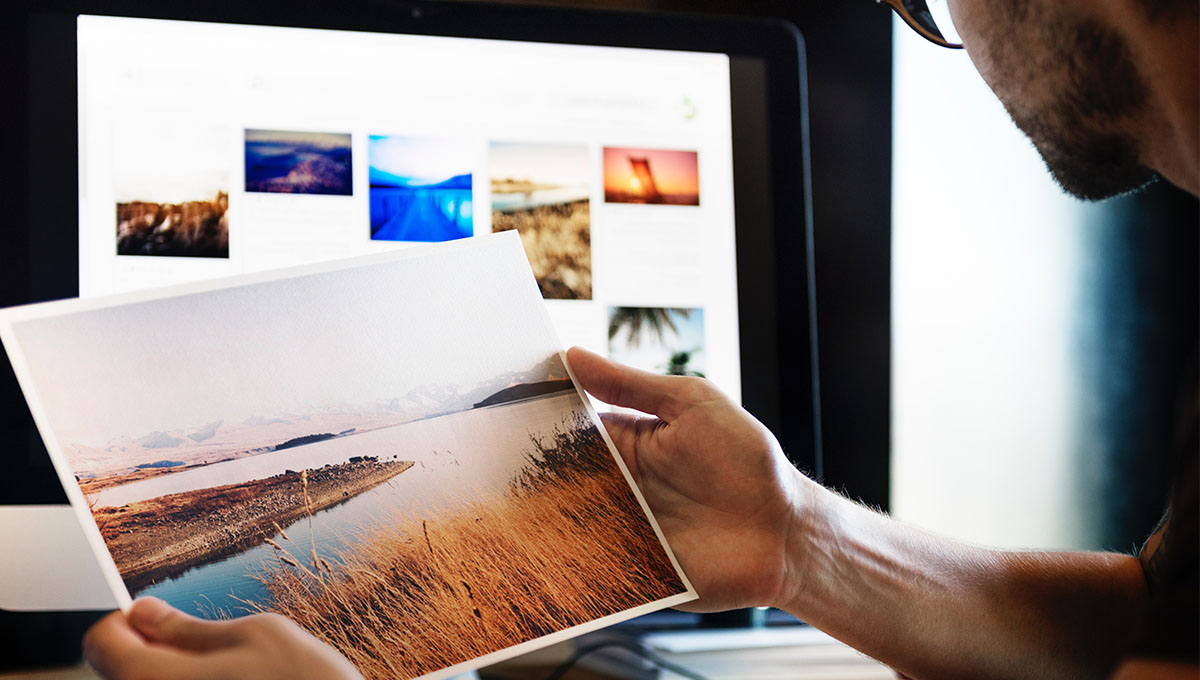
In addition, make sure to preview the image at its full size, so you can catch any potential issues with clarity or color before you print. A good practice is to consider the final destination of your print—whether it's an art gallery, a poster for an event, or personal decor can guide your choice in the download format.
Choosing the Right Print Size for Your Images

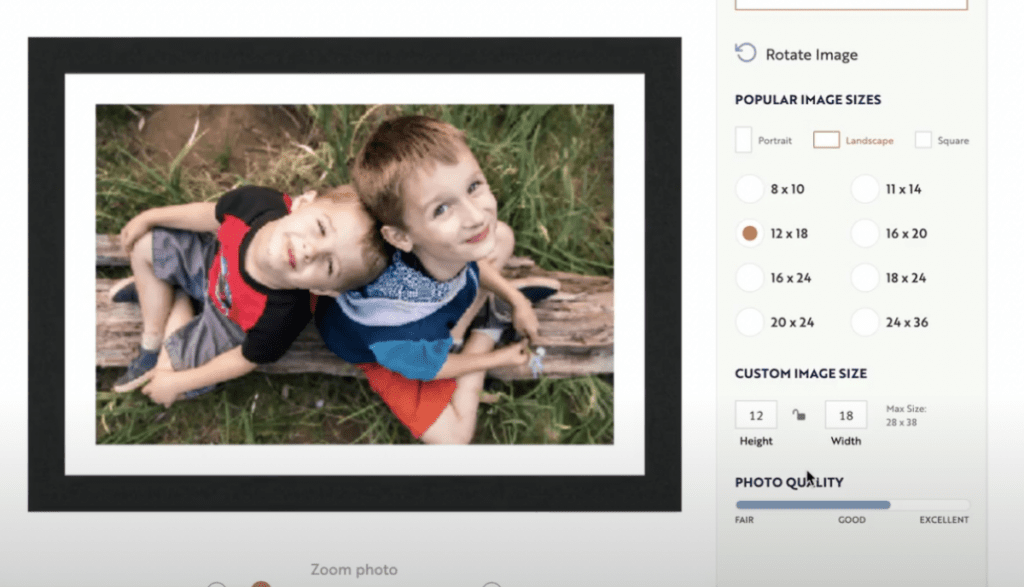
Now that you've got your Alamy image ready to go, it’s time to think about print size. The right size not only enhances the visual impact of your work but also ensures that it maintains its quality once printed. So, how do you choose the right dimensions?
First, consider where the image will be displayed. Here are some common scenarios:
- Home Decor: If you're going for a gallery wall look, images can vary from 8x10 inches to even larger sizes like 24x36 inches or bigger.
- Marketing Materials: For brochures or flyers, smaller prints (A4 or A5) might work best, whereas banners might require large, high-resolution images.
- Exhibition Prints: For art shows or public displays, sizes can range from 16x20 inches to massive 40x60 inch formats.
Next, you'll need to understand the aspect ratio of your image. Alamy typically provides images in various ratios, so keep that in mind when selecting your print size. Using the wrong ratio can result in unwanted cropping or distortion. A standard way to calculate your aspect ratio is to divide the width of the image by its height.
Here's a quick reference table of common print sizes and their aspect ratios:
| Print Size (Inches) | Aspect Ratio |
|---|---|
| 5x7 | 1:1.4 |
| 8x10 | 1:1.25 |
| 11x14 | 1:1.27 |
| 16x20 | 1:1.25 |
| 24x36 | 1:1.5 |
Finally, a great tip is to print a test sample. If you’re unsure about how an image will look in a specific size, printing a smaller version can help. This way, you can assess the colors, details, and overall aesthetics before committing to a large print.
Remember, the joy of printing your selected artwork from Alamy lies in showcasing high-quality images, so take your time in choosing the right size for each unique project!
Also Read This: Alamy Contributor Earnings: Understanding How Much You Can Make
3. Preparing Your Images for Print

When it comes to achieving professional image quality for prints, preparation is key. You can't just take any old file and expect it to look stunning on paper. Here are some straightforward steps to help you prepare your images for print:
- Choose the Right File Format: Save your images in formats like TIFF or PNG for the best quality. JPEGs are fine, but make sure to save them at the highest quality setting to avoid compression artifacts.
- Check the Resolution: Aim for a resolution of at least 300 DPI (dots per inch) for print. This ensures that your images are sharp and detailed. If your image is lower than this, it may look pixelated when printed.
- Color Profiles Matter: Use the correct color profile for your printer and paper combo. Adobe RGB is often suggested for its wider color gamut, but sRGB works too if your print service recommends it. Always consult with your printer’s specifications.
- Edit with Print in Mind: When editing your images, think about how they will look on paper. Adjust brightness, contrast, and saturation. Dark colors may look darker in print, so do test prints to get it right.
- Crop and Resize: Crop your images according to the desired print size. Ensure that you maintain the correct aspect ratio to prevent unwanted stretching or compressing of your images.
Remember, the goal is to create an image that makes your subject shine while maintaining crisp details and accurate colors. Also, don’t forget to consider the final output size; a small image blown up too much will lose quality, so pick wisely.
Also Read This: Tagging Images on Alamy for Better Discoverability
4. Recommended Printing Techniques for Best Results

Now that your images are all prepped, it’s time to consider how you are going to print them. The printing technique can be just as important as image preparation, influencing both the quality and longevity of your prints. Here are some recommended techniques for achieving the best results:
- Inkjet Printing: This is a popular choice for high-quality prints. Inkjet printers can produce vibrant colors and intricate details that are perfect for photography. Consider using pigment-based inks, as they are more fade-resistant than dye-based inks.
- Giclée Printing: If you’re looking to produce fine art prints, giclée printing is an excellent option. This method uses high-quality inks and papers to produce archival prints that resemble the original artwork.
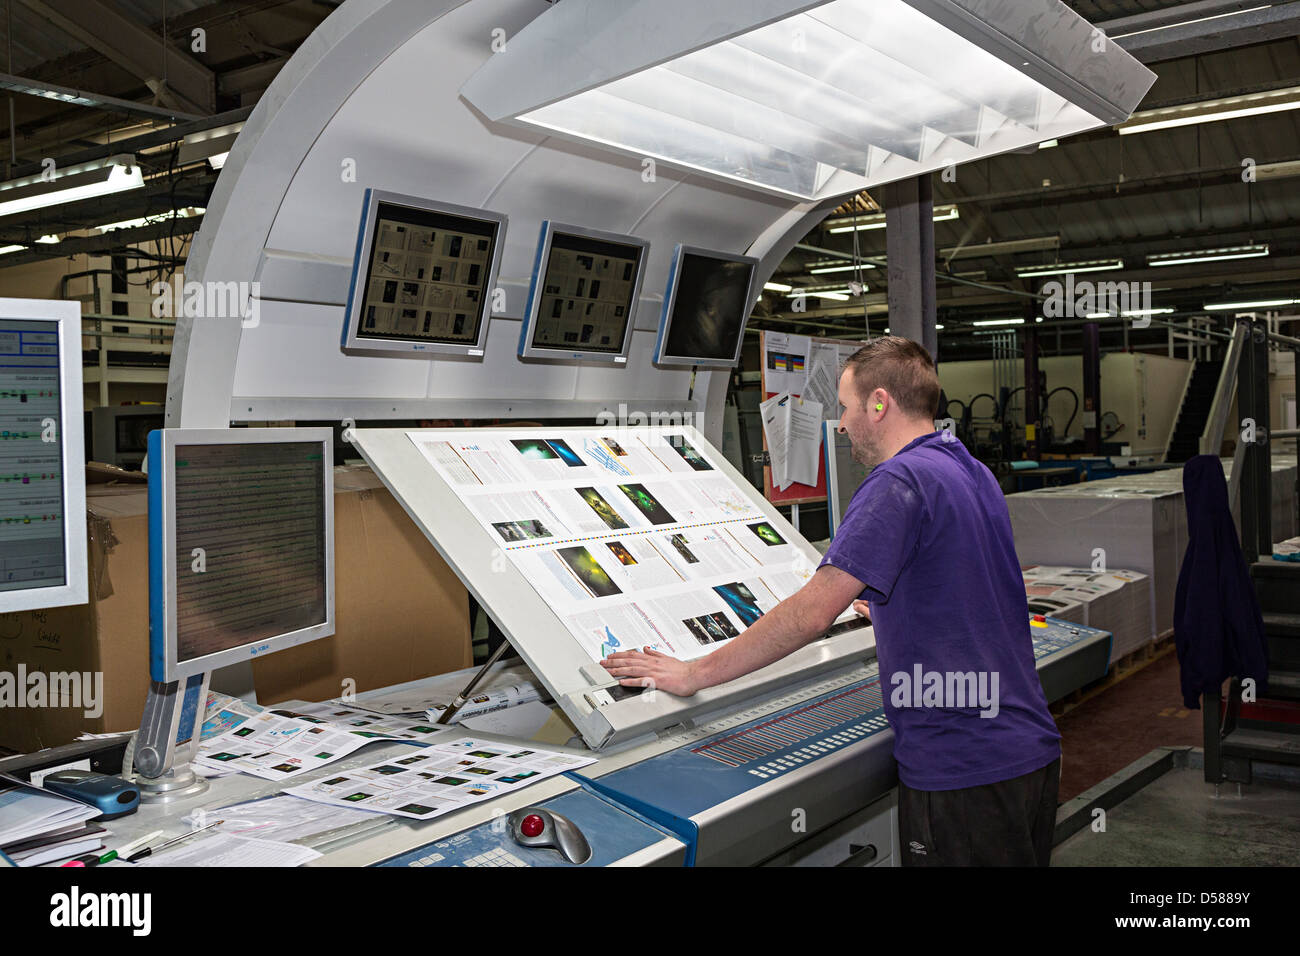
- Offset Printing: For larger runs of prints, offset printing is recommended. This technique delivers consistent and high-quality images and is often used for magazines and professional photography portfolios.
- Use Quality Paper: Don't skimp on the paper! The type of paper can drastically affect the final look. Consider options like matte, glossy, or canvas paper, depending on the effect you want to achieve. Look for acid-free papers to ensure longevity.
- Calibration is Key: Make sure your printer is calibrated correctly to get the best color reproduction. Invest in a good color calibration tool, as this can significantly enhance the accuracy of your prints.
Finally, always do a test print before the final run. This simple step can help you catch any errors and make adjustments as needed. With these techniques in mind, you'll be well on your way to producing stunning prints that truly reflect the quality of your Alamy downloads!
Also Read This: How to Download Alamy Images for Free: Legal and Ethical Guidelines
5. Selecting the Ideal Paper and Material
When it comes to achieving professional image quality from your Alamy downloads, the choice of paper and material is crucial. The right paper can enhance the vibrancy of your images and improve the overall aesthetic of your prints. So, let’s break down the options available to you!
First off, there are different types of paper to consider:
- Glossy Paper: This is perfect for photographs as it produces images with vibrant colors and sharp details. However, be cautious—glossy prints may be prone to glare when viewed at certain angles.
- Satin or Lustre Paper: This type strikes a balance between glossy and matte. It offers rich colors without the excessive shine, making it a great option for professional portfolios.
- Matte Paper: Ideal for images where you want to minimize glare. Matte paper provides a softer finish, which can be great for fine art prints.
- Canvas: If you're looking for a textured finish, canvas might be your best bet. It lends a painterly quality to photographs and is particularly popular for larger prints.
Additionally, consider the weight and thickness of the paper. Heavier paper not only feels more substantial and professional, but it also holds up better over time. A weight of at least 220 gsm is generally recommended for high-quality prints.
Don’t forget about specialty papers too! There are options designed specifically for black and white photography or paper that mimics the look of traditional darkroom prints. Experimenting with different textures can give your images an entirely new dimension.
Remember, choosing the right paper is about matching the material to the intended purpose of your prints. Whether you’re producing gallery-worthy artwork or sending out promotional materials, the suitable paper can significantly elevate the final product. So, don’t rush this decision—sample a few different types of paper to find the one that best captures the essence of your images!
Also Read This: Is Alamy Safe to Use? Exploring Safety and Security for Buyers and Contributors
6. Color Management for Accurate Prints
Now, let’s dive into a crucial aspect of printing that often gets overlooked: color management. Achieving accurate colors in your prints means ensuring that what you see on your screen matches what comes out of the printer. This can significantly affect the professional quality of your final images.
Here are some tips to get you started on the right track:
- Calibrate Your Monitor: Before printing, ensure that your monitor is calibrated. A calibrated monitor will display colors correctly and help you catch discrepancies before printing.
- Use ICC Profiles: Printer manufacturers often provide ICC profiles for specific papers and printers, which help translate colors accurately. Download and install the appropriate ICC profile for your printer and paper combination to get the best results.
- Soft Proofing: This is a technique that allows you to preview how your image will look when printed. Use software like Adobe Lightroom or Photoshop, which offers options to simulate the print output based on your chosen printer and paper settings.
- Color Space: Use the correct color space when editing your images. Adobe RGB is great for capturing a wide range of colors, but for prints, you may want to convert your images to the sRGB color space to ensure compatibility with most printers.
Also, keep in mind that different printers and inks influence color reproduction. If you're using a professional printing service, consult with them about any specific requirements they may have regarding files and color management. They may recommend specific settings or formats that can help achieve the best prints.
Lastly, always do a test print! It’s the best way to see how your adjustments come together on paper. This step can save you time and resources in the long run, allowing you to achieve that professional image quality you’re aiming for.
By keeping color management at the forefront of your printing process, you’ll ensure that your Alamy downloads translate beautifully from screen to print. Trust me, the attention to detail is worth it!
Also Read This: Tips for Navigating iStock When You Can’t Find the Upload Button
7. Common Printing Mistakes to Avoid
When it comes to printing your Alamy downloads, there are several pitfalls that can easily be avoided with a little knowledge. Here’s a rundown of the common mistakes that can jeopardize the quality of your prints:
- Ignoring DPI Settings: One of the most critical elements in achieving a professional print is ensuring that your image has the correct DPI (dots per inch). A common mistake is using images with low DPI, which leads to blurry or pixelated prints. Aim for at least 300 DPI for optimal quality.
- Choosing the Wrong Paper: Not all paper is created equal. Using the wrong type of paper (like standard printer paper for a high-quality photo) can drastically affect the final product. Always choose a paper that complements your image – glossy for vibrant colors, matte for subtle textures.
- Overlooking Color Profiles: Not all printers or screens interpret colors the same way. If you’re not using the appropriate color profile for your printer, it could result in unexpected hues. Always check the printer’s manual for recommended profiles, and consider using Adobe RGB for vibrant color reproduction.
- Skipping Test Prints: Before committing to a large print, do a test run! A small test print can save you time and resources by allowing you to identify potential issues like color mismatch or cropping problems.
- Neglecting Image Calibration: Having your monitor properly calibrated is essential for accurate color representation. If your monitor isn’t calibrated, you might think an image looks great when, in fact, it will not look the same when printed.
- Not Adjusting Contrast and Brightness: Sometimes, images that look perfect on your screen may need slight adjustments when it comes to contrast and brightness for printing. Always double-check your image and tweak these settings if necessary.
- Forgetting to Check Resolution: Make sure your images are high enough resolution for printing. If you’re doing a large format print and your image isn’t high enough in resolution, it might look fine on screen but will result in a poor-quality print.
Avoiding these common pitfalls can make a world of difference in the quality of your prints. Remember, preparation is key to achieving the professional image quality you desire!
8. Conclusion and Final Thoughts on Printing Alamy Downloads
Achieving professional image quality when printing your Alamy downloads doesn’t have to be a daunting task. By understanding the basics of image resolution, color profiling, and the printing process, you can elevate your prints from amateur to stunning. Here are a few final thoughts to keep in mind:
- Preparation is Key: Take time to prepare your images correctly. This includes choosing the right size, properly exporting your files, and checking the settings specific to your printer.
- Stay Up-to-Date: The world of printing technology evolves rapidly. Stay updated on the latest techniques, paper types, and printer options to continually enhance your printing quality.
- Learn from Experience: Don’t hesitate to learn from your mistakes. Each print offers a learning opportunity, helping you fine-tune your process for next time.
- Invest in Quality: Whether it’s the printer, the paper, or your editing software, investing in high-quality equipment and materials can make a significant difference in the final outcome of your prints.
- Seek Feedback: If you’re new to printing or experimenting with styles, seek feedback from fellow photographers or printing professionals. Constructive criticism can be invaluable.
By following these tips and avoiding common printing mistakes, you’re well on your way to producing professional-quality prints that showcase your unique vision and creativity. Embrace the process, enjoy the artistry of printing, and let your Alamy downloads shine! Happy printing!
 admin
admin


