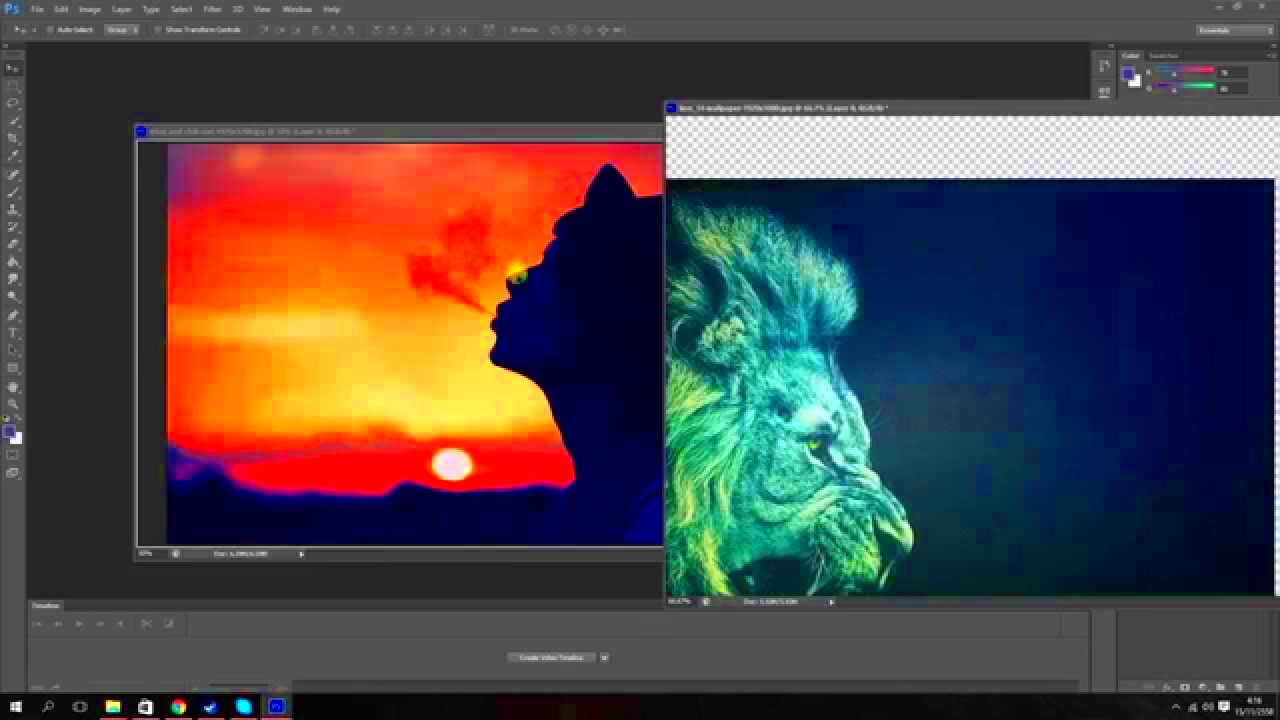
Image overlaying is about positioning one picture atop another to produce an alternate visual impression. Such strategies are popular in graphic design, photography and even digital art. Superimposed photos may generate depth or splashy designs, or narrate some visual tale. One of the best things about this form of art is its flexibility; you can mix various textures, filter them as a photograph or build intricate arrangements. Let us examine these various tactics you can try out.
Below are some common overlay methods:
- Opacity Adjustments: Changing the transparency of the top image to reveal parts of the bottom image.
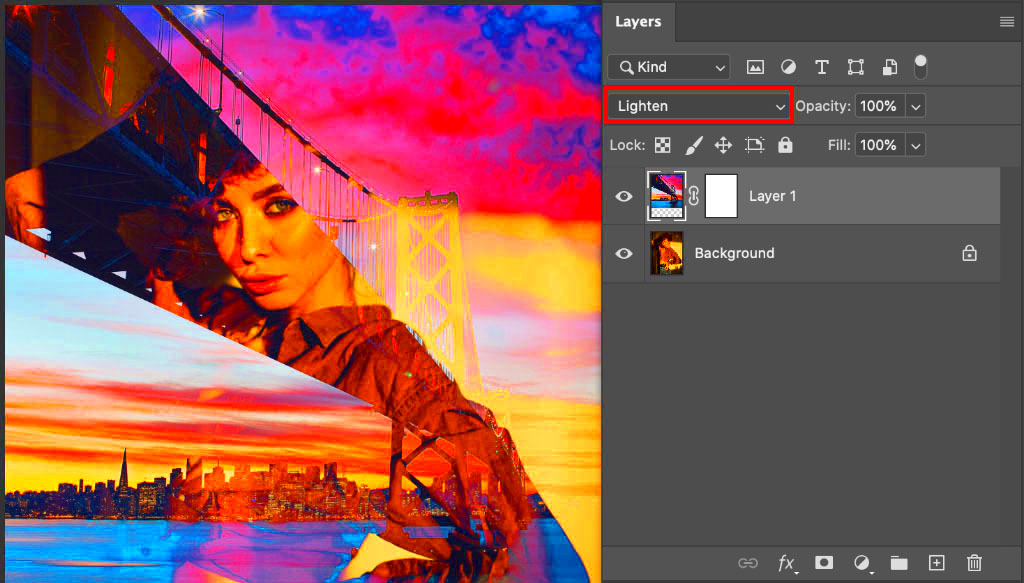
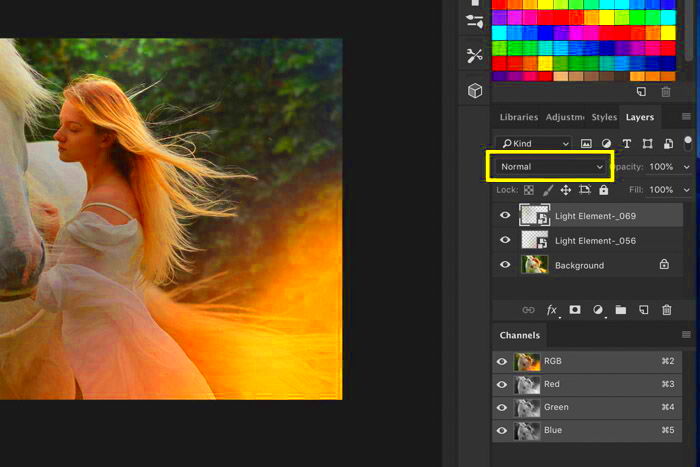
- Blending Modes: Using various blending modes to achieve different effects, like multiply or screen.
- Masking: Hiding parts of the top image to show specific areas of the bottom image.
- Color Filters: Applying color effects to create mood or tone in your composition.
You can improve your inventive ability and easily create amazing designs by mastering these approaches.
Choosing the Right Software for Overlays

Selecting appropriate software is essential for the most favorable outcomes when superimposing pictures. Different applications target different levels of expertise and requirements. Here are some more commonly used examples:
- Adobe Photoshop: Industry standard for image editing. Offers advanced overlay options.
- GIMP: A free alternative to Photoshop with many similar features.
- Canva: User-friendly online tool great for beginners and quick designs.
- Pixlr: Another web-based editor that offers a good balance of features and ease of use.
When choosing a software package, parameters such as your proficiency level, financial capabilities, and unique demands of the project must be taken into account. The majority of software packages come with help files or guides that explain how to use them; hence, feel free to delve into it and see which one meets your needs.
Also Read This: how many free adobe stock have i used
Preparing Your Images for Overlaying

Ready to layer graphic designs? Make sure you do not forget about preparations. To avoid future frustrations, I will show you what needs to be done in order for your photographs to get ready. These are the critical steps in preparing your photographs:
- Choose High-Quality Images: Start with high-resolution images to maintain quality during overlaying.
- Consider Image Compatibility: Ensure the images have a similar style or theme for a cohesive look.
- Edit Images for Consistency: Adjust brightness, contrast, and saturation to make sure your images match well.
- Crop and Resize: Make sure your images are the right size and composition before overlaying.
After preparing your images, the overlaying process becomes easier and more delightful. This way, you can have a refined and professional result.
Also Read This: Making Dreamcore Images: A Step-by-Step Guide
Step-by-Step Guide to Overlaying Images

Merging pictures could appear formidable; however, if one were to decompose it into smaller processes, it becomes simpler. Regardless of your level of expertise or novice credentials, well-defined guidelines would enable you to attain the best results. So let me provide you with a simplified strategy for integrating pictures:
- Select Your Base Image: Start by choosing the image that will serve as the background. This image should set the tone for your overlay.
- Choose the Overlay Image: Pick an image that complements the base. Consider how the two images will work together visually.
- Open Your Editing Software: Launch your chosen software and create a new project. Import both images into the workspace.
- Position the Overlay Image: Drag the overlay image on top of the base image. Adjust its size and position as needed.
- Apply Blending Modes: Experiment with blending modes to see how the overlay interacts with the background. Each mode will produce different effects.
- Adjust Opacity: Tweak the opacity of the overlay image to let the base image show through to the desired extent.
- Use Masks for Precision: If you want to hide certain parts of the overlay, use masking tools for precision.
- Finalize Your Design: Make any final adjustments, and then save your work in the desired format.
In complying with these measures, the creation of beautiful image overlays which makes your graphics projects better is possible; they are amazingly attractive.
Also Read This: Can I Hide a Project in Behance? Everything You Need to Know
Adjusting Opacity and Blending Modes
In order for overlays on pictures to be successful, adjusting opacity and blending modes are two indispensable methods. The final appearance can be greatly altered through these modifications in the way your pictures mingle with one another. This is a breakdown of what they mean:
Opacity: This refers to how transparent or solid an image appears. Lowering the opacity of your overlay image allows the base image to show through. Here's how you can adjust opacity:
- Locate the opacity slider in your software.
- Start at 100% and gradually reduce until you reach your desired effect.
- Keep an eye on the overall composition to ensure balance.
Blending Modes: These modes control how two images blend together. Each mode produces a different effect based on the colors and brightness of the images. Some common blending modes include:
| Blending Mode | Effect |
|---|---|
| Multiply | Darkens the base image by blending it with the overlay. |
| Screen | Lightens the base image, creating a bright effect. |
| Overlay | Combines multiply and screen modes for contrast and brightness. |
Play around with differing levels of opacity and blending modes in order to create one of a kind effects!
Also Read This: adobe stock how to find high resolution photos
Tips for Creating Seamless Overlays
The process of achieving a professional and cohesive look involves several things to consider when creating seamless overlays to enhance your designs making them more appealing. Here are some tips on how you can create such overlays:
- Use Matching Color Palettes: Choose images that share a similar color scheme to create harmony in your composition.
- Pay Attention to Lighting: Ensure that the lighting in both images is consistent to avoid a jarring effect.
- Experiment with Textures: Overlaying textured images can add depth and interest. Consider using textures like paper, fabric, or natural elements.
- Keep It Simple: Sometimes, less is more. Avoid overcrowding your design with too many overlays; focus on a few elements that work well together.
- Use Guides and Grids: If your software allows, use guides or grids to align your images perfectly, ensuring a polished look.
- Review and Edit: Step back and evaluate your design. Make any necessary adjustments to achieve a balanced composition.
If you follow these advices, you will start creating incredible and smooth image overlays that viewers will admire and you will enhance your work.
Also Read This: Cropping Images in Inkscape: An Easy Guide
Troubleshooting Common Overlay Issues
Even the finest designers experience difficulties when it comes to image placement. Being able to fix these frequent problems decreases time wastage and irritation. Below are some of the challenges you may encounter and ways of overcoming them:
- Images Not Blending: If your overlay isn’t blending well, check the blending mode settings. Experiment with different modes to find one that enhances your design.
- Loss of Quality: If your overlay appears pixelated, ensure you’re using high-resolution images. Low-resolution images can compromise quality.
- Unintended Opacity Effects: If your overlay is too transparent or too solid, revisit the opacity settings. Adjust incrementally to find the perfect balance.
- Alignment Issues: If images don’t align properly, use grid tools or guides available in your software. These features can help you position elements accurately.
- Color Clashes: If the colors of your overlay and base image clash, try adjusting the hue or saturation of one of the images. Matching color palettes can create a more cohesive look.
When you comprehend, it will become easy for any designer to lessen elements. This will improve your graphical skills and help achieve desired effects in the work that you do.
Also Read This: Embedding All Images in Illustrator
FAQs about Image Overlaying
Questions about image overlaying might arise, particularly among those who are just starting out. Here are some frequently asked questions in order to clear up common doubts:
- What is image overlaying?
- Image overlaying is the technique of placing one image on top of another to create a unique visual effect.
- Can I overlay images using mobile apps?
- Yes, many mobile apps, like Canva and PicsArt, allow you to overlay images easily.
- What file formats work best for overlays?
- Common formats like JPG, PNG, and TIFF are ideal for overlays. PNG is particularly useful for images with transparency.
- Is there a way to remove an overlay?
- Yes, you can either hide or delete the overlay layer in your editing software to revert to the original image.
- How do I achieve a professional look with overlays?
- Use high-quality images, adjust opacity and blending modes, and ensure consistent lighting and colors for a polished result.
The following paragraphs will attempt at clearing some confusion regarding image overlaying hopefully boosting your confidence while honing this artistic style.
Conclusion on Mastering Image Overlays
This particular skill of mastering image overlays is very important and will elevate your creativity levels outwardly. Various techniques, tips and troubleshooting methods have been highlighted in this guide to ensure your success. With overlaying images, you can come up with as many creative ways as possible from adding depth to creating amazing visual narratives.
Keep in mind that practice is crucial. The more images and methods you try out, the more familiar you will be with them. Go ahead and check out different programs without fearing because this is how one improves his/her abilities according to the hints given in this article.Remember that it’s essential to practice. With various images and ways of doing things, you’ll grow more comfortable if you try them out often. This post gives some helpful hints that can help you hone your skills so do not shy away from trying out different software options.
To enhance your design skills and find your personal style, follow these instructions and suggestions. Hence, take the images with you and let them radiate your imagination through overlays!

 admin
admin


