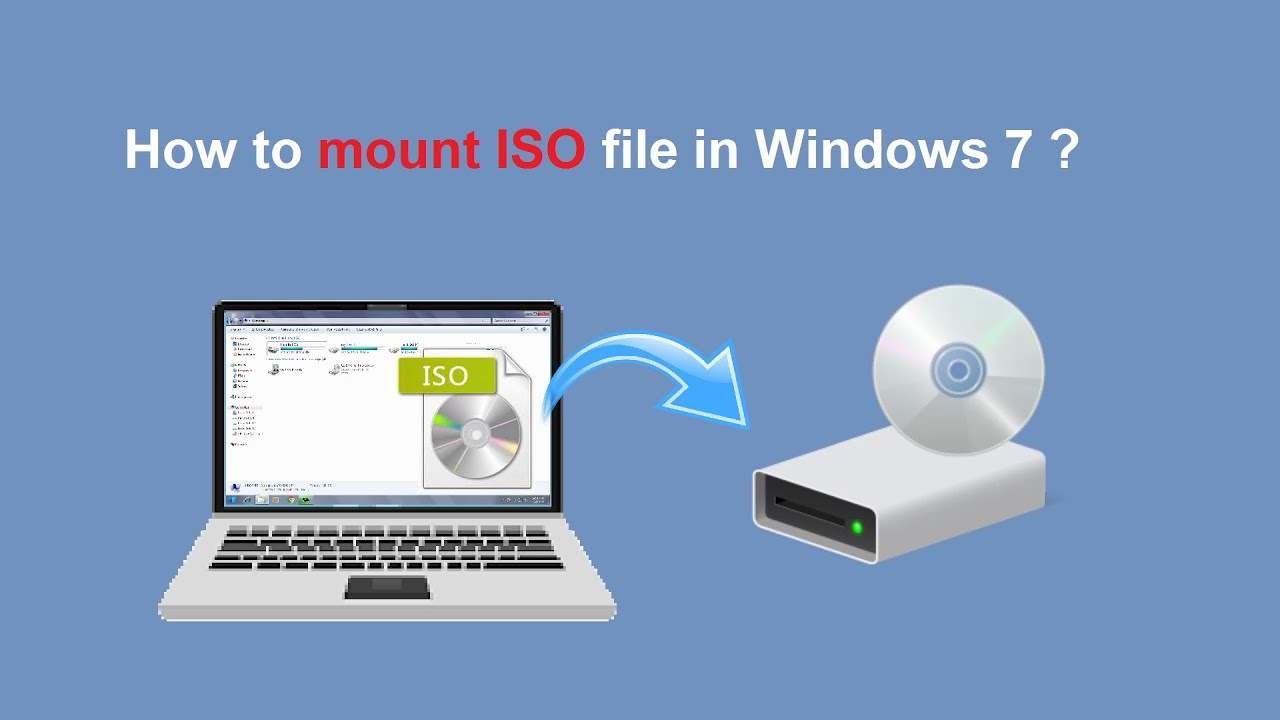
Mounting an ISO image on Windows 7 can seem a bit daunting if you're not familiar with the process. But fear not! This guide will walk you through the basics in a friendly and engaging way. Whether you're looking to access files, install software, or simply make life easier, we’ve got you covered. So let's dig right in!
Understanding ISO Images

To really grasp the concept of mounting an ISO image, it’s essential to first understand what an ISO image actually is. Simply put, an ISO image is a single file that contains the complete contents and structure of a physical disc, such as a CD or DVD. Think of it as a digital clone of a disc, allowing you to replicate its exact data without the need for the physical media.
ISO files can store a variety of information, including:
- Software installers - Many software programs are distributed as ISO images.
- Operating system installations - Windows operating systems often come as downloadable ISO files.
- Backups - Some users create ISO images of their discs for backup purposes.
Now, let’s break it down a bit more:
| Aspect | Details |
|---|---|
| File Extension | .iso |
| Compression | ISO files do not compress data, they replicate it exactly. |
| Usage | Can be mounted, burned to disk, or extracted. |
By mounting an ISO file, you can access its contents without burning it to a DVD or CD. This is especially handy for software installation or accessing files without needing the physical disk. With that foundation laid, you’re now ready to learn how to mount that ISO image in Windows 7!
3. Tools Required for Mounting ISO Files

When it comes to mounting ISO files on Windows 7, having the right tools at your disposal can make all the difference. While Windows 7 doesn’t natively support ISO mounting (like Windows 8 and later versions do), there are a few reliable tools you can utilize to get the job done smoothly. Let’s break down some of the popular options:
- Virtual CloneDrive: This is a free and user-friendly tool that allows you to mount ISO files easily. Once installed, it adds a virtual drive in Windows Explorer. Simply double-click on your ISO file, and it will be mounted as if it were a physical disc.
- Daemon Tools Lite: A well-known application that provides extensive features for mounting ISO files. It supports a variety of disc image formats and provides a straightforward interface to mount and unmount files.
- PowerISO: This versatile software not only lets you mount ISO files but also allows you to create, edit, and convert image files. It offers a free trial, so you can test the waters before committing.
- WinCDEmu: An open-source tool that’s lightweight and efficient. It integrates with Windows Explorer and allows for quick mounting of ISO images with just a few clicks.
Each of these tools has its unique features, so you can choose one based on your requirements. What's great is that they are all relatively simple to use, making the process of accessing your ISO files on Windows 7 as effortless as can be!
4. Step-by-Step Guide to Mount ISO Image on Windows 7
Ready to dive into the specifics? Mounting an ISO image on Windows 7 might seem tricky at first, but by following these easy steps, you'll be up and running in no time!
- Download and Install a Mounting Tool: First, pick one of the tools mentioned earlier, such as Virtual CloneDrive or Daemon Tools Lite, and download it from the official website. Follow the installation instructions, and make sure to allow it to make changes to your device when prompted.
- Open the Mounting Tool: Once installed, open the program. You'll usually find it listed in your Start menu. This will help you prepare to mount your ISO file.
- Select the ISO File: Within the mounting tool, look for an option that says “Mount” or “Add Image.” This typically allows you to browse your computer. Navigate to the location of your ISO file, select it, and click “Open.”
- Mounting the Image: After selecting the ISO file, the tool should begin the mounting process. You may see a virtual drive appear in your “My Computer” or “Computer” folder. This is your mounted ISO image!
- Access the Mounted ISO: Double-click on the virtual drive. This will open it up just like a regular CD/DVD. You can run installers, access files, or transfer data as needed.
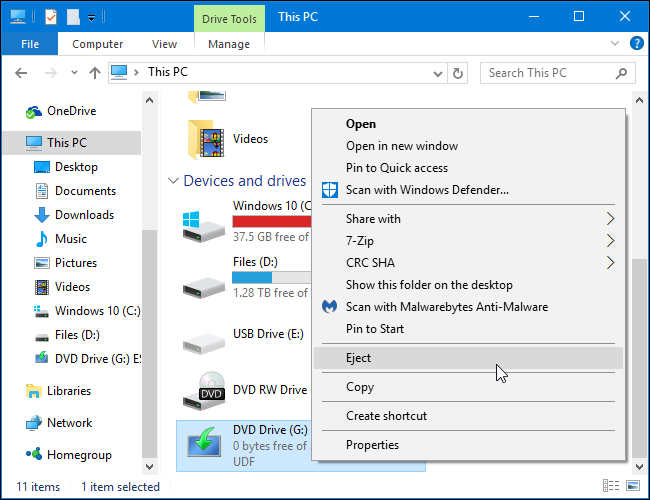
- Unmounting the ISO: When you're done, go back to the mounting tool and look for an option to “Unmount.” Alternatively, you can right-click on the virtual drive in Windows Explorer and select “Eject.”
And that's it! With these straightforward steps, you can easily mount and unmount ISO images on your Windows 7 system, making accessing your software or files a breeze.
Using Third-Party Software for ISO Mounting
While Windows 7 doesn't have a built-in feature to mount ISO files, don't worry! There are plenty of third-party software options that can help you easily mount your ISO images without breaking a sweat. These applications create a virtual drive on your computer, allowing you to access the contents of the ISO file just like a physical disc. Here are some popular choices:
- DAEMON Tools Lite: This is one of the most well-known tools for mounting ISO images and other disc formats. Its user-friendly interface makes it easy to create virtual drives.
- Virtual CloneDrive: A simple, lightweight application that supports various disc image formats, including ISO. It seamlessly integrates with Windows, making it a popular choice among users.
- PowerISO: This versatile software isn't just for mounting; it also allows you to create, edit, and convert ISO files. It comes with a range of features that make it a strong contender.
To get started with any of these tools, simply download and install the software of your choice. Once installed, you can right-click your ISO file and select the 'Mount' option from the context menu, or use the software's interface to choose the file you want to load. After that, your ISO will appear as a new drive in Windows Explorer, and you can access its contents like any other folder.
Troubleshooting Common Issues
Even with the best software, you might run into some bumps along the way when mounting ISO images on Windows 7. Let's walk through some common issues you might encounter and how to troubleshoot them.
| Issue | Possible Cause | Solution |
|---|---|---|
| ISO file won't mount | Corrupted ISO file | Try downloading the file again from a reliable source. |
| Virtual drive not created | Software conflict | Check if any other virtual drive software is running and disable it. |
| Error messages when accessing files | Insufficient user permissions | Run the mounting software as an Administrator. |
| Inability to uninstall mounting software | Software is locked or in use | Restart your system and try again or uninstall in Safe Mode. |
If you find that you've tried these solutions and are still having trouble, consider looking into the software's help section or their online community forums for additional support. Sometimes, just reaching out can lead to solving your issue much quicker than you'd think!
How to Mount ISO Image on Windows 7
Mounting an ISO image on Windows 7 can be essential for various purposes, such as installing software, accessing files, or creating backups. Unlike later versions of Windows, Windows 7 does not natively support ISO mounting, which means you will need to rely on third-party software or specific methods to perform this action. Below is a step-by-step guide to help you through the process.
Method 1: Using Virtual CloneDrive
One of the simplest ways to mount an ISO image on Windows 7 is by using Virtual CloneDrive. Follow these steps:
- Download and install Virtual CloneDrive.
- After installation, the program will run in the system tray.
- Right-click on the ISO file you want to mount.
- Select the option Mount from the context menu.
- The ISO file will appear as a new drive in My Computer.
Method 2: Using WinCDEmu
WinCDEmu is another popular tool for mounting ISO files. Here’s how to use it:
- Download and install WinCDEmu.
- After installation, right-click on the ISO file.
- Select WinCDEmu > Mount.
- The drive will be accessible from My Computer.
Method 3: Using Windows Explorer (with 7-Zip)
If you prefer not to use third-party software, you can extract the ISO contents using 7-Zip:
- Download and install 7-Zip.
- Right-click on your ISO file.
- Choose 7-Zip > Extract Here.
- The files will be extracted for easy access.
To unmount the ISO, simply right-click on the virtual drive in My Computer and select Eject.
Conclusion: Mounting an ISO image on Windows 7 requires third-party applications like Virtual CloneDrive or WinCDEmu. By following these steps, users can access their ISO files easily and efficiently, enhancing their overall experience on this operating system.
 admin
admin


