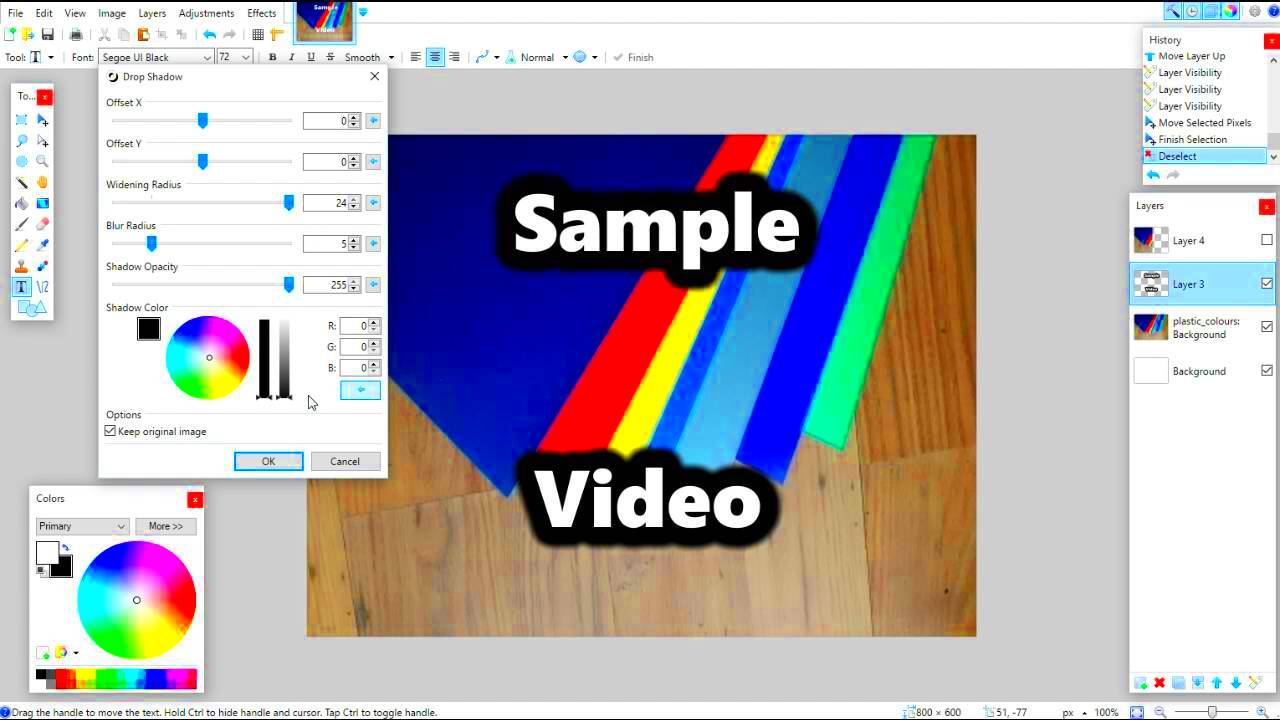
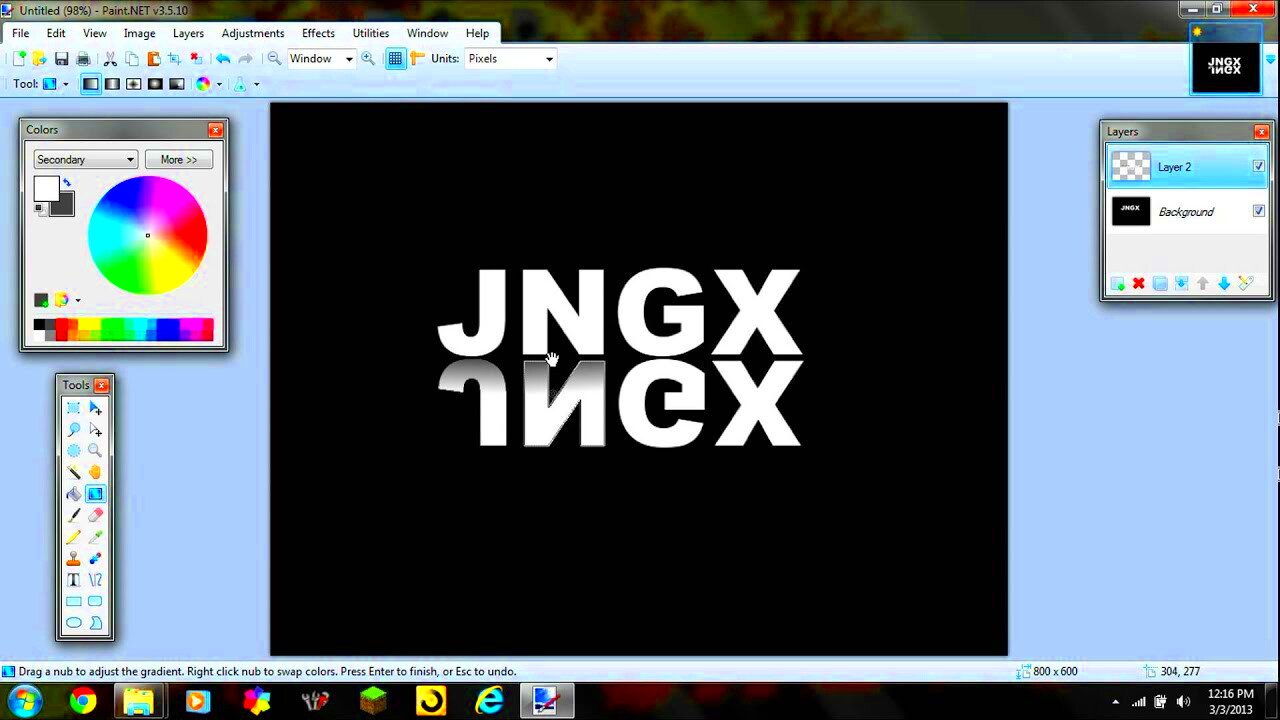
Mirroring an image is a great way to create visually appealing effects or to replicate an image for artistic or design purposes. Whether you want to create a perfect symmetrical
What You Need Before You Start

Before diving into the mirroring process, there are a few things you'll need to ensure that everything goes smoothly. Here’s a quick checklist to prepare:
- Paint.NET Installed: First, make sure you have Paint.NET installed on your computer. If you don’t already have it, you can download it for free from the official website.
- Image File: Have your image ready to edit. It could be a photo, design, or graphic that you want to mirror.
- Basic Familiarity with Paint.NET: While this guide will walk you through each step, some familiarity with the Paint.NET interface will be helpful. If you're new to the software, don’t worry, this guide is beginner-friendly!
Once you've gathered everything, you’re all set to start mirroring your image in Paint.NET. Let’s move on to the first step!
Also Read This: How to Increase Telegram Download Speed for Faster File Transfers
Step 1: Open Your Image in Paint.NET

The first step in mirroring an image in Paint.NET is to open the file you want to edit. This is a simple task, but it’s important to make sure you're starting with the right image before making any changes. Here’s how you do it:
- Launch Paint.NET: Open the Paint.NET application on your computer. If it’s not already installed, you can download and install it for free from the official website.
- Open the Image: Go to the top menu and click on File, then select Open... from the dropdown. A file explorer window will appear.
- Choose Your Image: Navigate to the location where your image is stored. Select the image file and click Open to load it into Paint.NET.
Once your image is open, you’re ready to start editing. You’ll see the image displayed on your screen, and the next steps will involve selecting and mirroring parts of the
Also Read This: How to Add a Logo to Your LinkedIn Company Page for a Professional Touch
Step 2: Select the Part of the Image You Want to Mirror

Now that your image is open in Paint.NET, the next step is selecting the part of the image you want to mirror. This is a crucial step because the selection you make will determine which portion of the
- Choose the Selection Tool: On the toolbar on the left, you’ll see several tools. Click on the Rectangle Select tool for a simple rectangular selection. Alternatively, you can use the Lasso Select tool if you need a more custom shape.
- Draw Your Selection: Click and drag on your image to create a box around the area you want to mirror. If you're using the Lasso tool, simply click around the shape you want to select.
- Adjust the Selection: If the selection isn’t perfect, you can move or resize it by clicking and dragging the edges of the box or the selection itself. Take your time to make sure you're capturing just the part of the image you want to reflect.
Once your selection is made, you’re ready for the next step. Having a clean, accurate selection ensures that the mirrored image looks seamless and polished. Now that the area is selected, it’s time to duplicate it to work on it separately.
Also Read This: Saving Images from Google Slides in Just a Few Clicks
Step 3: Duplicate the Selected Area
At this point, you've chosen the section of the image you want to mirror. The next step is to duplicate this selected area into a new layer. This allows you to make changes to the duplicated section without affecting the original part of the image. Here’s how to duplicate your selection:
- Copy the Selection: With your area selected, press Ctrl + C (or go to Edit > Copy) to copy the selected portion of the image.
- Create a New Layer: Next, you’ll need to paste the selection onto a new layer. Go to the Layers menu and select New Layer. This creates an empty layer above your image.
- Paste the Selection: Now that you have a new layer, press Ctrl + V (or go to Edit > Paste) to paste the copied selection onto the new layer.
Your selection is now safely on a separate layer, which gives you the freedom to make adjustments without disturbing the rest of the image. You can move, edit, or mirror this duplicated section without any risk to the original part of your image. Now, it’s time to flip the image and create the mirrored effect!
Also Read This: how to save an image from a word document
Step 4: Flip the Image Horizontally or Vertically
Now that you have your duplicated image on a new layer, it's time to flip it to create the mirror effect. You can flip the image either horizontally or vertically, depending on the effect you’re going for. Flipping horizontally will create a left-to-right mirror, while flipping vertically will give you a top-to-bottom reflection. Here's how to flip the image:
- Select the Layer: First, make sure the new layer with the duplicated image is active. You can see which layer is selected in the Layers window.
- Flip Horizontally: To flip the image horizontally, go to the Image menu at the top and choose Flip Horizontal. This will flip your selected area along a vertical axis.
- Flip Vertically: If you want to create a top-to-bottom mirror effect, go to the Image menu again and choose Flip Vertical.
Once the flip is complete, you'll notice the image now mirrors the selected part. This step allows you to create a perfect reflection of the original part of your image. You can adjust the flipped section's placement to align it with the original or create a mirrored composition, depending on your design needs. With this step done, you’re well on your way to completing your mirrored image!
Also Read This: Learn How to Choose the Best VK Video Downloader
Step 5: Position the Mirrored Image
Now that your image is mirrored, it’s time to position it to achieve the desired look. This step is all about getting the alignment just right so the mirrored portion fits seamlessly with the original image. Depending on your design, you may want to place the mirrored image right next to the original, or you could create a reflection effect where the mirrored part appears slightly below or beside the original. Here's how to do it:
- Select the Move Tool: To position the mirrored image, you first need to select the Move Selected Pixels tool, which is located at the top of the toolbar. This tool allows you to move the duplicated layer around freely.
- Move the Mirrored Image: Click on the mirrored section (the duplicated layer) and drag it to your desired position. You can place it directly next to the original, or create a gap or overlap if you’re going for a reflection effect.
- Fine-tune the Position: If you need to adjust the position more precisely, use the arrow keys on your keyboard to nudge the mirrored image into place. This gives you fine control for perfect alignment.
- Align for Symmetry: If you’re aiming for symmetry, you can align the mirrored image to the original by using guides or the Align option in the Layers menu. This helps you position the image neatly and evenly.
Take a moment to double-check the positioning of the mirrored image to ensure it fits well with the original. Once satisfied, you can move on to the next step, whether it’s adding finishing touches or saving your work. Positioning is key to making your mirrored effect look polished and cohesive, so make sure the image flows naturally.
Also Read This: Getty Images vs Getty Images: Comparing Two Leading Stock Photography Platforms
Frequently Asked Questions
1. Can I mirror only part of an image in Paint.NET?
Yes, you can select and mirror only a specific part of the image. Use the selection tools to choose the area you want to mirror, and then follow the same steps to duplicate and flip it. This is great if you’re creating designs or collages.
2. Will mirroring an image affect the quality of the image?
No, mirroring an image in Paint.NET does not affect its quality. Since you’re working with a duplicate layer, the original image remains unchanged, and the mirrored copy is just a flipped version of the selected area.
3. Can I create a mirror effect where the mirrored image fades into the background?
Absolutely! You can adjust the transparency or apply effects like blur to the mirrored image layer, creating a more subtle or realistic reflection. This technique is often used in photo manipulations or digital artwork.
4. How do I save the mirrored image?
Once you’re happy with your mirrored image, you can save it by going to File > Save As. Choose your desired file format (JPEG, PNG, etc.) and save the image to your computer.
Conclusion
Mirroring images in Paint.NET is a simple yet powerful technique that can enhance your designs and create striking visual effects. By following these easy steps, you can mirror any part of an image to create a reflection, symmetry, or unique composition. Whether you’re working on a photo project, digital art, or graphic design, knowing how to mirror images opens up new creative possibilities. With just a few clicks, you can transform a simple image into something dynamic and visually captivating. Remember to take your time with each step, and don’t be afraid to experiment with different placements and effects to achieve the best result!

 admin
admin


