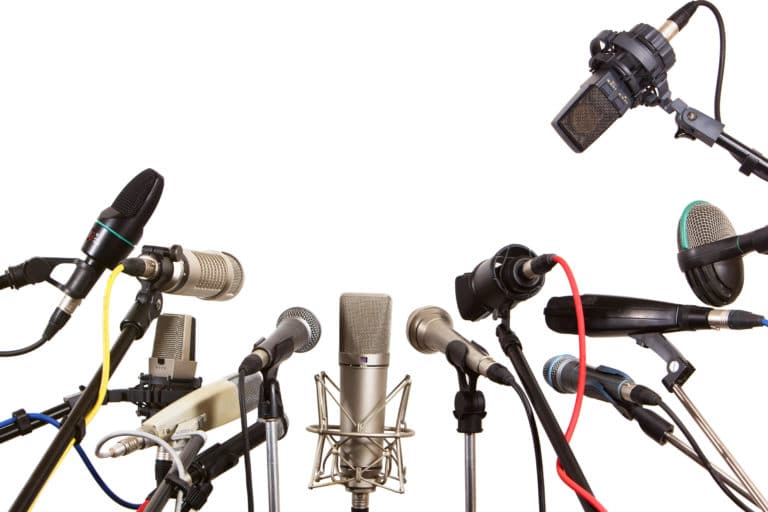
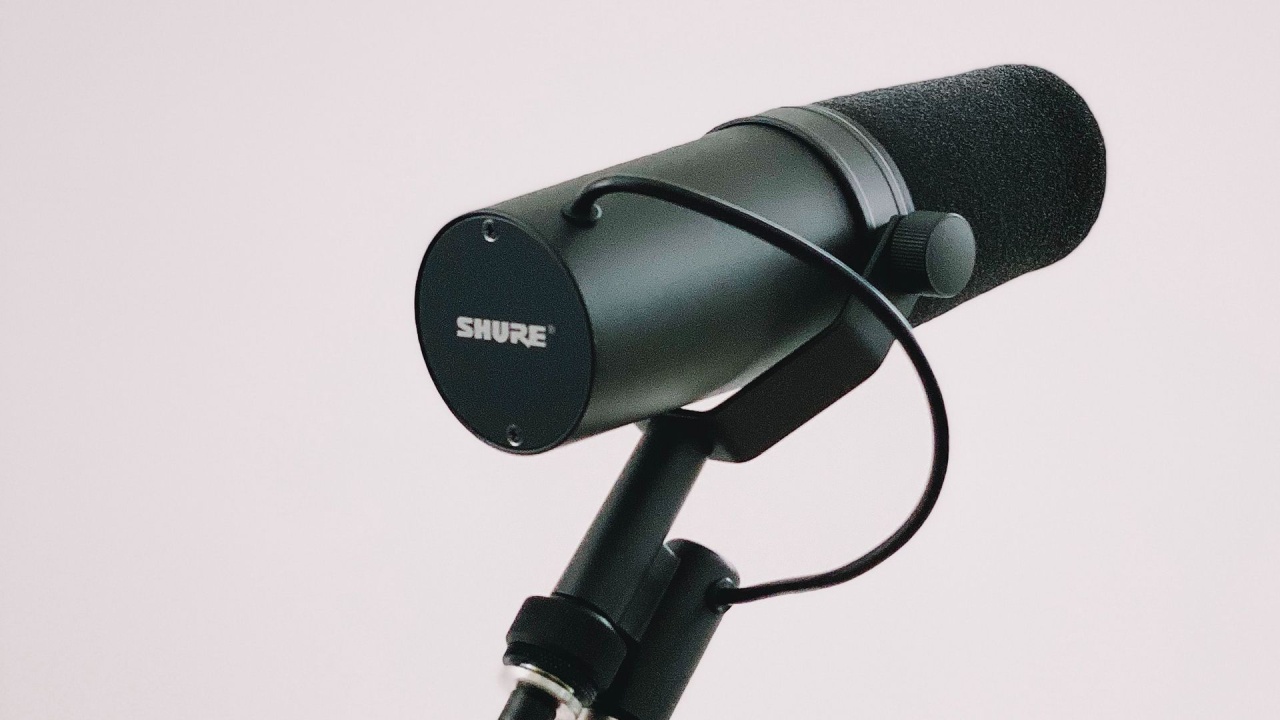
When it comes to creating high-quality videos on YouTube, sound is just as important as visuals. Many budding content creators underestimate the impact that clear and professional audio can have on viewer engagement. Microphones play a crucial role in ensuring that your message is delivered with clarity. In this blog post, we’ll explore the various types of microphones used by YouTubers to elevate their audio quality and make their content shine. Let’s dive in!
Types of Microphones Commonly Used by YouTubers

If you're ready to enhance your YouTube sound quality, it's essential to understand the different types of microphones available. Here's a rundown of the most common options you might encounter:
- Dynamic Microphones:
These microphones are robust and designed to handle loud sounds without distortion. They're perfect for recording vocals in a noisy environment. A popular choice among YouTubers is the Shure SM7B, known for its rich sound quality.
- Condenser Microphones:
Condenser mics are sensitive and great for capturing subtle nuances in voice and instruments. They often require phantom power, but they provide a warm and clear sound, like the Audio-Technica AT2020, loved for its clarity and detail.
- Lavalier Microphones:
Also known as lapel mics, these small, clip-on microphones are perfect for on-the-go shooting. They offer hands-free convenience and are excellent for interviews or presentations. The Rode SmartLav+ is a favorite among YouTubers for its reliability.
- Shotgun Microphones:
Ideal for capturing directional sound, shotgun mics are often used in video production. They focus on sound from a specific direction, making them perfect for vlogging or when you want to isolate voice from background noise. The Rode NTG series is popular among creators for its directional capabilities.
- USB Microphones:
If you're just starting out or want something easy to use, USB microphones are a great option. They plug directly into your computer and are perfect for gamers or podcasters. The Blue Yeti is one of the most sought-after USB mics for its stellar performance and versatility.
Ultimately, the choice of microphone depends on your specific needs, budget, and shooting style. Investing in the right mic can significantly enhance the quality of your videos and keep your audience engaged!
Also Read This: Understanding Adobe Stock Video Credits Pricing
Key Features to Look for in a YouTuber Microphone

When diving into the world of YouTube, having a solid microphone can be the difference between a lackluster video and a professional-grade production. But with so many options available, how do you know what to look for? Here are some key features to consider:
- Sound Quality: This is the most critical factor. Look for microphones that capture clear audio without distortion. A frequency response of 20Hz to 20kHz is generally a good benchmark.
- Directionality: Microphones come in various polar patterns—such as cardioid, omnidirectional, and bidirectional. For most YouTube creators, a cardioid mic, which picks up sound from the front, is optimal as it reduces background noise.
- Connectivity: USB microphones are popular for their ease of use, often requiring only a simple plug-in. XLR microphones, on the other hand, offer more flexibility and sound quality but typically need additional equipment like an audio interface.
- Portability: If you travel or shoot on location, a lightweight, compact mic can be a lifesaver. Ensure it's easy to transport without compromising on sound quality.
- Additional Features: Extras like a built-in pop filter, adjustable gain control, and shock mounts can enhance your recording experience. Look for mics that include these features, if they fit within your budget.
Considering these features will help you choose a microphone that suits your needs, allowing you to produce content that truly shines!
Also Read This: Simple Shutterstock Download Image Method
Top Microphone Recommendations for YouTube Creators
Now that you know what features to look for, let’s dive into some of the top microphone recommendations for YouTube creators. Each of these options has been favored by content creators for their reliability and quality:
| Microphone | Type | Key Features | Price Range |
|---|---|---|---|
| Blue Yeti | USB Condenser | Multiple polar patterns, built-in gain control, and a mute button. | $100 - $150 |
| Rode VideoMic Pro | Shotgun | Designed for DSLR cameras, super cardioid pickup, and battery-operated. | $200 - $250 |
| Audio-Technica AT2020 | XLR Condenser | Wide frequency response and great build quality. Ideal for vocals and instruments. | $80 - $120 |
| Shure MV5 | USB and Lightning | Compact, versatile, and includes built-in DSP for optimizing sound. | $99 |
| Samson Q2U | USB/XLR Dynamic | Affordable, dual connectivity, and great for both beginners and pros. | $70 - $90 |
These microphones not only cater to various budgets but also meet the sound quality needed for YouTube success. Choose one that fits your style, and you're on your way to producing crystal-clear audio!
Also Read This: How to Live Stream on Dailymotion
Tips for Achieving Professional Sound Quality
Getting that crystal-clear sound quality isn’t as complicated as it might seem! Here are some simple yet effective tips to help you achieve the professional audio quality you’re aiming for in your YouTube videos:
- Choose the Right Microphone: As mentioned earlier, different microphones serve different purposes. If you're vlogging, a shotgun mic might work best, while a cardioid mic is excellent for studio setups. Make sure to pick one that fits your recording environment.
- Use a Pop Filter: Placing a pop filter in front of your microphone can significantly reduce unwanted plosive sounds (the 'p' and 'b' sounds). It’s a small investment that makes a huge difference!
- Control Your Environment: Eliminate background noise and echoes as much as possible. Soft furnishings, carpets, and curtains can help absorb sound, reducing reverberation and creating a more focused audio experience.
- Optimize Mic Placement: Experiment with different mic positions to discover where it sounds best. General rule of thumb: Keep it about 6-12 inches away from your mouth, and adjust based on your style of speaking.
- Monitor Your Sound: Always test your audio levels before recording your full video. Use headphones to listen live, and make adjustments as necessary to avoid distortion.
- Edit Thoughtfully: Use audio editing software to clean up your sound. Tools like Audacity or Adobe Audition can help you eliminate noise, enhance clarity, and ensure a polished sound.
By following these tips, you can elevate the audio quality of your YouTube videos, making them more engaging for your audience!
Conclusion
In the fast-paced world of YouTube, having professional sound quality can set your content apart and keep viewers coming back for more. Remember, it’s not just about the visual appeal but also about how your message resonates through sound.
As we discussed, investing in the right microphone is crucial, but it doesn’t stop there. It's equally important to create a conducive environment for recording, optimize your microphone placement, and edit thoughtfully later on. Here’s a quick recap:
| Key Points |
|---|
| Choose the right microphone for your content type. |
| Utilize pop filters to minimize unwanted sounds. |
| Eliminate background noise in your recording space. |
| Experiment with mic placement for optimal sound. |
| Regularly monitor sound levels while recording. |
| Edit audio for clarity and professionalism. |
So remember, sharp visuals and great storytelling pair beautifully with crisp, clear audio. With these tips in your back pocket, you’re well on your way to enhancing your YouTube channel's sound quality. Now go ahead and hit that record button with confidence!
 admin
admin


