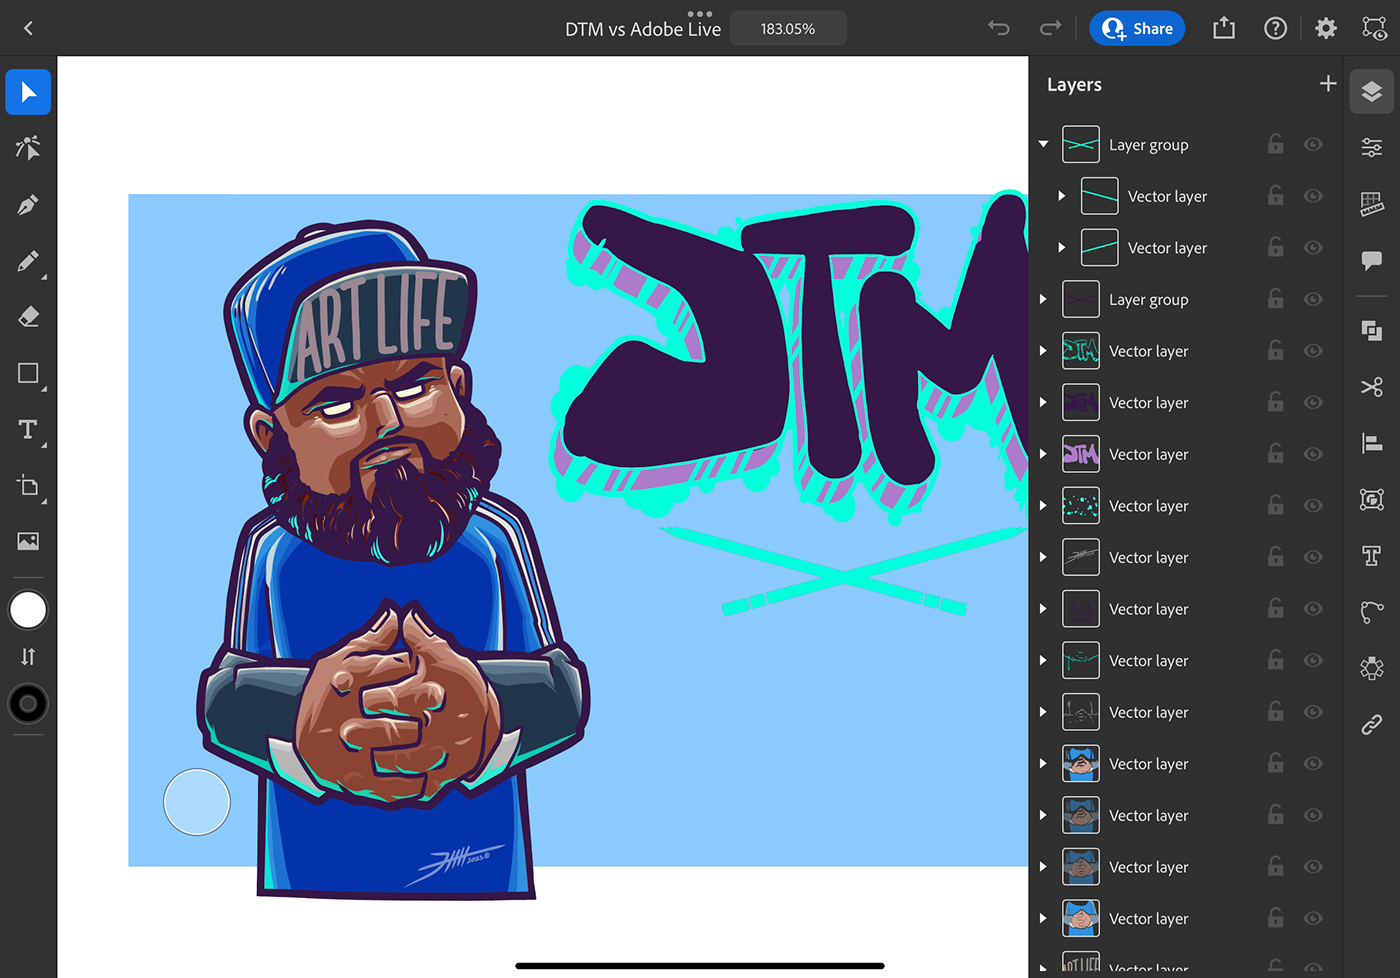
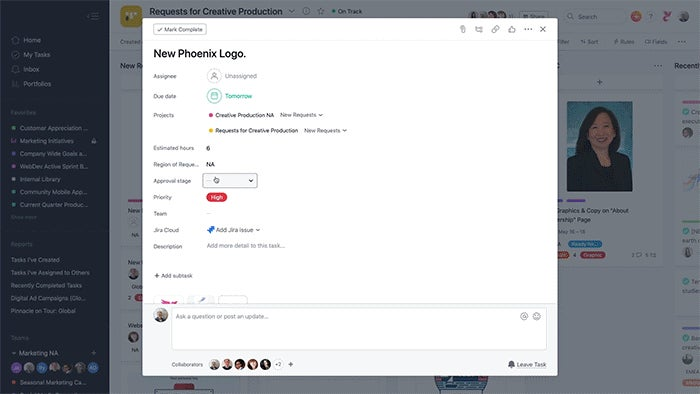
In the fast-paced world of creative work, finding ways to streamline your process can significantly enhance productivity and unleash your creativity. That's where the integration between Adobe Creative Cloud and Behance comes into play. This powerful duo not only allows you to create stunning designs but also provides a platform to showcase your work and connect with a global community.
Imagine having all your creative projects stored in one place, ready to share with the world at the click of a button. With Creative Cloud, you're equipped with industry-leading software like Photoshop, Illustrator, and InDesign, making complex tasks feel like a breeze. Meanwhile, Behance serves as your personal gallery, enabling you to display your projects, receive feedback, and discover inspiration from other artists. Together, these tools can transform the way you work and share your art!
Setting Up the Integration

Getting started with integrating Creative Cloud and Behance is easier than you might think! Here’s a step-by-step guide to help you set everything up and maximize your workflow:
- Create a Behance Account: If you don’t already have one, head to the Behance website and sign up for a free account. Ensure you fill out your profile completely, as it reflects your brand.
- Link Your Adobe Account: After logging in to Behance, navigate to your account settings. Look for the option to connect your Adobe ID, which should be linked with your Creative Cloud subscription.
- Import Projects from Creative Cloud: Once linked, you can easily import your Adobe projects directly into Behance. This is done through the “Upload” feature, where you can select your Creative Cloud files.
- Use Creative Cloud Libraries: Utilize Creative Cloud Libraries to organize assets (like colors, images, and text styles) that you can then access in both Creative Cloud applications and Behance.
- Sync Your Work: With the integration set up, you can sync your changes across both platforms. Any updates made in your Creative Cloud apps will reflect on Behance, ensuring your audience sees the latest version of your work.
By following these steps, you can effortlessly set up the integration and begin sharing your creativity like never before! The seamless connection between Creative Cloud and Behance not only saves time but also opens doors to networking and collaboration opportunities. So go ahead, take the plunge, and let your imaginative spirit shine!
Also Read This: Ultimate Guide to Purchasing Adobe Stock Images
Benefits of Using Creative Cloud with Behance

Integrating Adobe Creative Cloud with Behance is like adding jet fuel to your creative engine. Let’s dive into some of the standout benefits you can reap by using these two powerful platforms together.
- Seamless Project Sharing: With this integration, sharing your Creative Cloud projects directly to your Behance profile has never been easier. You can show off your work to a wider audience without dealing with the hassle of exporting files and manually uploading them.
- Enhanced Collaboration: Collaboration becomes a breeze when you can invite team members right from Creative Cloud. Real-time feedback and discussions can happen on Behance, which fosters a creative community dynamic.
- Portfolio Development: Behance is a fantastic platform for building a portfolio. By integrating with Creative Cloud, you can easily compile your best works, making your portfolio not only visually stunning but also updated effortlessly.
- Increased Visibility: Behance has a massive audience filled with creative professionals and potential clients. When you showcase your work on Behance, you gain exposure and increase your chances of landing lucrative projects based on your impressive portfolio.
- Feedback Opportunities: The Behance community is vibrant and filled with fellow creatives who are eager to provide constructive feedback. This feature can help you improve your skills and refine your projects.
- Creative Cloud Integration: By using Creative Cloud, you gain access to a suite of advanced tools that allow you to elevate your work before sharing it on Behance. This creates a virtuous cycle of improvement and sharing.
In essence, combining Creative Cloud with Behance not only simplifies your workflow but also opens up new opportunities for creativity, collaboration, and visibility in the creative landscape.
Also Read This: Tips for Earning Your Behance Badge and Gaining Recognition
Streamlining Your Workflow: Step-by-Step Guide

Ready to take your workflow to the next level? Here’s a simple step-by-step guide to seamlessly integrate Adobe Creative Cloud with Behance, ensuring you maximize your productivity.
- Step 1: Sign In to Both Accounts
Start by logging into your Adobe Creative Cloud and Behance accounts. If you don’t have a Behance account yet, it’s time to create one!
- Step 2: Connect Your Accounts
In Creative Cloud, navigate to the preferences section. Look for the “Behance” option and follow the prompts to link your accounts. This only takes a minute but opens a world of opportunities.
- Step 3: Create or Open a Project
Open Adobe Photoshop, Illustrator, or any other Creative Cloud app you work with. Create a new project or open an existing one that you’re excited about.
- Step 4: Save Your Work to the Cloud
Make sure to save your project to the Creative Cloud. This is crucial as it ensures your work is backed up and accessible across all devices.
- Step 5: Publish to Behance
Once your project is ready, go to the “File” menu and find the “Publish to Behance” option. Fill in the project details, including title, description, and tags to help people find your work.
- Step 6: Engage with the Community
After publishing, don’t just sit back! Interact with comments and feedback, and explore other creators’ works to broaden your inspiration.
By following these simple steps, you can streamline your workflow significantly, from creation in Creative Cloud to sharing on Behance, ensuring your creative process is both effective and enjoyable.
Also Read This: Explore How to Easily Download Bilibili Video to Mp4 Format
5. Tips for Enhancing Collaboration with Behance

Collaboration can elevate your creative projects to new heights, and Behance is a fantastic platform to facilitate that. Here are some practical tips to enhance collaboration using Behance:
- Create Project Teams: Start by forming project teams within Behance. This allows you to gather all collaborators in one place, making communication seamless and organized.
- Share Assets Efficiently: Utilize Behance's features to upload and share assets. Whether you’re using graphics, videos, or documents, having everything in one location makes it easier for everyone to comment and provide feedback.
- Utilize Comments for Feedback: Encourage team members to leave comments on your project drafts. This creates a collaborative atmosphere where everyone feels engaged and valued, and it helps track ideas more effectively.
- Leverage Groups and Networks: Join groups that align with your project’s goals. Networking with other creatives can lead to constructive partnerships and mentorship opportunities.
- Encourage Regular Updates: Keep everyone in the loop by posting regular updates about project progress. This makes sure that all team members can stay informed and offer input whenever necessary.
By actively using these collaborative features on Behance, you can transform your projects from individual efforts into rich, collective endeavors that showcase the power of teamwork and creativity.
6. Conclusion: Making the Most of Your Creative Tools
In the fast-paced world of creative work, making the most of the tools at your disposal can significantly impact your productivity and quality of output.
Adobe Creative Cloud and Behance integration is a powerhouse combination that offers a myriad of benefits:
- Streamlined Workflow: With robust file syncing and easy project sharing, your workflow is not just efficient but also enjoyable.
- Boundless Creativity: Having direct access to Adobe’s suite of applications means you can explore your creative horizons with no limitations.
- Showcase Your Work: Behance gives you a platform to display your talent to the world, opening doors for potential collaborations and job opportunities.
- Engage with a Community: Connect with fellow creatives, gain feedback, and inspire each other, all of which are essential for growth.
So, don’t hesitate! Dive into the features offered by Creative Cloud and Behance, and enhance your creative journey. Remember, when you maximize your tools, you don’t just work harder; you work smarter. Happy creating!
 admin
admin


