Nail buffing is an art that can elevate your manicure game to new heights. If you've ever admired those perfectly smooth and shiny nails, then you’re in the right place! While we often focus on our nail polish and art, the foundation of beautiful nails starts with proper buffing. It’s not just a luxurious spa treatment; it’s an essential part of nail care that anyone can learn. So, let's dive into what nail buffing is, why it's important, and how you can master this technique to achieve that gorgeous glossy finish.
Benefits of Using a Nail Buffer

Using a nail buffer comes with a plethora of benefits that can transform not only the look of your nails but also their health. Let’s explore these advantages in detail:
- Smoother Nails: Buffing helps to smooth out the surface of your nails. It effectively removes ridges and imperfections, making your nails look neater and more polished.
- Enhanced Shine: One of the most immediate benefits you'll notice is the shiny finish that buffing creates. Regular buffing can give your nails a natural luster that rivals a high-gloss polish.
- Better Nail Health: Buffing can increase blood circulation to your nails, promoting healthy growth. It can also help to remove dead skin cells, allowing for better absorption of oils and moisturizers.
- Minimal Makeup Needed: With beautifully buffed nails, you might find that you don’t need a sticky top coat or multiple layers of polish to achieve a great look.
- Longer Lasting Manicure: A smoother surface allows nail polish to adhere better, which can extend the life of your manicure.
In summary, mastering the nail buffer not only enhances the appearance of your nails but also contributes to their overall health and resilience. So, invest some time into learning this skill; your nails will thank you!
3. Types of Nail Buffers

When it comes to nail buffers, you might be surprised at the variety available. Choosing the right type can make a significant difference in achieving that smooth and shiny finish you desire. Let’s dig into the different types of nail buffers and what makes each one unique.
- Foam Buffers: These are the softest and gentlest buffers, perfect for beginners. They have a cushioned texture and are great for shining nails without removing too much surface layer. Ideal for natural nails!
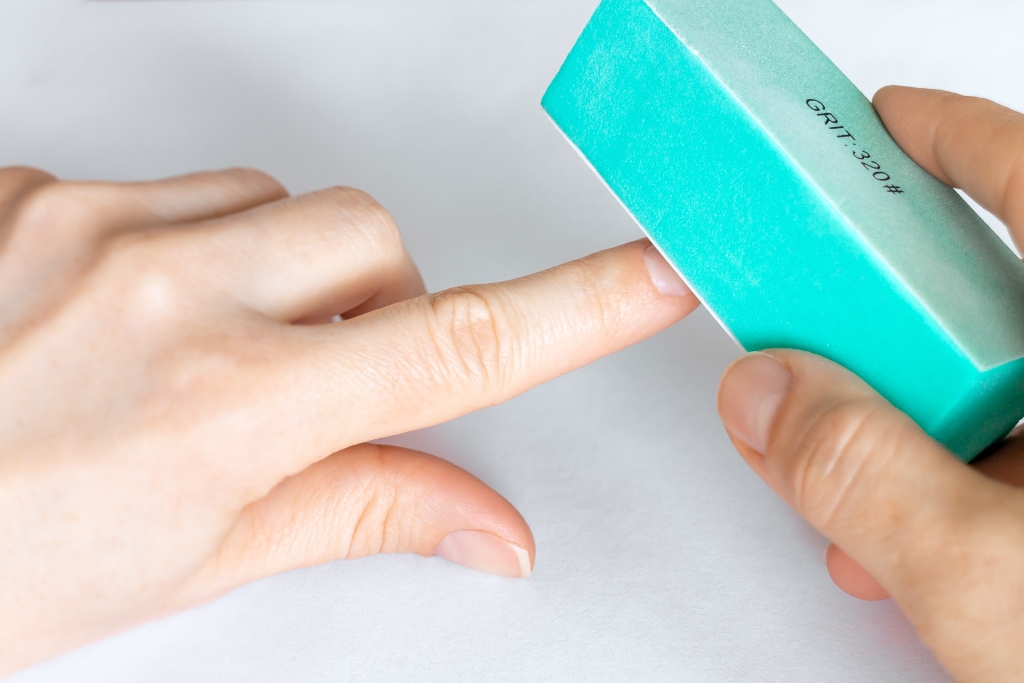
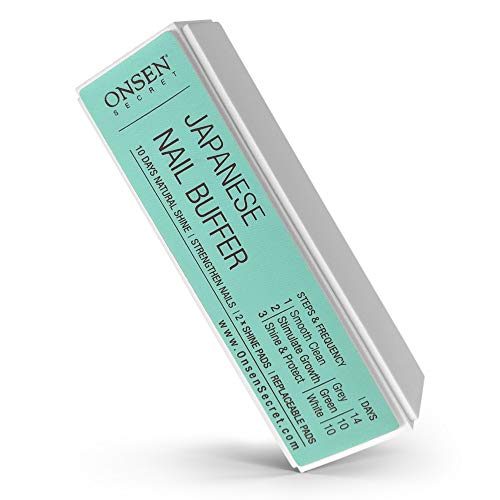
- Block Buffers: These typically come in a rectangular shape and offer multiple grits on each side. You can use them for everything from smoothing to polishing. They are versatile and suitable for both natural and artificial nails.
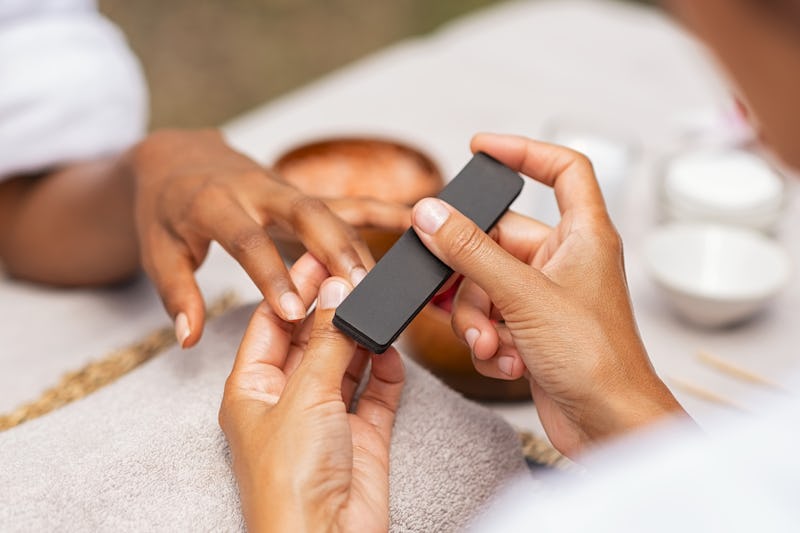
- Buffer Files: Made like a nail file, buffer files generally come with different grit levels. The rougher side helps with shaping, while the finer side polishes. They are excellent for those who like to quickly achieve a smooth finish.
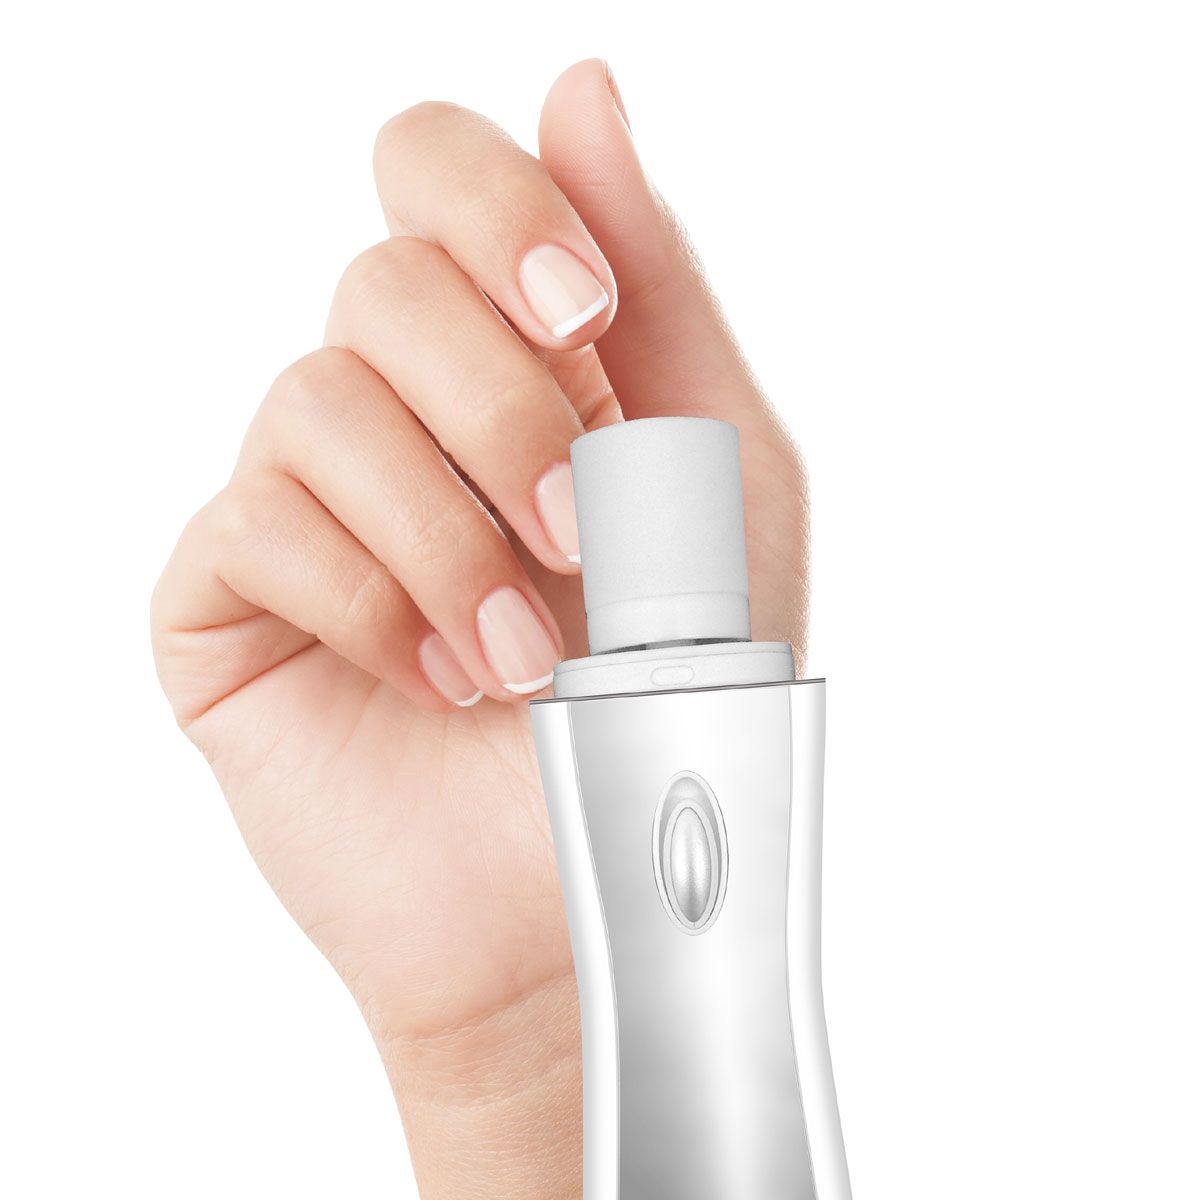
- Electric Buffers: For the tech-savvy, electric nail buffers can save time and effort. They provide professional results at home but require a bit of practice to use effectively.
- Sanding Blocks: These are usually more abrasive than other buffers and are mainly used for artificial nails. Use these with caution, as they can overly thin natural nails if used incorrectly.
Choosing the right buffer can mean the difference between dull and dazzling nails. Remember to consider your nail type and the finish you’re after when selecting!
4. Step-by-Step Guide to Using a Nail Buffer

Ready to get started with your nail buffer? Here’s a straightforward, step-by-step guide to help you achieve that perfect, smooth, and shiny nail look. Follow these simple steps:
- Prep Your Nails: Begin with clean, dry nails. Remove any nail polish, and wash your hands to eliminate any oils or residues that might interfere with the buffering process.
- Choose the Right Side: If you’re using a block buffer, identify the side that’s suitable for smoothing. Use the coarser grit first to address any imperfections.
- Buff Gently: Using light pressure, buff your nails in a back-and-forth motion or circular movement. Avoid going to town on your nails - the goal is to polish, not to overbuff!
- Switch It Up: Once your nails are smooth, switch to a finer grit. This is where the magic happens! Buff your nails again using the fine side until they shine.
- Finish Strong: Wipe away any dust with a clean towel or hand. For extra shine, consider applying a topcoat or a nail oil to moisturize your nails after buffing.
- Clean Your Buffer: Always clean your buffer after use. If you've used it on artificial nails, ensure any debris is removed to maintain its condition for next time.
And there you have it! By following these steps, you’ll master the art of buffing in no time. Enjoy your smooth, shiny nails and the feeling of accomplishment that comes with them!
Tips for Achieving the Best Results

Achieving smooth and shiny nails using a nail buffer is not just about applying it haphazardly; there are some tricks of the trade that can help you get the best results. Here are some handy tips to keep in mind:
- Choose the Right Buffer: Not all buffers are created equal. Look for one with multiple grits (such as coarse, medium, and fine) to cater to your specific nail needs.
- Prep Your Nails: Before buffing, make sure your nails are clean and dry. Remove any nail polish and wash your hands thoroughly. This helps in getting an even shine.
- Buff Gently: Apply light pressure while buffing. Remember, it's not about scrubbing your nails; it's about gently polishing them to smooth the surface.
- Follow a Pattern: Buff from side to side, then top to bottom, and finally finish with a circular motion. This technique helps in evenly distributing the shine.
- Moisturize Afterwards: Buffing can dry out your nails and cuticles. After your buffing session, apply a good quality cuticle oil or hand cream to keep your nails healthy.
By following these tips, you're sure to achieve that salon-fresh look right from the comfort of your home!
Common Mistakes to Avoid
While buffing nails may seem straightforward, there are several common pitfalls that can sabotage your efforts. Let’s discuss some mistakes you should steer clear of:
- Over-Buffing: It can be tempting to keep going until you see a super shine, but over-buffing can weaken your nails. Set a limit to how often you buff. Once every couple of weeks is often enough.
- Using Too Much Force: Applying too much pressure may cause damage and friction, leading to brittle nails. Remember, less is often more when it comes to buffing.
- Neglecting Your Cuticles: Don’t forget to take care of your cuticles! Buffing can lead to dry cuticles, so make sure to keep them moisturized.
- Skipping Base and Top Coats: After you’ve buffed to perfection, skipping these coats can diminish your shine. Always apply a base coat before polish and a top coat to seal it in.
- Using the Wrong Products: Avoid using harsh chemicals or metallic buffing tools; they can damage your nails. Stick with quality buffers designed specifically for nail care.
By avoiding these common mistakes, you'll be well on your way to mastering the nail buffer and achieving beautifully smooth and shiny nails!
7. Maintaining Your Nail Buffer
Taking good care of your nail buffer is just as important as using it properly. Regular maintenance can prolong its life and ensure you get the best results when buffing your nails. Here are some handy tips to keep your nail buffer in top shape:
- Clean After Each Use: It's essential to clean your nail buffer after every use. You can use a damp cloth or a soft brush to remove any residue or dust buildup.
- Store Properly: Keep your buffer in a cool, dry place. Avoid exposing it to moisture, as this can cause it to deteriorate. A protective case can also help keep it safe from nicks and scratches.
- Regularly Inspect: Check the condition of your buffer regularly. If you notice any fraying or damage, it might be time to replace it.
- Don’t Overuse: Although it might be tempting to buff away, remember that less is more. Over-buffing can weaken the nail structure, so aim for a balance.
- Disinfect Occasionally: If you share your nail buffer with others, don’t forget to disinfect it occasionally to avoid spreading germs.
By following these simple maintenance tips, you can ensure that your nail buffer remains effective and continues to give you that smooth, shiny finish you love. Keeping your tools clean and in good condition is a crucial part of any nail care routine!
8. Conclusion: Perfecting Your Nail Care Routine
In conclusion, mastering the nail buffer is just one part of creating a flawless nail care routine. Smooth and shiny nails can significantly elevate your overall appearance and boost your confidence. Here's a quick recap of what you can do to achieve the best results:
- Understand Your Tools: Knowing how to use a nail buffer can make all the difference.
- Combine Techniques: Pair buffing with regular nail trimming and painting.
- Invest in Quality Products: High-quality buffers and nail care products yield better results and are often more durable.
- Create a Regular Schedule: Like any beauty routine, consistency is key. Establish a nail care schedule that works for you.
- Listen to Your Nails: Pay attention to how your nails respond to buffing and adjust your technique accordingly.
Ultimately, a well-rounded nail care routine that features buffing as a key component can lead you to beautiful, shiny nails that are the envy of everyone around you. So get out there, buff away, and take pride in your nail care journey!
 admin
admin


