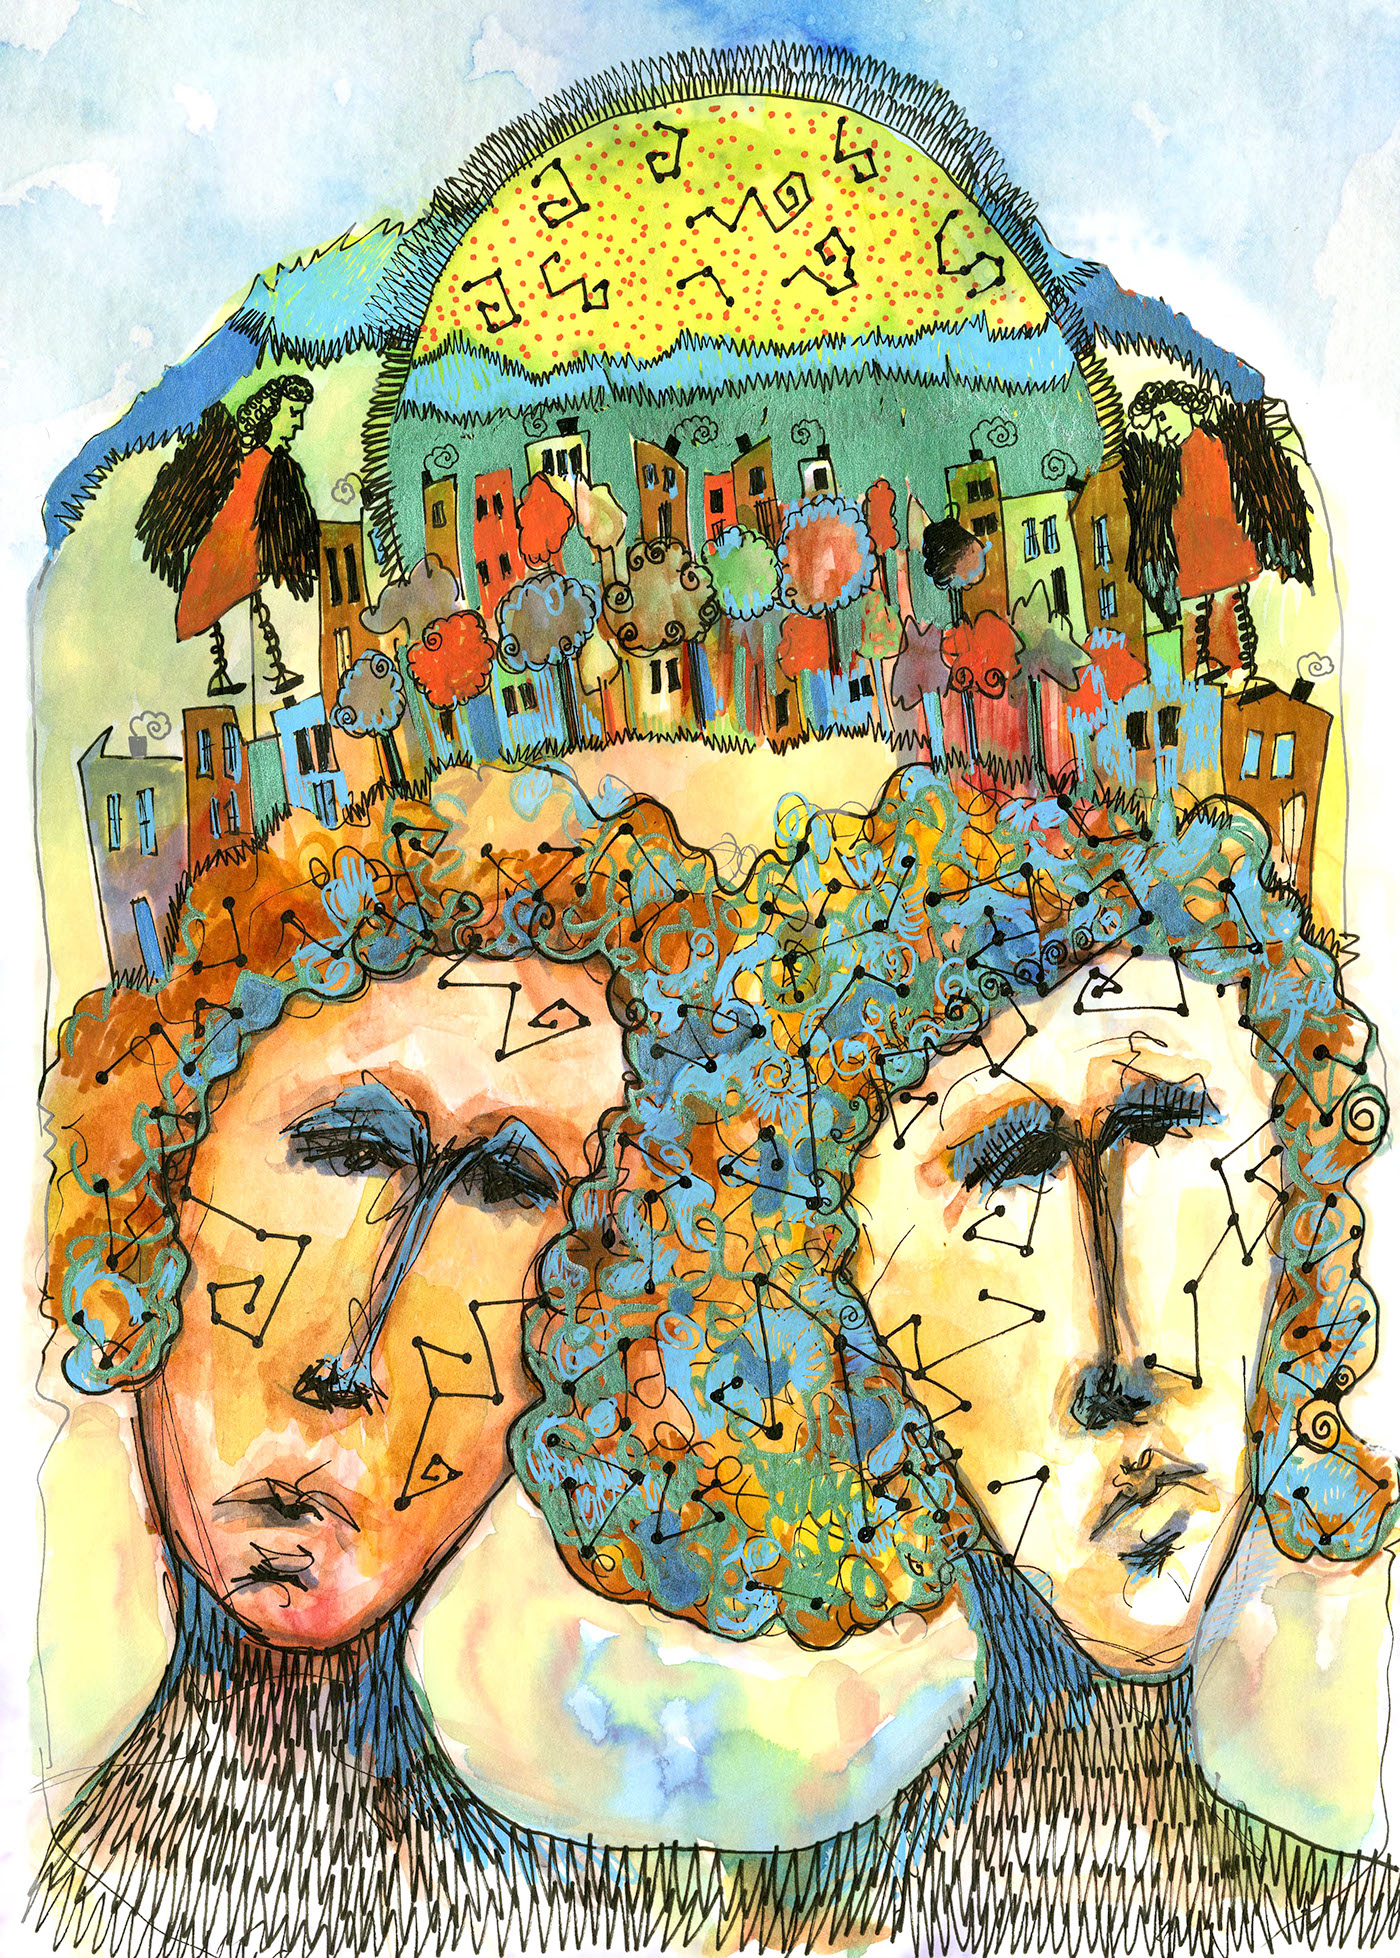
If you're looking to showcase your creative work, Behance is one of the best platforms out there. But there's more to it than just throwing up some images and calling it a day. Mastering multiple image uploads and organizing your projects effectively can make a huge difference in how your work is perceived. In this post, we’ll take a deeper dive into getting your Behance account set up and ready for action. Buckle up; it’s going to be a creative ride!
Setting Up Your Behance Account

Getting started with Behance is straightforward, but a few key settings can make your experience much smoother and more enjoyable. Here’s how to set up your account effectively:
- Sign Up: First things first, visit the Behance website and click the "Sign Up" button. You can use your Adobe ID, or you have the option to sign up using your email address.
- Choose Your Username: Your username is crucial as it reflects your brand. Pick something that’s memorable, professional, and aligns with your creative identity.
- Fill Out Your Profile: Complete your profile by adding a profile photo, a cover image, and a brief bio. This is your chance to make a strong first impression, so be creative!
Here are a few tips to optimize your profile:
- Use Keywords: Incorporate relevant keywords in your bio and project titles; this helps in making your work more discoverable.
- Link Social Media: Connect your social media accounts to encourage cross-promotion and keep your fans updated.
- Project Customization: Once your account is set up, organize your projects into various categories to make navigation easier for viewers.
In a nutshell, a well-organized profile sets the stage for showcasing your best work. Make sure you invest some time in getting your Behance account just right!
Also Read This: How to Create an Eye-Catching Carousel Post on LinkedIn
Preparing Your Images for Upload

Before diving into the exciting task of uploading your images to Behance, it's crucial to make sure each image is ready to shine! Proper preparation involves a few key steps that help ensure your project looks professional and enticing. Here’s how to get started:
- Resolution Matters: Always ensure your images are high-resolution before uploading. Aim for at least 72 dpi for web images. This keeps your visuals sharp and appealing.
- Consistent Formatting: To create a cohesive look in your project, maintain a consistent format. Use similar ratios and dimensions across your images. For instance, if your main images are 16:9, stick to that ratio throughout.
- Optimize File Size: Large files might take a long time to upload and could hamper viewing experience. Use tools like TinyPNG or JPEGmini to reduce file size without sacrificing quality.
- Color Correction: Take a moment to adjust the colors and contrast of your images. Bright and vivid colors can catch a viewer's eye, making your project much more inviting.
- Caption and Tagging: Prepare any relevant captions or tags that you want to include with your images. This will streamline the uploading process and help viewers understand your work better.
By following these steps, you'll set the stage for a successful image upload. Remember, a well-prepared image is already halfway to being appreciated!
Also Read This: How to Download Free Images from Getty Images Legally
Uploading Multiple Images to Your Project

Now that your images are primed and ready, let’s explore how to upload multiple images to your Behance project. The process is straightforward, but a few tips can make it even smoother:
- Access Your Project: Log in to your Behance account and navigate to the project you want to update or create a new one. Click on 'Edit Project' or 'Create Project' accordingly.
- Click on 'Add Images': You’ll see an option to 'Add Images' in the project editor. Click on that and a file explorer will open up.
- Select Multiple Files: Hold down the Ctrl (or Command) key on your keyboard to select multiple images at once. Alternatively, you can click and drag to select a group of files.
- Drag and Drop: Behance allows you to drag and drop images directly into the upload area, which is a huge time-saver!
- Upload and Arrange: Once uploaded, arrange your images in the order they should appear. You can drag them around until you’re satisfied with their placement.
- Save Your Changes: After arranging and, if necessary, adding captions or tags, don’t forget to click 'Save' to secure all your hard work. You can also preview your project before finalizing it!
By following these steps, you can easily upload multiple images and create a visually rich project that captures your audience's attention. So get ready to showcase your artistry on Behance like a pro!
Also Read This: Simple Ways to Find an Image ID
5. Organizing Your Projects Effectively
When it comes to showcasing your creativity on Behance, organizing your projects effectively can make a world of difference. Think of your Behance profile as your digital portfolio; a cluttered and disorganized space can overwhelm potential clients or collaborators. Here are some tips to help you tidy up your projects and make a lasting impression:
- Group Similar Works: Create collections for projects that share themes, styles, or purposes. For example, if you have several graphic designs related to brand identity, bundle them together under a specific project.
- Chronological Order: Consider arranging your projects in the order of completion or in terms of their relevance to your current style. This gives viewers an insight into your artistic evolution over time.
- Use Descriptive Titles: Make sure your project titles clearly reflect the content. Instead of “Project 1,” try something like “Modern Logo Design for XYZ Corp.” This adds clarity and professionalism.
- Creating Case Studies: If you have projects that involve a significant amount of work or problem-solving, displaying them as case studies can be incredibly engaging. Dive into your process, challenges faced, and solutions achieved.
Remember, the goal is to create a seamless journey for your viewers. Organize your projects in a way that tells a story and allows visitors to grasp your skills without any confusion.
Also Read This: How Behance Makes Money: A Look into the Platform’s Business Model
6. Utilizing Tags and Categories
Tags and categories are your secret weapons on Behance for enhancing discoverability and organization. But how do you make the most out of them? Let’s break down the essentials:
- Strategic Tagging: Use relevant keywords that relate to your project. For instance, if you're showcasing a nature photography series, tags like “landscape,” “wildlife,” and “travel” can help attract the right audience.
- Categorizing Projects: Behance allows you to assign categories to your projects. This is a straightforward way for viewers to filter content according to their interests. Be sure to choose categories that accurately reflect your work.
- Mix General and Specific Tags: While it’s essential to use broader tags like “design” or “photography,” don’t overlook adding more specific ones. This dual approach increases your chances of being discovered by various audiences.
- Keep it Relevant: Resist the temptation to over-tag your projects. Focus on quality over quantity. Too many unrelated tags can dilute your content’s effectiveness and may even mislead viewers.
By effectively utilizing tags and categories, you’ll not only enhance your projects' visibility but also make it easier for visitors to explore your body of work. A well-organized portfolio is a foundation for showcasing your creativity and professional prowess!
Also Read This: Effective Methods to Remove Adobe Stock Watermark from Images
Showcasing Your Work for Greater Engagement
When it comes to presenting your creative projects on Behance, how you showcase your work can make all the difference in engaging your audience. It's not just about displaying your images; it's about telling a story through your visuals. Here are several strategies to amplify engagement:
- Create a Compelling Narrative: Each project you present should have a narrative. It could be the concept behind the creation, the process you followed, or the challenges you faced. Narratives can foster a connection with your audience.
- Use High-Quality Images: Always upload high-resolution images. Blurry or pixelated visuals can be off-putting. Ensure your images are well-lit and showcase the details of your work.
- Incorporate Variety: Include multiple angles, close-ups, and contextual images. This variety allows viewers to see aspects of your work that they might otherwise miss.
- Write Descriptive Captions: Captions can provide vital context. Use them to add insights about your inspiration, techniques, or the vision behind each piece.
- Engage with the Community: Respond to comments and feedback. By interacting with viewers, you foster a community around your work, increasing engagement.
Remember, a well-organized project presentation can significantly influence viewer interaction. By thoughtfully structuring your showcase, you're not just displaying your work; you're inviting others into your creative journey!
Conclusion
Mastering multiple image uploads and project organization on Behance can seem daunting at first, but the rewards of a visually appealing and well-structured portfolio are undeniable. By utilizing the platform's features effectively, you can transform your creative showcases into captivating narratives that resonate with your audience.
To summarize:
| Key Element | Best Practice |
|---|---|
| Image Quality | Always use high-resolution photos. |
| Organization | Group related images into cohesive projects. |
| Narrative | Tell a story with each project. |
| Engagement | Interact with your audience and respond to feedback. |
With these strategies in your toolkit, you’re ready to take your Behance portfolio to the next level. Embrace the journey ahead—your creative work deserves to be showcased in the best light possible!
 admin
admin


