Image inversion is a fascinating technique that flips colors and tones to create a unique visual effect. This artistic approach can transform ordinary images into striking pieces of art, drawing attention and sparking conversation. Whether you are designing graphics for social media, creating presentations, or working on personal projects, mastering image inversion in Canva can elevate your creations to new levels.
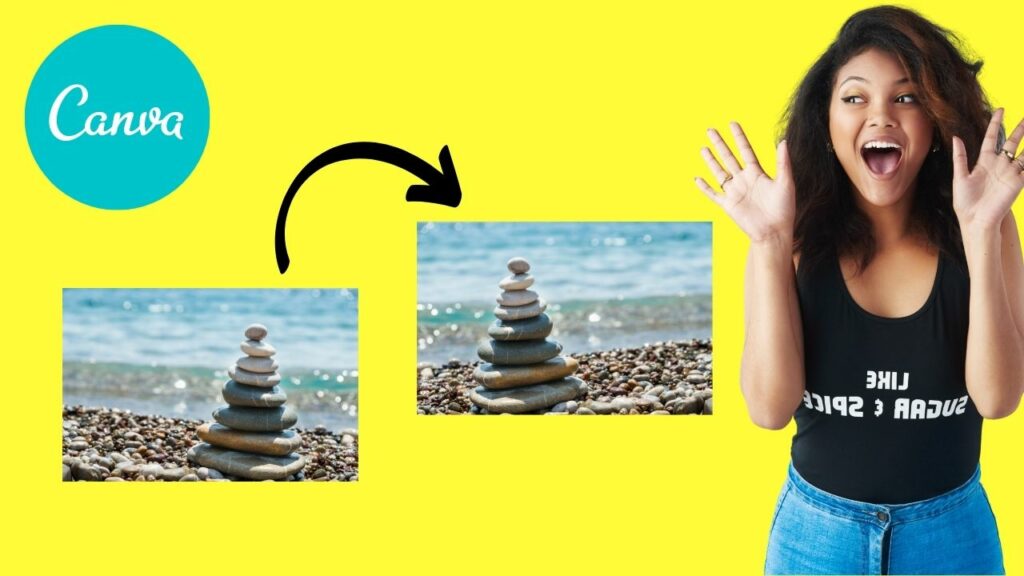
But what exactly is image inversion? Simply put, it involves swapping the colors in an image for their opposites. For example, a bright blue sky would turn to a deep orange, while green grass might become a vibrant magenta. This technique is not just about frenzy; it can evoke emotions, highlight details, or communicate a specific mood. Have you ever looked at an
In Canva, achieving this phenomenal effect is surprisingly easy and doesn’t require any prior graphic design experience. With intuitive tools at your fingertips, you can manipulate images to create stunning outcomes that can make your projects pop. Let’s dive into how you can get started with this innovative technique!
Accessing Canva and Selecting Your Image

Now that you’re intrigued by the power of image inversion, let’s go through the process of using Canva to achieve this fun effect. First things first, you need to access Canva. You can do this in a few easy steps:
- Visit the Canva website: Go to www.canva.com in your web browser.
- Log in or Sign up: If you already have an account, just log in. If not, you can easily sign up for free in just a couple of clicks!
- Choose a design type: Once inside, select the type of design you want to create, whether it’s a social media post, a presentation, or something else.
With your design type selected, it’s time to choose your image:
- Upload your own image: If you have a specific image in mind, simply click on the "Uploads" tab to upload your personal files.
- Select from Canva's library: For those who want some inspiration, browse Canva’s extensive library of stock images. They have a wide variety to choose from—perfect for whatever project you have!
Once you’ve selected your image, you’re all set to start manipulating its colors. So, are you ready to dive into the world of image inversion? Let’s get started!
Also Read This: How to Cite Images in APA Format for PowerPoint Presentations
Navigating the Editing Tools for Inversion

When it comes to mastering image inversion in Canva, the first step is to get comfortable with its editing tools. Canva offers a variety of features that make it pretty simple to transform your images into something truly unique. So, let’s dive into some of the essential tools you'll be working with.
Upon entering the Canva workspace, you'll notice a sidebar on the left. This is where you'll find:
- Elements: Add shapes, lines, and graphics that can complement your images.
- Uploads: Here, you can import your own images.
- Photos: Canva provides a library full of stunning stock images that are ready for use.
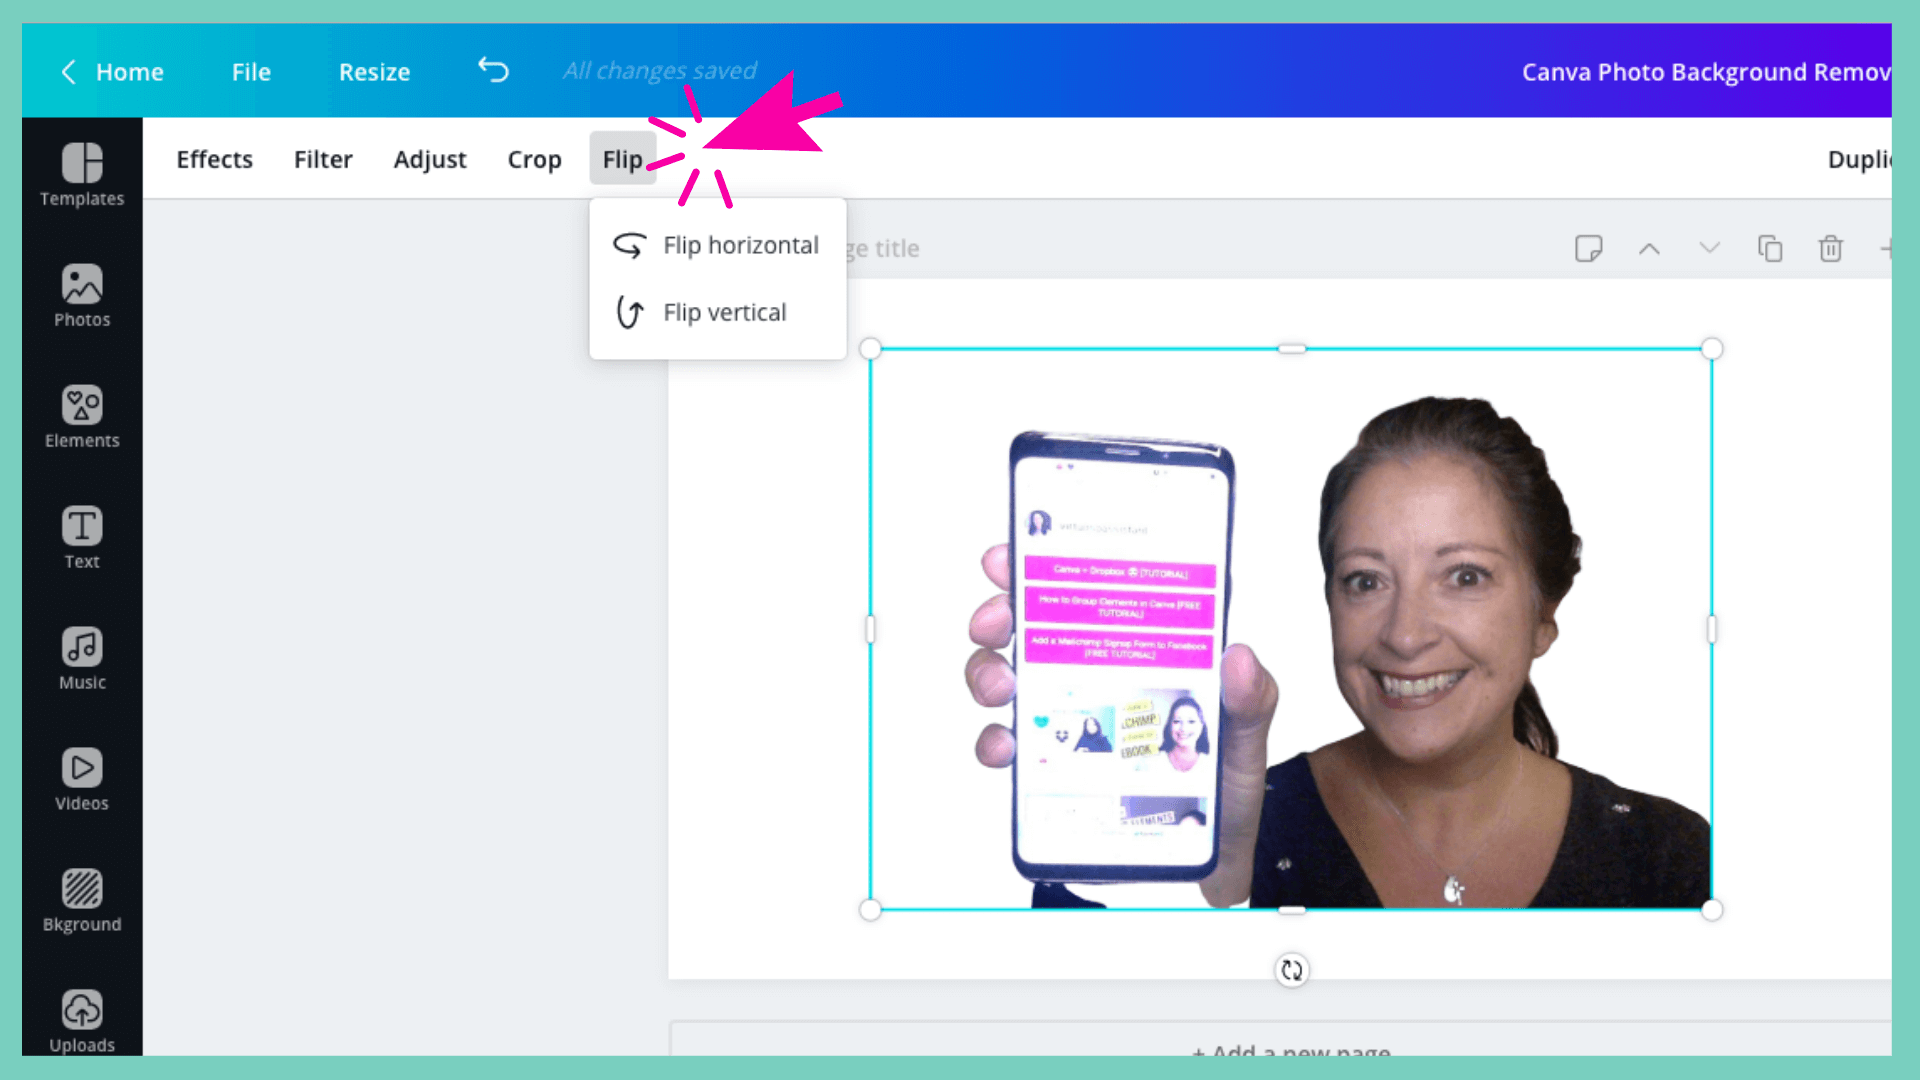
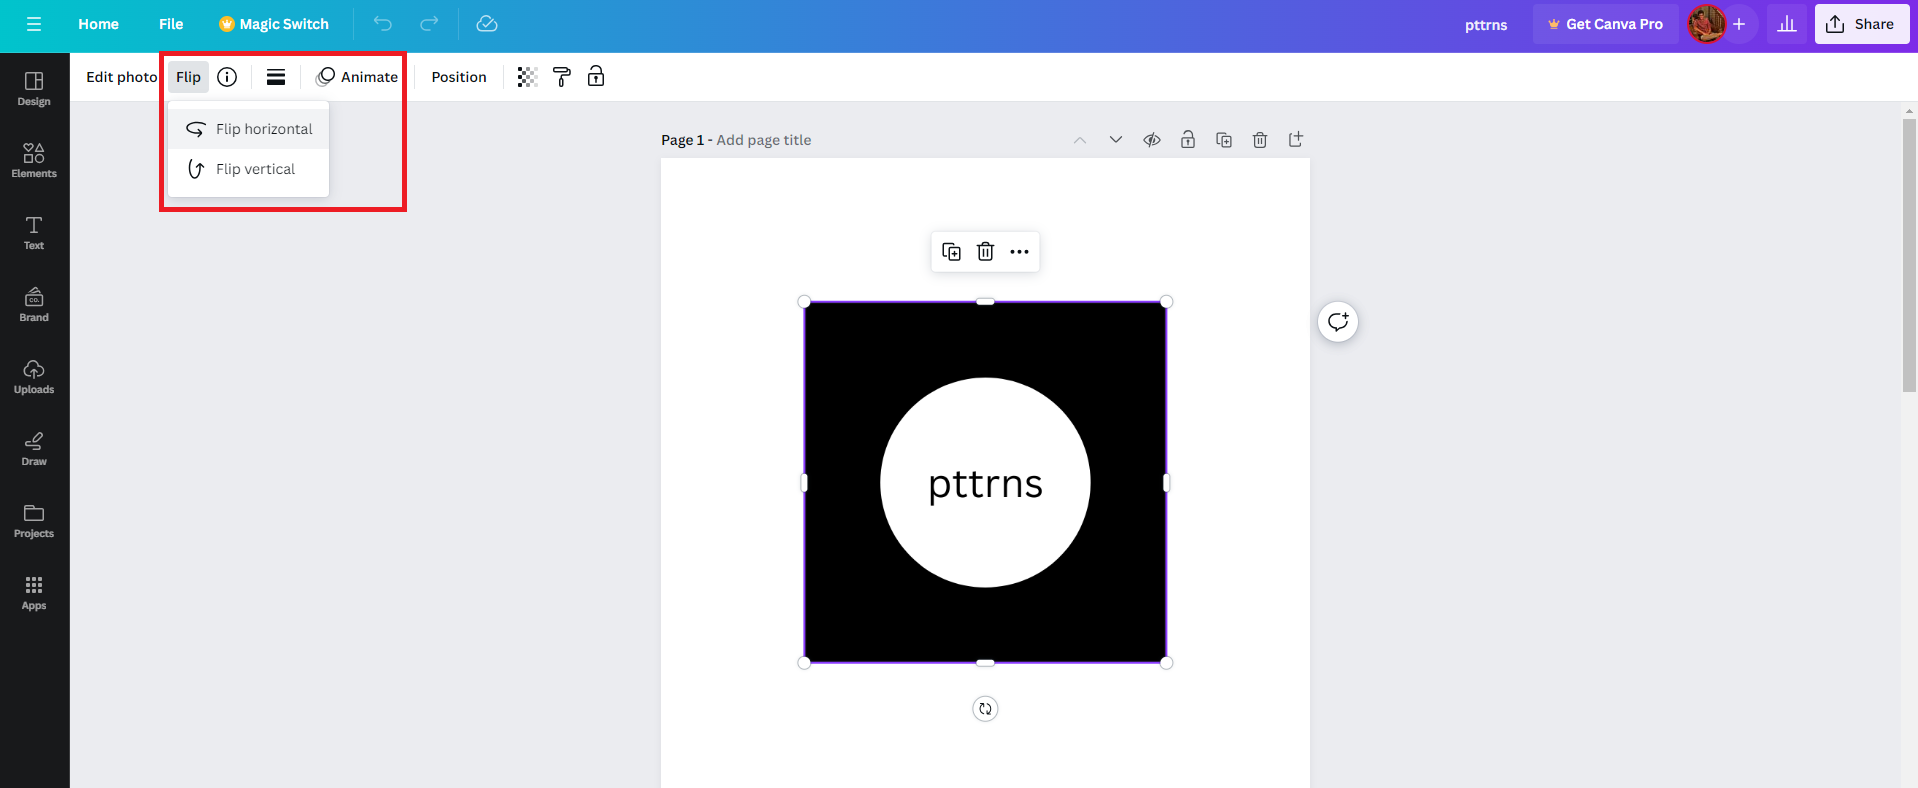
To actually start editing an image, just click on it, and you'll see a toolbar pop up at the top. The main tools you'll use for inversion include:
| Tool | Function |
|---|---|
| Adjust | Allows you to change brightness, contrast, and more to set up for inversion. |
| Filter | Applies preset styles that may enhance the inverted effect. |
| Effects | Here you can find the inversion tool specifically, as well as other fun effects. |
Learning how to navigate these tools will significantly help you execute an eye-catching image inversion. Don’t worry—playing around and experimenting will also boost your comfort level. The best part? There's no right or wrong way—just your unique creative vision!
Also Read This: How to Purchase Getty Images for Your Projects
Applying the Inversion Effect

So, you’ve got the lay of the land. Now, let’s roll up our sleeves and talk about applying the inversion effect to your images. Trust me, this part can really bring your visuals to life!
Once you have your image ready on the canvas, follow these simple steps:
- Select Your Image: Click on the image you wish to invert—it’s the starting point of your transformation.
- Open the Effects Menu: In the toolbar above, locate the “Effects” option. This will be your magic wand.
- Choose Inversion: Scroll through the available effects until you find “Inversion.” Click on it, and watch the magic happen!
Isn't that easy? But wait, there’s more! After applying the inversion effect, you might want to tweak some additional settings to make it truly pop. Here’s where the adjustment tools come into play:
- Brightness: Increase or decrease to balance the striking contrast of your inverted image.
- Contrast: Fine-tune this to ensure the details in your image still shine through.
- Filters: Don’t shy away from applying a filter after inversion; it can add an extra layer of creativity!
And voila! Following these steps will help you easily apply the inversion effect in Canva, making your images more dynamic and visually striking. Have fun experimenting with different images and effects, and don't forget to let your creativity run wild!
Also Read This: Guidelines for Submitting iPhone Photos to 123RF
5. Additional Adjustments and Customization Options
Once you've got your image inverted in Canva, the fun doesn’t stop there! You have a world of additional adjustments and customization options at your fingertips. Let’s dive into some fantastic features you can explore to enhance your inverted image further.
Color Adjustments: Even after inverting your image, you can still tweak the colors to match your vision. Canva allows you to adjust the brightness, contrast, and saturation. To access these options, simply click on the image and head to the 'Adjust' tab in the top menu. Play around with the sliders until you get the perfect look!
- Brightness: Increase or decrease the brightness to find that sweet spot.
- Contrast: Adjust the contrast to make your image pop or to soften it up.
- Saturation: Give the colors a little boost or tone them down.
Filters and Effects: Canva comes packed with filters you can apply to your images. Click on your inverted image, and then choose the 'Filter' option to browse through a variety of preset styles. Try incorporating a vintage or sepia filter for a unique twist!
Text and Graphics: Don’t forget about adding text or other graphic elements to your inverted image. You can overlay a catchy title, a quote, or even shapes and icons that resonate with your brand or message.
Remember, the goal is to have fun and let your creativity shine. So go ahead and play around with these options until you create the perfect inverted masterpiece!
Also Read This: How to Uninstall Raw Image Extensions
6. Saving and Exporting Your Inverted Image
You've put in the hard work, and now it’s time to save your masterpiece! Fortunately, Canva makes saving and exporting your images a breeze. Here’s how you can do it efficiently.
Saving Your Design: First, it's essential to save your work within Canva regularly. If you’re logged in, Canva usually auto-saves your designs. However, you can manually save it by clicking on the “File” menu and selecting “Save.” It’s always good to double-check!
Exporting the Image: To export your inverted image, click on the “Download” button in the top right corner of the screen. You’ll be greeted with a few options:
- File Type: Choose between PNG, JPG, PDF, or more. PNG is ideal for high-quality images, while JPG is great for smaller file sizes.
- Transparent Background: If you want to isolate your image, you can check the box to download with a transparent background (available in PNG format).
- Dimensions: Canva allows you to adjust the dimensions of your exported image. This is handy if you have specific size requirements!
Once you've selected your options, click “Download,” and your inverted image will be saved to your device. It’s that easy! Now you can share your creative work on social media, in presentations, or wherever you like.
Don’t forget to consider naming your image file something descriptive, so you can find it easily later. Happy designing!
Mastering Image Inversion in Canva
Image inversion is a powerful technique that allows you to manipulate your visuals by creating a negative effect, giving your designs a fresh and unique look. Canva, a popular graphic design platform, makes it easy to apply this effect to your images. Below is a comprehensive guide on how to master image inversion in Canva.
Steps to Invert an Image in Canva:
- Log in to your Canva account or create a new one if you don’t have an account yet.
- Create a new design by selecting your desired dimensions or template.
- Upload the image you want to invert by clicking on the 'Uploads' tab in the sidebar.
- Drag and drop the image onto your design canvas.
- Click on the image to select it.
- Access the 'Effects' panel, usually located in the toolbar above the canvas.
- Scroll through the effects until you find the 'Inversion' option and click on it.
- Adjust the intensity of the effect if options are available, then click 'Done'.
Benefits of Image Inversion:
- Adds visual interest to standard images.
- Creates striking and dramatic contrasts.
- Ideal for emphasizing text and other elements layered on top.
Image inversion can transform the aura of your designs, allowing for creative exploration. Combining the inversion effect with other design elements can lead to captivating results. However, it’s essential to maintain consistency with your brand’s color palette to ensure cohesiveness.
Conclusion and Tips for Future Use: Mastering image inversion in Canva opens doors to innovative design possibilities. Experiment with different images, layer various effects, and don't shy away from using it alongside other editing tools to enhance your projects.
 admin
admin


