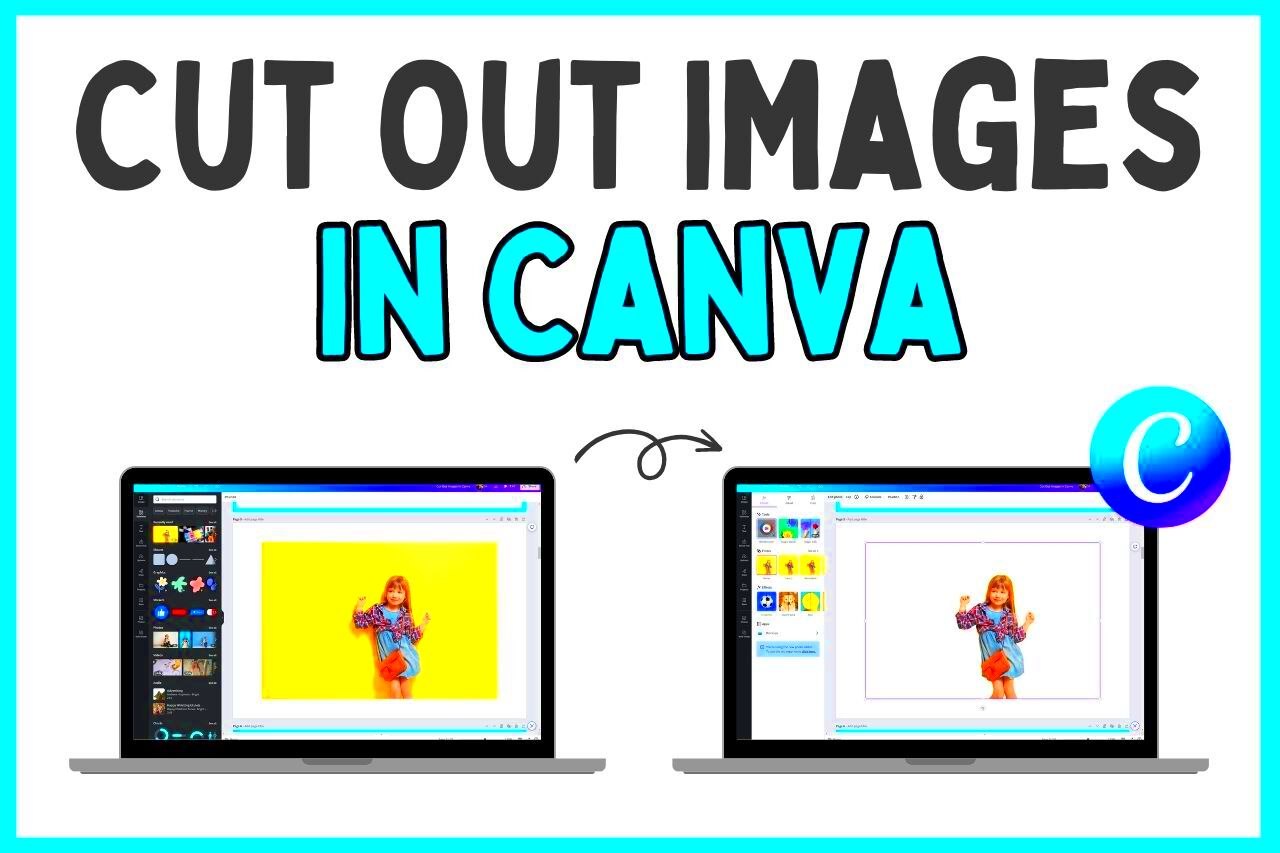
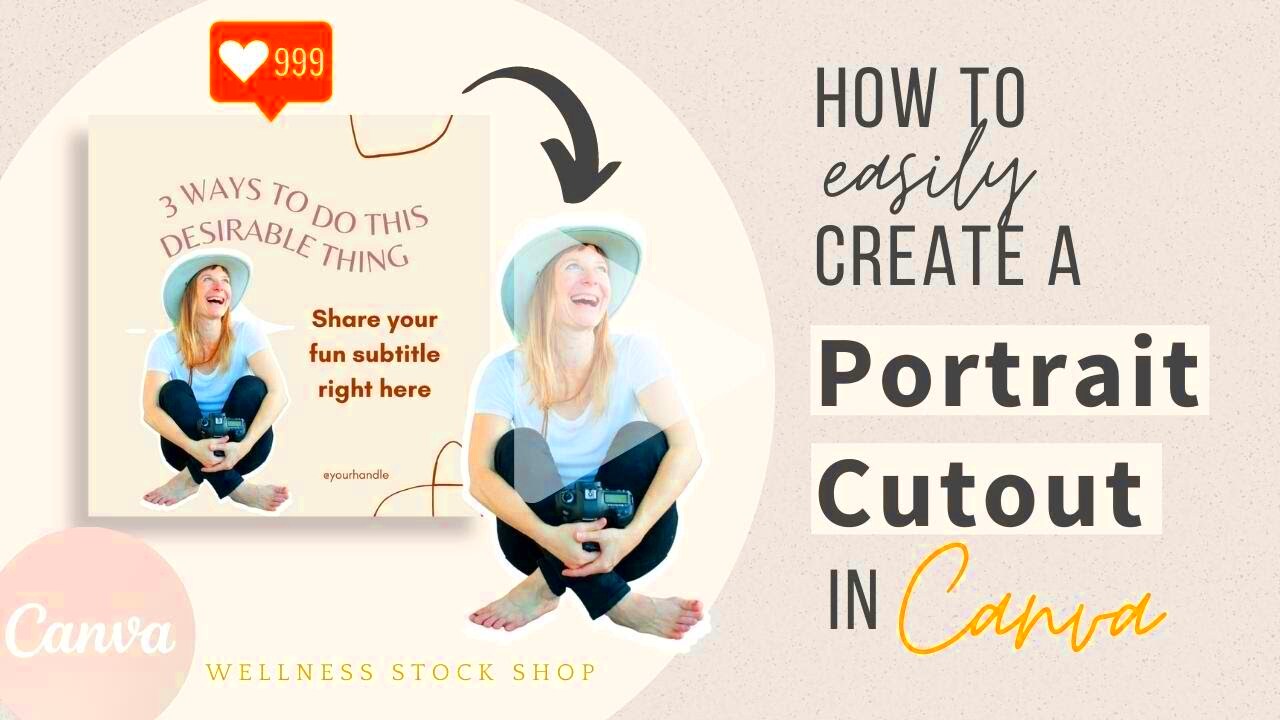
Image cut-outs are a fantastic way to make your designs pop. They allow you to isolate subjects from their backgrounds, creating clean and professional-looking visuals. Whether you're designing for social media, presentations, or any other project, mastering cut-outs can elevate your work significantly. Canva, a user-friendly graphic design tool, offers various features to help you achieve perfect cut-outs without needing advanced skills. Let's explore how to navigate these tools and techniques for creating stunning images.
Understanding the Basics of Canva Tools

Before diving into cut-outs, it’s essential to familiarize yourself with the tools Canva offers. Here’s a quick overview:
- Canva Editor: The main workspace where you create and edit designs.
- Elements: A section that includes shapes, icons, and images you can add to your designs.
- Uploads: This feature allows you to import your own images for editing.
- Background Remover: A powerful tool that instantly removes backgrounds from images.
- Adjustments: Options to fine-tune brightness, contrast, and saturation.
Getting comfortable with these tools will make the cut-out process smoother and more efficient.
Also Read This: Converting 2D Images to 3D: Simple Steps
Steps to Cut Out Images Effectively
Now, let’s go through the steps to cut out images in Canva. Follow this simple guide:
- Upload Your Image: Start by uploading the image you want to cut out. Go to the “Uploads” section, click “Upload media,” and choose your file.
- Select the Image: Once your image is uploaded, drag it onto your canvas.
- Use Background Remover: Click on the image, and then select “Edit image.” Find the “Background Remover” tool. Click on it, and Canva will automatically remove the background.
- Refine the Cut-Out: If there are any edges that need adjustment, use the “Erase” and “Restore” tools to fine-tune the cut-out.
- Add Effects: Enhance your cut-out by adding shadows, outlines, or filters from the “Edit image” options.
- Save Your Design: Once you’re satisfied, click “Download” to save your work. Choose your preferred file type and download your design.
Following these steps will help you create clean and professional image cut-outs, ready for any project.
Also Read This: Follow This Guide on Facebook Video Thumbnail Download Mastery
Enhancing Cut-Outs with Canva Features
After you've mastered the basics of cut-outs, it’s time to enhance your images with some cool Canva features. These enhancements can add depth and personality to your designs. Here are some effective techniques:
- Shadows: Adding shadows can give your cut-out a three-dimensional look. To do this, select your image and choose the “Shadow” option from the effects menu.
- Frames: Consider placing your cut-out in a frame. Canva offers a variety of frame styles that can complement your image beautifully.
- Filters: Use filters to give your cut-out a unique vibe. Whether you want a vintage look or a modern touch, filters can drastically change the appearance.
- Text and Graphics: Enhance your cut-out by adding text or graphics around it. This can help convey your message and create a cohesive design.
- Color Adjustment: Don’t forget about color! Use the adjustment tools to tweak the brightness, contrast, and saturation to make your cut-out stand out.
By using these features, you can transform simple cut-outs into eye-catching designs that captivate your audience.
Also Read This: Mastering OK.ru for Creating and Sharing Memorable Digital Content
Common Mistakes to Avoid in Image Cut-Outs
Even seasoned designers can make mistakes when cutting out images. Here are some common pitfalls to watch out for:
- Ignoring Background Details: Sometimes, small elements in the background can interfere with the cut-out. Always zoom in and check for any unwanted details.
- Overusing Background Remover: While the background remover is handy, relying solely on it can lead to unnatural edges. Manual adjustments are often necessary.
- Neglecting Image Quality: Starting with a low-resolution image can result in poor cut-outs. Always use high-quality images for better results.
- Forgetting About Consistency: If you're using multiple cut-outs in one design, ensure they have a consistent style and color scheme for a polished look.
- Not Using Layers: Layering your images and elements can enhance the overall design. Failing to do so might make your cut-out look flat.
Avoiding these mistakes will help you create cleaner and more professional-looking cut-outs.
Also Read This: Does Dailymotion Remove Copyrighted Music from Videos
Tips for Perfecting Your Cut-Outs
Perfecting your cut-outs takes practice, but here are some tips to speed up the process and improve your results:
- Practice Makes Perfect: The more you cut out images, the better you'll get. Spend time experimenting with different types of images.
- Use High-Contrast Images: Images with a clear distinction between the subject and background are easier to cut out.
- Utilize Guides: Use gridlines and guides in Canva to align your images perfectly. This can help maintain balance in your design.
- Experiment with Different Styles: Don’t be afraid to try different cut-out styles. Sometimes, a rough edge can add character to your design.
- Seek Feedback: Share your designs with friends or fellow designers to get constructive feedback. This can provide new insights and ideas for improvement.
By following these tips, you can refine your skills and create stunning cut-outs that enhance your designs.
Also Read This: Ultimate Guide to Downloading YouTube Subtitles
Using Cut-Outs for Different Projects
Cut-outs are incredibly versatile and can be used across various design projects. No matter what you're creating, integrating cut-outs can enhance your visuals and make your work stand out. Here are some popular ways to use cut-outs:
- Social Media Posts: Create engaging graphics for platforms like Instagram or Facebook. Cut-outs help highlight key subjects, making your posts more eye-catching.
- Presentations: Use cut-outs in slides to focus on important images or data. This can help keep your audience’s attention on your main points.
- Marketing Materials: From flyers to brochures, cut-outs can make your marketing materials more appealing. They can draw attention to offers or products.
- Web Design: Enhance website visuals by using cut-outs for banners or product images. This can create a modern and clean look.
- Personal Projects: Whether it’s a scrapbook, greeting card, or photo collage, cut-outs can add a personal touch to your creative projects.
By using cut-outs strategically in these different projects, you can elevate your designs and better convey your message.
Also Read This: How Great Thou Art Image Collection
FAQ
Here are some common questions people have about using cut-outs in Canva:
- Can I cut out images from videos? No, Canva’s cut-out features only apply to images, not videos.
- Do I need a Pro account to use the Background Remover? Yes, the Background Remover tool is only available for Canva Pro users.
- What file formats can I use for uploads? Canva supports various formats including JPG, PNG, and GIF.
- Can I animate my cut-outs? Yes, you can add animations to your designs in Canva, including cut-outs.
- Is it possible to create transparent backgrounds? Absolutely! When you download your design, you can choose to have a transparent background if you’re using PNG format.
If you have more questions or need assistance, Canva’s help center is a great resource.
Conclusion
Mastering image cut-outs in Canva opens up a world of creative possibilities. With the right tools and techniques, you can create stunning visuals that enhance your projects, whether for personal use or professional purposes. Remember to practice, experiment with different styles, and pay attention to the common mistakes to improve your skills.
By using cut-outs effectively, you not only improve the aesthetics of your designs but also engage your audience more effectively. So, dive into Canva, start creating, and watch your designs come to life!

 admin
admin


