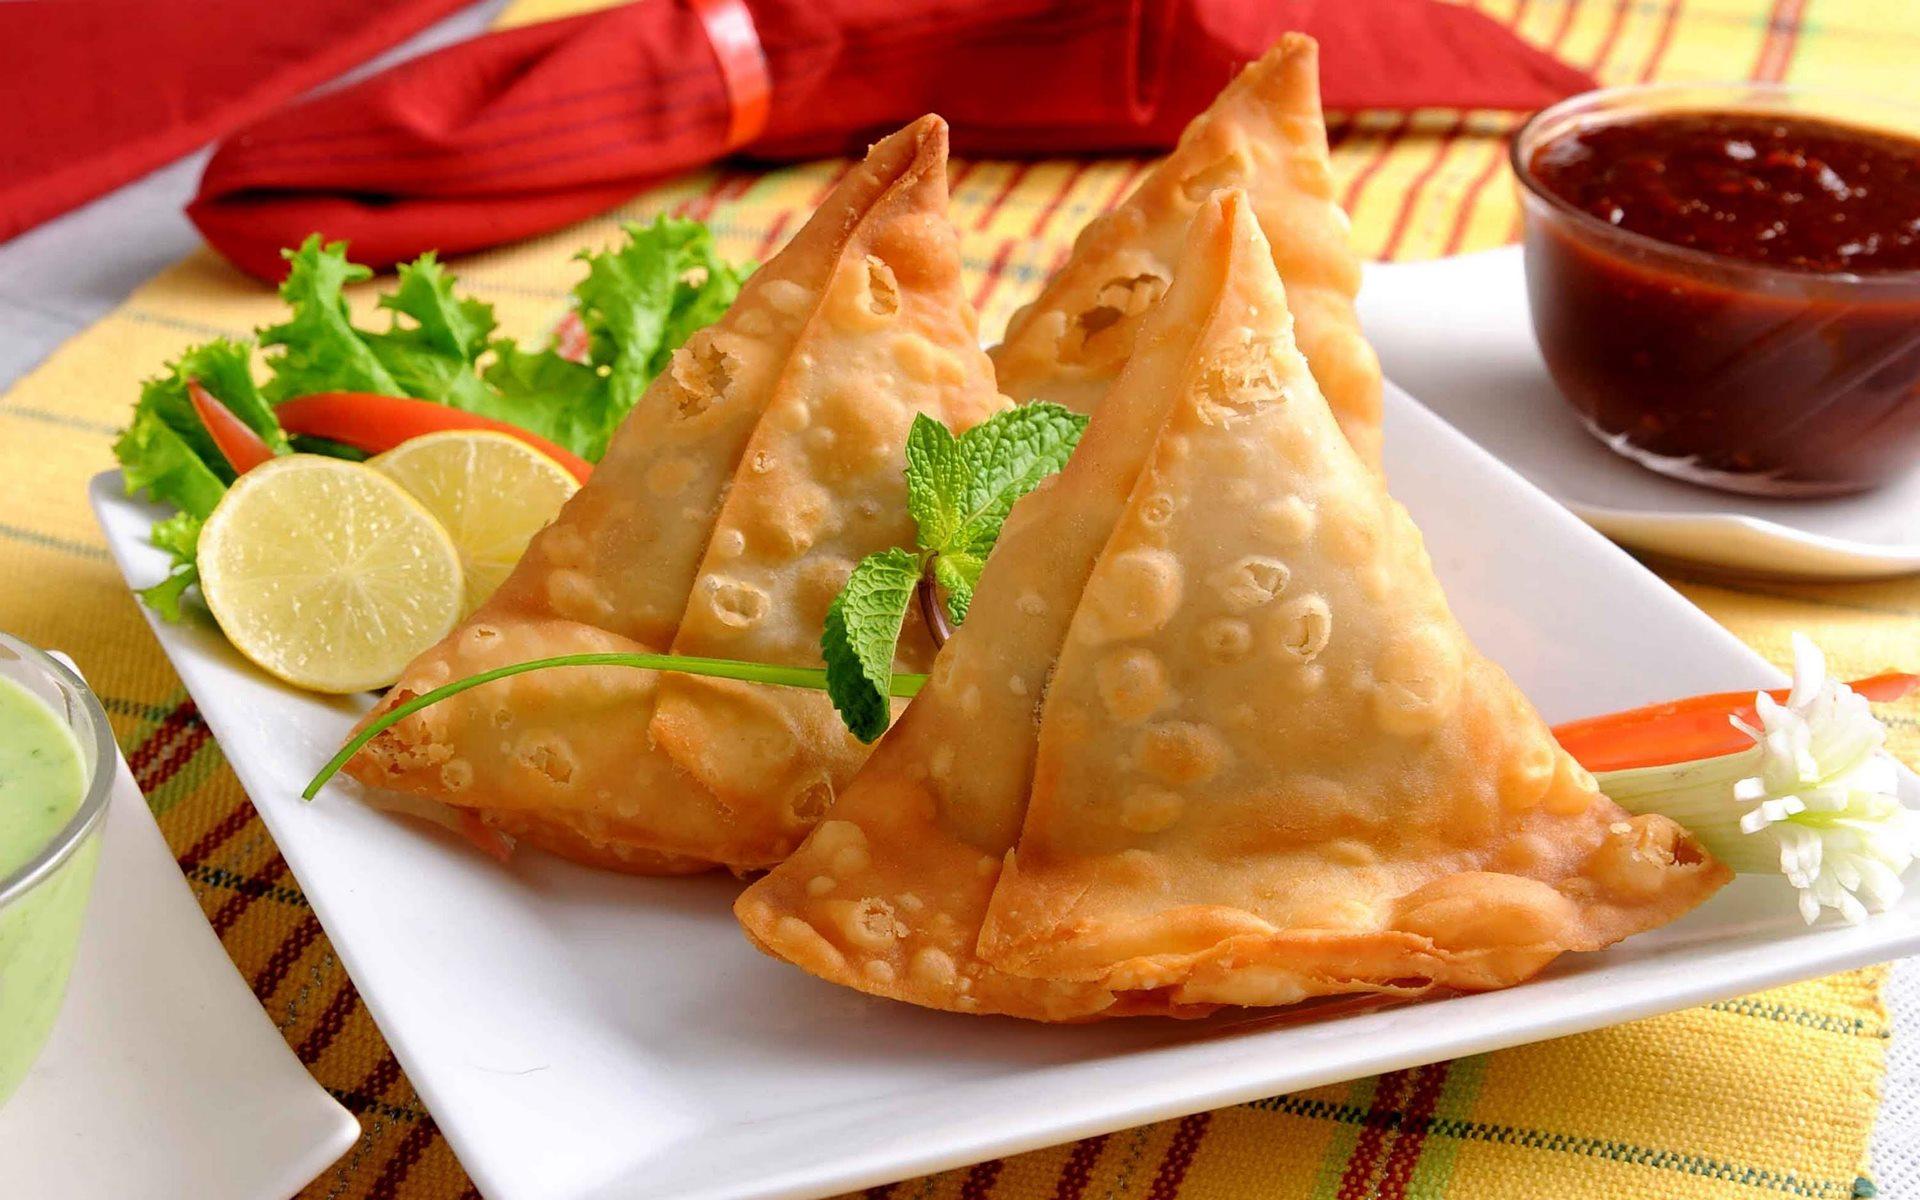
Have you ever found yourself craving those crispy, golden samosas filled with delicious spices and potato? Well, you’re not alone! Samosas are not just a tasty snack; they’re a favorite in many cultures. But what if I told you that mastering the art of shaping samosas is easier than you think? In this tutorial, we’ll walk through the process of making these delightful treats from scratch, from preparing the dough to the filling, and of course, shaping them to perfection. So grab your apron, and let’s get started!
Ingredients Needed
Before diving into the shaping process, it’s essential to gather all the necessary ingredients. Here’s what you’ll need to create your scrumptious samosas:
| Ingredient | Quantity |
|---|---|
| All-purpose flour | 2 cups |
| Water | Enough to knead the dough (approximately 1/2 cup) |
| Salt | 1/2 teaspoon |
| Oil or ghee | 2 tablespoons (for the dough) + additional for frying |
| Potatoes | 2 medium-sized (boiled and mashed) |
| Green peas | 1/2 cup (optional) |
| Spices (cumin seeds, coriander powder, garam masala) | 1 teaspoon each |
| Cilantro | A handful (finely chopped) |
| Lemon juice | 1 tablespoon |
Once you have all these ingredients ready, you're well on your way to making delicious samosas. Each ingredient plays a vital role in achieving that perfect blend of flavors and textures. So, let’s get ready to have some fun in the kitchen!
Step-by-Step Instructions for Shaping Samosas
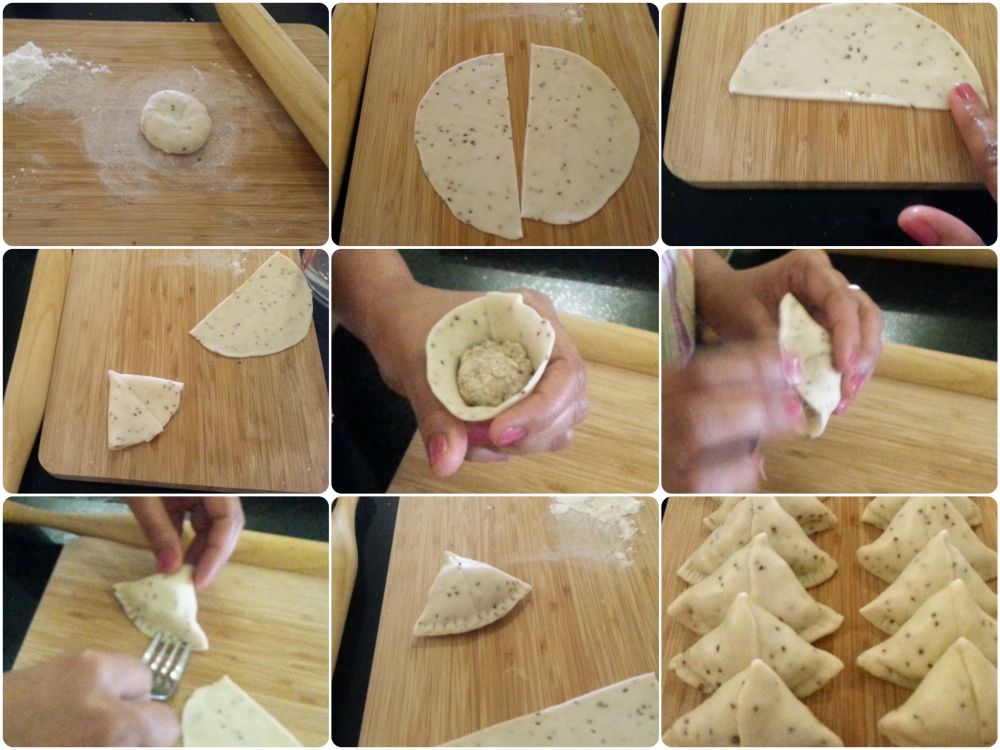
Shaping samosas can seem a little daunting at first, but once you know the steps, you'll find it's quite a fun experience! Let’s break it down into easy-to-follow instructions:
- Prepare your dough: Start by mixing flour, a pinch of salt, and some oil in a bowl. Gradually add water and knead until you get a smooth, pliable dough. Let it rest for at least 30 minutes.
- Make your filling: While the dough rests, prepare your filling. This could be spiced potatoes, peas, or any filling you prefer. Ensure it's not too wet, as this can make shaping difficult.
- Divide the dough: After resting, divide your dough into small balls, around the size of a golf ball. This gives you a manageable size for each samosa.
- Roll out the dough: On a floured surface, roll out each ball into a circle about 6 inches in diameter. Try to keep it as thin as possible without tearing.
- Cut the circle in half: Use a sharp knife or pizza cutter to slice each circle in half. You'll now have two semi-circles.
- Form a cone: Take one semi-circle and fold it into a cone shape, overlapping the edges slightly. Seal it by pressing the edge with your fingers or a little water to help it stick.
- Fill it up: Spoon in your filling, but don't overstuff! You want to avoid any spills when sealing.
- Seal the samosa: Bring the open edges of the cone together and pinch to seal. Make sure it's tight, so no filling escapes during frying.
There you have it! Follow these simple steps, and you'll be well on your way to making perfectly shaped samosas!
Tips for Perfectly Shaped Samosas
Now that you’re familiar with the steps for shaping samosas, here are some extra tips to ensure they turn out perfectly every time:
- Keep your dough at the right consistency: It should be soft and flexible, so it doesn’t crack when you’re shaping it. If it feels too dry, add a teaspoon of water.
- Use a filling that binds: Ingredients like mashed potatoes or spiced lentils work well because they stick together and make it easier to fill the samosas without spilling.
- Practice makes perfect: Don’t be discouraged if your first few samosas don’t look perfect. With practice, you’ll get the hang of it!
- Seal with flour-water paste: If you’re having trouble sealing your samosas, mix some flour with water to create a paste. Use this to help stick the edges together securely.
- Chill before frying: If you have time, let your shaped samosas rest in the fridge for about 15-20 minutes. This helps them hold their shape better when frying.
- Fry at the right temperature: Make sure your oil is hot before adding the samosas. If the oil isn’t hot enough, they can absorb too much oil and become greasy.
By incorporating these tips into your cooking routine, you will find your samosas not only look great but taste fantastic too!
Master the Art of Samosa Shaping with This Easy Cooking Tutorial
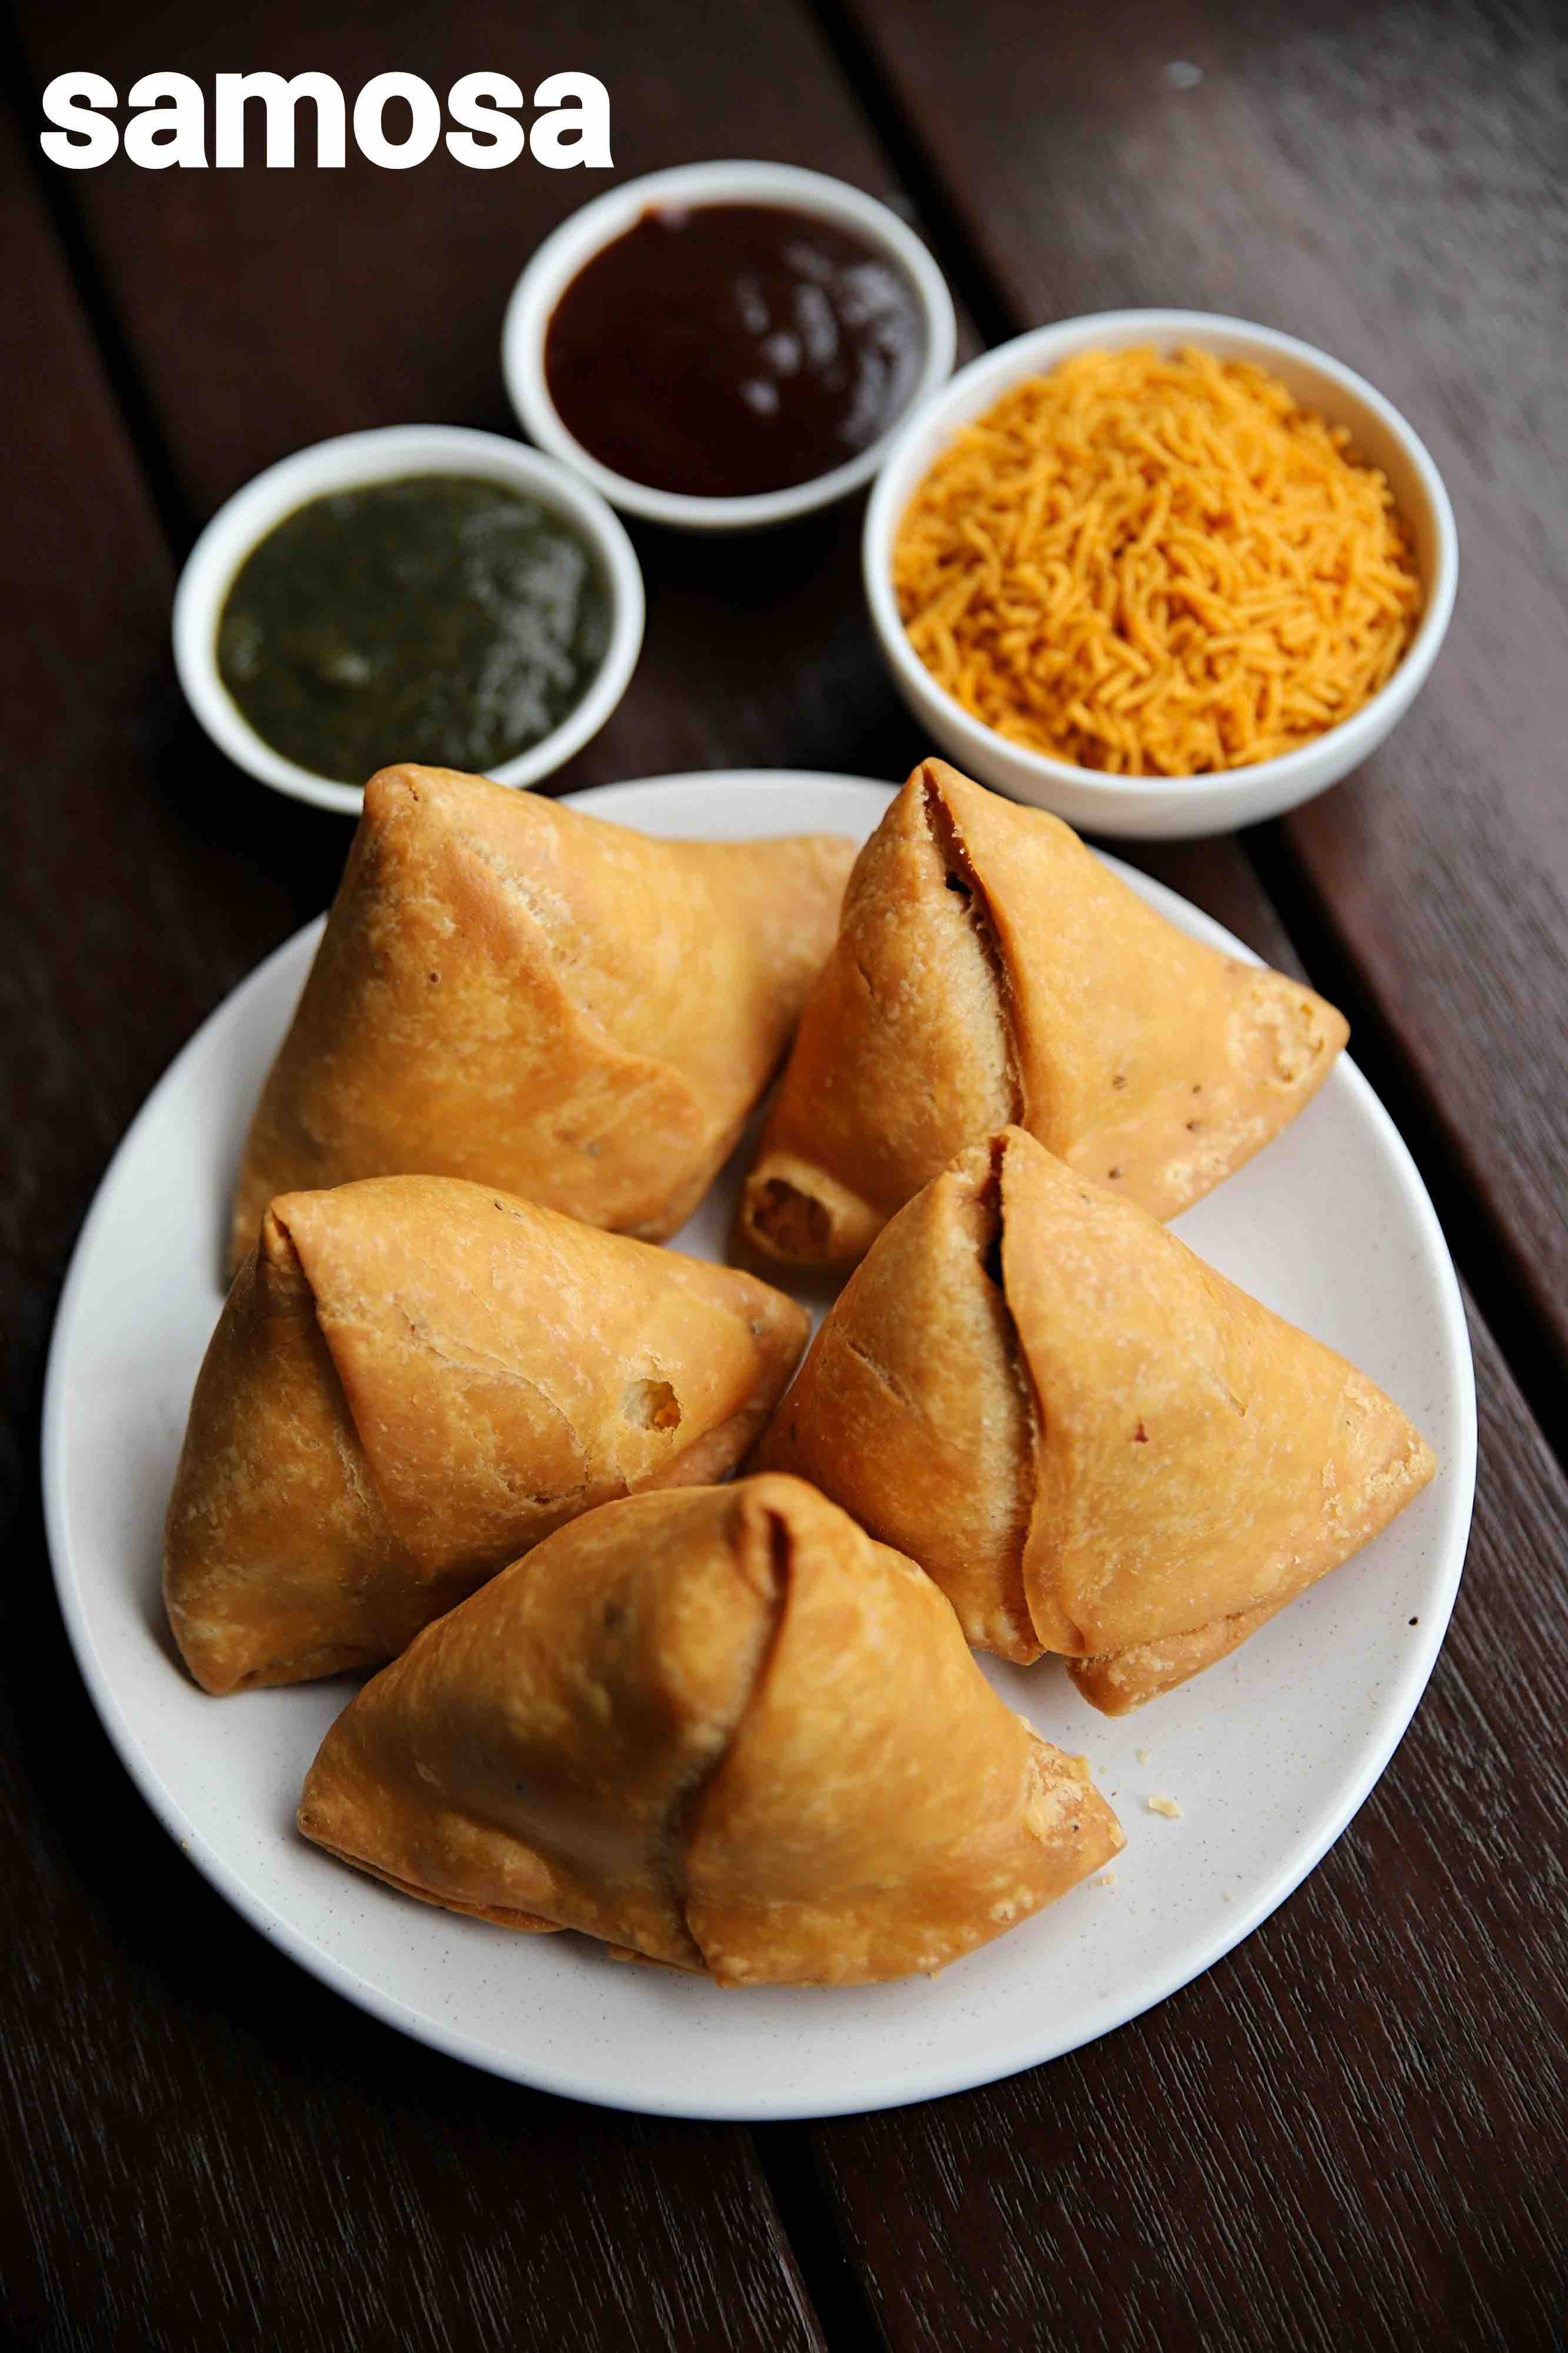
Samosas are a beloved snack in many cultures, known for their crispy golden crust and flavorful fillings. Shaping samosas can seem challenging, but with the right technique, anyone can master this art. In this tutorial, we will guide you through the process step-by-step, helping you to create perfect triangles that are both visually appealing and delicious.
Your Essential Ingredients
Before we get started, let's gather the ingredients you will need to make the perfect samosas:
- For the Dough:
- 2 cups all-purpose flour
- 4 tablespoons oil or ghee
- 1/2 teaspoon salt
- Water (as needed)
- For the Filling:
- 2 cups boiled and mashed potatoes
- 1/2 cup green peas (optional)
- 1 teaspoon cumin seeds
- 1 teaspoon garam masala
- Salt to taste
- Chili powder (to taste)
Step-by-Step Shaping Guide
Follow these steps to shape your samosas:
- Prepare the Dough: Mix the flour, oil, and salt in a bowl. Gradually add water until a firm dough forms. Cover and let rest for 30 minutes.
- Make the Filling: In a pan, heat oil, add cumin seeds, then mix in the mashed potatoes and spices. Cook and let cool.
- Divide the Dough: Roll the dough into small balls and flatten them into circles.
- Shape the Samosa: Cut each circle in half. Take one half, form a cone, seal the edge with water, and fill it with your mixture. Seal the open end.
- Fry or Bake: Deep fry your samosas until golden brown or bake them for a healthier option.
Tips for Perfect Samosas
Here are some tips to ensure your samosas turn out perfectly:
- Make sure the dough is not too soft to maintain shape.
- Seal samosas well to prevent filling leakage during frying.
- Experiment with various fillings like lentils or spiced meats.
Enjoy your homemade samosas with mint chutney or tamarind sauce for a delightful snack experience!
Conclusion: Mastering the art of samosa shaping is a rewarding culinary skill that allows you to impress family and friends with homemade snacks. Take your time, practice the techniques, and soon you'll create perfectly shaped samosas that taste as good as they look.


