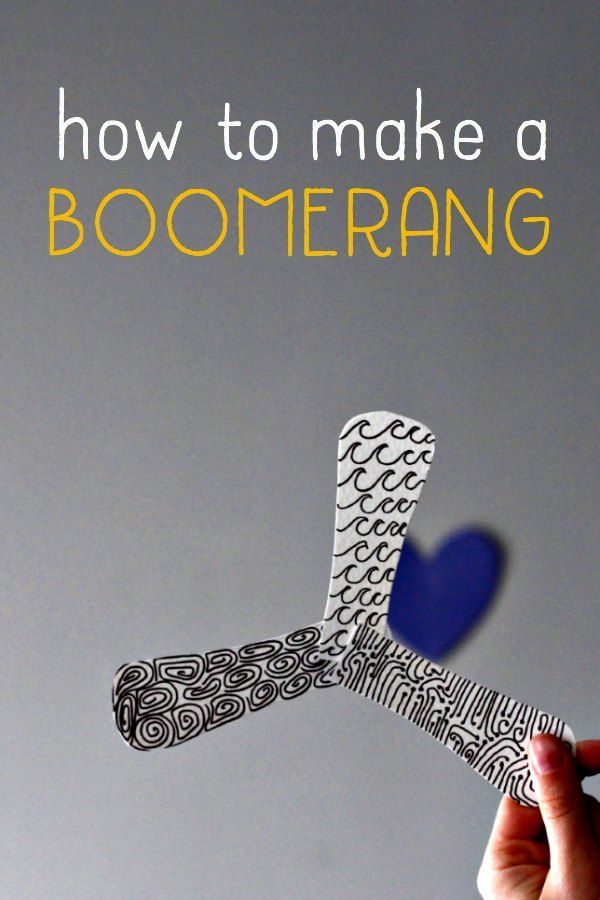
Have you ever thought about how much fun you could have with a simple piece of paper? Making a paper boomerang is not only a delightful craft but also a fantastic way to engage with the basics of aerodynamics. Whether you're looking to spend quality time with your kids, impress your friends, or simply enjoy a creative afternoon, mastering the art of making a paper boomerang can be a truly rewarding experience. In this post, we'll guide you through the process from start to finish, ensuring you have a blast along the way!
Materials Needed

Before diving into the world of paper boomerangs, let's gather everything you'll need for this exciting project! Fortunately, the materials required are accessible and often found around the house. Here’s what you need:
- Paper: Choose thick paper, such as cardstock or construction paper. This type of paper is sturdy and will give your boomerang the right weight.
- Scissors: A good pair of scissors is essential for cutting your paper into the desired shape. Make sure they are sharp for clean cuts!
- Pencil and Ruler: These tools will help you draw precise lines and measurements on the paper. Accuracy is key to making your boomerang fly well!
- Compass (optional): If you want to create curved edges, a compass can help you achieve a perfect circle or arc.
- Decorative Items (optional): Get creative! Use markers, stickers, or washi tape to personalize and decorate your boomerang.
- Measuring Tape: For those who prefer exact dimensions, a measuring tape can assure accuracy in size.
With these materials at hand, you’re all set to go! Let’s turn that ordinary paper into an extraordinary flying object!
Step-by-Step Instructions

Making your very own paper boomerang doesn’t have to be complicated! Just follow these simple steps, and you’ll be amazed by how easily you can create one. Grab some paper, a pencil, scissors, and a ruler. Let’s get started!
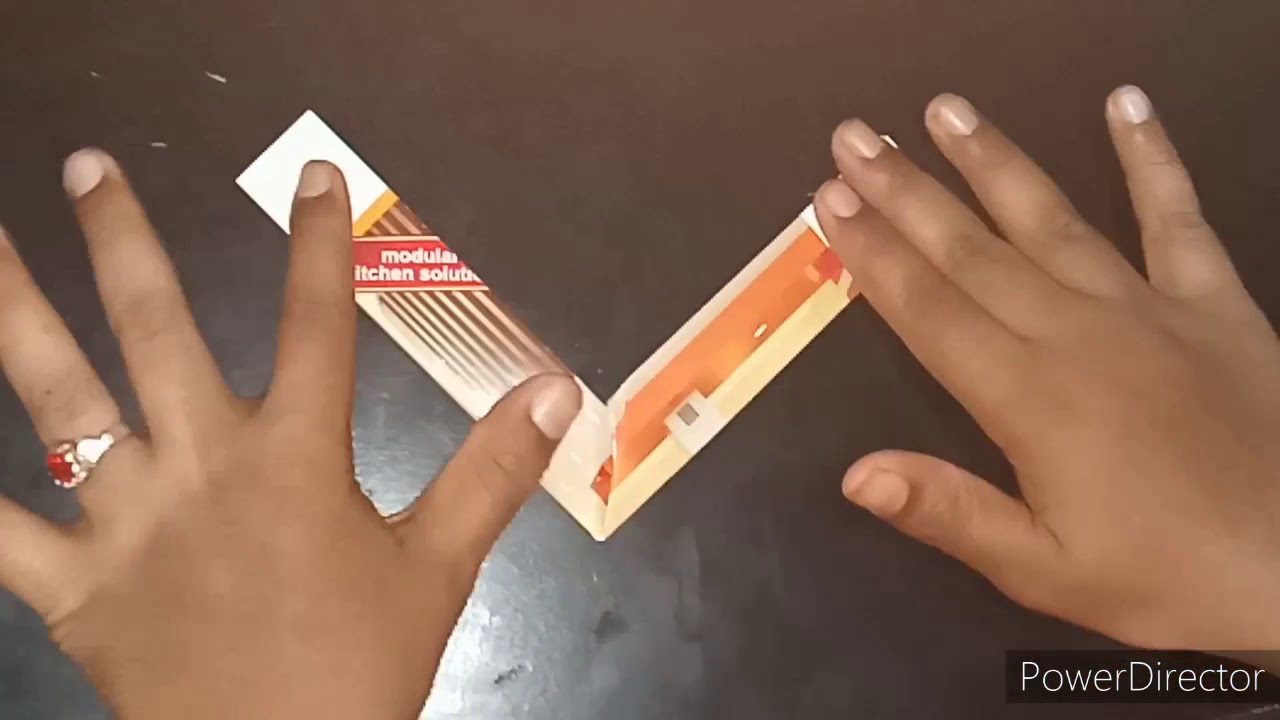
- Gather Your Materials: You’ll need a sheet of paper (construction paper or cardstock works best), scissors, a ruler, and a pencil.
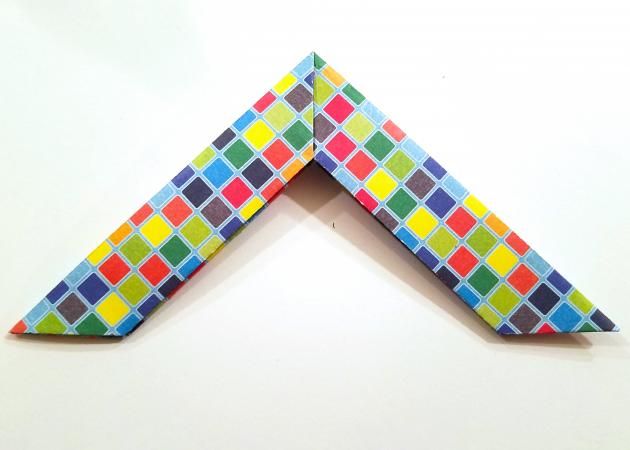
- Draw the Boomerang Shape: Using your ruler, draw two long, curved arms on the paper, meeting at a point in the center. Don’t worry, it doesn’t have to be perfect! The classic shape resembles a ‘V’ with wide arms. A simple template could look something like:
| Length of Arms | Width of Arms | Angle |
| 10 inches | 2 inches | 45 degrees |
- Cut Out the Shape: Carefully cut out the shape you just drew. Try to keep the edges smooth for better aerodynamics.
- Increase Stability: Fold up the edges of each arm slightly. This gives your boomerang a better chance of returning when thrown.
- Decorate Your Boomerang: This step is all about your creativity! Use markers, stickers, or paint to embellish your boomerang any way you like.
- Test It Out: Go to an open area and throw your boomerang with a nice flick! Stand at least 10 feet away from any obstacles.
And there you have it! Your very own paper boomerang, ready to soar through the air!
Creative Variations of Paper Boomerangs

Now that you’ve mastered the basics, let’s spice things up with some creative variations of paper boomerangs! These ideas will not only enhance your boomerang-crafting skills but also add a dash of fun to your experience.
- Colorful Patterns: Instead of plain paper, use different colored sheets or patterned designs. This will not only make your boomerang look cool, but it can also help identify different boomerangs if you and your friends each make one!
- Painted Boomerangs: After cutting your paper shape, paint it with vibrant colors or themed designs—think superheroes, nature, or even galaxy art!
- Mixed Media: Incorporate materials like glitter, sequins, or fabric. Just remember that extra weight can affect flight, so be strategic about your embellishments.
- Adjusting Size and Shape: Try varying the dimensions of your boomerang. Making a smaller or larger version can lead to different throwing dynamics and distances.
- Team Competitions: Invite friends over and hold a boomerang-throwing contest! You can time throws, measure distances, or see whose design gets the most attention.
By experimenting with these creative variations, you’ll not only enhance your crafting skills but also create unique boomerangs that showcase your artistic flair! Have fun, and may your boomerangs fly high!
Tips for Successful Boomerang Flights

When it comes to flying your paper boomerang, a little practice and knowledge can go a long way. Here are some handy tips to help you achieve the perfect flight every time:
- Choose the Right Wind Conditions: Ideally, you want to fly your boomerang on a calm day. Light winds are acceptable, but strong gusts can throw off its balance. A gentle breeze can help, but be mindful of the direction!
- Perfect Your Throwing Technique: A successful boomerang flight starts with a good throw. Here’s a step-by-step breakdown:
- Stand at a slight angle to the wind, your body facing away.
- Hold the boomerang vertically with the flat side facing you.
- Use your wrist to snap the boomerang as you throw it at about a 30-degree angle to the ground.
- Practice Makes Perfect: Don’t be discouraged if your boomerang doesn’t come back to you immediately. It can take several tries to master the perfect throw. Keep practicing, and you’ll see improvement over time!
- Make Adjustments: If your boomerang doesn’t return as expected, try adjusting the wings slightly. Tweak the angle of the wings or add a little bit of weight on one side to improve its aerodynamics.
Lastly, have fun! Experiment with different designs and techniques. You'll be amazed at how much you can improve with just a little creativity and persistence.
Conclusion
Mastering the art of making a paper boomerang can be a rewarding and entertaining experience. Not only does it ignite your creativity, but it also offers endless opportunities for learning and play. Here’s a quick recap:
- Crafting Your Boomerang: Utilizing simple materials, you can create a unique design that reflects your personal style.
- Understanding Flight Mechanics: Knowing how the physics behind your boomerang works will help you achieve better throwing techniques.
- Enjoying the Process: The beauty of making a paper boomerang lies not just in how well it flies but also in the joy of creating something with your own hands.
So gather your materials, invite some friends along, and start experimenting. Whether you’re flying in the park or competing in a casual contest, the thrill of watching your creation soar is truly unbeatable. Happy boomeranging!


