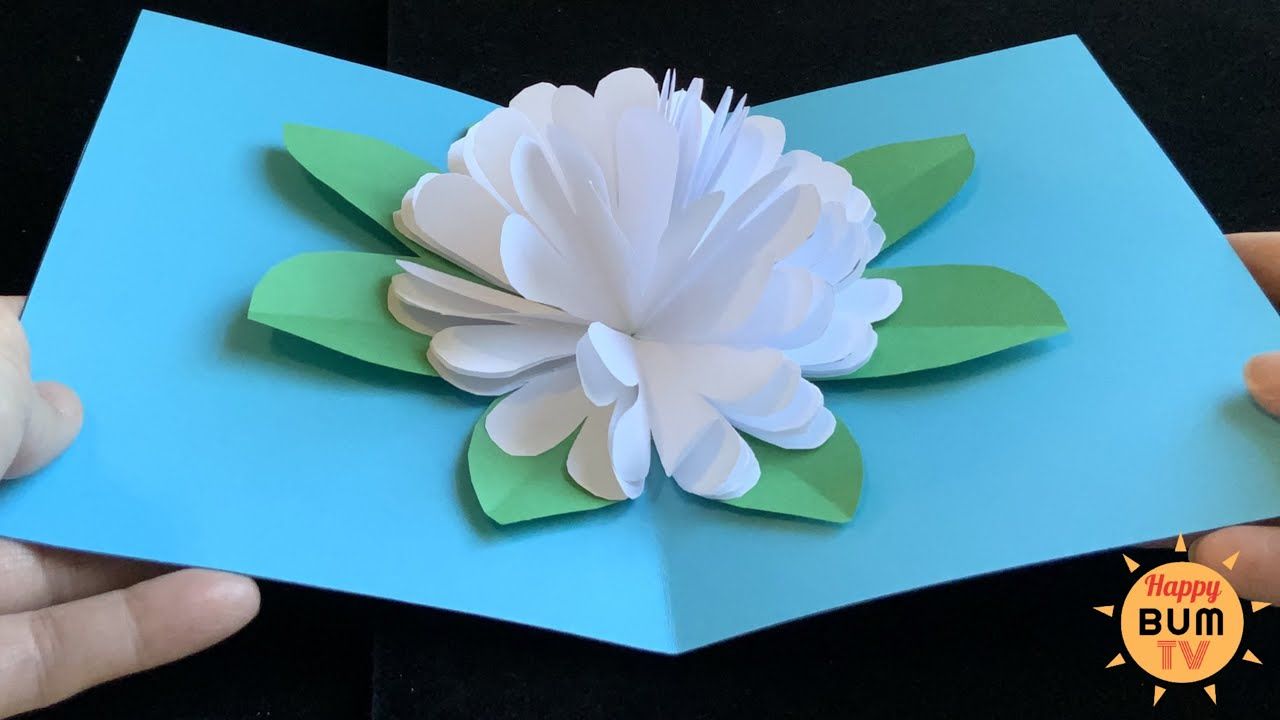
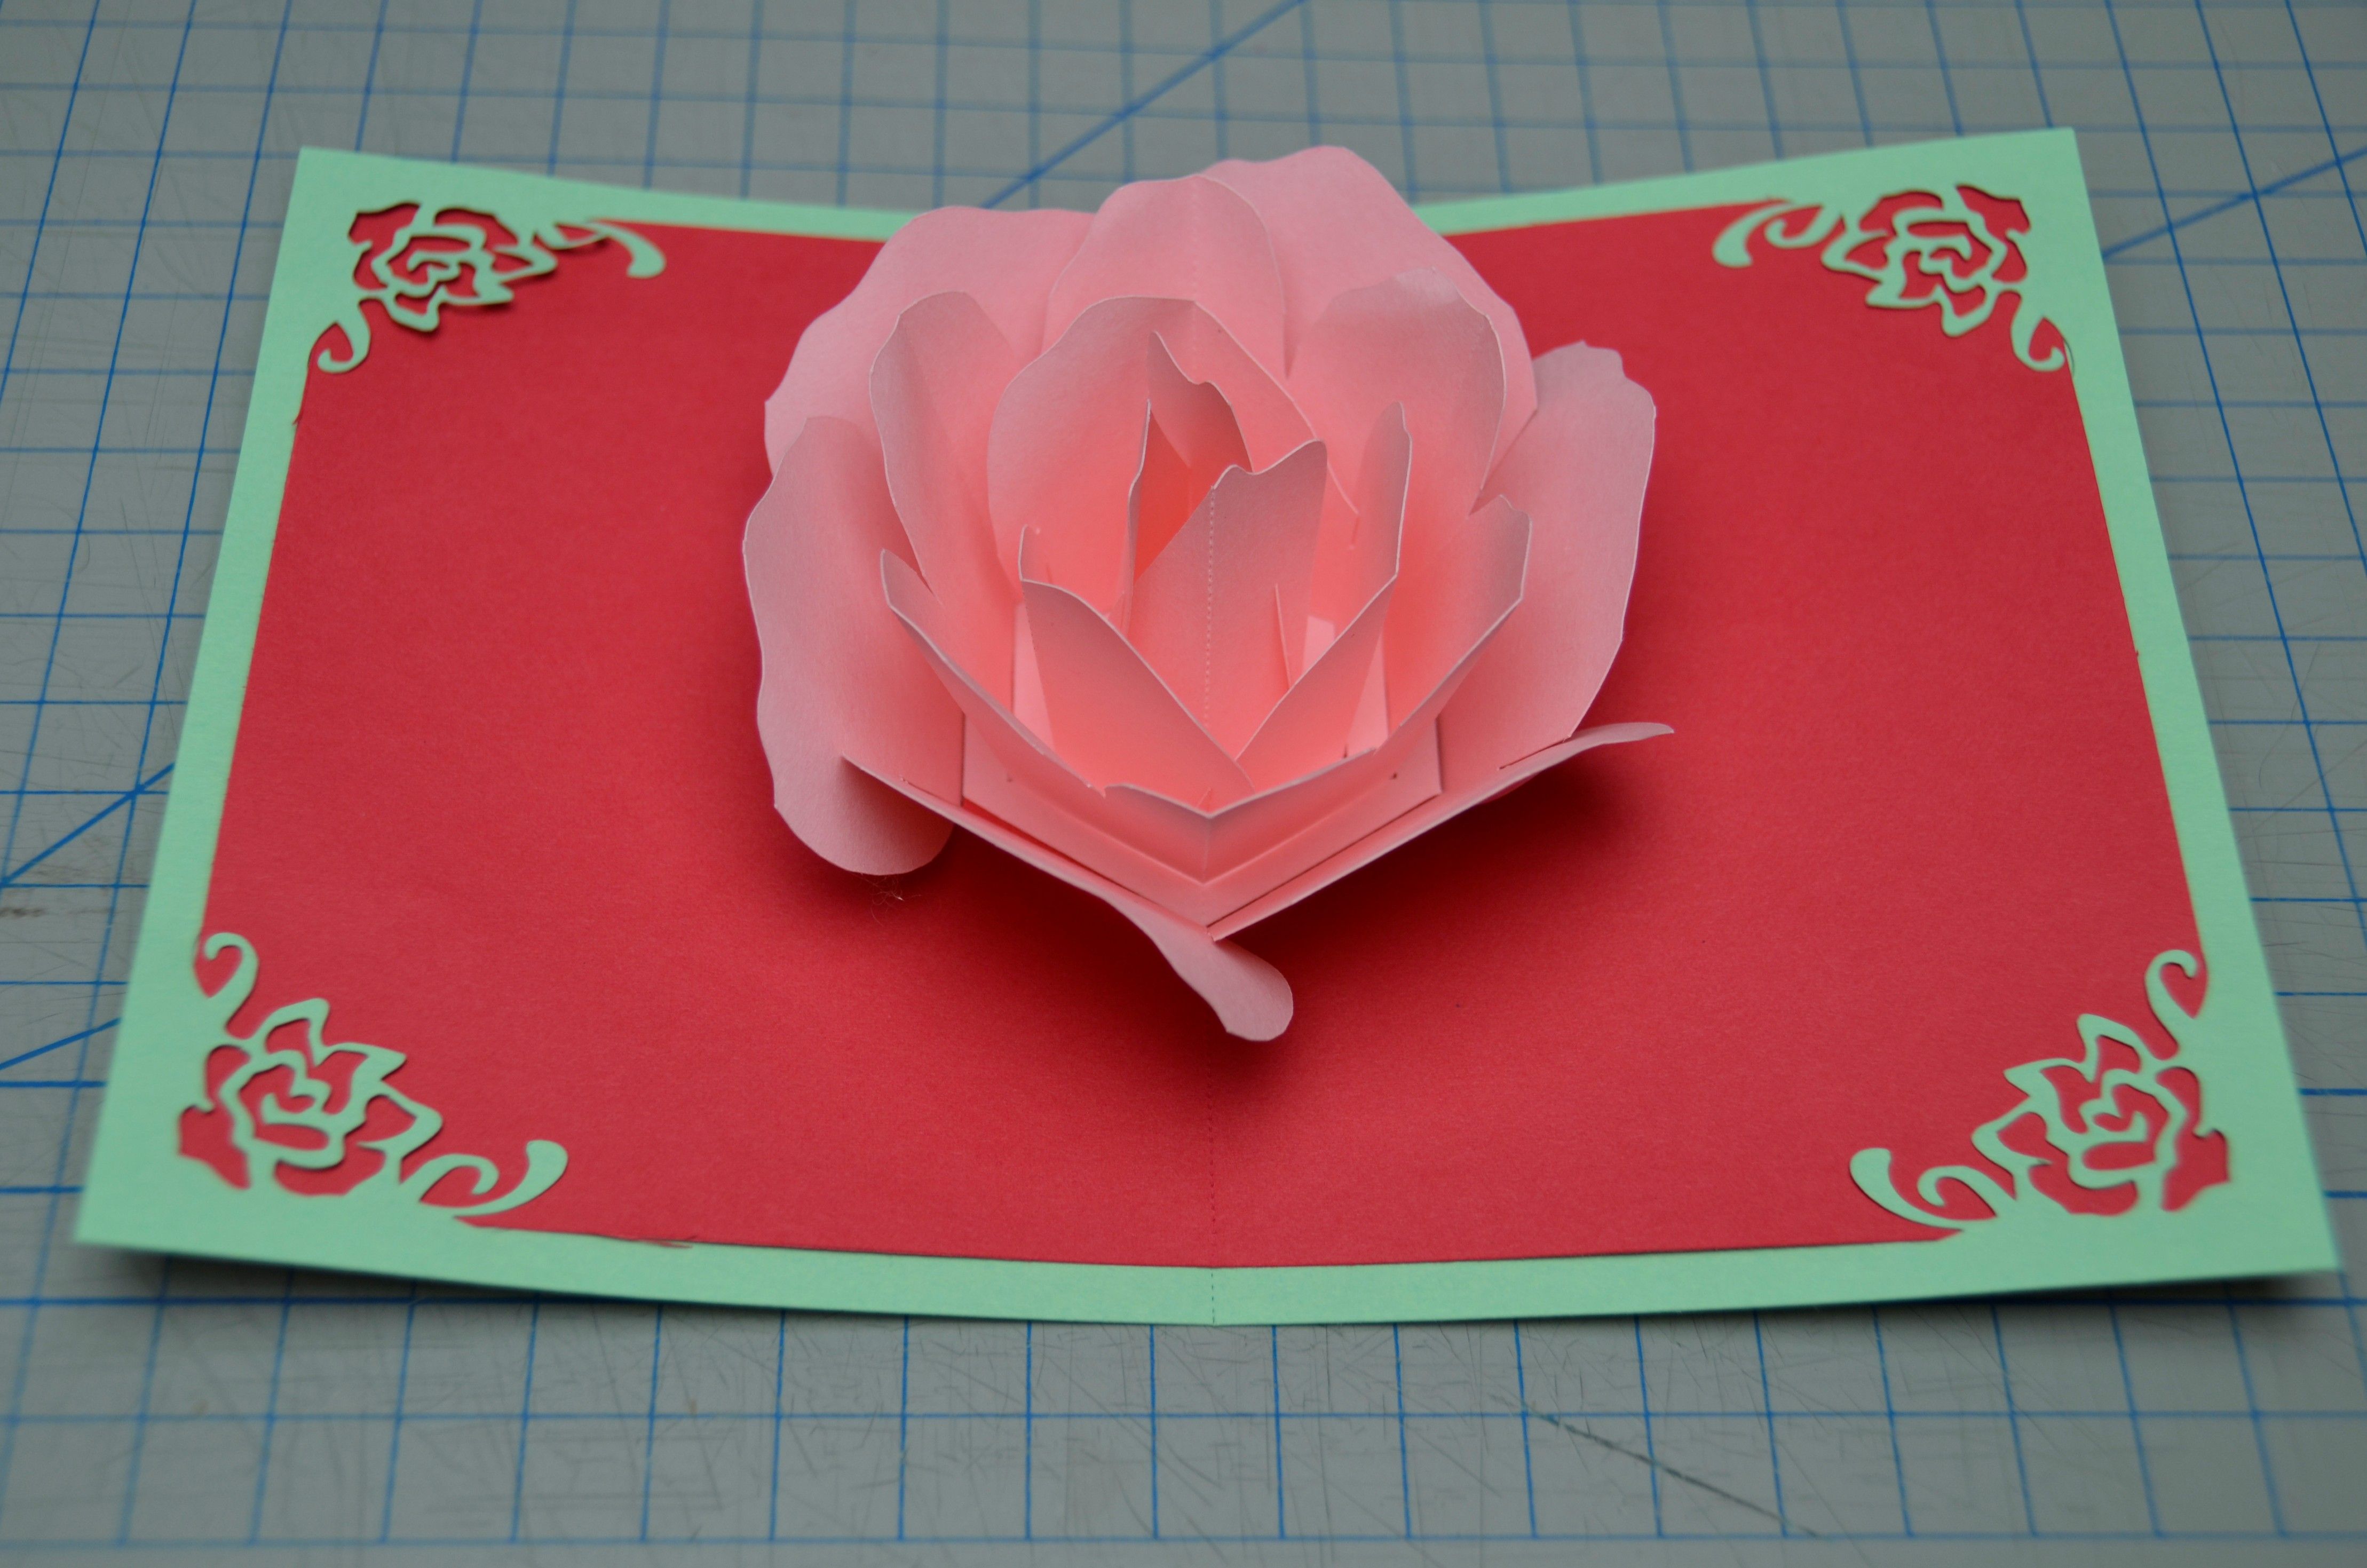
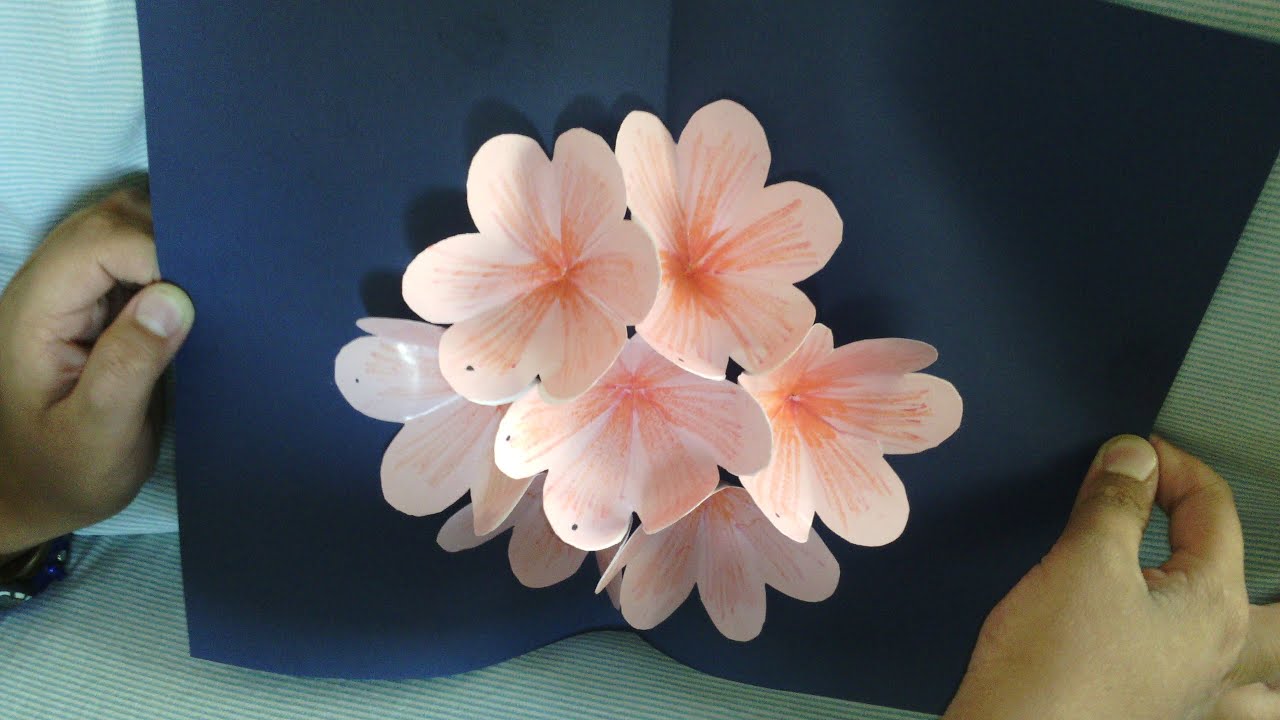
Have you ever wanted to make a card that not only expresses your feelings but also leaves a lasting impression? Pop-up flower cards are a delightful way to combine creativity with a personal touch. Not only are these cards visually stunning, but they also offer a fun and interactive experience for the recipient. Imagine the joy on someone's face when they open a card and a beautiful bouquet of flowers springs up! In this post, we’ll unravel the secret to mastering the art of creating these enchanting cards, turning ordinary greetings into extraordinary gifts. Let’s dive in!
Materials Needed for Your Card Making

Creating your very own pop-up flower cards is an enjoyable process, and having the right materials at your fingertips is key. Here’s a breakdown of everything you’ll need:
- Cardstock: This sturdy paper will be the foundation of your card. Choose a color that complements your flower design.
- Colored Paper: For the flowers, you can use vibrant scrapbook paper or tissue paper. The more colors, the better!
- Scissors: A pair of sharp scissors will help you cut the cardstock and paper to create clean lines.
- Glue or Double-Sided Tape: Adhesives are crucial for sticking the flower components to your card base.
- Ruler: This will help you measure and create precise folds and cuts, ensuring your card looks polished.
- Pencil: Use a pencil to sketch out your design before cutting, allowing for adjustments as needed.
- Decorative Elements: Consider adding embellishments like stickers, glitter, or ribbons to elevate the look of your card.
- Bone Folder: This handy tool is useful for creating crisp folds in the paper, which enhances the card's overall structure.
- Markers or Pens: Use these for writing a heartfelt message or doodling on the card.
With these materials ready, you’re all set to begin your journey into the captivating world of pop-up flower cards. Let’s unleash your creativity!
3. Step-by-Step Tutorial for Beginners

Creating beautiful pop-up flower cards can be both fun and rewarding! If you're just starting out, don’t worry; I’ll walk you through the process step by step. Grab your materials and let’s get started!
Materials You'll Need:
- Cardstock paper (various colors)
- Scissors
- Glue or double-sided tape
- Pencil
- Ruler
- Markers or colored pencils
- Foldable card base
Step 1: Prepare the Card Base
Start with your cardstock and cut it into a rectangular shape to form the base of your card. A good size is 5” x 7”. Fold it in half to create a solid card base.
Step 2: Cut Out the Flower Shapes
Using your colored cardstock, draw and cut out flower shapes. You can use templates or freehand it! Consider using different colors for a vibrant look.
Step 3: Create the Pop-Up Mechanism
Now it’s time for the magic! Cut small slits into the center fold of the card for your flowers to pop up. Make two slits about 1 inch apart — this creates the perfect space for the flower to spring forth.
Step 4: Attach the Flowers
Put glue on the bottom of your flower and carefully insert it into the slits. Press down gently and let it dry.
Step 5: Decorate Your Card
Finally, embellish the front of your card with messages or designs using markers or more cut-out shapes. You could write a heartfelt note or draw little butterflies to accompany your flowers!
And there you have it! A beautiful pop-up flower card, crafted with your hands and heart.
4. Advanced Techniques for Stunning Designs

Ready to take your pop-up flower cards to the next level? Advanced techniques can truly transform your creations into stunning works of art! Here are some ideas and tips to inspire you:
1. Multi-Layered Flowers
Instead of a single layer, create flowers with multiple layers. Stack different sized petals together for a more dimensional look. You can use:
- 3D foam tape for added height
- Different shades of the same color to create depth
2. Use Die-Cutting Machines
If you have access to a die-cutting machine, this can dramatically enhance the precision and intricacy of your designs. Look for flower-shaped dies to create consistent shapes and styles that pop.
3. Add Interactive Elements
Why not incorporate some elements that move? Consider adding pull-tabs or sliders that can reveal hidden messages or additional decorative elements!
4. Create a Shimmering Effect
Add texture and shine by using specialty papers or adding glitter accents. For a gentle shimmer, try using metallic cardstock.
5. Experiment with Pop-Up Mechanisms
Don't feel limited to the typical pop-up! Try different mechanisms like a spiral pop-up or a pop-up box. These can really enhance the visual impact of your cards. Here’s a simple table comparing some mechanisms:
| Mechanism | Description | Ease of Use |
|---|---|---|
| Traditional Pop-Up | Simple slits for flowers to pop up. | Easy |
| Sprung-Ribbon Mechanism | Uses a spring to create movement. | Intermediate |
| Pop-Up Box | Creates a three-dimensional box that expands. | Advanced |
By incorporating these advanced techniques, you can elevate your flower cards from charming to absolutely breathtaking. Don’t hesitate to experiment and let your creativity shine!
5. Inspiration and Ideas for Your Pop-Up Cards
Creating pop-up flower cards can be an incredibly rewarding and imaginative experience! To spark your creativity, here are several ideas and inspirations to get those creative juices flowing.
- Seasonal Blooms: Think about incorporating flowers that represent different seasons. For instance, you can create a spring-themed card with tulips and daffodils, a summer card with vibrant sunflowers, or an autumn card featuring mums and dahlias.
- Color Combinations: Experiment with various color palettes. Bright, bold colors can bring energy to your cards, while soft pastels can evoke a sense of calm. Use color theory to your advantage; complementary colors can make your card pop!
- Nature Elements: Enhance your flower cards by adding elements from nature. Think about using leaves, branches, or even a sunny background to create a more appealing visual experience.
- Personalization: Customize your cards for the recipient. Add their favorite flowers or use their favorite colors. Personal touches always make a significant impact!
- Themed Cards: Consider creating themed cards—like a birthday card with balloons and flowers or a thank-you card that uses wildflowers and comforting designs.
- Interactive Elements: Surprise your recipients by adding interactive elements like pull tabs or sliders that reveal hidden messages alongside the pop-up flowers!
Look for inspiration in nature, art, and even your everyday life. When you step outside, what flowers catch your eye? Or flip through crafting magazines for new techniques and design ideas. The key is to let your creativity bloom!
6. Conclusion and Final Tips for Card Making
As we wrap up this exploration of creating beautiful pop-up flower cards, remember that the heart of card-making lies in expressing your creativity and love. Here are some final tips to help you perfect the art of making your cards:
- Practice, Practice, Practice: Don’t be discouraged if your first few attempts don’t turn out perfect. Like any craft, card making improves with practice!
- Gather Quality Materials: Invest in quality cardstock, adhesives, and art supplies. Good materials can make a huge difference in the final outcome of your card.
- Keep It Simple: While it’s tempting to go all out, sometimes the most beautiful designs are the simplest. Focus on clean lines and vivid colors to maintain impact.
- Take Your Time: Card making isn't a race. Enjoy the process! Take breaks if needed to let your mind rejuvenate and spark more ideas.
- Celebrate Your Unique Style: Don’t be afraid to showcase your personality in your cards. Whether it's through your chosen colors or your preferred flower designs, let your style shine through!
Finally, remember that the best cards come from the heart. Whether you’re making them for loved ones or just for fun, let your creativity flow freely. Who knows? Your card might just bring a smile to someone’s day!


