Hey there, beauty enthusiasts! If you're looking to elevate your eye makeup game, you've probably come across gel eyeliner. This fab product has taken the makeup world by storm, and for good reason! Gel eyeliners offer the best of both worlds: the precision of a pencil and the boldness of liquid liner. With a creamy texture that glides on smoothly and stays put, gel eyeliners can help you achieve a range of stunning looks—from simple and understated to glamorous and bold.
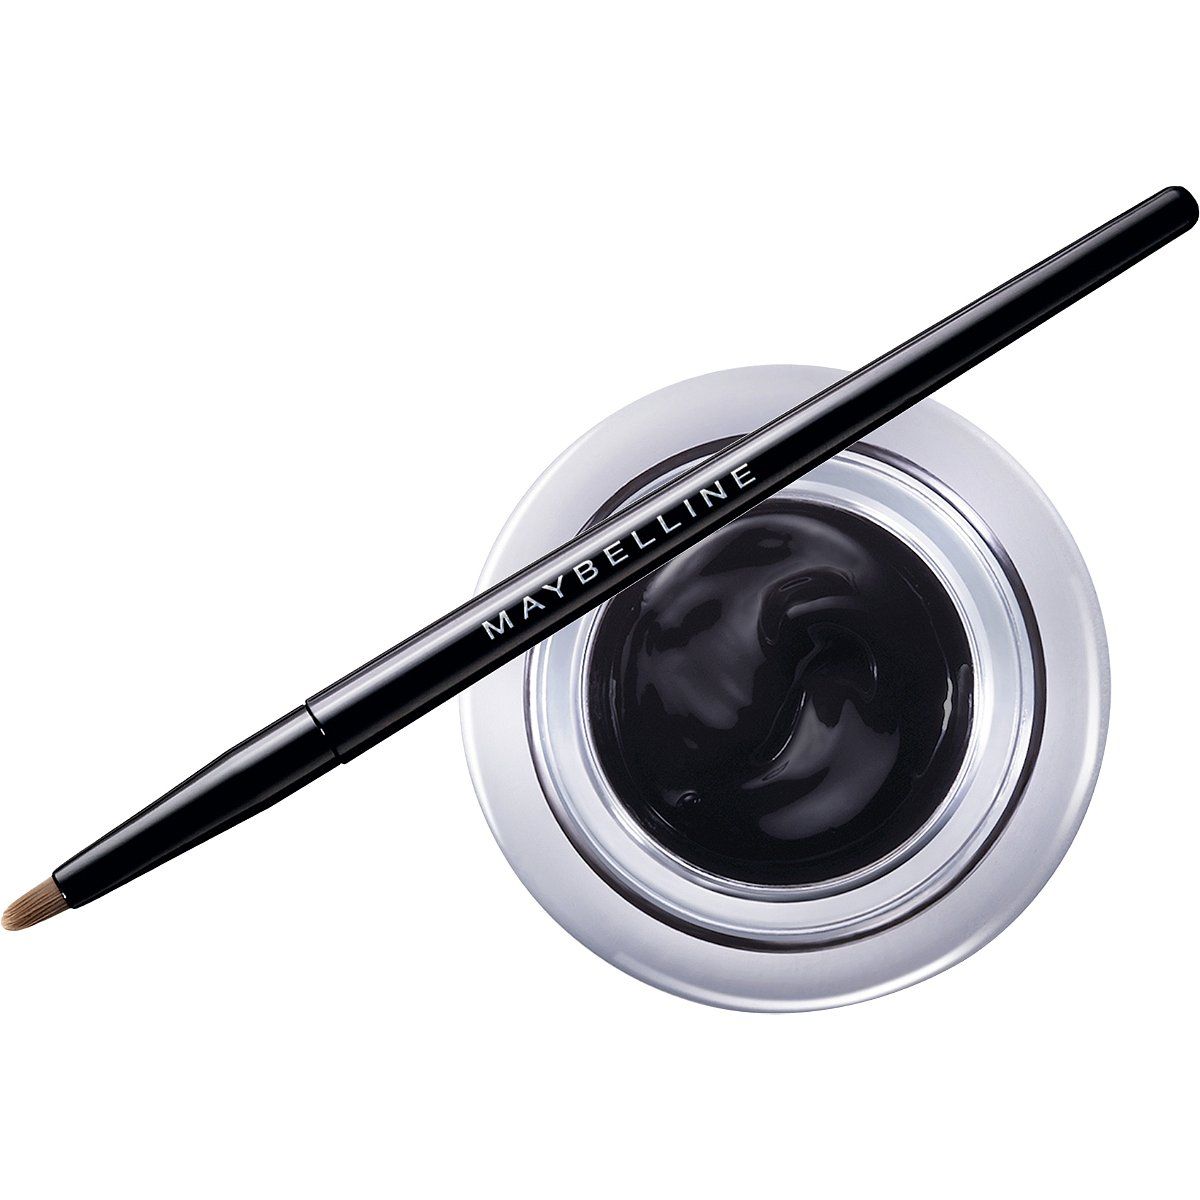
So, how does gel eyeliner work its magic? Typically housed in a small pot or jar, gel liners are applied with a brush, allowing you to customize your line's thickness and shape. The versatility of gel eyeliners makes them a staple in any makeup bag, whether you're a beginner or a seasoned pro. Plus, there's a wide array of colors and finishes available, so you can find the perfect shade to express your unique style and personality.
Benefits of Using Gel Eyeliner

Now that we’ve got you intrigued about gel eyeliner, let’s dive into the plethora of benefits it brings to your makeup routine. Trust us; once you try it, you might never look back!
- Long-lasting formula: Gel eyeliners are designed to withstand the test of time. Once applied, they typically won’t smudge or fade throughout the day, making them perfect for long wear.
- Easy application: With a brush, you can control the amount of product you use and the precision of your line. This makes gel eyeliner a great choice for novices and experts alike.
- Versatile finishes: From matte to glossy, gel eyeliners offer a variety of finishes. You can switch up your look depending on the occasion, whether you want a sleek day look or a dramatic nighttime vibe.
- Rich pigmentation: Gel eyeliners are often more pigmented than pencils, allowing for vibrant and striking lines that stand out beautifully.
- Water-resistant options: Many gel eyeliners are water-resistant or waterproof, making them ideal for those tear-jerking moments or humid days.
- Customizable looks: Whether you prefer a thin line for a subtle effect or a bold wing for maximum impact, you can easily achieve it with gel liner.
In summary, gel eyeliners are not just a trend; they’re an essential tool in achieving eye-catching looks while offering unparalleled benefits. So why not take a step into the world of gel eyeliner and discover the magic for yourself?
Choosing the Right Gel Eyeliner

Selecting the perfect gel eyeliner can feel like searching for a needle in a haystack, especially with so many options available. But fear not; I’m here to guide you through the process. Here are some essential factors to consider when choosing your gel eyeliner:
- Shade: Gel eyeliners come in a variety of colors, from classic blacks and browns to vibrant shades like blue, green, or even metallics. Choose a color that complements your eye color and skin tone.
- Texture: The texture of gel eyeliner can vary significantly. Some are ultra-smooth and creamy, while others might be more on the matte side. If you’re new to gel eyeliner, you may want to opt for a creamier formulation for easier application.
- Longevity: No one wants their eyeliner smudging halfway through the day. Look for formulations that are long-wearing and resistant to smudging. Reading customer reviews can give you insights on how long-lasting a product truly is.
- Finish: Decide if you prefer a matte finish for a classic look or a glossy one for a modern twist. The finish can change the entire vibe of your makeup!
- Ingredients: If you have sensitive eyes, it’s crucial to check the ingredient list. Look for hypoallergenic options and avoid eyeliners that contain potential irritants.
Remember, it's perfectly fine to try a few different brands before landing on the one that feels just right for you. Your ideal gel eyeliner will enhance your features, making your eyes pop!
Essential Tools for Application

Using gel eyeliner can be a game-changer for your makeup routine, but having the right tools can make all the difference in achieving that polished look. Here are the must-have tools for the perfect gel eyeliner application:
- Angled Brush: An angled brush is your best friend when it comes to gel eyeliner. It allows for precision and control, making it easier to create a sharp wing or a defined line along your lash line.
- Fine-tipped Brush: For more detailed work or a softer line, a fine-tipped brush is ideal. It’s great for creating intricate designs or blending the eyeliner as needed.
- Makeup Remover: No matter how skilled you are, it’s always a good idea to keep makeup remover on hand for any mistakes. Micellar water or cleansing wipes can help quickly fix any missteps.
- Mirror: A good quality, well-lit mirror is essential. Consider a magnifying mirror to ensure you can see the fine details as you apply your eyeliner.
Investing in these tools can elevate your gel eyeliner game, ensuring you achieve beautiful and bold eye looks every time. With practice, you’ll master the art of application and have fun experimenting with different styles!
Step-by-Step Guide to Applying Gel Eyeliner

If you're ready to say goodbye to pencil eyeliner and embrace the boldness of gel, you're in for a treat! Applying gel eyeliner might seem intimidating at first, but with practice, it becomes second nature. Let's break it down step by step:
- Gather Your Tools: Before you get started, make sure you have everything you need. Grab your gel eyeliner pot, an angled brush or a fine-tipped brush, a mirror, and some makeup remover for any touch-ups.
- Prime Your Eyes: Start with clean eyelids. Apply an eye primer to your lids to create a smooth base, helping the gel liner adhere better and stay put longer.
- Dip the Brush: Take your brush and dip it gently into the gel liner. You want to pick up enough product but not too much—take off any excess by wiping it on the edge of the pot.
- Start at the Inner Corner: Begin applying the gel liner at your inner corner, using small strokes. This helps you get a precise line without overwhelming your eyes.
- Build Up to Your Desired Thickness: As you move towards the outer corner of your eye, you can gradually increase the thickness of the line. A thicker wing can add drama, but remember, less is often more!
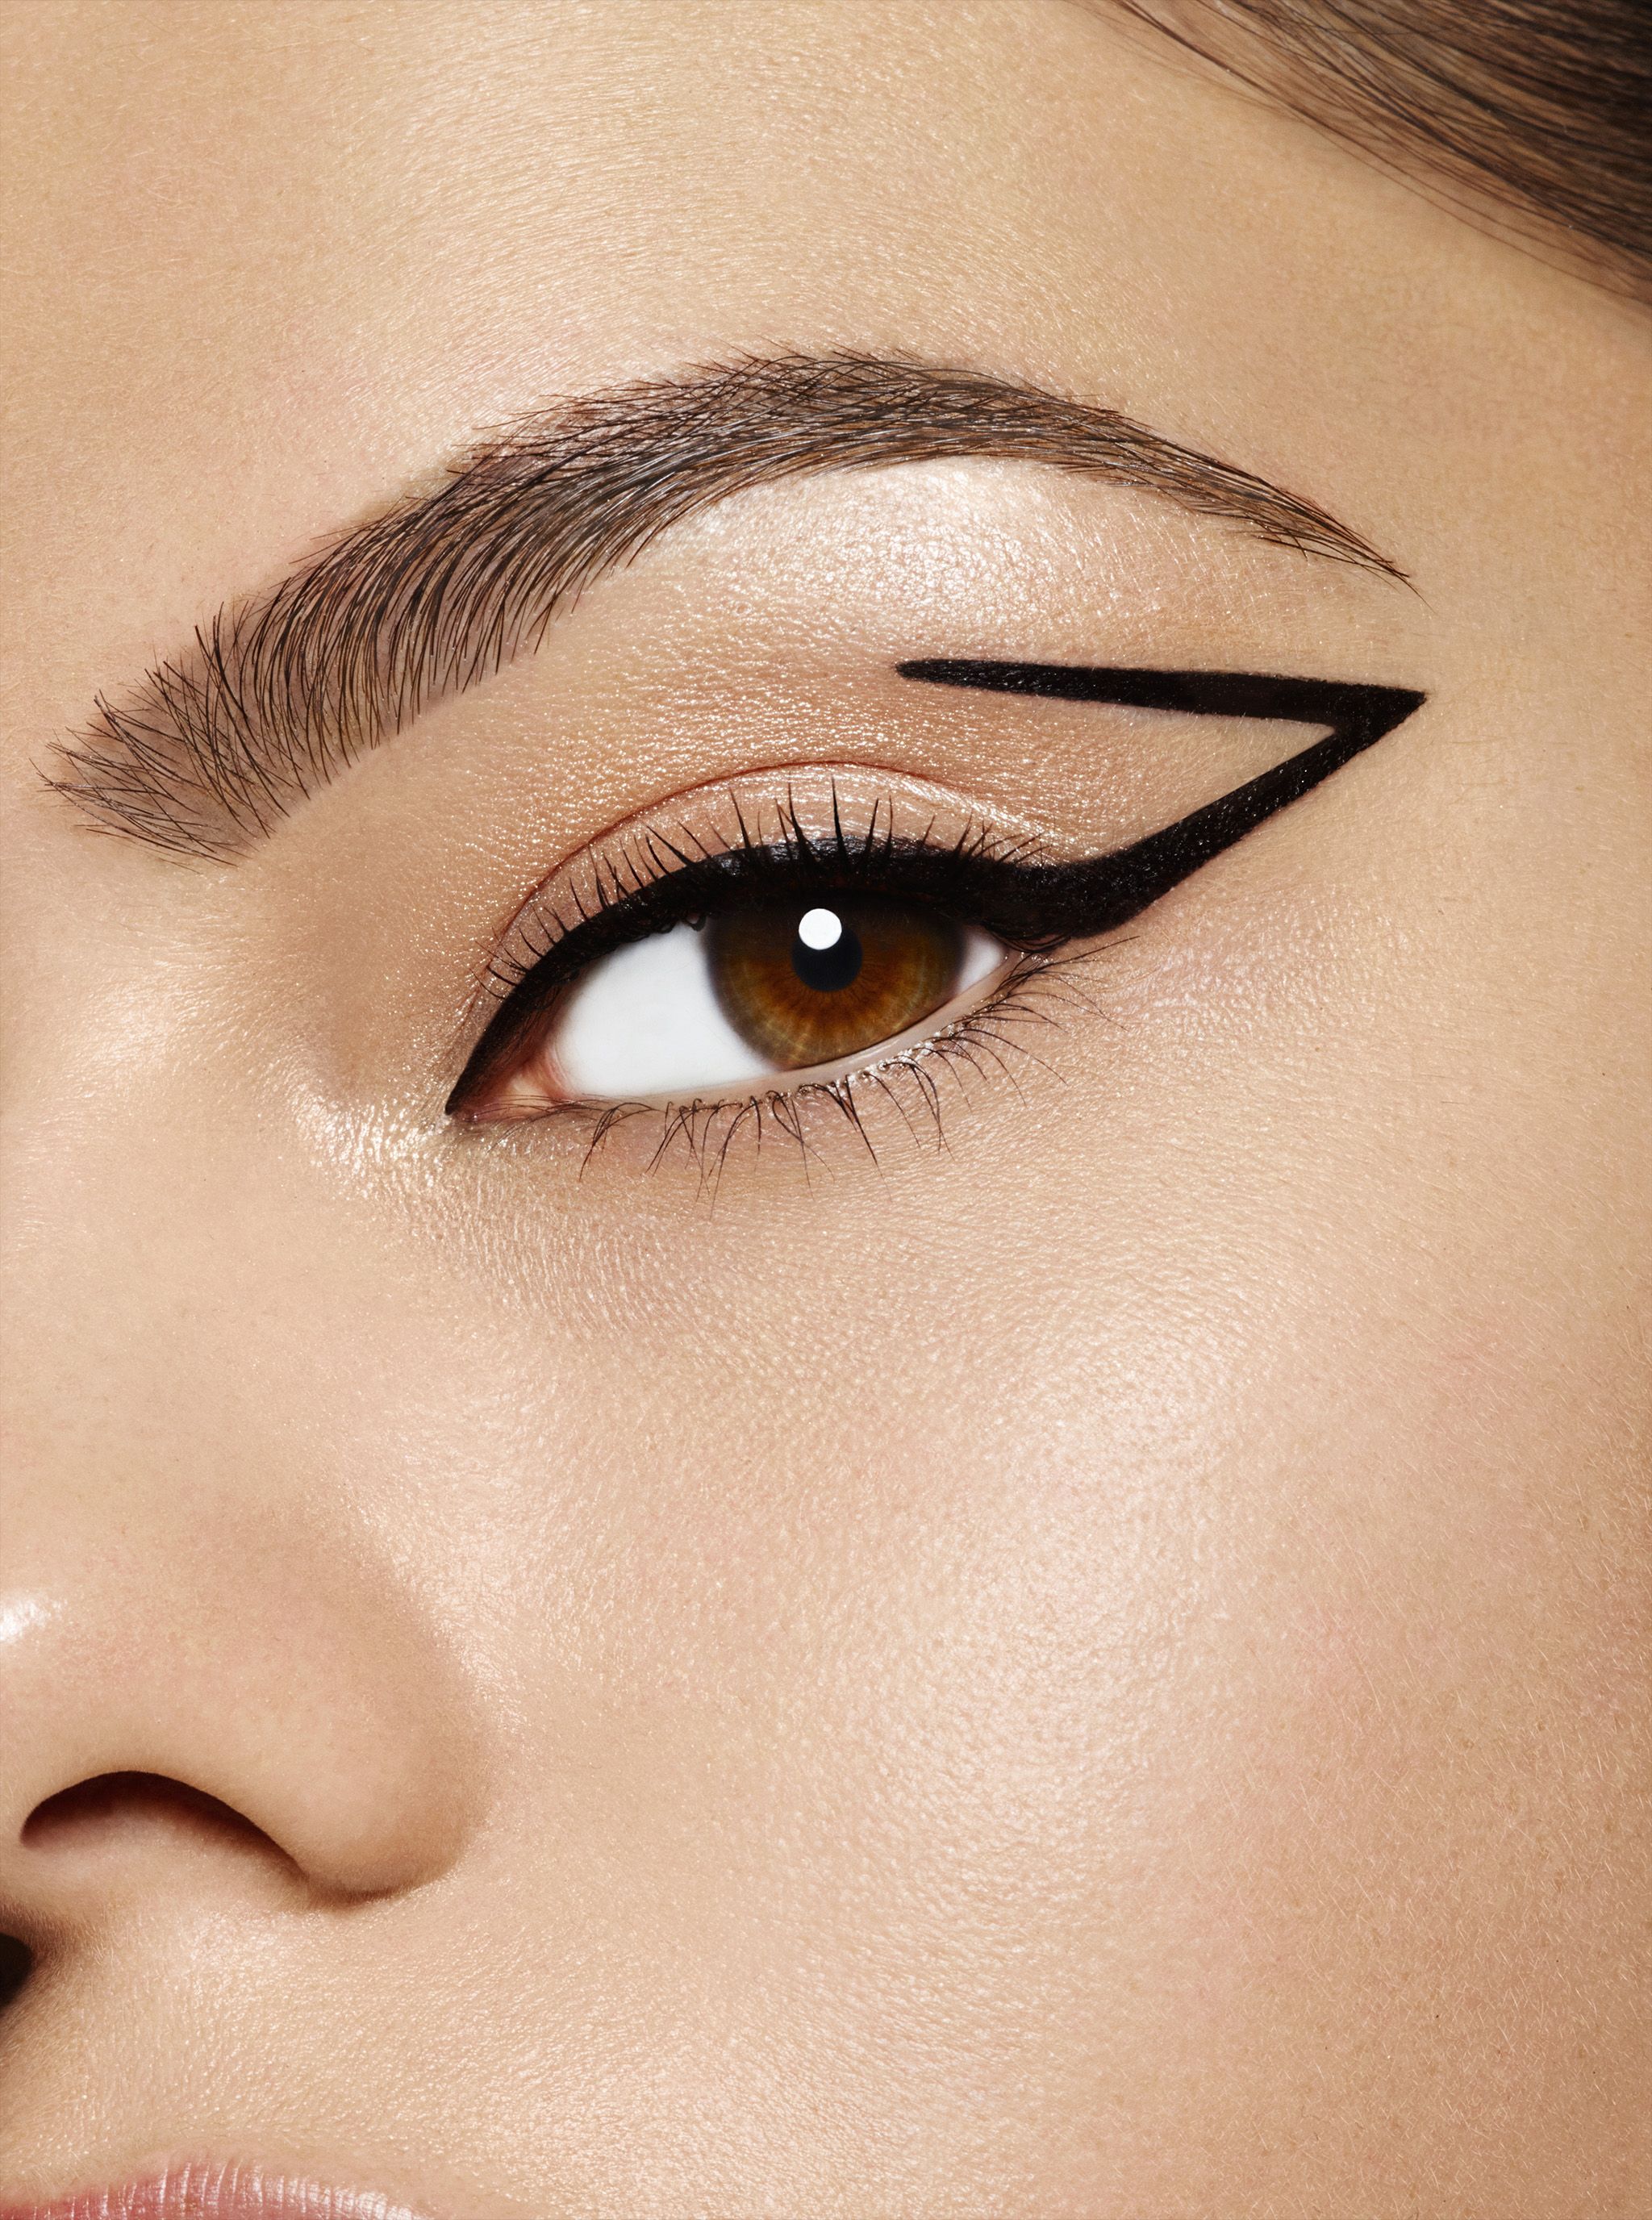
- Wing It (If You Want): If a winged look is your goal, flick the brush upwards at the outer corner. This creates a beautiful cat-eye effect.
- Perfect the Line: Use a clean brush or your finger to smudge or soften the line if needed, giving it a more blended appearance.
- Set with Powder (Optional): For an all-day hold, a light dusting of translucent powder can help set the liner in place.
Tips for a Long-Lasting Look
We all want our eyeliner to stay put without smudging or fading throughout the day. Here are some handy tips to ensure your gel eyeliner lasts as long as you do:
- Choose the Right Formula: Not all gel eyeliners are created equal. Look for waterproof or long-wear formulas to resist smudging.
- Apply a Primer: Using an eyeshadow primer before applying gel eyeliner can create a reliable barrier and improve longevity.
- Don't Skip Setting Powder: After applying your gel liner, lightly dusting some translucent setting powder on top can help lock it in place.
- Avoid Touching Your Eyes: This one might seem simple, but try to avoid rubbing your eyes or touching your eyelids throughout the day.
- Use an Eyeshadow: For added staying power, apply a similar eyeshadow over your gel liner. This extra layer can help prevent smudging.
- Keep it Clean: Always clean your brushes after use to prevent buildup that can affect application and lasting power.
With these tips in mind, you're well on your way to mastering gel eyeliner for those bold, defined eyes you desire!
7. Removing Gel Eyeliner Effectively
So, you've mastered the art of applying gel eyeliner and are now rocking those bold and defined eyes. But what about removing it at the end of the day? It can be tricky, especially if you're using a long-lasting formula. Don’t worry; I’ve got you covered with some easy steps to make the removal process smooth and gentle on your delicate eye area.
Here are some effective methods for removing gel eyeliner:
- Use an Eye Makeup Remover: Look for a gentle eye makeup remover, preferably oil-based. These are excellent at breaking down stubborn products without tugging at the skin.
- Micellar Water: Micellar water is a fantastic all-in-one option. Just soak a cotton pad and hold it against your eye for a few seconds before gently wiping away the eyeliner.
- Natural Oils: If you prefer a more natural approach, coconut oil or olive oil can work wonders. They not only remove makeup but also nourish the skin.
- Warm Compress: Soak a cloth in warm water, place it over your eyes, and let it sit for a minute. It helps loosen the gel eyeliner, making removal easier.
Regardless of which method you choose, always be gentle! The skin around your eyes is sensitive, and harsh rubbing can lead to irritation. Finish with a proper skincare routine—like cleansing and moisturizing—to keep your skin in tip-top shape.
8. Conclusion and Final Tips
In conclusion, mastering gel eyeliner not only elevates your eye makeup game but also gives you that bold, defined look that can take you from day to night effortlessly. With practice, you can conquer any look you aspire to achieve!
Here are some final tips to keep in mind:
- Practice Makes Perfect: Don’t be discouraged if it doesn’t come out right the first time. The more you practice, the better you’ll get!
- Experiment with Styles: Don’t hesitate to try different techniques—winged, tightlining, or even creative designs just for fun!
- Store Your Products Properly: Keep your gel eyeliner in a cool, dry place to avoid it drying out. A tightly sealed jar can work wonders!
- Keep Your Tools Clean: Clean your brush regularly using a gentle soap. This ensures your application remains smooth and prevents any eye infections.
Remember, makeup should be fun and expressive. Let your creativity shine, and enjoy your journey with gel eyeliner! Get ready to bat those perfectly lined lashes and embrace your bold side!


