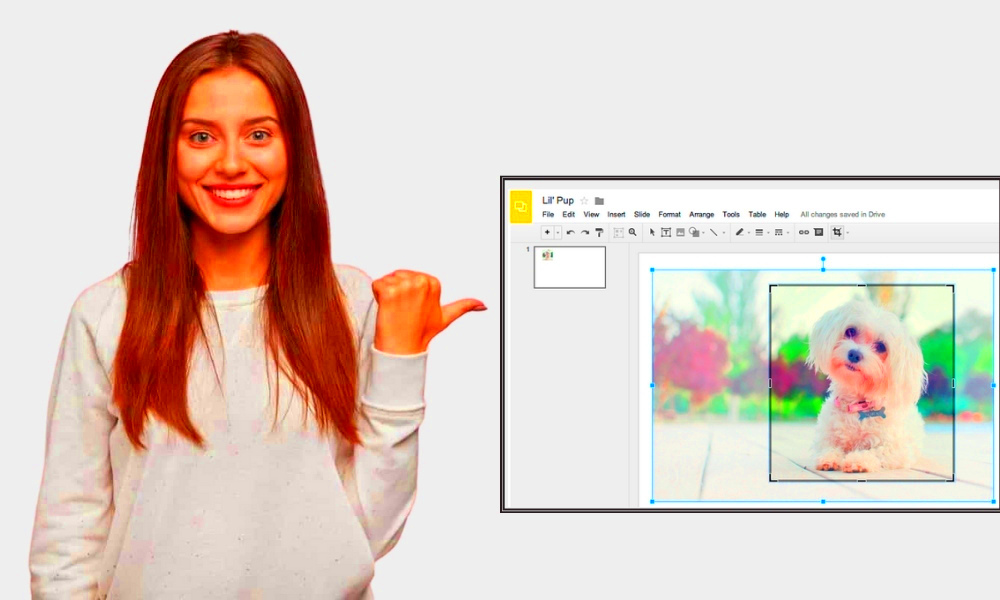
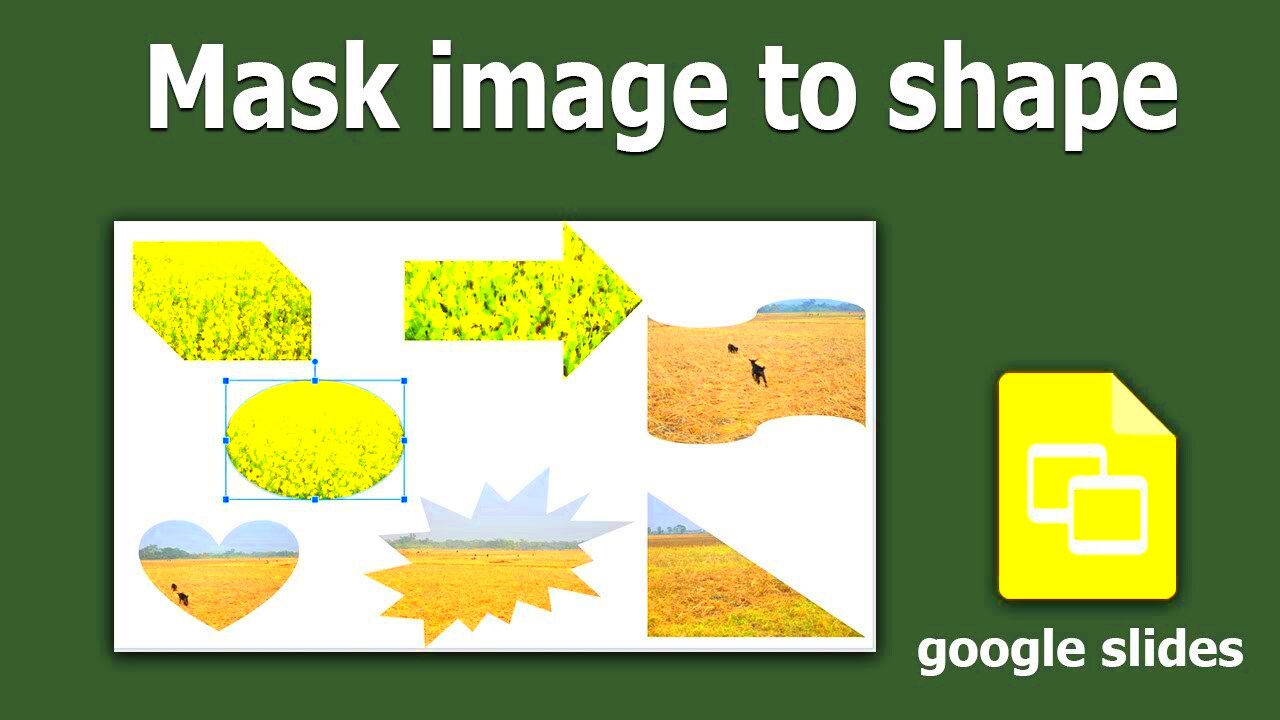
Masking images in Google Slides can add a creative touch to your presentations. It allows you to shape images in unique ways, making them fit seamlessly into your design. Instead of just placing a standard image, you can create visually appealing effects that catch your audience's attention. Whether you want to highlight a specific part of an image or blend it with other elements, masking is a powerful tool. In this guide, we'll explore the benefits of masking, how to do it step by step, and tips for making the most of this feature.
Benefits of Masking Images

Masking images offers several advantages that enhance your presentation's overall impact. Here are some key benefits:
- Customization: You can change the shape of your images to better suit your content and design.
- Focus: Masking helps direct attention to specific areas of an image, ensuring your message is clear.
- Creativity: Use unique shapes and designs to create a more engaging visual experience.
- Professionalism: Well-masked images can elevate the overall quality of your presentation, making it look polished.
- Consistency: Maintain a cohesive design theme by using similar masking styles throughout your slides.
Step by Step Guide to Mask Images in Google Slides
Ready to start masking images? Follow these simple steps to get started:
- Open Google Slides: Launch Google Slides and open your presentation or create a new one.
- Insert an Image: Click on "Insert," then "Image," and choose where to upload your image from.
- Select the Image: Click on the image to highlight it.
- Mask the Image: Click on the drop-down arrow next to the "Crop" icon in the toolbar. Choose "Mask image" and select a shape from the options provided.
- Adjust the Mask: After masking, you can click and drag the corners to resize or reposition the image within the mask.
- Finalize Your Design: Add additional elements, adjust the background, and make any necessary changes to ensure everything looks great.
And that's it! You've successfully masked an image in Google Slides. Practice with different shapes and images to see how masking can transform your presentations.
Different Shapes for Masking
When it comes to masking images in Google Slides, the shape you choose can significantly impact your design. Google Slides offers a variety of shapes that you can use to create eye-catching visuals. Here are some common shapes you can experiment with:
- Basic Shapes: Circles, squares, and triangles are great for simple designs. They work well for presenting images that need to fit neatly into your layout.
- Stars: Use star shapes for a fun and dynamic look. They can add excitement, especially for creative projects or celebrations.
- Arrows: Arrows can be useful for guiding your audience's attention towards important information or creating a directional flow in your presentation.
- Custom Shapes: You can also draw your own shapes using the "Line" tool. This feature allows for more creativity and personalization in your designs.
Remember, the shape should complement your content and help convey your message effectively. Don't be afraid to mix and match shapes to create unique combinations. With a little experimentation, you can find the perfect shape for your image masking needs.
Tips for Creating Unique Effects
Creating unique effects with masking can elevate your presentations and make them stand out. Here are some tips to help you get creative:
- Use Layering: Combine multiple images with different masks to create a layered effect. This technique adds depth to your design.
- Experiment with Transparency: Adjust the transparency of your masked images to let background elements show through, creating a more integrated look.
- Incorporate Text: Mask images around text or other design elements. This can highlight your message and create visual interest.
- Play with Colors: Use colorful shapes or borders around your masked images to add vibrancy and catch the viewer's eye.
- Balance is Key: Ensure that your masked images don’t overpower your content. Aim for a balanced design that enhances your message.
By applying these tips, you can unlock new possibilities for creativity and ensure your presentations leave a lasting impression.
Common Mistakes to Avoid
While masking images can be fun and beneficial, it's easy to make mistakes that can detract from your presentation. Here are some common pitfalls to watch out for:
- Overcomplicating Shapes: Using overly complex shapes can confuse your audience. Stick to simpler designs that enhance understanding.
- Ignoring Alignment: Misaligned images can create a cluttered look. Always ensure your masked images align well with other elements on the slide.
- Neglecting Backgrounds: If your background is too busy, it can distract from your masked images. Choose backgrounds that complement rather than compete.
- Skipping Preview: Failing to preview your slides before presenting can lead to surprises. Always check how your images appear in the final view.
- Forgetting Accessibility: Make sure your designs are accessible to all viewers. Consider color contrast and readability to ensure everyone can engage with your content.
By avoiding these mistakes, you can enhance the effectiveness of your masking techniques and create more impactful presentations.
Use Cases for Masking Images
Masking images isn't just a fun trick; it has practical applications that can enhance your presentations and visuals in many ways. Here are some use cases where image masking can make a significant difference:
- Marketing Presentations: Use masking to highlight product features or benefits. For instance, you can mask an image of a product with a star shape to draw attention to it.
- Educational Slides: Teachers can use masking to create engaging visuals that help illustrate concepts. For example, masking a globe shape around world maps can make geography lessons more captivating.
- Portfolio Displays: Artists and designers can showcase their work in a more creative manner by masking their images in unique shapes that reflect their style.
- Event Promotions: When promoting events, masked images can add a festive touch. Using fun shapes like balloons or confetti can enhance the celebratory theme.
- Social Media Graphics: Create eye-catching visuals for posts and stories by masking images creatively, ensuring they stand out in crowded feeds.
By incorporating masking into your visuals, you can communicate your ideas more effectively and keep your audience engaged.
FAQ
Here are some frequently asked questions about masking images in Google Slides:
- Can I use any shape for masking? Yes, Google Slides offers a variety of shapes, and you can even create custom shapes to suit your needs.
- Will masking affect the quality of my image? No, masking does not reduce the quality of your original image. It simply changes its visible shape.
- Can I unmask an image? Yes, you can easily unmask an image by selecting it and clicking the "Crop" drop-down menu, then choosing "Reset mask."
- Is it possible to animate masked images? Absolutely! You can apply animations to your masked images just like any other element in your presentation.
- Are there any limitations on using masks? While there are no strict limitations, it's best to keep your shapes simple and relevant to your content for maximum effectiveness.
If you have more questions, don’t hesitate to explore Google Slides help or ask peers for tips!
Conclusion
Masking images in Google Slides is a valuable skill that can elevate your presentations and make them more visually appealing. With various shapes and creative techniques at your disposal, you can transform ordinary images into engaging focal points that capture your audience's attention. Remember the benefits of customization, focus, and creativity that masking offers. By avoiding common mistakes and exploring different use cases, you can enhance your design skills and deliver impactful presentations. So go ahead, start experimenting with masking images today and see how it can change the way you present your ideas!

 admin
admin


