Introduction to Alamy Photo Submissions
Welcome to the world of Alamy, where your photography can reach a global audience! If you’re a photographer looking to sell your images, Alamy offers a fantastic platform to showcase your work. However, managing your photo submissions can sometimes feel overwhelming. In this guide, we’ll explore how to effectively navigate the pending submissions process, ensuring you keep your portfolio fresh and your workflow smooth. Let’s dive in!
Also Read This: Is Alamy Exclusive? What Contributors Should Know About Rights
Understanding the Queued Photos Process on Alamy
When you submit photos to Alamy, they enter a queued process that is essential for maintaining high-quality standards. Here’s a breakdown of how this process works:
- Submission Review: Once you upload your images, they’re reviewed by Alamy’s editorial team. This step ensures that each photo meets the platform’s technical and aesthetic criteria.
- Pending Status: Your photos will often remain in a “pending” status while they await review. This can be a nerve-wracking time, but it’s vital for quality control.
- Feedback and Rejection: If any images don’t meet the criteria, you’ll receive feedback. Alamy encourages you to make adjustments and resubmit, which is a great way to enhance your skills!
- Approval and Live Status: Once approved, your photos will go live on the site, making them available for potential buyers. This is where the magic happens!
Understanding this process is key to managing your submissions effectively. It’s important to note that the review time can vary based on the volume of submissions Alamy is handling at any given moment. Here are some tips to help you navigate this:
- Stay Organized: Keep track of your submissions in a spreadsheet. Note the date submitted and the status of each photo.
- Continuous Learning: Use feedback from rejected images to improve your future submissions. Alamy provides valuable insights that can help you refine your craft.
- Patience is Key: Remember that quality takes time. While it can be frustrating to wait, the review process is in place to uphold Alamy’s standards.
In summary, understanding the queued photos process on Alamy not only helps you manage your submissions better but also enhances your overall experience on the platform. By following these tips, you can reduce anxiety during the waiting period and focus on creating stunning images that capture attention!
Also Read This: Discover the Features and Benefits of Buying from Alamy
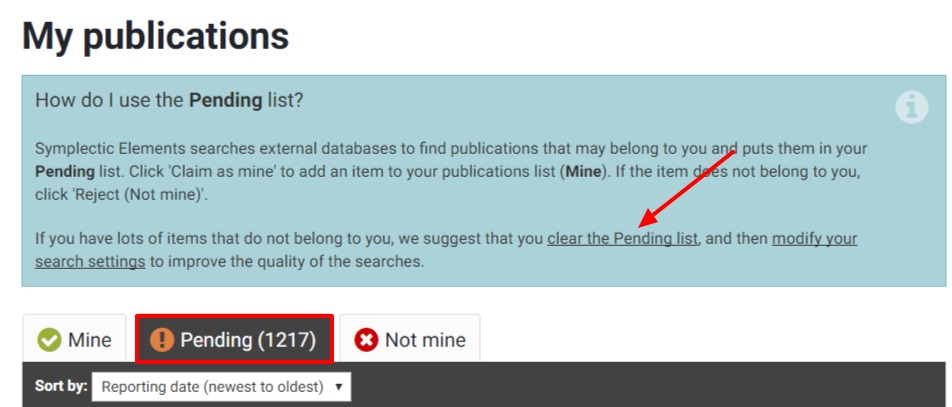
3. Steps to View Your Pending Submissions
Managing your photo submissions on Alamy can be a breeze if you know where to look. To see all your pending submissions, follow these simple steps:
- Log Into Your Alamy Account: Start by navigating to the Alamy website and logging into your account. Use your credentials to gain access to your dashboard.
- Go to the 'My Account' Section: Once you’re logged in, find the “My Account” section in the top right corner. Click on it to expand the options.
- Select 'Submissions': In the dropdown menu, look for the 'Submissions' option. This is where you’ll find all your uploaded photos, including those that are still pending review.
- Filter Your View: To focus specifically on pending submissions, use the filters available on the page. You can often sort or filter submissions by their status, so selecting 'Pending' will streamline your view.
Once you’ve located your pending submissions, you’ll be able to see the details of each photo, including:
- Submission Date: When did you upload the photo?
- Image Title: What did you name the photo?
- Status: Is it still pending, or has it been approved/rejected?
By following these steps, you can easily keep track of all your outstanding submissions. This will help you stay organized and informed about the status of your work. Remember, the review process can take some time, so don’t panic if your photos haven’t been approved instantly!
Also Read This: Alamy’s Best Selling Images: Insights into Popular and Profitable Content
4. How to Effectively Clear Queued Photos
If you’re looking to manage your photo submissions on Alamy effectively, clearing out queued photos is essential. Here’s how you can do that in a few straightforward steps:
- Identify What to Clear: First, take a good look at your pending submissions. Are there photos you no longer want to keep in the queue? Perhaps they didn’t meet your expectations, or you’ve decided they don’t fit your portfolio.
- Assess the Submission Guidelines: Before making any deletions, review Alamy’s submission guidelines. Ensure that any photo you plan to delete doesn’t violate any rules and that you’re not missing out on valuable opportunities.
- Select Photos to Remove: Go back to the 'Submissions' section and identify the photos you'd like to clear. Most platforms allow you to select multiple photos at once, making this process quicker.
- Delete or Withdraw Submissions: Look for an option to delete or withdraw your selected submissions. This usually involves clicking a button or link that says "Delete" or "Withdraw." Confirm the action when prompted.
Here are a few tips to keep in mind while clearing your queued photos:
- Keep Your Portfolio Focused: Only keep photos that align with your brand or artistic vision. This helps maintain a cohesive portfolio.
- Regular Maintenance: Make it a habit to review your pending submissions regularly. Setting a monthly reminder can help.
- Seek Feedback: If you’re unsure about certain photos, ask fellow photographers or friends for their opinions before clearing them out.
By following these steps and tips, you can keep your Alamy submissions organized and ensure that your portfolio reflects your best work. Clearing out unnecessary photos not only declutters your submissions queue but also enhances the overall quality of your offerings on the platform.
Also Read This: Adobe Stock vs Getty Images: Comparing Two Leading Stock Photography Platforms
5. Best Practices for Managing Your Alamy Submissions
Managing your submissions on Alamy can be a breeze if you adopt a few best practices. Here are some strategies to streamline your workflow and enhance your success:
- Organize Your Photos: Create a structured folder system on your computer. Categorize your images based on themes, locations, or dates. This way, when you’re ready to submit, you can quickly find and upload your best work.
- Keyword Wisely: Use relevant keywords that accurately describe your images. Consider what potential buyers might search for. For instance, if you have a photo of a sunset over a beach, include tags like “sunset,” “beach,” and “relaxation.”
- Stay Updated with Trends: Research current trends in stock photography. For example, if there's a rising interest in sustainable living, focus on capturing images related to eco-friendly practices.
- Keep It Legal: Always ensure that you have the necessary permissions if your images feature identifiable people or private property. This protects you and your submissions.
- Regularly Review Your Portfolio: Set aside time each month to go through your submissions. Remove any outdated or lower-quality images to keep your portfolio fresh and appealing.
By implementing these best practices, you can create a more efficient workflow and increase your chances of making successful sales on Alamy.
6. Common Issues and Troubleshooting Tips
Even the most skilled photographers encounter challenges with their submissions on Alamy. Here are some common issues and how to troubleshoot them:
- Image Rejections: If your photos are consistently rejected, consider the reasons. Alamy typically rejects images for technical issues (like poor resolution) or lack of commercial appeal. Review Alamy’s guidelines, and make necessary adjustments.
- Metadata Problems: Sometimes, your images may have incomplete or incorrect metadata. Double-check your keywords and descriptions before submitting. Use tools that can help automate metadata entry, making it less prone to errors.
- Submission Delays: If your submissions are pending for longer than usual, it could be due to high volumes of uploads or issues on Alamy’s end. Check their status page or forums for updates. If it’s excessive, consider reaching out to their support team.
- Image Quality Issues: Are your uploads appearing pixelated or blurry? Ensure your files meet Alamy’s specifications. Upload images in high resolution, and avoid excessive compression before submission.
- Account and Payment Issues: Ensure that your account is in good standing and that payment details are accurate. If there’s a payment issue, your submissions might be delayed. Regularly check your account settings to confirm everything is up to date.
By being aware of these common issues and implementing the troubleshooting tips provided, you can navigate the Alamy platform more effectively and focus on what you love most—capturing beautiful images!
 admin
admin


