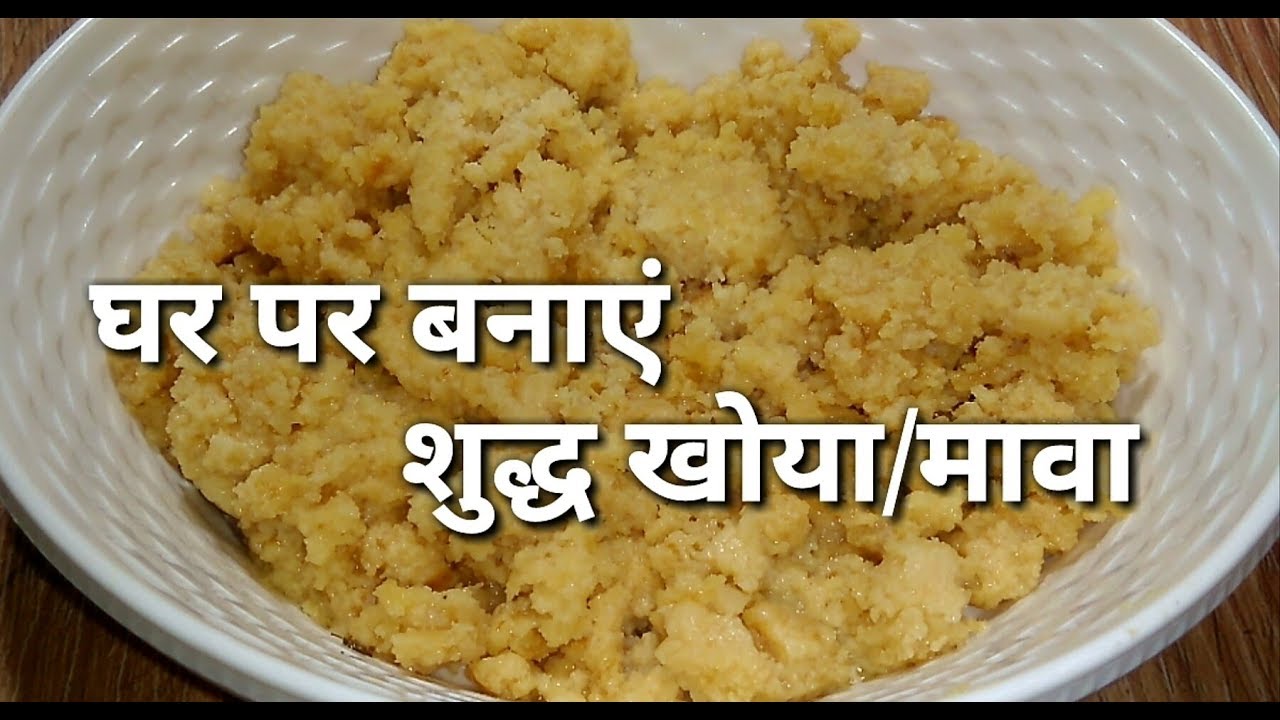
Khoya, also known as mawa, is a delightful ingredient in Indian sweets that adds richness and creaminess. Made by simmering milk until it thickens, khoya is a versatile base for many desserts, from barfis to gulab jamun. With its deep flavor and creamy texture, it's no wonder khoya is a beloved staple in Indian cuisine. In this post, we’ll explore the joys of making khoya at home, ensuring you have the freshest, tastiest ingredient right at your fingertips.
Why Make Khoya at Home?
Making khoya at home might seem daunting, but it’s easier than you think! Here are some compelling reasons to whip up a batch in your kitchen:
- Freshness: Homemade khoya is incredibly fresh and doesn’t contain preservatives, making it a healthier choice.
- Customizable: You can control the richness and texture, adapting it to your personal preference. Want creamier khoya? Simmer it longer!
- Cost-Effective: Store-bought khoya can be pricey, especially if you use it often. Making it at home saves money in the long run.
- Fun Experience: The process can be quite enjoyable, especially if you involve family or friends. It’s a great way to bond over cooking!
Let’s dive deeper into these reasons:
Freshness: When you make khoya yourself, you ensure it’s fresh and bursting with flavor. Store-bought versions can sometimes sit on shelves for days or weeks, losing that creamy essence. Plus, there’s nothing like the satisfaction of crafting something delicious from scratch.
Customizable: Khoya can be made in various forms - dried, soft, or even slightly granular. If you love rich desserts, you can make a thicker khoya by reducing the milk longer, or keep it softer for recipes like peda. Experimenting with different textures can lead to delightful surprises!
Cost-Effective: If you frequently use khoya in your cooking, the costs can add up quickly. Making it at home means you can make larger batches for a fraction of the price and keep it stored for later use. Plus, you'll know exactly what goes into your khoya, avoiding any unwanted additives.
Fun Experience: Cooking is a fantastic way to express creativity, and making khoya is no exception! Get your loved ones involved and turn it into a mini cooking party. Share stories, enjoy some music, and create lasting memories while preparing a delicious ingredient that will elevate your desserts.
In conclusion, making khoya at home is not just about the end product; it’s about the experience and the freedom to create something uniquely yours. So roll up your sleeves, and let’s get started on this rewarding culinary adventure!
Also Read This: Perfectly Straighten Your Hair with a Blow Dryer Using Dailymotion
3. Ingredients Needed for Khoya

Making khoya at home is simpler than you might think, and you don’t need a long list of exotic ingredients. Here’s what you’ll need:
- Full-fat milk: The star of the show! Aim for about 2 liters to get a good yield of khoya.
- Lemon juice or vinegar: Just a splash (about 2 tablespoons) to help curdle the milk, if you're making your own chenna.
- Ghee: For flavor and richness. You’ll need about 2 tablespoons.
- Optional flavorings: Cardamom powder, saffron strands, or even a pinch of nutmeg can enhance the aroma and taste.
- Sweetener: If you’re planning to sweeten your khoya, sugar or jaggery works beautifully. Adjust according to your taste!
With just these ingredients, you’re ready to whip up some delicious khoya. The quality of your milk plays a significant role, so choose the freshest, full-fat milk you can find. This will ensure your khoya is rich and creamy!
Also Read This: Learn to Make a Paper Helicopter That Flies
4. Step-by-Step Tutorial for Making Khoya
Now, let’s dive into the fun part—making khoya! Follow these simple steps, and you’ll have homemade khoya ready in no time.
- Heat the Milk: In a heavy-bottomed pan, pour in your 2 liters of full-fat milk. Place it over medium heat and bring it to a gentle boil. Stir occasionally to prevent it from sticking to the bottom.
- Simmer: Once it’s boiling, reduce the heat to low and let it simmer. This process will take about 1.5 to 2 hours. Keep stirring every 10-15 minutes. You want the milk to reduce and thicken.
- Curdle (Optional): If you're making chenna, add a splash of lemon juice or vinegar when the milk starts thickening. Stir gently until you see curds separating from the whey. Drain the curds using a muslin cloth.
- Cook It Down: Continue simmering the milk until it reduces to about 1 cup of thickened milk solids. This may take another 30-40 minutes. You’ll know it’s done when it starts pulling away from the sides of the pan.
- Add Ghee: Once thickened, stir in your 2 tablespoons of ghee. This adds a lovely richness and prevents sticking.
- Flavor It Up: If desired, add a pinch of cardamom powder or a few strands of saffron for that extra touch of flavor. Stir well to combine.
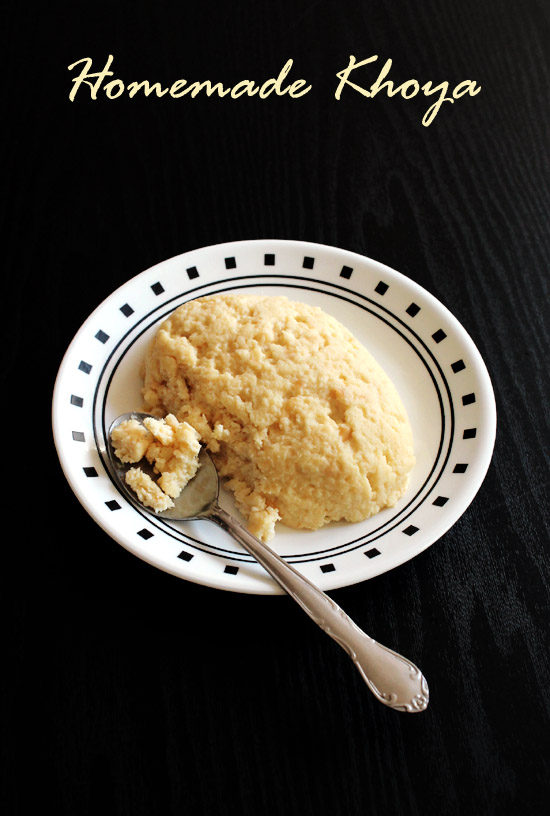
- Cool and Store: Transfer your khoya to a greased plate to cool. Once cooled, you can crumble it or shape it into balls. Store it in an airtight container in the fridge for up to a week.
And there you have it! Fresh, homemade khoya ready to be used in your favorite sweets or enjoyed as is. It’s a labor of love, but the end result is worth every minute spent in the kitchen!
Also Read This: Is Dailymotion Pirated Content? Understanding the Risks of Watching on the Platform
5. Common Mistakes to Avoid
Making khoya at home can be a rewarding experience, but it’s easy to trip up if you’re not careful. Here are some common mistakes that can turn your delicious endeavor into a disaster:
- Using low-fat milk: One of the biggest blunders is opting for low-fat or skim milk. Khoya requires full-fat milk to achieve that rich and creamy texture. If you skimp on fat, you’ll end up with a dry product that lacks flavor.
- Not stirring enough: Leaving the milk unattended can lead to burning or sticking. It’s crucial to stir frequently, especially as the milk thickens. Think of this as your workout for the day—your arms will thank you!
- Rushing the process: Patience is your best friend here. Making khoya takes time; rushing it can lead to uneven cooking. Allow the milk to reduce slowly to get that perfect consistency.
- Ignoring the aroma: As the milk reduces, it will develop a sweet, nutty aroma. If you don’t pay attention, you might miss the perfect moment to stop cooking. Trust your senses!
- Not using a heavy-bottomed pan: A thinner pan may heat unevenly, leading to burnt spots. Invest in a good, heavy-bottomed pan for consistent heat distribution.
- Incorrect storage: If you’re making khoya in bulk, don’t forget about proper storage. It should be stored in an airtight container in the refrigerator and consumed within a week to avoid spoilage.
By avoiding these common pitfalls, you’ll be on your way to making perfect khoya every time. Happy cooking!
6. Creative Ways to Use Khoya in Recipes
Now that you've mastered making khoya, let's explore the delightful ways you can incorporate it into your culinary creations. Khoya is incredibly versatile and can elevate both sweet and savory dishes. Here are some creative ideas:
- Khoya Burfi: This classic Indian sweet is a must-try. Combine khoya with sugar, cardamom, and nuts, then set it in a tray. Cut into squares, and voila! You have a festive treat.
- Khoya Ladoo: Mix khoya with roasted besan (gram flour) and a hint of ghee. Roll them into small balls for a delightful snack that’s perfect for tea time.
- Paneer Tikka Masala: Add khoya to your paneer tikka masala for a rich and creamy gravies. It enhances the flavor beautifully and adds a luxurious touch.
- Khoya Pudding: Use khoya as a base for a rich pudding. Combine it with rice, nuts, and a hint of saffron. Chill it and serve as a royal dessert.
- Savory Khoya Rice: Mix khoya into your vegetable biryani for a creamy texture. It complements the spices and gives a unique twist to your traditional recipes.
These are just a few ideas to get you started, but the possibilities are endless! Don't be afraid to experiment and create your own signature dishes with khoya. Let your imagination run wild in the kitchen!
 admin
admin


