Welcome to the wonderful world of crafting! Have you ever thought about making your own paper bags? Handmade paper bags are not only a fun project but also a fantastic way to reduce waste and create something unique. Whether you want to wrap gifts, organize your craft supplies, or simply enjoy a new hobby, this tutorial will guide you through the process. Plus, you'll impress your friends with your eco-friendly creations!
Benefits of Making Your Own Paper Bags
Making your own paper bags comes with a treasure trove of benefits. Let’s dive into a few of the most compelling reasons why you should grab your crafting tools and start this delightful project:
- Eco-Friendly: By creating your own bags, you reduce the need for plastic. Paper is biodegradable, making it a much better choice for the environment. Plus, you can use recycled materials, giving a second life to paper that would otherwise be thrown away.
- Cost-Effective: Handmade paper bags can be made from materials you probably already have at home. Old newspapers, magazines, or leftover wrapping paper can all be transformed into beautiful bags. This means you can save money while crafting something functional.
- Customization: When you make your own bags, the sky's the limit! You can choose colors, patterns, and sizes to perfectly suit your needs or those of your recipient. Want a bag with a funky design for a birthday gift? Or perhaps a simple, elegant look for a wedding? It’s all in your hands!
- Creative Outlet: Crafting is a wonderful way to express your creativity. Paper bag making allows you to experiment with various techniques, from painting to stamping. You can also involve your family or friends in the process, turning it into a fun group activity!
- Skill Development: As you practice making paper bags, you’ll hone your crafting skills. You'll learn about measurements, cutting, folding, and even decorating. These skills can easily translate to other crafting projects, making you more versatile.
In short, making your own paper bags is not only enjoyable but also beneficial for you and the planet. So, gather your supplies, and let’s get started on this crafty journey!
Also Read This: How to Make a Skype ID – Dailymotion’s Simple Account Setup Tutorial
3. Materials Needed for Handmade Paper Bags

Creating your own handmade paper bags is not only a fun craft but also a great way to reduce waste and add a personal touch to your gifts. Before you get started, let's gather the materials you'll need. Here’s a handy list to keep you organized:
- Paper: You can use recycled paper, wrapping paper, or craft paper. Choose a weight that feels sturdy enough to hold items but flexible enough to fold easily.
- Scissors: A good pair of scissors will help you cut your paper to the desired size.
- Glue or Double-Sided Tape: For securing the sides of your bag, glue or double-sided tape works best. Make sure it’s strong enough to hold your bag together.
- Ruler: To measure your paper accurately, a ruler is essential for achieving clean, straight edges.
- Pencil: Use a pencil to mark where you’ll fold and cut. This ensures precision!
- Decorative Items (Optional): Think stickers, stamps, or washi tape to personalize your bags. You can also use ribbons or twine for handles.
- Bone Folder (Optional): If you want crisp folds, a bone folder can help create a professional finish.
Having these materials ready will streamline your crafting process. You don't need to spend a fortune—often, you can repurpose materials from around your home. Keep an eye out for old magazines or wrapping paper; they can add unique designs to your bags!
Also Read This: How to Contact Dailymotion Support for Assistance
4. Step-by-Step Guide to Creating Paper Bags
Now that you’ve gathered your materials, let’s dive into the fun part: making your handmade paper bags! Follow these easy steps, and you’ll have beautiful bags ready to impress.
- Choose Your Paper Size: Decide how big you want your paper bag to be. A typical size is around 10” x 15” for a simple tote. Adjust as necessary for your needs.
- Cut the Paper: Using your ruler and scissors, cut the paper to your chosen dimensions. Don’t forget to keep it as straight as possible for a neat finish!
- Make the Folds: Start by folding the paper in half lengthwise, aligning the edges. Crease the fold well. Then, unfold it and fold the top down about 2 inches. This will be the bag’s opening.
- Create the Bottom: Now, fold the bottom of the paper up about 5 inches (or your desired height). You will create a flat base for your bag. To do this, fold the corners inwards to meet at the center, creating a triangle shape. Flatten this bottom section to form the base.
- Secure the Sides: Fold the two side edges in toward the center fold, overlapping slightly. Use glue or double-sided tape to secure the edges. Ensure it’s secure enough to hold the contents of your bag.
- Add Handles (Optional): If you want to add handles, cut strips of paper or use ribbon, and glue them inside the top edge of the bag. Make sure they’re securely attached!
- Decorate Your Bag: This step is where you can get really creative! Use stamps, stickers, or drawings to personalize your paper bag. Let your imagination run wild!
And there you have it! With just a few simple steps, you've created your own handmade paper bags. Not only are they eco-friendly, but they also make any gift feel extra special. Happy crafting!
Also Read This: Easy Methods for Saving Dailymotion Videos on Your Android Device
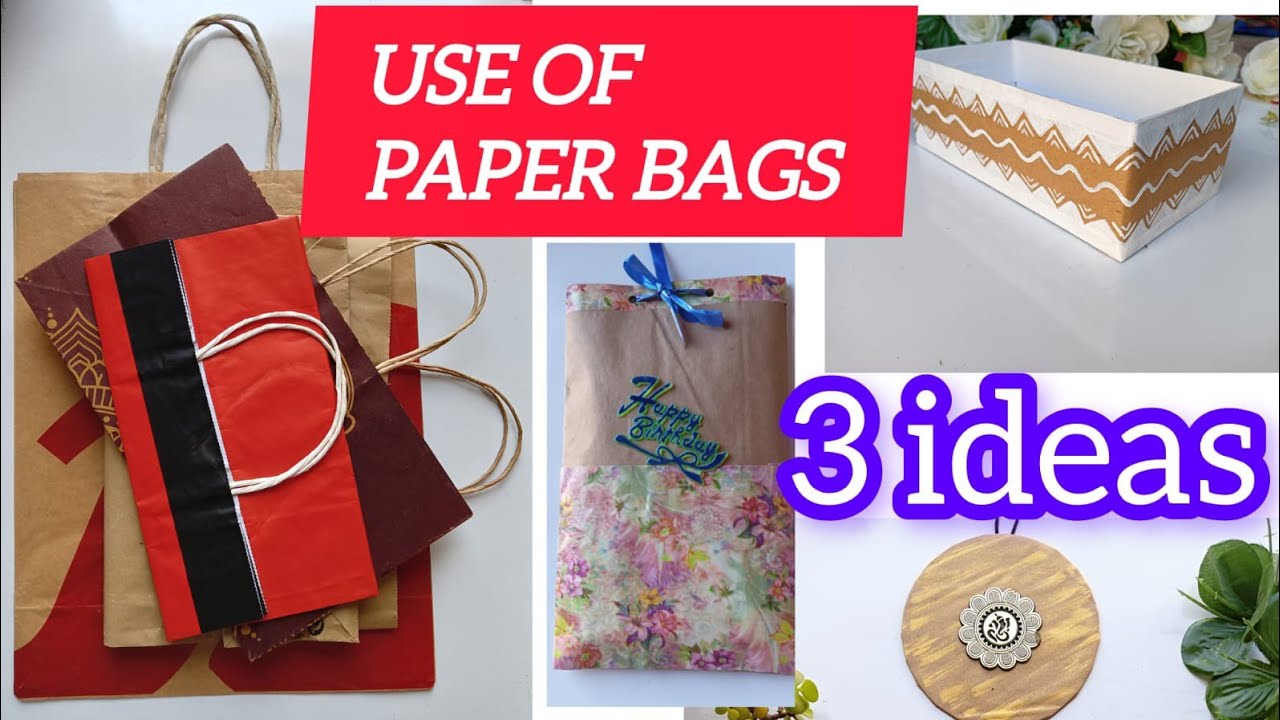
5. Creative Designs and Customization Ideas
When it comes to making handmade paper bags, the sky's the limit! You can unleash your creativity and personalize each bag to reflect your unique style. Here are some delightful ideas to inspire your designs:
- Patterns and Prints: Use patterned paper or create your own designs with stamps, stencils, or even watercolors. Floral prints or geometric patterns can add a chic touch.
- Color Blocking: Combine different colors of paper to create striking color blocks. This technique works wonders for adding vibrancy and fun to your bags.
- Hand Lettering: Personalize your bags with hand-painted or drawn messages. Using a metallic marker on dark paper can create a stunning contrast!
- Adding Texture: Incorporate various materials like lace, burlap, or ribbons. A burlap bow on a simple kraft paper bag can elevate the overall look.
- Seasonal Themes: Design bags that reflect the seasons or holidays. Think pumpkins for fall, snowflakes for winter, or floral designs for spring.
Remember, customization doesn't just stop at visuals! You can also vary the shapes and sizes of your bags. Try creating:
- Gift Bags: Smaller bags for gifts can be adorned with tags and twine, making them perfect for any occasion.
- Market Bags: Create larger, sturdier bags using thicker paper for grocery shopping or farmers’ markets.
To make your bags truly stand out, consider using eco-friendly materials or upcycling old magazines and newspapers. Not only will this give a unique flair, but it’s also a wonderful way to contribute to sustainability!
Also Read This: Creative DIY Ideas for Making Paper Butterflies
6. Tips for Successful Paper Bag Making
Getting started with paper bag making can be a bit daunting, but with the right techniques and a little practice, you’ll be crafting beautiful bags in no time! Here are some essential tips to help you along the way:
- Choose Quality Paper: Opt for thicker paper to ensure your bags are sturdy and can hold items securely. Craft paper, cardstock, or recycled paper works great.
- Measure Twice, Cut Once: Precision is key! Always measure your dimensions carefully before cutting to avoid mistakes. It’s frustrating to start over!
- Use Strong Adhesives: A strong glue or double-sided tape will keep your bags intact. Hot glue is also a fantastic option for a quick bond.
- Practice Folding: The folds are what define your bag’s shape. Take your time to practice and get those crisp edges!
- Finishing Touches: Don’t skip the final details! Reinforce handles or add embellishments like stickers to make your bags pop.
Lastly, don’t be afraid to experiment! The more you create, the more you’ll discover what works best for you. So gather your materials, put on some music, and enjoy the process. Happy crafting!
Also Read This: Practical Methods to Slim Down Hips in 10 Days Naturally
7. Where to Find Video Tutorials on Dailymotion
If you're looking to dive deeper into the art of making handmade paper bags, Dailymotion is an excellent resource! This platform is home to countless creative channels dedicated to crafts, and you can find some fantastic video tutorials that guide you step-by-step through the process.
Here are a few tips on how to navigate Dailymotion for the best crafting videos:
- Use Specific Keywords: When searching, use terms like "handmade paper bags tutorial," "craft paper bag making," or "DIY paper bags." This will help you filter out unrelated content.
- Follow Crafting Channels: Many creators focus on DIY crafts. Look for channels that regularly post about paper crafting. Subscribing will ensure you never miss a new tutorial!
- Check Video Descriptions: Often, creators will include links to templates, materials lists, or other useful resources in the video descriptions. This can save you a lot of time and effort!
One channel you might find particularly helpful is Crafters' Haven. They have a comprehensive series on paper crafting techniques, including a detailed guide on making various styles of paper bags. Watching someone else create can be incredibly inspiring and help you pick up techniques you might not have thought of!
As you explore Dailymotion, remember to engage with the community. Comment on videos, ask questions, and share your own creations. The crafting community is typically very supportive, and you might even make some new friends who share your passion!
8. Conclusion and Encouragement to Get Crafting
As we wrap up this tutorial on creating handmade paper bags, I hope you're feeling inspired and ready to get crafting! Remember, the beauty of DIY projects like this is that there are no strict rules. Every bag you create can be unique, reflecting your personal style.
Don't hesitate to experiment with different materials, colors, and techniques. Perhaps you could use recycled paper from magazines or add embellishments like stickers or stamps. The possibilities are endless!
Above all, enjoy the process. Crafting should be a joyful experience, a time to unwind and express your creativity. So gather your supplies, set up a cozy workspace, and let your imagination run wild!
If you encounter challenges along the way, don’t be discouraged. Each mistake is an opportunity to learn and improve. Remember, every expert was once a beginner!
So, go ahead and create your first handmade paper bag today. Share your creations on social media and connect with fellow crafters. Happy crafting!
 admin
admin


