So, you’ve finally uploaded your YouTube video and are feeling pretty good about it. But wait! What if you forgot to add an important detail or noticed a small mistake? No worries! Making changes to your YouTube video post-upload is not only possible; it’s quite simple. In this guide, we’ll walk you through why you might need to edit your video and how to seamlessly make those changes without losing your audience's trust!
Why You Might Need to Edit Your YouTube Video
Editing a video after it's gone live can feel daunting, but there are several valid reasons you might find yourself in need of making some adjustments. Let's explore some common scenarios that might prompt you to take the plunge and hit that edit button!
- Correction of Errors: It happens to the best of us! Maybe you misspoke, spelled something wrong in the video title, or your graphics didn’t align perfectly. Making edits allows you to fix those errors and present a polished final product.
- Adding New Information: Sometimes, information changes after you upload your video. Whether it’s new data, updated stats, or additional tips, you might want to add that value to keep your content fresh and relevant.
- Improving Clarity: Your audience's understanding is paramount. If you feel certain sections are unclear or if viewers have pointed out confusing content in the comments, consider re-editing to ensure your message hits home.
- Enhancing Engagement: To keep viewers interested, you might want to adjust your video’s pacing or incorporate new elements, like overlays or annotations, to enhance viewer engagement.
- Responding to Feedback: Viewer feedback is gold! If comments indicate areas for improvement or additional inquiries, updating your video can show your audience that you value what they have to say.
Editing your video can also be a strategic move to boost your channel's performance. Videos that maintain high viewer retention and engagement tend to rank better and attract a larger audience. So, making those necessary changes can significantly improve your content's visibility and success.
Finally, remember that editing isn’t just a way to fix mistakes—it’s also an opportunity to evolve your content. As you gain new skills, insights, or even a different editing style, revisiting older videos to reflect that growth can make your entire channel feel cohesive and professional.
In the next sections, we’ll dive deeper into the different tools available for editing your videos after they've been uploaded and some best practices you should keep in mind!
Also Read This: How Often Do YouTube Views Update? Insights into Video Metrics
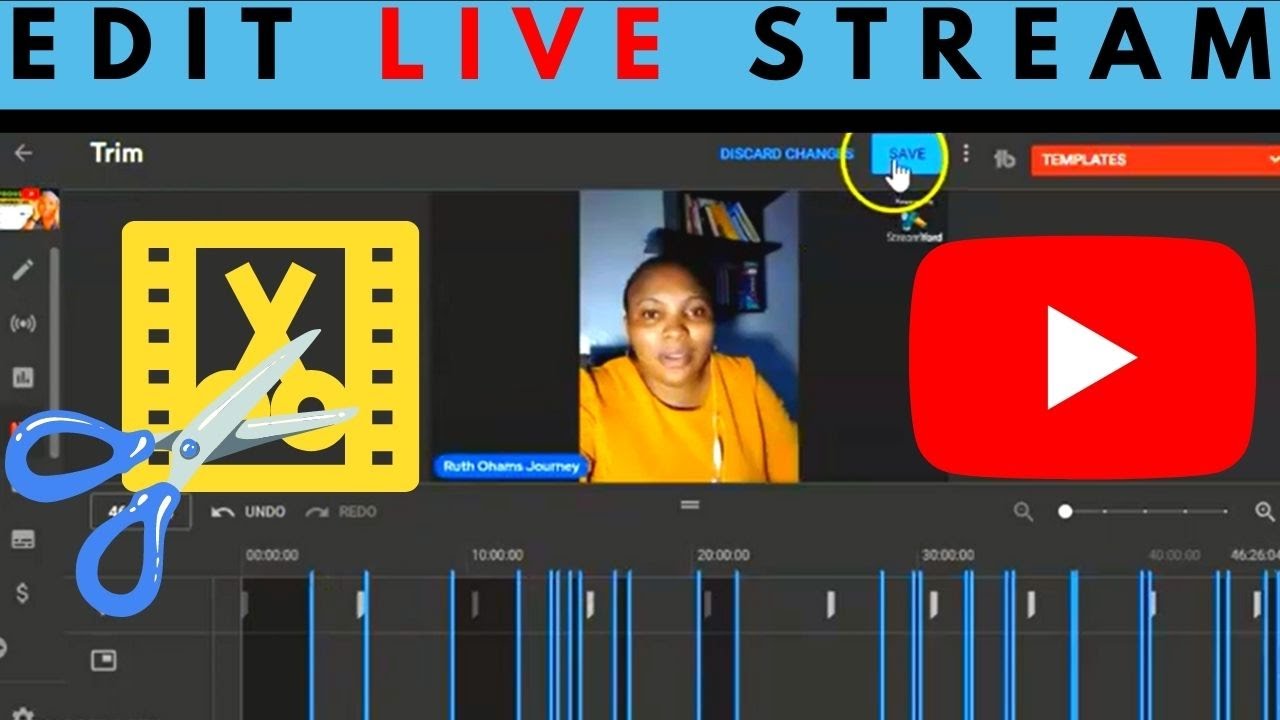
3. Steps to Access Your YouTube Video Editor

Accessing the YouTube Video Editor is a breeze, and it’s an essential step for anyone looking to polish their videos post-upload. Here’s a simple guide to help you navigate to the Video Editor quickly:
- Log into your YouTube account. First things first, ensure you’re logged in. Head over to YouTube.com and enter your credentials if you aren’t already signed in.
- Go to YouTube Studio. Click on your profile icon located at the top right corner of the screen. From the dropdown menu, select “YouTube Studio.” This is your hub for managing your channel.
- Select 'Content' from the Left Menu. Once you’re in YouTube Studio, look at the left sidebar. Click on “Content” to see a list of all the videos you’ve uploaded. This section is where you can manage and edit your content.
- Choose the video you want to edit. Scroll through your list of uploaded videos and find the one you’re looking to modify. Hover over the video, and you will see a pencil icon — click on it to enter the details page.
- Open the Video Editor. Once you’re on the video details page, look for “Editor” in the left-hand menu. Click on it, and voilà, you're now in the YouTube Video Editor!
Now that you know how to access the Video Editor, you're all set to start making changes to your video. The interface is user-friendly, making it easy for even those who aren’t tech-savvy to navigate. Whether you want to trim clips, add music, or blur out sections, the Video Editor has you covered.
Also Read This: Spotting Fake Commenters on YouTube: Red Flags to Watch Out For
4. Editing Video Titles and Descriptions
Once you’re in the YouTube Video Editor, one of the most impactful changes you can make is to update your video titles and descriptions. This is key to improving visibility in search results and helping viewers understand what your video is all about.
So, how do you go about editing these important elements? Let’s break it down into manageable steps:
- Edit Video Title:
- In the Video details section, locate the current title of your video. It’s usually at the top of the page.
- Click on the title box to activate it. Here, you can modify the existing title or create a totally new one.
- Make sure your title is catchy and relevant. Think about using keywords that your audience might search for. This can significantly enhance your video's reach!
- Update Video Description:
- Just below the title, you will find the description box. Click on it to edit the text.
- This is a great place to provide additional context about your video, link to related content, or even include social media links and a call to action.
- Try to keep your description concise while still informative. A few well-placed keywords can help boost your video’s visibility in search results.
After making your changes, remember to hit the save button! This will ensure that all your edits are applied and your viewers see the most updated version of your video. If you're unsure about the effectiveness of your title or description, consider experimenting with a few different options over time. Analyze the engagement metrics to see what works best!
Making these adjustments can significantly impact audience engagement, so don’t underestimate the power of a good title and description!
Also Read This: Can You See Who Liked Your Comments on YouTube? Insights and Limitations
5. Updating Video Thumbnails
Let’s face it: a great thumbnail can make all the difference in whether viewers click on your video or scroll past it. If you uploaded your video and then realized the thumbnail just isn’t cutting it, don’t worry! You can update your video thumbnail even after it’s live. Here’s how you can do that:
- Go to Your YouTube Studio: Start by heading to your YouTube Studio dashboard. It's your command center for managing your videos.
- Select Videos: In the left menu, click on “Content” to see all your uploaded videos.
- Pick the Video: Find the video for which you want to change the thumbnail and click on the pencil icon (the “Details” button).
- Change the Thumbnail: Scroll down to the “Thumbnail” section. Click on the “Upload thumbnail” button if you have a new image ready to go!
- Save Changes: Don’t forget to hit the “Save” button in the top right corner after you’ve uploaded your new thumbnail. This will ensure your changes are applied.
When creating a thumbnail, remember that it should be eye-catching but also relevant to your content. Use vibrant colors, clear text, and visuals that reflect your video's theme. Keep in mind the size and resolution guidelines provided by YouTube to make sure it displays well across different devices.
Also, consider performing A/B tests on your thumbnails by uploading different versions over time and checking which style gets the most clicks. Your audience often knows what grabs their attention, so this could help refine your approach for future videos!
Also Read This: Can I Block Channels on YouTube? A Step-by-Step Guide to Managing Your YouTube Preferences
6. Adding or Removing Tags
Tags may seem like a minor detail, but they play an essential role in how your video gets discovered on YouTube. They help give context to your content and improve its visibility in search results. So if you need to add or remove tags from your uploaded video, here’s a quick guide:
- Go to YouTube Studio: As always, start in your YouTube Studio dashboard.
- Select Content: Click on “Content” from the left-hand menu to see your list of videos.
- Edit Video: Find the video you want to modify and click the pencil icon to enter the “Details” page.
- Tags Section: Look for the “Tags” field. Here, you can add relevant tags that describe your video or remove ones that you feel are no longer applicable.
- Use Relevant Keywords: When adding tags, think about the keywords people might use to find your content. Use a mix of broad and specific tags to cover various search terms.
- Save Changes: Don’t forget to click “Save” at the top right to ensure your tags are updated properly.
Keep in mind that while tags can help with discoverability, they’re just one part of your video’s metadata. You should also focus on your title, description, and of course, those captivating thumbnails we discussed earlier!
Lastly, always review your tags after analyzing how your videos perform. Removing irrelevant tags or adding popular ones can keep your content fresh and more discoverable. Happy tagging!
Also Read This: How to Sign Out of YouTube on Your TV: A Simple Guide
7. Changing Video Privacy Settings
Once your video is live on YouTube, you might find that you want to change who can see it. This is where video privacy settings come into play. YouTube offers three main options for video privacy: Public, Private, and Unlisted. Each setting serves a different purpose and helps you control your content's visibility.
Public videos are visible to everyone and can be found through search results and on your channel. Use this option for your regular content that you want to promote or share widely.
Private videos are only viewable by you and the people you specifically invite. This is perfect for content you might want to keep under wraps or if you're testing out a new video idea before going public.
Unlisted videos won't appear in search results or your channel but can be viewed by anyone who has the link. This can be useful for sharing with a select group of people without making it entirely private.
To change these settings after your video is uploaded:
- Go to your YouTube Studio.
- Navigate to the Content section.
- Select the video you want to edit.
- Click on Visibility and choose your desired setting.
- Don’t forget to save your changes!
Changing privacy settings is simple, but make sure you think about your audience and the goals of the video. This way, you can share your message just the way you want!
Also Read This: How to Get Rid of Popups on YouTube for a Cleaner Interface
8. Adding End Screens and Cards
Engaging your viewers is crucial for channel growth, and one effective way to do this is by using end screens and cards. These tools help promote other content on your channel and encourage viewers to subscribe, which can lead to increased watch time and a larger audience.
End screens are interactive elements that appear in the last 5-20 seconds of your video. They can be used to:
- Promote another video or playlist
- Encourage subscriptions to your channel
- Link to an approved website
To add end screens:
- In YouTube Studio, choose the video you want to edit.
- Go to the End screen tab.
- Click on Add element, then select the type of element you’d like to include.
- Adjust the timing to fit your video.
- Save your changes.
Cards, on the other hand, can be added throughout the video to link viewers to other videos or polls, or to promote merchandise and channels. They show up as a small interactive icon that viewers can click to access the linked content.
To add cards:
- In YouTube Studio, select your video.
- Go to the Cards tab.
- Click on Add Card and choose the type.
- Fill out the required information and select the timing for when you want the card to pop up.
- Save your changes.
Adding end screens and cards can significantly enhance viewer engagement. By guiding your audience toward other videos or encouraging subscriptions, you're not just increasing your channel's accessibility but also fostering a community around your content. So, go ahead and get creative with these features!
Also Read This: How to Play YouTube and Spotify at the Same Time for a Perfect Soundtrack
9. Adjusting Video Settings and Monetization Options
Once you’ve uploaded your video, it’s time to fine-tune those video settings and monetization options. Whether you're a casual creator or a seasoned pro, understanding these settings can dramatically impact your viewer experience and revenue potential.
Video Settings
In your YouTube Studio, navigate to the Content section. Click on your video to access its settings. Here are some key options you can adjust:
- Title: You can update your video title to make it more engaging or SEO-friendly.
- Description: This is your chance to provide viewers with context. Add links, timestamps, or relevant hashtags.
- Thumbnail: A captivating thumbnail can make your video stand out in searches. Make sure it’s eye-catching and relevant!
- Tags: Include tags that relate to your video content. While tags aren’t as crucial as they used to be, they can still help with discoverability.
- Playlist: Adding your video to a playlist can enhance viewer retention by suggesting related content.
After you’ve reviewed and adjusted these settings, it’s time to talk about monetization. If you’re part of the YouTube Partner Program, you can start earning money from ads on your videos.
Monetization Options
In the monetization tab, you can choose from several ad formats:
- Display Ads: These appear on the video watch page and can be a good source of revenue without interrupting the viewing experience.
- Overlay Ads: Semi-transparent ads that appear on the lower part of your video.
- Skippable Video Ads: These ads allow viewers to skip after a few seconds, so ensure your content is engaging right from the start!
- Non-Skippable Video Ads: Viewers must watch these, which can be good for revenue, but might alienate some audiences.
- Bumper Ads: Short, non-skippable ads that last about six seconds. Great for quick brand messages!
Make sure to review the eligibility requirements for each ad type, as they can vary. Once you’ve made your choices, remember to save the changes!
Also Read This: How to Ban Someone from Your YouTube Channel Permanently
10. Saving Changes and Previewing Your Video
After you've adjusted all your video settings and monetization options, it’s time to save those changes and preview your masterpiece. This step is crucial to ensure everything looks great before your video goes live or is reshared.
Saving Changes
Don't forget this simple yet vital step! In YouTube Studio, look for the shiny Save button, usually located in the top right corner. It’s easy to overlook, especially when you're excited about your changes. Once you click it, you should see a confirmation that your settings have been updated. Take a moment to breathe! Your hard work is paying off.
Previewing Your Video
Now comes the fun part—previewing your video! Click the Preview button (or your video thumbnail) to see how it will look to your viewers. Here are a few things to check:
- Video Quality: Ensure the video plays smoothly without glitches or buffering.
- Audio Levels: Listen for clear audio. Are your voice and background music balanced?
- Thumbnails and Titles: Do they still represent your video accurately? Remember, first impressions matter!
- Ad Placement: Check where and how the ads will appear. This can affect viewer retention!
Don’t hesitate to watch the preview a couple of times. It’s your chance to catch any last-minute issues before the final publication. After you’re satisfied with everything, go ahead and publish your video or update it for the world to see!
Your careful adjustments will pay off in viewer engagement, satisfaction, and hopefully, in monetization too. Happy creating!
Also Read This: Is Peacock on YouTube: A Simple Answer
11. Best Practices for Editing After Upload
Editing your YouTube video after it's been uploaded can be a bit of a balancing act. On one hand, you want to make the necessary changes to improve your content, but on the other, you want to ensure that you're not losing any audience engagement or views. Here are some best practices to keep in mind when editing your videos post-upload:
- Keep Edits Minimal: If possible, avoid making drastic changes. Small tweaks often suffice, such as correcting typos in the title or description, adjusting tags, or adding end screens.
- Use YouTube's Tools Wisely: Familiarize yourself with the built-in editing tools like the Video Editor. This allows for quick fixes without re-uploading your video.
- Monitor Engagement: After making changes, keep an eye on your video’s analytics. Look for spikes or drops in viewer retention and engagement to gauge the impact of your edits.
- Communicate with Your Audience: If you make significant changes, consider addressing your subscribers through a community post or video update. This fosters transparency and encourages viewer feedback.
- Test Changes: Before settling on permanent edits, think about testing different titles, thumbnails, or tags to see what resonates more with your audience.
- SEO Considerations: When changing titles or descriptions, keep SEO best practices in mind. Use relevant keywords to enhance discoverability.
- Be Mindful of Re-Engagement: If your video has already gained traction, consider how your edits might impact existing views. Avoid removing critical components that have already attracted viewers.
Remember, the goal of editing after upload is not just to correct mistakes but to enhance the experience for your audience. Approach your updates thoughtfully and strategically, and you’ll likely see improved viewer satisfaction and retention.
12. Conclusion
Making changes to your YouTube video after it’s been uploaded can feel daunting, but it’s an essential skill for any content creator. With the right approach and tools, you can refine your content without starting from scratch.
As you navigate the waters of post-upload editing, keep in mind the key takeaways from this guide:
- Utilize YouTube's Features: Take advantage of the editing tools YouTube provides. From trimming your video to adding annotations, every feature is designed to help you enhance your content.
- Don’t Overdo It: While it’s important to ensure your video is the best it can be, less can be more. Focus on meaningful changes that will truly benefit your audience.
- Engage with Your Audience: Your viewers appreciate transparency. If changes are made, sharing those insights builds trust and can increase loyalty.
- Optimize for SEO: Whether you’re editing a title or reworking the description, remember to keep SEO practices in mind to maximize the reach of your video.
In conclusion, stay flexible and responsive to your audience's needs. YouTube is a dynamic platform, and your content can evolve alongside it. Embrace the editing process as an opportunity for growth—not just for your videos, but for yourself as a creator.
Happy editing!
 admin
admin


