Procreate is a fantastic digital illustration app beloved by artists of all skill levels. Whether you’re sketching, drawing, or painting, Procreate offers an impressive range of tools and functionalities. One of the most versatile features is the ability to make an image transparent. This can enhance your artwork, allowing elements to blend beautifully or creating striking visual effects. In this guide, we’ll explore how to leverage transparency in Procreate, giving you the power to add depth and interest to your compositions.
Understanding Image Layers in Procreate
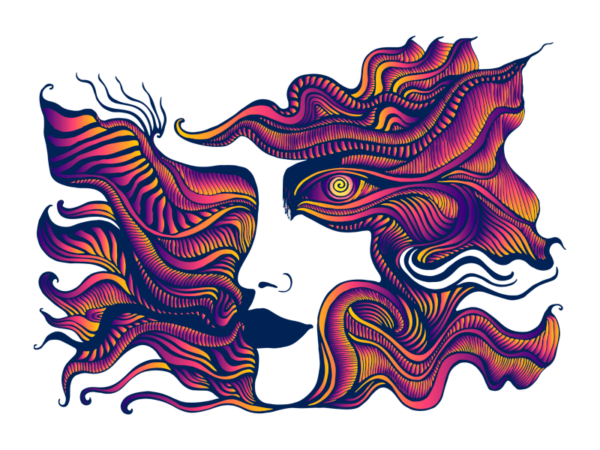
Before we dive into making images transparent, it's essential to grasp the concept of layers in Procreate. Layers are like transparent sheets stacked on top of one another, allowing you to manage different elements of your artwork separately. Here’s a quick rundown of how layers function in Procreate:
- Layer Management: Each layer can contain different elements, whether they're sketches, colors, or images.
- Editing Flexibility: You can isolate, move, or edit layers without affecting the entire artwork, fostering creativity.
- Layer Order: The order of layers impacts how elements are viewed—layers at the top cover those below them.
Getting comfortable with layers is vital for manipulating transparency effectively. Here’s a deeper look into their features.
Types of Layers
In Procreate, you’ll encounter several types of layers, which are fundamental to achieving desired transparency effects:
- Image Layers: These layers contain images you import or create. They can be adjusted for opacity and blending modes.
- Additive Layers: These allow you to add colors and effects that amplify the brightness as they blend with layers beneath.
- Alpha Lock: A feature that lets you paint or erase on a layer while preserving the existing pixels' shape.
Opacity Adjustment
To modify the transparency of a layer, you’ll primarily work with the opacity slider. This simple tool allows you to make layers more visually cohesive:
- Tap on the layer you wish to adjust from the Layers Panel.
- Select the Opacity slider—this is usually at the top of the menu that appears.
- Drag the slider left to decrease opacity (making the layer more transparent) or right to increase it.
It’s crucial to remember that reducing opacity doesn’t erase parts of your artwork; it simply makes them more see-through, letting underlying layers show through.
Layer Masks
An effective way to manage transparency is through using a layer mask. Masks enable you to define which parts of a layer will be transparent and which will remain visible:
- To add a mask, select the layer and tap on an option to create a Layer Mask.
- Paint on the mask with black to hide areas or white to show them. Gray will give you varying levels of transparency, providing fine control.
Understanding how layers and transparency work in Procreate allows artists to create more dynamic artworks. It encourages exploration, providing unique opportunities to blend, overlay, and transform your creative ideas into visually stunning pieces. Get ready to experiment, and you'll soon find endless possibilities at your fingertips!
Also Read This: Cropping Images with Ease in Paint
3. Step-by-Step Guide to Making an Image Transparent
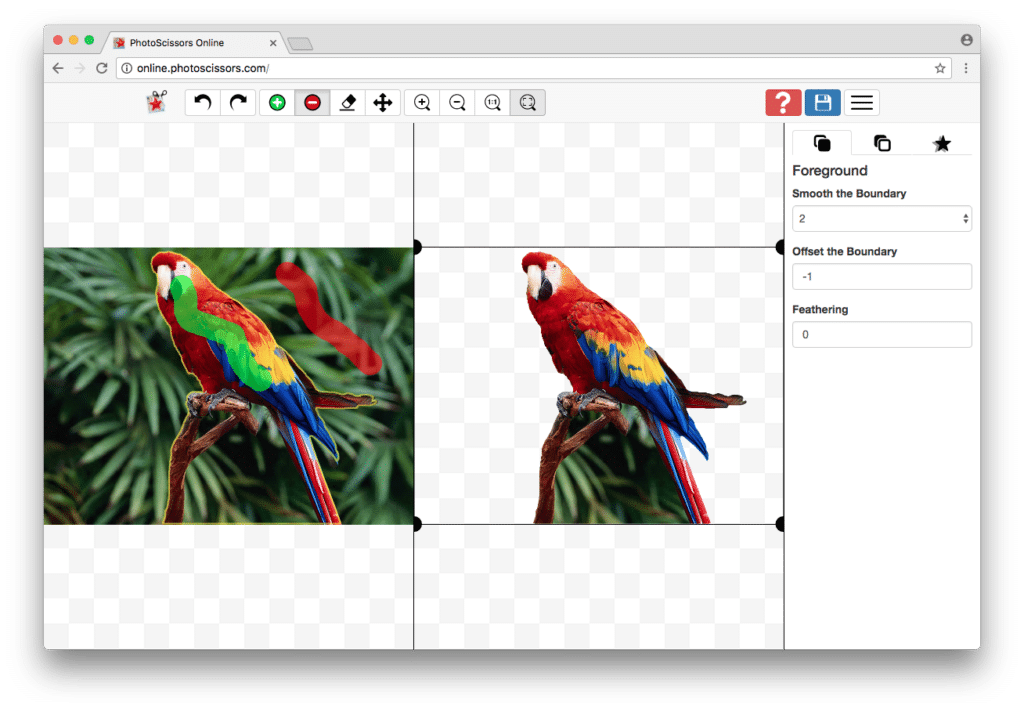
If you're ready to dive into Procreate and make your images transparent, you're in for a treat! The process is intuitive once you get the hang of it. Let’s break it down step by step:
- Open Procreate: Launch the Procreate app on your iPad. Create a new canvas or open an existing one. If you’re starting fresh, select a size that suits your design needs.
- Import your image: Tap on the 'Actions' menu (the wrench icon), go to 'Insert a photo,' and choose the image you want to work with from your photo library.
- Select the layer: Once your image is in the canvas, it will create a new layer automatically. Make sure that layer is selected; you can see the active layer displayed on the right side of the Layers panel.
- Access the Adjustments panel: Tap on the 'Adjustments' icon (the magic wand icon) at the top of the screen. This will bring up several adjustment options.
- Choose Opacity: In the Adjustments menu, look for the ‘Opacity’ option. You’ll see a screen where you can adjust the transparency of your image.
- Adjust the opacity: Use the slider to adjust the opacity level. Sliding it to the left will increase transparency, while sliding it to the right will decrease it. Pay attention to how the image changes in real-time, allowing you to find the perfect balance.
- Confirm your changes: Once you're satisfied with the level of transparency, tap 'Done' to apply the changes. Your image will now have the desired transparency effect.
- Save your work: Don’t forget to save your artwork! You can do this by tapping on the Actions menu, going to ‘Share,’ and selecting your preferred file format, like PNG or JPEG.
And that’s it! You’ve just made an image transparent in Procreate. Remember, practice makes perfect, so play around with different images to see how varying levels of opacity can change the look of your artwork!
Also Read This: The Ultimate Answer to How Do I Download a Reel from Facebook
4. Using the Opacity Slider for Image Transparency
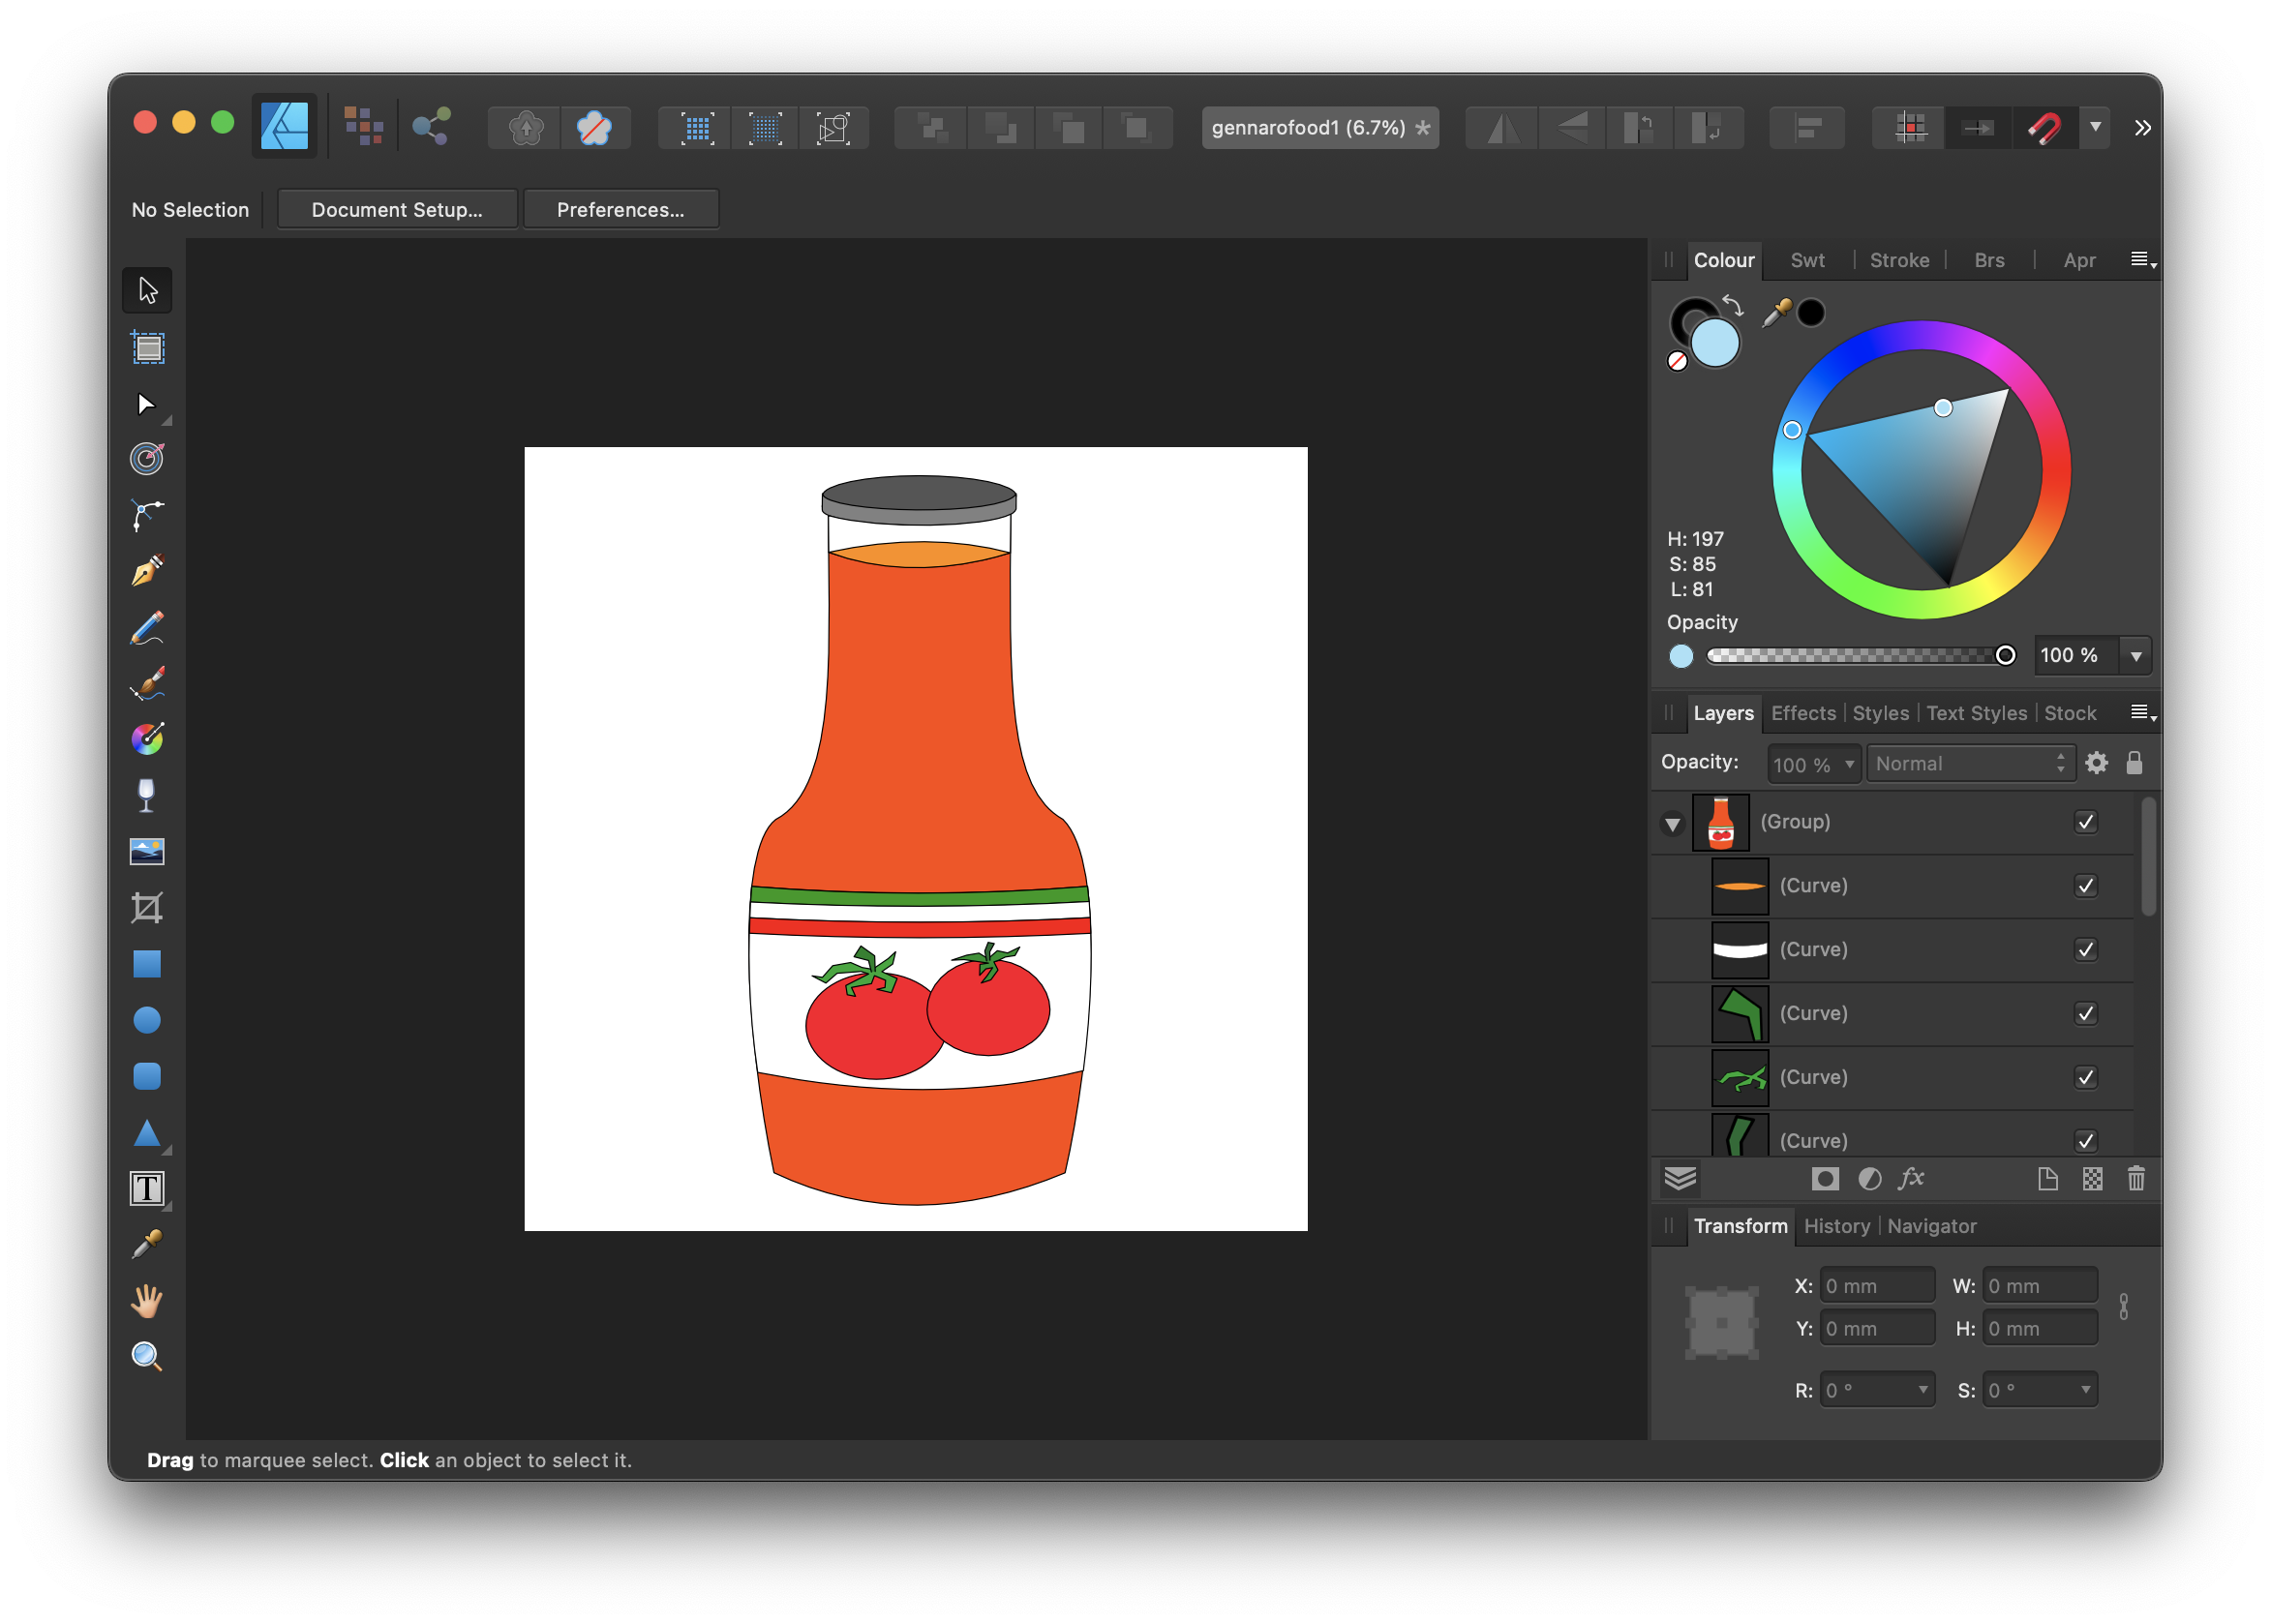
The opacity slider is one of the most straightforward and effective ways to adjust transparency in Procreate. It’s a tool that gives you quick control over how see-through your image appears, adding depth and a layer of sophistication to your artwork. Here's a closer look at how to make the best use of it:
When you access the opacity slider in the Adjustments panel, keep the following tips in mind:
- Understand the scale: The opacity slider ranges from 0% to 100%. At 0%, your image is completely transparent, and at 100%, it’s fully opaque. Adjusting it anywhere in between will give you varying levels of visibility.
- Watch it in real-time: As you slide the control, observe how the image blends with the background. This live feedback allows you to see the effects instantly, helping you make precise adjustments.
- Experiment with gradients: If you’re working with multiple layers, consider using different opacity levels on various layers to create a more rich and dynamic composition. This technique can add depth and dimension to your work.
- Use for shading and highlights: The opacity slider isn’t just for images! You can also use it for your brushes when painting. Partially transparent brushes can create softer shadows and highlights, enhancing the overall feel of your artwork.
One great feature of Procreate is that unlike traditional art mediums, adjusting opacity is non-destructive. If you don’t like the look after changing the opacity, you can always readjust it without damaging your original image. This flexibility allows you to experiment freely!
So there you have it! The opacity slider is a simple yet powerful tool. With these tips, you can effectively utilize transparency to enhance your designs in Procreate. Give it a try, and you may just discover a new favorite technique in your creative toolkit!
Also Read This: A Comprehensive Guide to Earning Money from Dailymotion Videos
5. Additional Techniques for Achieving Transparency
While the basic method of reducing opacity is great for making images transparent in Procreate, there are several additional techniques that can help you achieve even more refined results:
- Layer Masks: One of the most powerful tools in Procreate is the layer mask. You can create a mask on your layer and then use black or white brushes to hide or reveal parts of your image. This technique allows for non-destructive editing, meaning you can always go back and adjust your edits without losing any original content.
- Alpha Lock: Enabling Alpha Lock on a layer will prevent you from painting outside the existing pixels, allowing you to apply effects and textures without affecting the transparent areas. Just swipe right on the layer and start painting or using the adjustment tools!
- Blend Modes: Experimenting with blend modes can also help create interesting transparency effects. For example, setting a layer to "Multiply" will darken the base layer, while “Screen” will lighten it. This can create intriguing visual effects, especially if you’re working with colors.
- Use of Selection Tools: Use the selection tools to isolate parts of your image before adjusting their opacity. This way, you can apply transparency selectively rather than globally, which can result in more tailored results.
Don't hesitate to combine these techniques! For instance, you can start with reduced opacity, apply a layer mask to fine-tune specific areas, and play with alpha lock for detailed adjustments. This layered approach gives your artwork a professional touch.
Also Read This: How to Download Subtitles from YouTube for a Better Viewing Experience
6. Tips for Exporting Transparent Images in Procreate
Now that you've mastered the art of creating transparency in your images, you’ll want to ensure it carries over when you export your artwork. Here are some essential tips for exporting transparent images in Procreate:
- Choose the Right File Format: To preserve transparency, always export your image as a
.PNGfile. Unlike.JPG, a PNG supports transparent backgrounds, making it ideal for digital art, web graphics, and overlays. - Set Your Background to Clear: Before exporting, make sure your canvas is set to a clear background. You can do this by tapping on the "Background Color" option and then selecting the option with the checkerboard pattern, indicating transparency.
- Check Canvas Size: When exporting, ensure your canvas size is appropriate for your needs (for instance, 300 DPI for print or 72 DPI for the web). A larger canvas ensures better quality, especially if the image will be resized later.
- Use the Share Menu: When you're ready to export, simply tap on the "Actions" menu (the wrench icon), go to "Share," and select "PNG." This ensures the transparency is preserved.
- Test Your Export: After you've exported your image, open it in a different program or viewer to verify that the transparency has been preserved correctly. This extra step helps you catch any issues before sharing your work with others.
By keeping these tips in mind, you'll be ready to export your artwork flawlessly, ensuring your transparent areas remain intact. Happy creating!
Also Read This: Photographic Prowess: Tips for Taking Outstanding eBay Photos
7. Common Issues and Troubleshooting
Even the most seasoned artists can run into a few hiccups while working in Procreate. Understanding these common issues can save you time and frustration, allowing you to get back to creating stunning artwork. Let's dive into some of the most frequent challenges you might face when trying to make an image transparent in Procreate, along with ways to troubleshoot them.
- Issue: Image Doesn’t Appear Transparent
If you've followed the steps to adjust transparency but your image still appears opaque, check to make sure you’re not adjusting the opacity of the layer group instead of the individual layer. Sometimes, we misclick and end up affecting the entirety of the group! - Issue: Selection Tool Not Working Properly
If the selection tool seems to misbehave, ensure that you’re using the correct selection method (automatic vs. freehand) that suits your image's edges. Experiment with the threshold settings in the “Automatic Selection” tool to capture just the right amount. - Issue: Layers Not Showing Up
Sometimes layers won’t display as expected because they’re hidden or behind other layers. Make sure you’ve checked your layer stack. Tapping the visibility icon (the check mark) near your layers can help you easily identify which layers are active. - Issue: Unexpected Color Changes
If your image is turning unexpected colors when you adjust the transparency, remember that transparency interacts with the colors beneath it. Check the background color or any layers that might be influencing the final appearance. - Issue: App Crashes or Freezes
If Procreate is crashing, try closing other apps running in the background to free up memory. Regularly restarting your device can also prevent lagging or freezing, especially when handling large images!
Whenever you run into these issues, don't hesitate to check out Procreate’s support documentation or forums where fellow artists share solutions. A little troubleshooting can go a long way in ensuring your creative flow isn't interrupted!
8. Conclusion and Further Resources
Making an image transparent in Procreate opens up a world of creative possibilities. Whether you're looking to create overlays, blend images, or prepare elements for digital collage, mastering this skill will enhance your artistic toolkit significantly. Remember, the process is as much about experimenting as it is about following instructions. The more you practice, the more intuitive and fluid the process will become.
Before you venture off into your next project, here are some additional resources that can further assist you on your Procreate journey:
- Procreate Handbook: This is the best place to start if you're seeking detailed guidance on every tool and feature within Procreate. You can find it on the official Procreate website.
- YouTube Tutorials: There are numerous creators who offer step-by-step video guides on using Procreate. Search for channels focusing on Procreate techniques to get real-time visual help.
- Online Courses: Websites like Skillshare and Udemy offer structured courses that take a deep dive into Procreate. These are great if you prefer a more guided approach to learning.
- Community Forums and Facebook Groups: Joining a community can be incredibly helpful. Places like Reddit or Facebook groups dedicated to Procreate allow users to share tips, tricks, and troubleshoot together!
Lastly, don’t forget to experiment and have fun! Procreate is a versatile tool that thrives on creativity, so don’t shy away from trying new techniques. Happy creating!
 admin
admin


