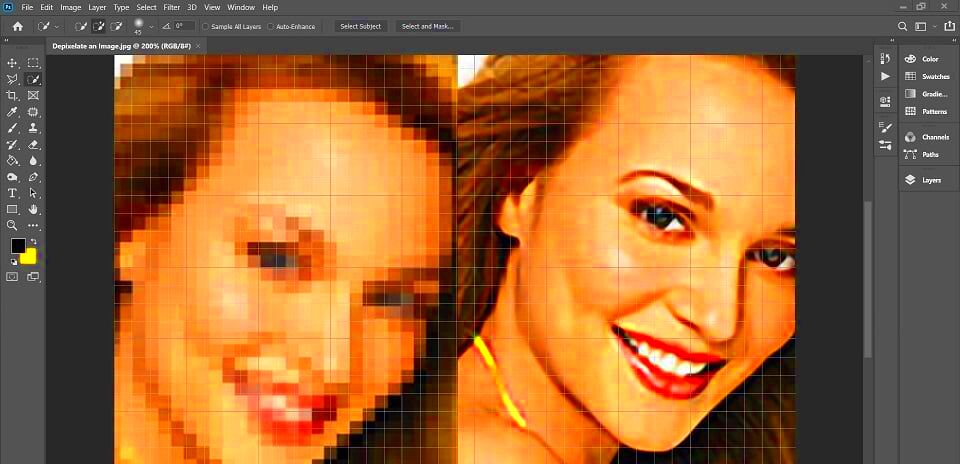
If you've ever worked with low-resolution images, you know how frustrating it can be when they appear pixelated or blurry. Pixelation happens when an image loses its sharpness, often due to resizing or using a low-quality source file. Luckily, Photoshop offers a range of powerful tools to help reduce pixelation and restore clarity to your images.
This guide will walk you through various techniques to make pixelated images smoother, sharper, and more visually appealing without losing important details. Whether you're working with portraits, landscapes, or product images, you'll learn methods that work for any kind of image. By following these steps, you can improve the quality of your images and make them look much more professional.
Understanding Pixelation in Images
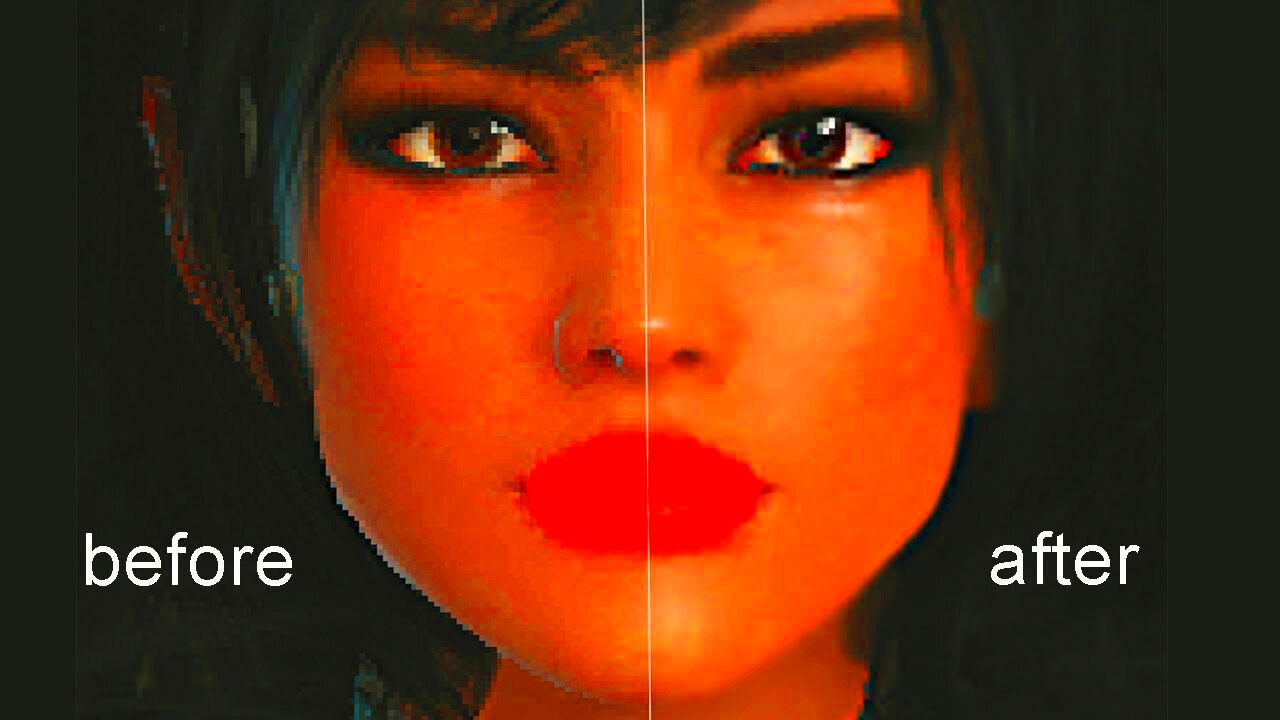
Pixelation occurs when an image is displayed at a resolution lower than its original size, causing individual pixels to become visible. This usually happens when an image is stretched or resized beyond its capacity. The more an
There are a few key reasons why pixelation happens:
- Low Resolution: Images with low pixel density (like 72 DPI images) will appear pixelated when scaled up.
- Excessive Enlargement: Enlarging an image without increasing its resolution will stretch the pixels, making the image blurry and blocky.
- Loss of Data: When images are compressed too much (like in JPEG format), data loss occurs, leading to pixelation.
Understanding these causes is essential for fixing pixelated images. By addressing the underlying issues, you can reduce pixelation and restore the image's original appearance. Photoshop provides several tools to smooth out pixelated areas while maintaining the integrity of the image’s details.
Preparing Your Image for Editing
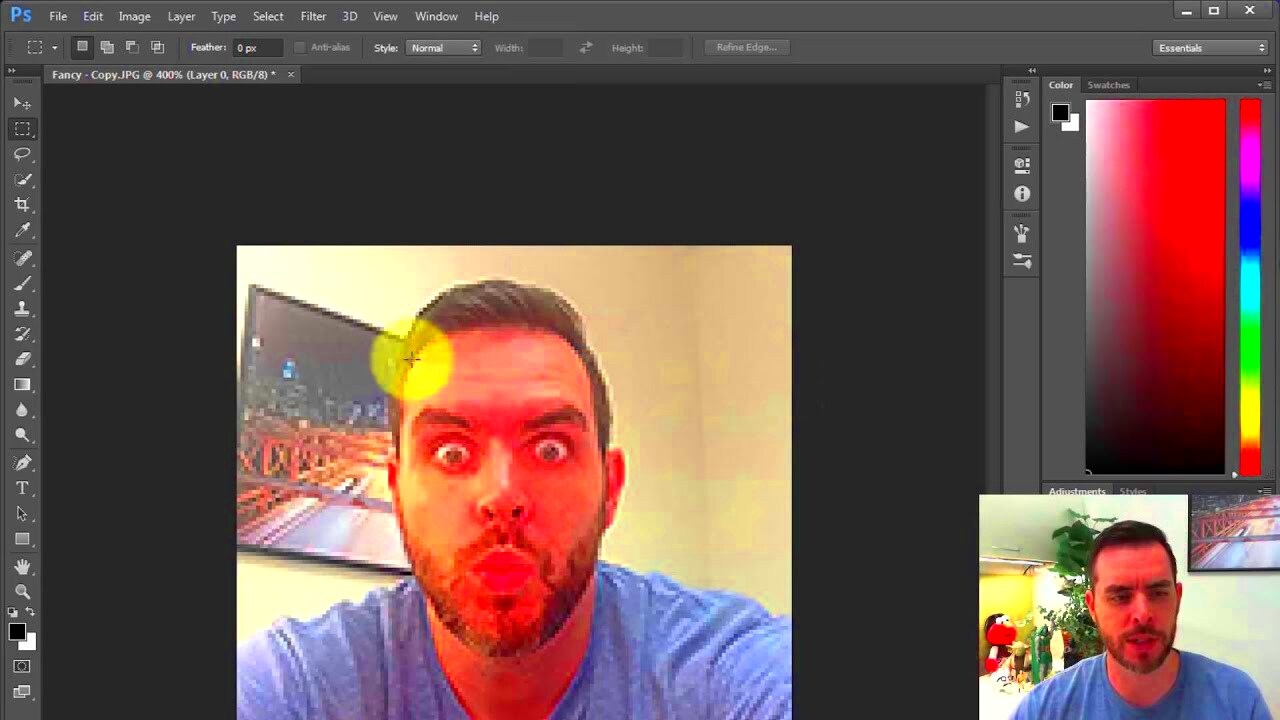
Before diving into the editing process, it’s important to prepare your image properly. Proper preparation ensures that the tools you use in Photoshop will be more effective, and you’ll get better results in reducing pixelation.
Here are the initial steps you should take:
- Check Image Resolution: The higher the resolution, the better the chances of reducing pixelation. Go to Image > Image Size in Photoshop and check the resolution. If it’s too low, you might need to use a higher resolution version or adjust settings carefully.
- Resize with Caution: If you need to resize the image, do it gradually rather than stretching it all at once. Use the "Resample" option in Photoshop to adjust the dimensions without distorting the image too much.
- Use Non-Destructive Editing: Always work with a duplicate layer or a smart object. This way, you can make adjustments without permanently changing your original image.
By ensuring that your image is set up correctly before editing, you increase the chances of achieving a smoother result. Remember, a well-prepared image allows for easier application of filters, adjustments, and other pixelation-reducing techniques.
Using the Blur Tool to Reduce Pixelation
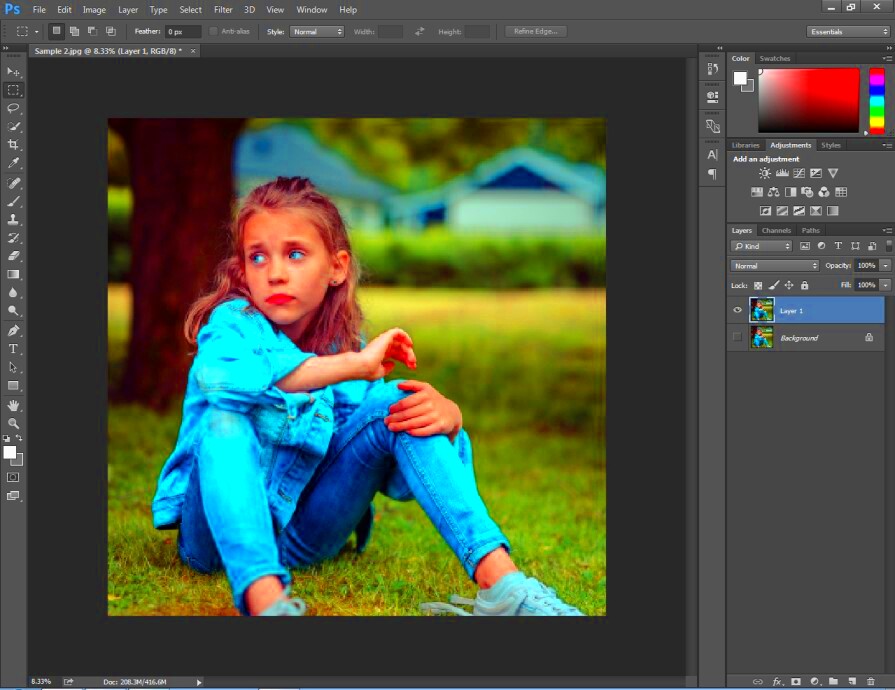
The Blur Tool in Photoshop is one of the simplest and most effective ways to smooth out pixelated areas in an image. This tool allows you to gently soften the harsh edges of pixelated blocks, making them less noticeable and improving the overall appearance of your image.
Here's how to use the Blur Tool to reduce pixelation:
- Step 1: Open your image in Photoshop and select the Blur Tool from the toolbar (it looks like a droplet of water).
- Step 2: Adjust the brush size depending on the area you want to blur. For larger pixelated areas, a bigger brush works best, while smaller areas may require a smaller brush.
- Step 3: Begin painting over the pixelated sections of your image. The tool works by blending the pixels, effectively softening sharp transitions between them.
While using the Blur Tool, you should be careful not to overdo it. Applying too much blur can make the image look unnatural. To get the best results, go over the pixelated areas lightly and gradually, building up the effect as needed.
The Blur Tool is ideal for quick fixes, but it’s not always the perfect solution for every situation. If you need more control or want to preserve image detail while reducing pixelation, consider using other tools in Photoshop, such as the Smart Blur Filter or Noise Reduction features.
Applying the Smart Blur Filter
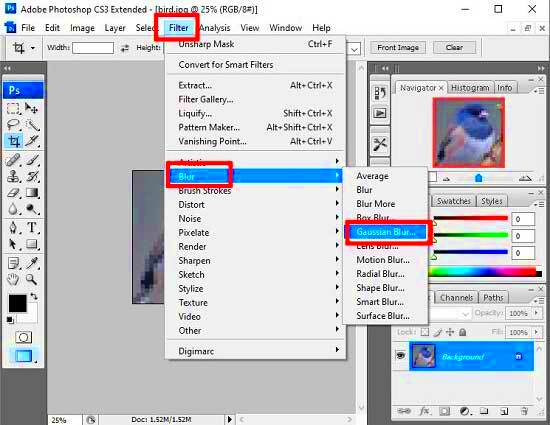
The Smart Blur filter in Photoshop is a more advanced tool for reducing pixelation while preserving important details in the image. Unlike the regular Blur Tool, the Smart Blur filter allows you to target specific areas for blurring, giving you greater control over the final result.
Here’s how to apply the Smart Blur Filter:
- Step 1: Open your image and go to Filter > Blur > Smart Blur.
- Step 2: In the Smart Blur dialog box, adjust the settings. You can control the Radius (the size of the blur area) and the Threshold (how much contrast there needs to be between pixels for the blur to apply).
- Step 3: Use the preview option to see how the filter affects your image in real time. You can fine-tune the settings until the pixelation starts to disappear but without losing too much detail.
One of the advantages of the Smart Blur Filter is that it reduces pixelation without completely softening edges or creating a blurry look. It works by selectively blurring areas that need improvement while maintaining sharpness in high-contrast parts of the image.
This method works well for images with larger areas of uniform color, such as skies or backgrounds. It’s a great choice when you want to reduce pixelation without compromising image clarity.
Using the Noise Reduction Feature
The Noise Reduction feature in Photoshop is specifically designed to remove noise and grain from images. While pixelation and noise aren’t the same thing, noise can contribute to the overall blur and roughness of a pixelated image. By reducing noise, you can make the image appear smoother and clearer, improving the quality of the image after pixelation has been reduced.
Here’s how you can use the Noise Reduction feature:
- Step 1: Open your pixelated image in Photoshop and go to Filter > Noise > Reduce Noise.
- Step 2: In the Reduce Noise dialog box, adjust the Strength slider to control how much noise is removed from the image.
- Step 3: If needed, check the box for Remove JPEG Artifact to fix issues caused by image compression.
One important tip is to keep an eye on the image while adjusting the settings. Reducing noise can sometimes make images too smooth, causing you to lose fine details. It’s best to make small adjustments and check the preview to ensure the image doesn’t become overly soft.
Noise reduction works best on images that have visible grain or speckling, such as photos taken in low light or when the ISO setting is high. By removing this noise, you can improve image quality, making pixelated areas less noticeable and giving your image a cleaner, sharper look.
Resampling the Image for Better Quality
Resampling is a technique in Photoshop that allows you to change the resolution of an image without affecting its physical size. This process is especially useful when you're working with a pixelated image and want to improve its overall quality by adding more pixels. Resampling can help you reduce pixelation while maintaining a smooth appearance.
Here’s how you can resample an image in Photoshop:
- Step 1: Open your image in Photoshop and go to Image > Image Size.
- Step 2: In the Image Size dialog box, make sure to uncheck Resample if it’s already checked. This will keep the proportions of your image intact.
- Step 3: Check the Resample box again and choose a resampling method from the dropdown menu. The most common options are Preserve Details (best for enlarging) or Bicubic Smoother (great for reducing pixelation).
- Step 4: Increase the resolution to a higher number (e.g., 300 DPI for print) or increase the pixel dimensions of the image. You’ll notice that the number of pixels in the image increases, which can help smooth out pixelated areas.
While resampling can help improve the image quality, it’s important to note that it isn’t a magical fix. If you’re working with an extremely low-resolution image, resampling alone might not completely eliminate pixelation. However, when combined with other techniques, it can significantly enhance the final result.
Resampling is most effective when you are enlarging an image. It gives Photoshop more pixel data to work with, making it possible to reduce pixelation and maintain quality when printing or resizing the image for larger displays.
Adjusting Image Sharpening After Reducing Pixelation
Once you’ve reduced pixelation in your image, the next step is to adjust image sharpening. When you blur or resample an image to reduce pixelation, the image often loses some of its original sharpness. Sharpening helps restore fine details and enhances clarity without introducing more pixelation.
Here’s how to sharpen your image effectively after reducing pixelation:
- Step 1: After reducing pixelation, duplicate your image layer by right-clicking the layer in the Layers panel and selecting Duplicate Layer.
- Step 2: With the duplicate layer selected, go to Filter > Sharpen > Unsharp Mask.
- Step 3: In the Unsharp Mask dialog box, adjust the Amount slider to control the strength of the sharpening effect. Start with a low value and gradually increase it to see the changes.
- Step 4: Adjust the Radius slider to control how many surrounding pixels are affected by the sharpening. A lower radius works better for finer details, while a higher radius works better for larger areas of the image.
- Step 5: Fine-tune the Threshold slider to control how much contrast needs to exist before the sharpening is applied. This helps prevent noise from being sharpened.
It’s important not to over-sharpen your image, as this can introduce halos or create unnatural edges. A subtle touch is key. After sharpening, zoom in and out of the image to check the changes. If needed, you can reduce the opacity of the sharpening layer to soften the effect.
Sharpening helps to bring back the crispness of your image, making it appear clearer and more professional. Combined with pixelation-reducing techniques, sharpening will give your image a polished, finished look.
FAQ: Common Questions About Reducing Pixelation in Photoshop
If you’re new to Photoshop or working with pixelated images, you might have some questions about the process. Here are answers to some of the most common questions that people have when trying to reduce pixelation:
- Q: Can Photoshop completely remove pixelation?
- Q: What’s the best method for reducing pixelation?
- Q: Can resampling damage the image quality?
- Q: How can I prevent pixelation in the future?
- Q: How do I sharpen my image without introducing noise?
A: While Photoshop offers powerful tools for reducing pixelation, it’s important to understand that not all pixelation can be fully eliminated, especially if the original image is very low-resolution. However, with the right techniques, you can significantly improve the appearance of the image.
A: There is no one-size-fits-all method, but using a combination of tools like the Blur Tool, Smart Blur Filter, and Noise Reduction feature works well. Resampling and sharpening can also help achieve better results.
A: If not done properly, resampling can cause a loss of detail or introduce blurriness. It’s important to use the right resampling method and apply it gradually. Keep in mind that resampling works best when increasing image resolution slightly, not when drastically enlarging a very low-resolution image.
A: The best way to avoid pixelation is to start with a high-resolution image. If you need to resize, try not to enlarge the image too much. Always work with images that have sufficient resolution for your intended use, whether for web or print.
A: When sharpening, use a subtle approach with low settings for the Amount and Radius sliders. You can also use layer masking to apply sharpening only to areas that need it, avoiding the creation of noise in the smooth regions of the image.
By understanding these common questions and applying the correct techniques, you’ll be well on your way to improving pixelated images and creating sharp, high-quality visuals with Photoshop.
Conclusion: Improving Your Image Quality in Photoshop
Reducing pixelation and improving image quality in Photoshop is entirely possible with the right tools and techniques. By understanding the causes of pixelation and applying methods like the Blur Tool, Smart Blur Filter, and Noise Reduction, you can smooth out rough areas and restore clarity. Additionally, resampling your image helps increase its resolution, allowing for further pixelation reduction without sacrificing quality.
It's also important to keep in mind that sharpening plays a crucial role after reducing pixelation. Once the image is smoother, you can enhance the fine details by using sharpening tools carefully to avoid overdoing it. Always use a subtle approach to prevent introducing unwanted noise or halos around edges.
Remember, achieving a high-quality image requires patience and attention to detail. While there is no one-size-fits-all solution, combining the various tools discussed will help you take a pixelated image and transform it into a cleaner, sharper, and more professional-looking visual. With practice, you’ll get better at balancing these techniques and making the most out of Photoshop’s powerful features to improve any image’s quality.
 admin
admin


