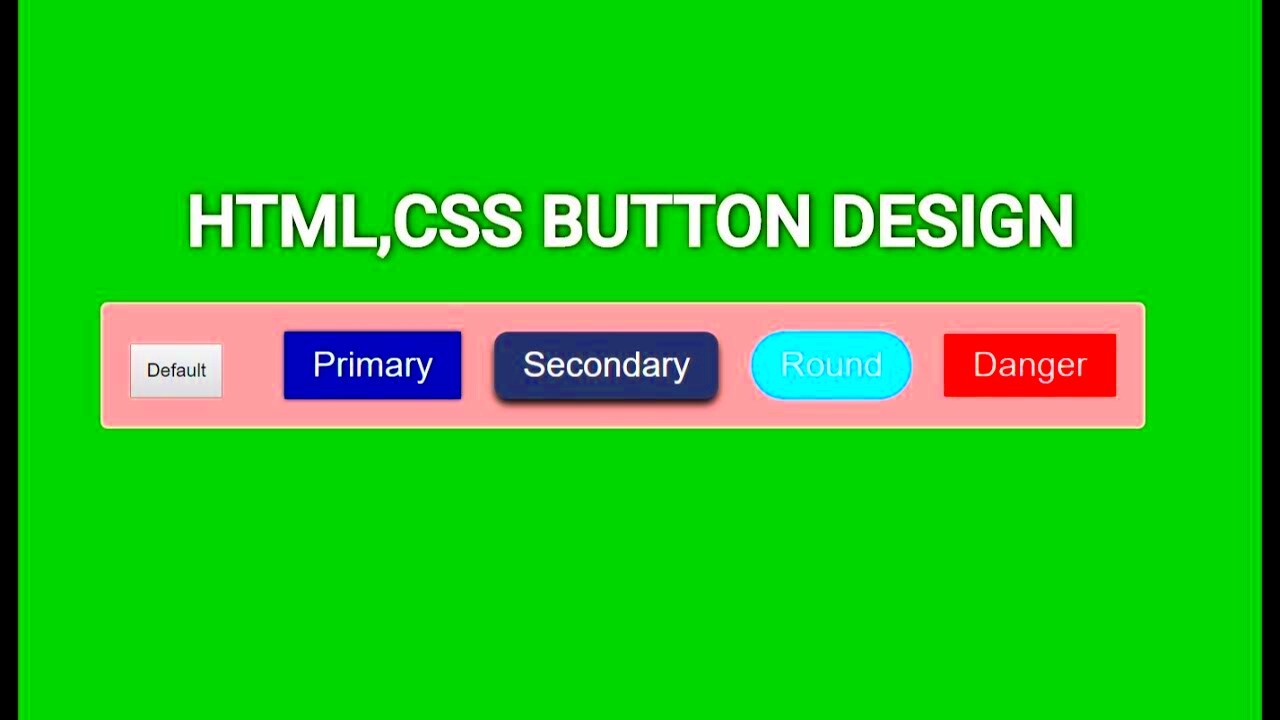
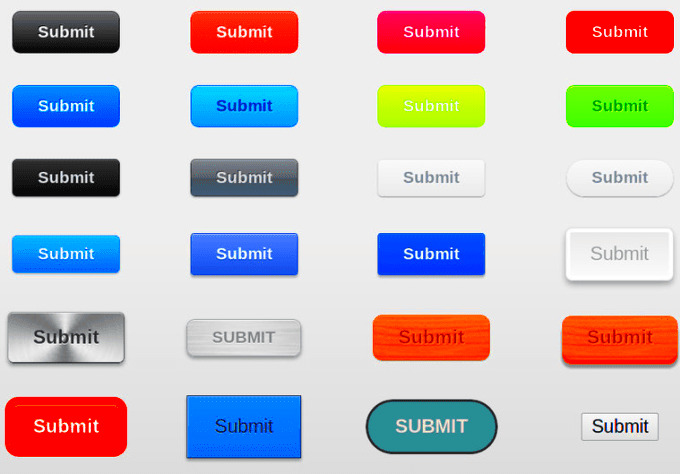
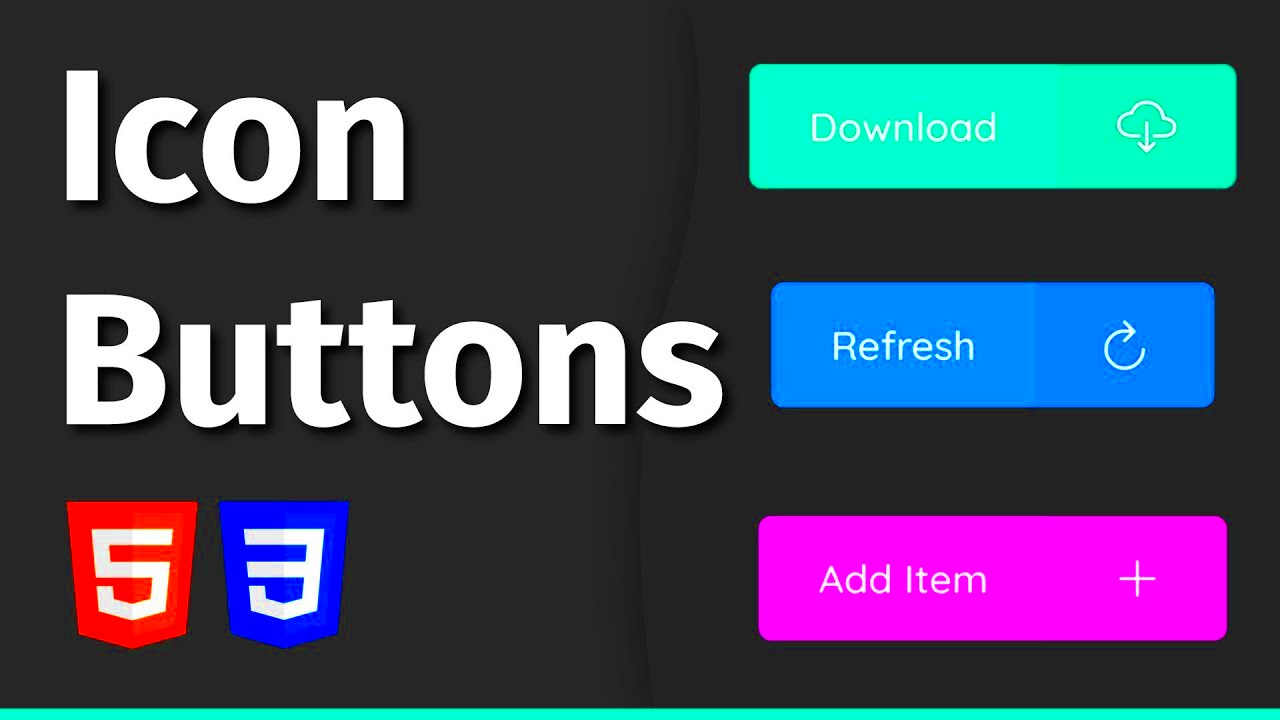
Image buttons are a great way to make your website more interactive and visually appealing. They serve as clickable areas that can enhance user experience by combining graphics and functionality. Instead of traditional text buttons, image buttons allow for creative designs that can better align with your site's theme. This makes navigation easier and can attract user attention effectively. In this post, we'll explore the benefits of image buttons, how to create them using HTML, and more.
Benefits of Using Image Buttons

Image buttons come with several advantages that can improve your website's design and usability. Here are some key benefits:
- Visual Appeal: Image buttons can be designed to match the aesthetics of your site, making them more attractive than standard buttons.
- Improved User Experience: Users can easily identify clickable areas, leading to a smoother navigation experience.
- Brand Identity: Custom image buttons can reinforce your brand's identity by using logos and colors that reflect your style.
- Increased Engagement: Eye-catching buttons can encourage users to click, which may lead to higher interaction rates.
Overall, using image buttons can make your site more engaging and user-friendly.
Creating an Image Button with HTML

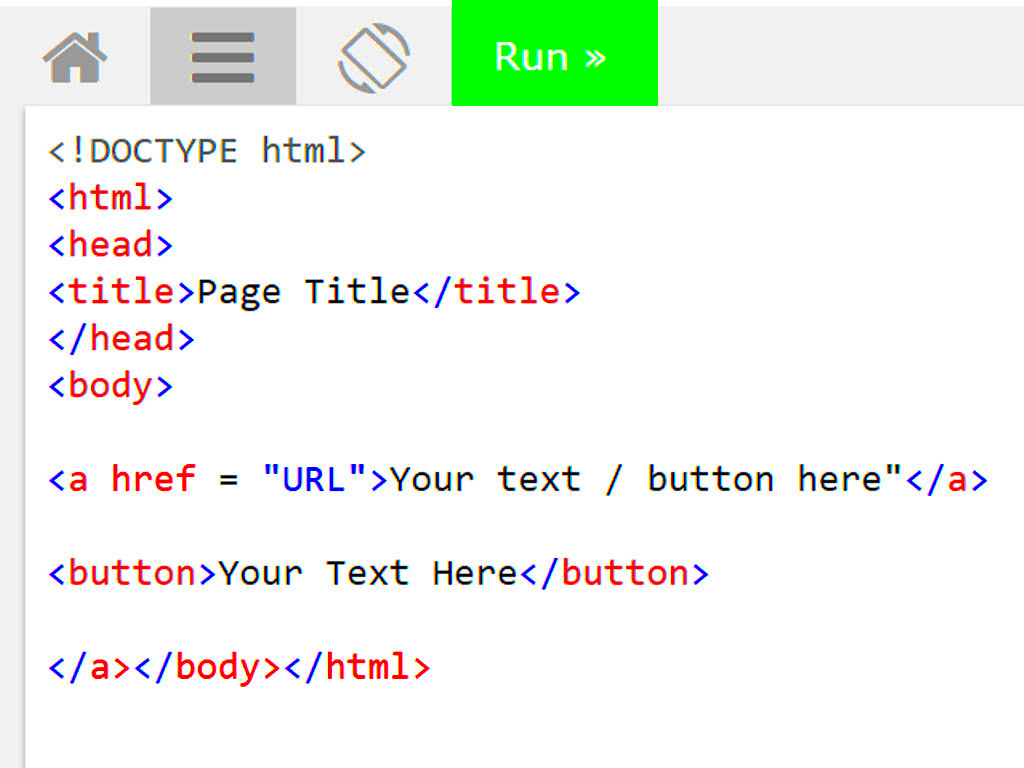
Creating an image button in HTML is quite simple and involves using the <input> or <button> tag. Here’s how you can do it:
- Start by choosing an image that you want to use for the button.
- Use the following code to create your image button:
<input type="image" src="your-image-url.jpg" alt="Description of the image">
This code will create an image button that users can click. Here’s a breakdown of the code:
type="image": This specifies that the input is an image button.src="your-image-url.jpg": Replace this with the path to your image.alt="Description of the image": This provides alternative text for accessibility.
Once you add this code to your HTML file, your image button will be ready for use. You can also include additional attributes like width and height to control the size of the button.
Styling Image Buttons with CSS

Styling your image buttons with CSS is essential for making them stand out and fit your website’s theme. CSS allows you to customize various aspects of the image button, including size, borders, and hover effects. With just a few lines of CSS, you can transform a plain image button into an eye-catching element. Here are some key CSS properties you can use:
- Width and Height: Adjust the size of your image button.
- Border: Add a border to make your button more defined.
- Border Radius: Create rounded corners for a softer look.
- Box Shadow: Add depth to your button with shadows.
- Transition: Smooth out hover effects for a better user experience.
Here’s an example of how you can style your image button:
<style>
    input[type="image"] {
        width: 150px;
        height: auto;
        border: 2px solid #ccc;
        border-radius: 10px;
        box-shadow: 2px 2px 5px rgba(0, 0, 0, 0.3);
        transition: transform 0.3s;
    }
    input[type="image"]:hover {
        transform: scale(1.05);
    }
</style>
This CSS will ensure your image button looks appealing and responds to user interaction, enhancing the overall user experience.
Adding Links to Image Buttons
Linking your image button to a specific page or action is crucial for navigation. You can do this easily by wrapping your image input in an anchor tag. This method makes your image button clickable and redirects users to the desired location. Here’s how to do it:
<a href="https://your-link.com">
    <input type="image" src="your-image-url.jpg" alt="Button Description">
</a>
In this example, clicking the image button will take users to "your-link.com." You can replace this URL with any page you want your users to visit. Here are some tips for adding links:
- Target Attribute: Use
target="_blank"to open links in a new tab. - Accessibility: Always include an
altattribute for better accessibility.
This approach not only improves user experience but also enhances the functionality of your image buttons.
Using JavaScript for Image Button Functionality
To take your image buttons to the next level, you can add JavaScript functionality. This allows you to create interactive features like click events, animations, or form submissions. Here’s how to implement basic JavaScript with your image button:
<input type="image" src="your-image-url.jpg" alt="Click me" onclick="myFunction()">
<script>
function myFunction() {
    alert("Image button clicked!");
}
</script>
In this example, clicking the image button triggers a JavaScript function that displays an alert. Here are some more ideas on what you can do with JavaScript:
- Change Image on Click: Swap the image when clicked for a dynamic effect.
- Form Submission: Use the button to submit a form using JavaScript.
- Animate Effects: Add animations for clicks or hovers to engage users.
By incorporating JavaScript, you can enhance user interactions and create a more engaging experience with your image buttons.
Common Issues and Troubleshooting Tips
When working with image buttons, you might encounter a few common issues. Knowing how to troubleshoot these problems can help you maintain a smooth user experience on your website. Here are some frequent issues and their solutions:
- Image Not Displaying: Ensure that the image URL is correct. Double-check the path and make sure the file is accessible. You can test the link directly in your browser.
- Button Not Clickable: If your button isn’t responding, check if the
<a>or<input>tag is properly closed. Make sure there are no overlapping elements preventing clicks. - Responsive Issues: If the button doesn’t scale well on different devices, consider using CSS media queries to adjust its size for mobile and desktop views.
- Slow Loading Time: Large image files can slow down your page. Optimize images using tools like TinyPNG or ImageOptim to reduce file size without sacrificing quality.
By being aware of these common problems and their fixes, you can ensure your image buttons work flawlessly, improving user satisfaction on your site.
FAQs
Here are some frequently asked questions about image buttons that can help clarify common doubts:
- Can I use GIFs as image buttons? Yes, you can use GIFs for image buttons. Just ensure they are not too large to avoid loading issues.
- What is the best image format to use? PNG or JPEG are commonly used formats for image buttons. PNG is preferred for transparency, while JPEG is suitable for photographs.
- How can I make my image button accessible? Always include an
altattribute that describes the button's function. This helps screen readers interpret the button correctly. - Can I add animations to my image buttons? Absolutely! You can use CSS transitions or animations for hover effects, making your buttons more interactive.
These FAQs should help you navigate common concerns while working with image buttons on your website.
Conclusion
Incorporating image buttons into your website can significantly enhance user engagement and improve navigation. By understanding how to create, style, and troubleshoot image buttons, you can make your site more interactive and visually appealing. Remember to use CSS for styling, JavaScript for added functionality, and always consider accessibility in your designs. With these tips and insights, you're well on your way to creating effective and attractive image buttons that improve the overall user experience. So go ahead, implement these strategies, and watch your website come to life with engaging elements!

 admin
admin


