When working with images for the web or various digital platforms, image size plays a key role in how your content performs. Images that are too large can slow down your website, while images that are too small might appear blurry or pixelated. Finding the right balance is essential for user experience and SEO performance.
In this section, we’ll focus on why resizing images to specific dimensions, such as 100x100 pixels, is so important:
- Faster Load Time: Smaller images load faster, making your website more responsive.
- Better User Experience: Correctly sized images enhance the visual quality and clarity of your website.
- SEO Benefits: Search engines prefer optimized images as they contribute to faster page loading times.
- Uniformity: Consistent image sizes across your website create a professional and organized appearance.
When resizing images, it’s crucial to consider their intended use. For profile pictures, avatars, or icons, a 100x100 pixel size is often ideal because it ensures sharpness while minimizing file size.
Choosing the Right Tools for Resizing

There are many tools available to resize images, ranging from free online apps to professional software. The right tool depends on your needs, the type of image you are working with, and how frequently you need to resize images.
Here are some common tools you can use to resize your images to 100x100 pixels:
- Online Tools: Websites like ResizeImage.net and iLoveIMG allow you to resize images quickly without needing to download any software.
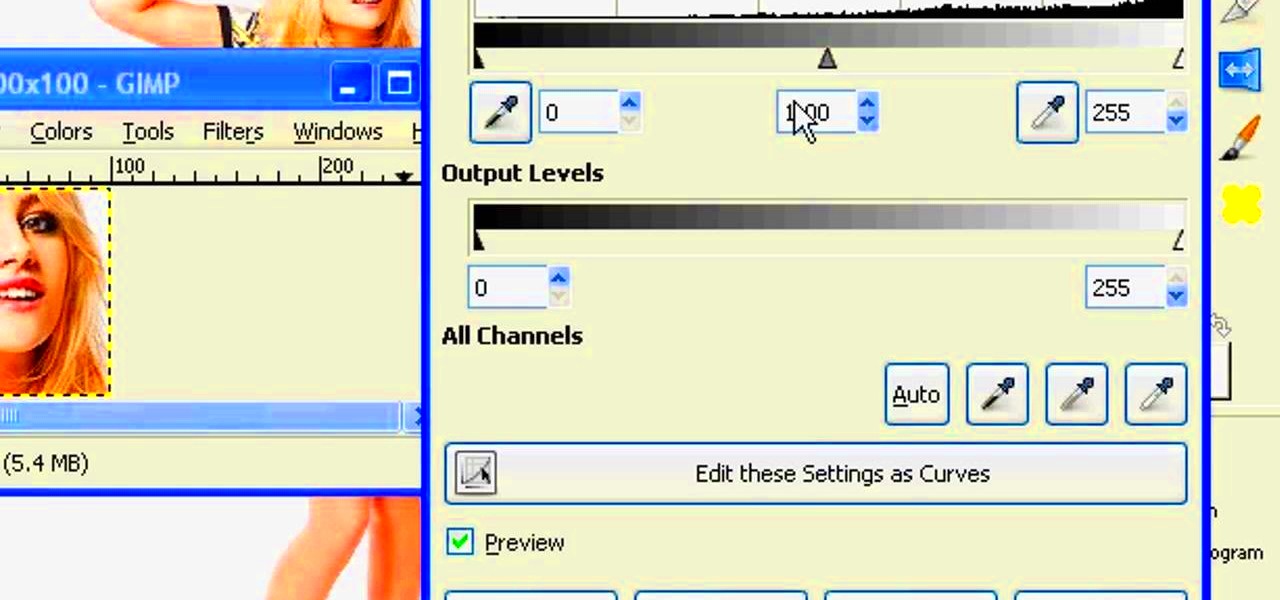
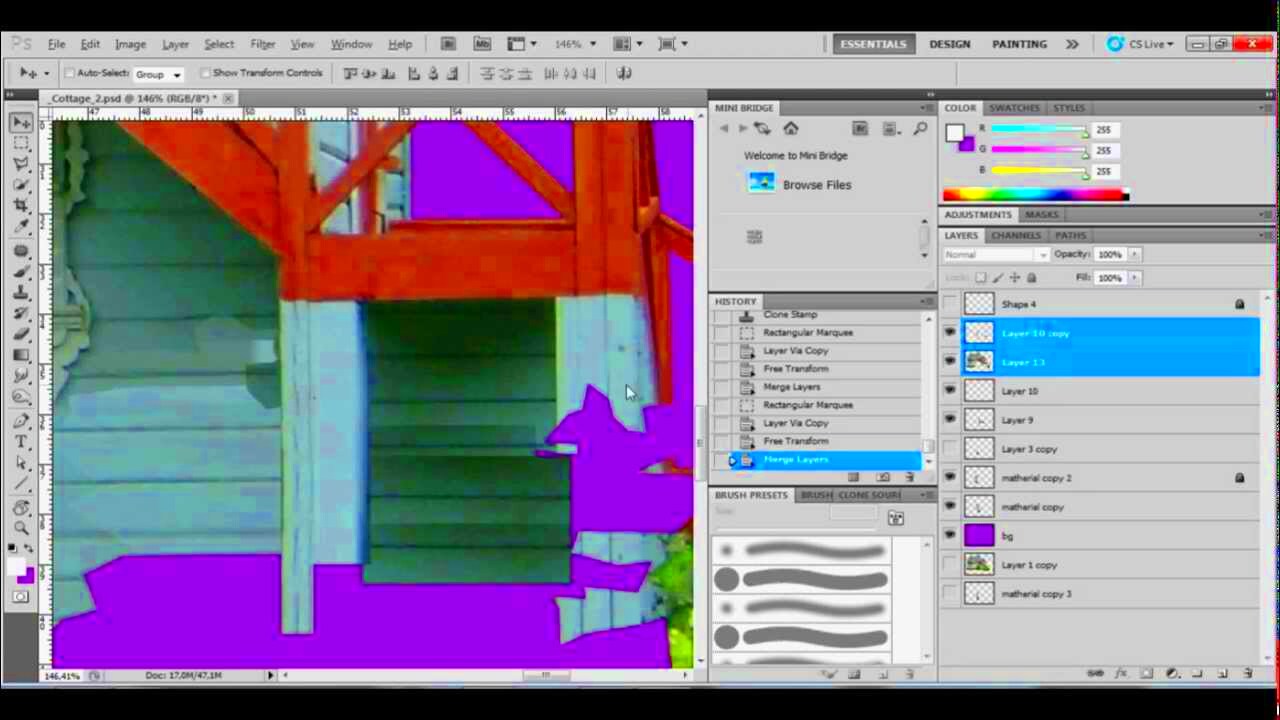
- Photo Editing Software: Applications like Photoshop, GIMP, and Paint.NET offer more control over the image resizing process, allowing you to adjust not only the size but also the quality and format.
- Mobile Apps: For resizing images on the go, apps like Snapseed or Adobe Photoshop Express can do the job on both Android and iOS devices.
For most users, online tools offer a convenient and easy way to resize images. However, if you need advanced features or prefer more control, photo editing software might be the better option.
Also Read This: See How to Use Shutterstock
Steps to Resize an Image to 100x100 Pixels

Resizing an image to 100x100 pixels can be done in just a few simple steps. Below is a guide to help you resize your image without losing quality.
Step 1: Choose the Image
Start by selecting the image you want to resize. Ensure that the image is of good quality so that when you shrink it to 100x100 pixels, it doesn’t become blurry or pixelated.
Step 2: Open the Image in Your Tool of Choice
Depending on the tool you're using, open the image file within the program. For example, in an online tool, you’ll typically click on “Upload” or “Choose File” to load the image.
Step 3: Resize the Image
Once the image is open, look for the resize option. Here’s what to do:
- For online tools, simply input “100” for both the width and height. Make sure the “Aspect Ratio” is unlocked, so it doesn’t auto-adjust and distort the image.
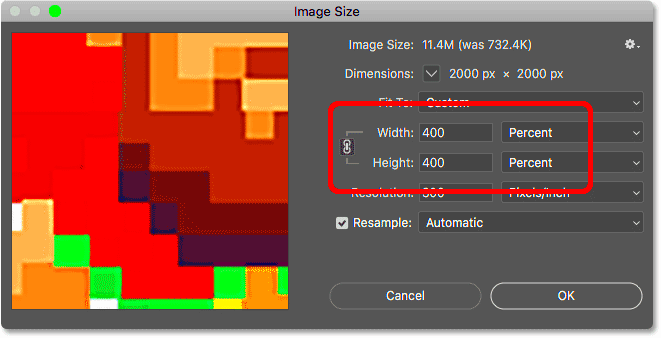
- If using software like Photoshop, go to the "Image" menu, select "Image Size," and enter 100 for both the width and height.
Step 4: Adjust the Quality
After resizing, check the image quality. If it appears blurry or pixelated, you may need to sharpen it slightly using the sharpening tool available in your tool of choice.
Step 5: Save the Image
Once satisfied with the resized image, save it in the desired format (JPG, PNG, etc.). If you're using an online tool, most will automatically allow you to download the resized image directly.
Step 6: Test the Image
Before finalizing, always check how the image looks on your website or platform. Ensure it appears clear and sharp without any noticeable distortion.
Also Read This: how to become an adobe stock contributor
How to Maintain Image Quality While Resizing

One of the main challenges when resizing images is maintaining their quality. If resized improperly, images can become pixelated, blurry, or lose detail. Fortunately, there are several strategies to keep the image quality intact while reducing its size.
Here are some tips to maintain the image quality while resizing:
- Use High-Quality Source Images: Start with the best quality image possible. The higher the original resolution, the better the final result will be after resizing.
- Resize Gradually: Avoid drastic changes in image size. If you need to shrink a large image, resize it in smaller steps (e.g., reducing by 10% each time) to prevent quality loss.
- Maintain Aspect Ratio: Keeping the aspect ratio (proportional relationship between width and height) locked is crucial to avoid distortion. Most resizing tools allow you to do this automatically.
- Choose the Right Resizing Tool: Not all tools are equal. Tools like Photoshop, GIMP, and even some online platforms are built to preserve quality better than basic tools.
- Sharpen After Resizing: Sometimes resizing can make an image look slightly blurry. In these cases, use the sharpening tool to enhance details and improve the image clarity.
By following these steps, you can minimize the impact on quality and maintain a sharp, clean look even after resizing your images to 100x100 pixels.
Also Read This: Mastering Keywords for Shutterstock: Enhancing Discoverability and Increasing Sales
Saving Your Resized Image in the Correct Format
Once you’ve resized your image, the next important step is saving it in the right format. Different image formats serve different purposes, and choosing the correct one can impact both the image quality and file size.
Here’s a breakdown of the most common image formats and when to use them:
| Format | Best For | Advantages | Disadvantages |
|---|---|---|---|
| JPEG | Photographs and complex images | Small file size, excellent for photos | Lossy compression, lower quality when resized too much |
| PNG | Images requiring transparency, logos | Lossless compression, supports transparency | Larger file size compared to JPEG |
| GIF | Simple graphics and animations | Supports animations, small file size | Limited color range (256 colors) |
| WebP | Web use (high-quality photos with small size) | Excellent compression without significant quality loss | Not supported by all browsers |
For a 100x100 pixel image, the best format usually depends on the content:
- JPEG: Ideal for photographs or images with gradients.
- PNG: Best for images with text, logos, or transparency.
- WebP: If you’re focused on reducing file size while maintaining good quality for the web, WebP is an excellent choice.
Always ensure you save your resized image in the format that suits your needs. If you’re unsure, PNG or JPEG is typically a safe bet for most purposes.
Also Read This: How to Download Adobe Stock Images in Different Formats
Common Issues When Resizing Images
Resizing images seems straightforward, but there are several common issues you might encounter along the way. Understanding these problems can help you troubleshoot and find solutions quickly.
Here are some of the most frequent issues people face when resizing images:
- Loss of Quality: One of the biggest problems when resizing images is the loss of detail. This can happen if you’re resizing an image to a much smaller size, causing pixelation or blurriness. To avoid this, always start with a high-resolution image and resize gradually.
- Distortion: If the aspect ratio isn’t locked, resizing an image can cause it to stretch or shrink unevenly, resulting in distortion. Make sure to keep the aspect ratio locked while resizing to maintain the correct proportions.
- File Size Issues: Resizing an image to a smaller size may reduce the file size, but sometimes it’s still too large for your needs. If this happens, try saving the image in a more compressed format (like JPEG) or use a compression tool to reduce the file size.
- Transparency Problems: If you’re working with an image that has transparency (like logos or icons), ensure you save the image in a format that supports transparency, such as PNG. Saving it in a format like JPEG will flatten the transparency.
- Color Shifts: Resizing an image in certain software or tools can sometimes lead to slight color shifts, especially in more complex images. This can be fixed by tweaking the color settings or using higher-quality software.
By being aware of these common issues, you can avoid frustration and ensure that your resized images look as good as possible.
Also Read This: How to Flip a PDF Image for Perfect Orientation
Tips for Using Resized Images Effectively
After you’ve resized your images, the next step is making sure they’re used effectively across your digital platforms. While resizing helps reduce file size and improve load times, it’s important to place those images strategically to maximize their impact and quality.
Here are some practical tips for using resized images effectively:
- Optimize for Web Performance: After resizing your images to 100x100 pixels, consider compressing them to further reduce file size without sacrificing quality. Smaller images load faster, which helps improve the overall speed of your website or app.
- Use the Right Format: As mentioned earlier, different image formats have different strengths. Use PNG for images with transparency, JPEG for photos, and WebP for a balance of quality and file size, especially for websites.
- Test Image Clarity: After resizing, make sure the image still looks clear and sharp. Sometimes resizing can cause images to appear blurry. If this happens, consider adjusting the image resolution slightly or applying a sharpness filter to enhance detail.
- Maintain Consistency: Keep a consistent image size across your website or social media platforms. This helps maintain a cohesive look and feel across your content.
- Use Alt Text: Always add descriptive alt text to your resized images. This improves accessibility and also helps with SEO rankings. Alt text helps search engines understand the content of your image.
- Responsive Design: Ensure your resized images look great on different devices. A 100x100 image might appear sharp on a desktop but could look oversized on mobile. Use responsive web design techniques to adapt image sizes to different screen sizes.
By following these tips, you can make the most out of your resized images, ensuring they enhance both user experience and website performance.
Also Read This: Is VectorStock a Reliable Resource for Designers and Creatives
Frequently Asked Questions
Resizing images can be a bit tricky, especially if you’re new to it. Here are some frequently asked questions that can help clarify common doubts and provide useful tips:
- How can I avoid pixelation when resizing?
Pixelation usually occurs when you reduce an image's size too much. To avoid this, always start with a high-quality image and resize it gradually. Also, be sure to use a good resizing tool that preserves image quality. - Why does my resized image look blurry?
A blurry image often results from using a low-quality original or resizing an image too much. If resizing to a small size, consider sharpening the image after resizing to retain clarity. - What’s the best format for web images?
JPEG is a good choice for photos due to its small file size and decent quality. For images with text, logos, or transparency, PNG is better. WebP is a newer format that provides high-quality compression for web use. - Can I resize images in bulk?
Yes, there are several tools available for batch resizing. Programs like Photoshop, GIMP, and online platforms like Bulk Resize Photos allow you to resize multiple images at once, saving you time. - What dimensions should I use for different platforms?
Image dimensions vary based on where the image will be used. For profile pictures, 100x100 pixels is ideal. For web banners, larger dimensions like 1200x600 pixels may be more appropriate. Always check the platform’s image size guidelines.
If you have other questions or are unsure about any steps, there are plenty of tutorials and guides online to help you through the resizing process.
Conclusion
Resizing images to 100x100 pixels is an easy yet powerful way to improve your website’s performance and ensure your images load quickly without compromising quality. While the process can be simple, it’s important to understand the tools, formats, and techniques that help you maintain image quality during the resizing process. By following the tips and best practices outlined in this guide, you’ll be able to resize images effectively and use them to enhance your website, social media profiles, or other digital content.
Whether you're resizing images for a blog post, social media, or an e-commerce site, understanding how to manage image size and quality can make a significant difference in both user experience and SEO. So, next time you need to resize an image, keep these tips in mind and optimize your images for the best possible results.

 admin
admin


