Turning a 2D image into a 3D scene in After Effects can seem like a daunting task, but it’s a powerful skill that allows you to bring flat images to life. This process adds depth and perspective to your 2D visuals, making them appear three-dimensional. It’s especially useful for animations, motion graphics, or visual effects projects where you want your images to stand out with realistic depth. In this guide, we’ll walk you through the steps to convert a 2D image into a 3D effect, making it easier to achieve impressive results even if you’re new to After Effects.
Understanding the Basics of 2D and 3D Images
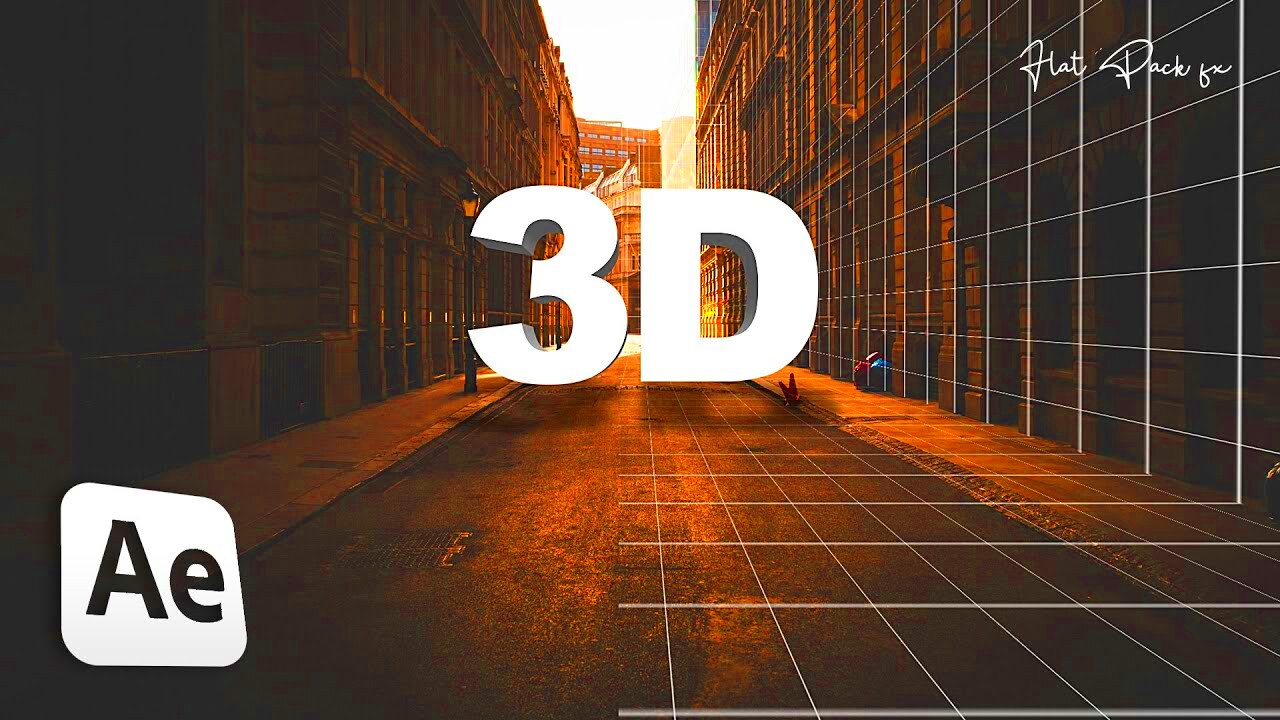
Before diving into the conversion process, it's important to understand the difference between 2D and 3D images.
A 2D image is flat, with no depth. It has only width and height, such as a photograph or a static graphic. It appears on a single plane, so when viewed, there’s no visual sense of dimension.
A 3D image has three dimensions—width, height, and depth. It allows the viewer to see the image from different angles, with an illusion of space or depth. Think of objects in real life: they have volume and can be rotated or viewed from any side.
In After Effects, you can create the illusion of depth on a 2D image by converting it into a 3D layer. This doesn't change the image itself but creates a 3D environment around it, allowing for camera movements and perspective changes.
Setting Up Your Project in After Effects for 3D Conversion
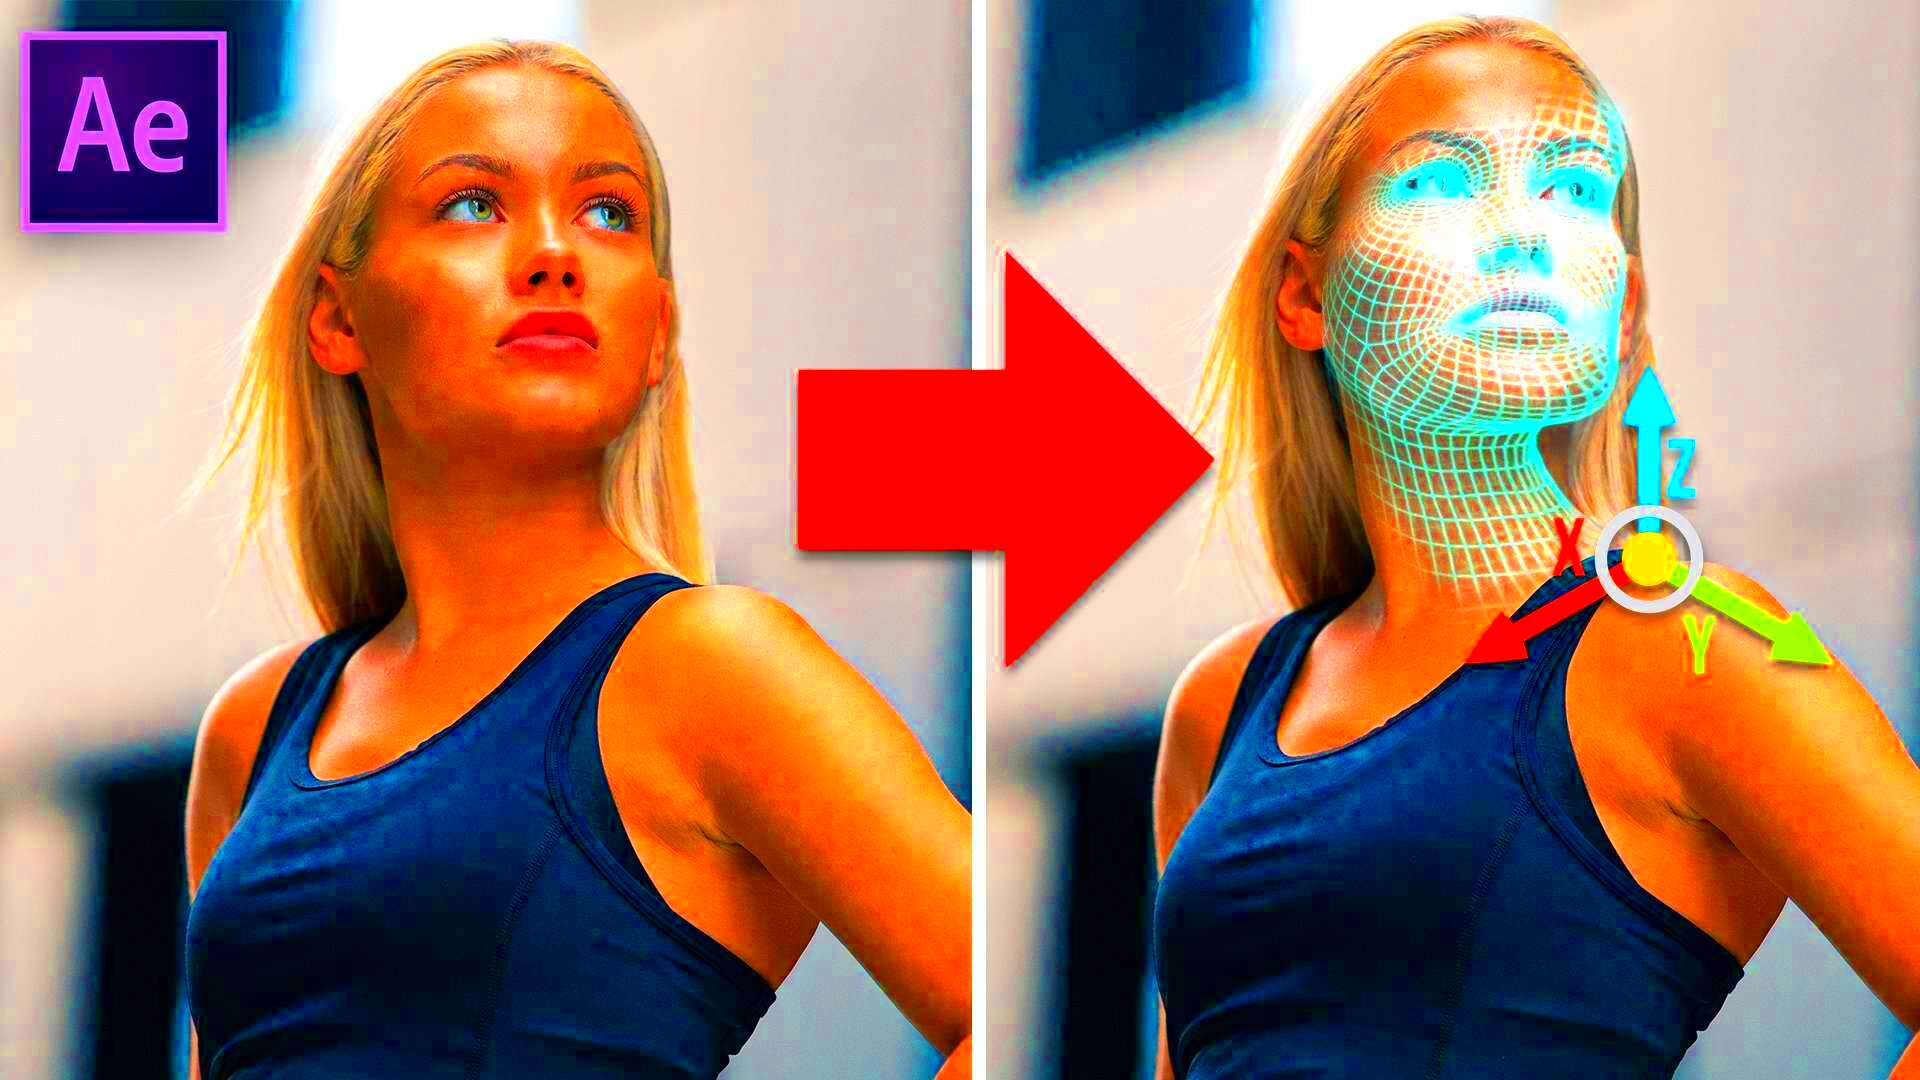
To begin converting your 2D image into a 3D scene in After Effects, you’ll need to set up your project correctly. Follow these steps:
- Open After Effects and Create a New Project: Start a new project and set the composition settings to match the resolution and frame rate you want for your final video.
- Import Your 2D Image: Go to File > Import and choose your 2D image file. It could be a static image or a photo you want to animate in 3D space.
- Create a New Composition: Drag your image into the timeline to create a new composition. Make sure the duration of the composition matches your desired video length.
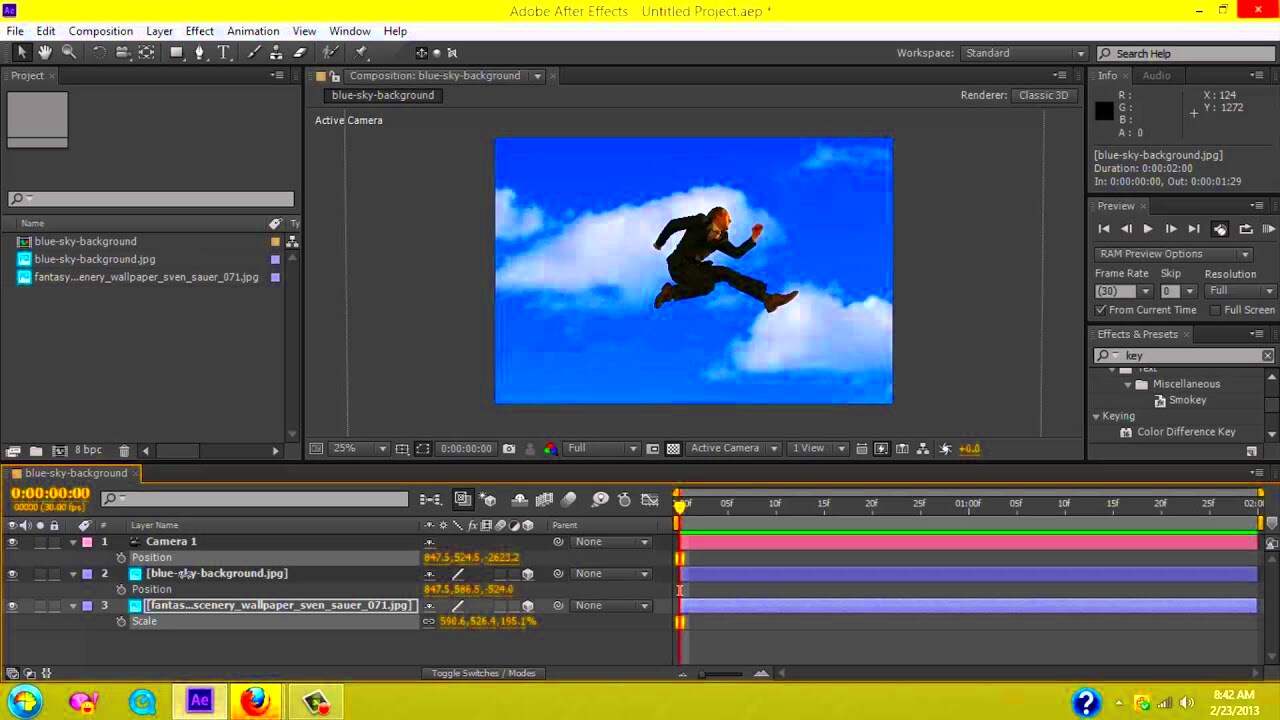
- Enable 3D Layer: Click on the small cube icon next to your image layer in the timeline. This activates 3D for that layer, enabling depth and allowing it to interact with 3D cameras and lights in your composition.
- Set Your Camera: To view your 2D image in 3D space, you'll need to create a camera. Go to Layer > New > Camera, and adjust the camera settings according to the depth you want to achieve in your project.
Once you’ve set up your project, you’re ready to start transforming your 2D image into a 3D effect. This involves adding depth, adjusting the layers, and animating the image to create a dynamic 3D scene.
Preparing Your 2D Image for 3D Effect
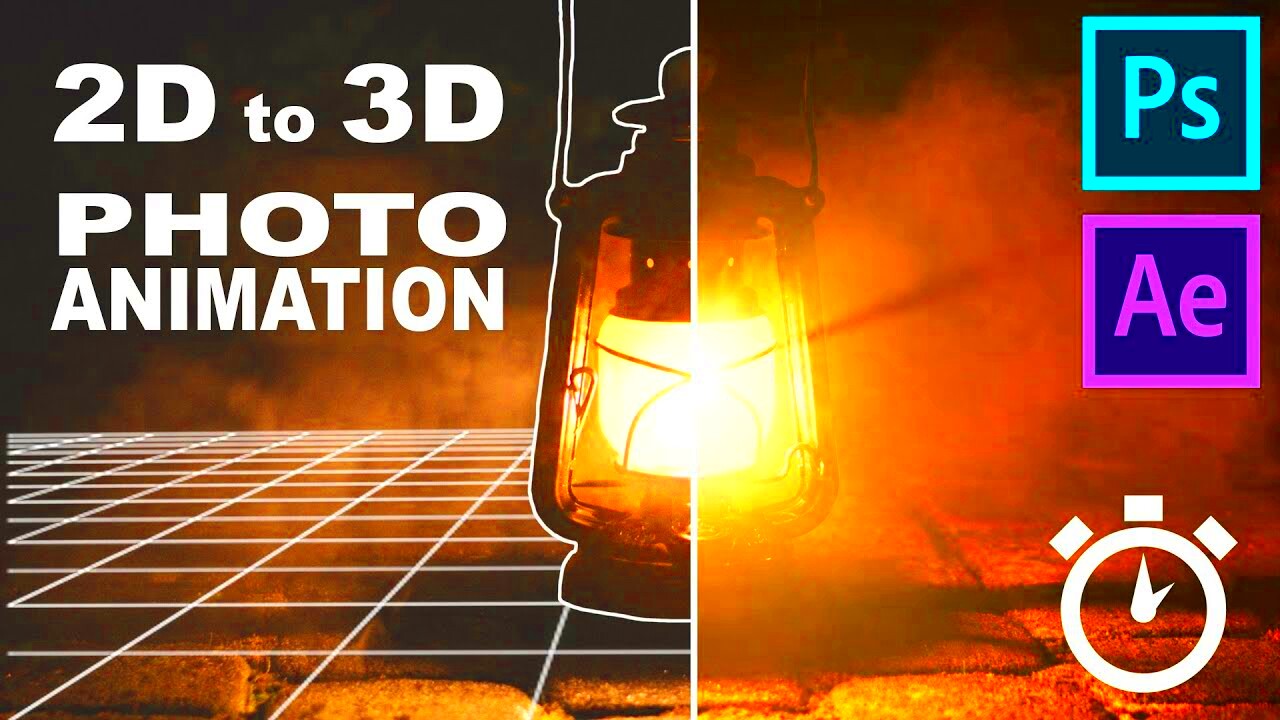
Before you can start transforming your 2D image into a 3D scene, it’s important to properly prepare the image. This will ensure that the conversion process goes smoothly and your final product looks realistic. The preparation typically involves separating your image into different layers, especially if it contains multiple elements you want to move in 3D space independently. Here's how you can get your image ready:
- Separate Elements into Layers: If your image has multiple elements like a foreground, background, and other objects, use Photoshop or another image editor to cut these elements into individual layers. For instance, if you're working with a portrait, separate the person, the background, and any objects in the foreground.
- Ensure Layers are Saved as PSD: After separating the elements, save your image as a Photoshop (.PSD) file. This format keeps the layers intact, allowing you to import each layer separately into After Effects.
- Check Image Resolution: High-resolution images will give you better results. Ensure your image is at least 1920x1080 pixels or higher to prevent any pixelation when scaling in 3D space.
- Remove Unnecessary Backgrounds: If your image has a background you don't want to use, remove it in your image editor. This will allow you to place your 2D elements in the 3D space without unwanted distractions.
Once your image is prepared, you can move on to the actual 3D conversion process in After Effects. With layers separated and saved in a .PSD file, you’ll have the flexibility to create depth and movement for each element.
Applying the 3D Layer Effect to Your Image
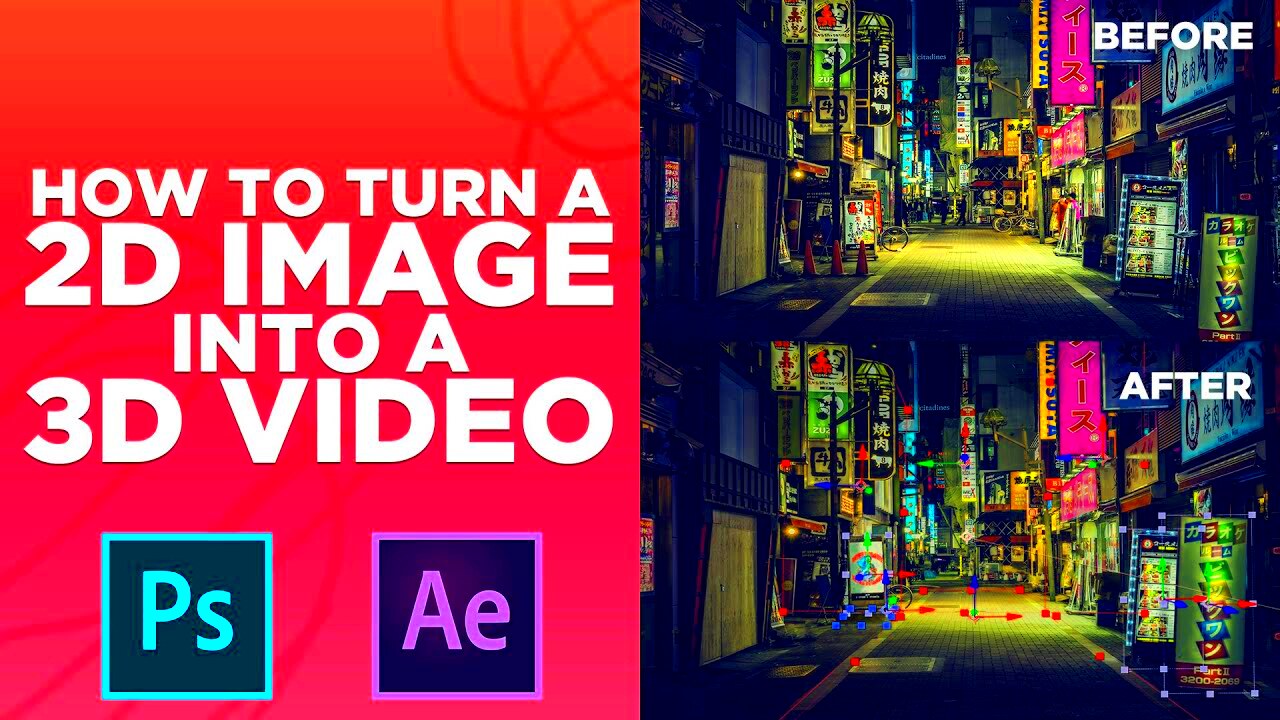
After preparing your 2D image and importing it into After Effects, the next step is to apply the 3D layer effect. This allows your 2D elements to have depth, making them behave as if they exist in a 3D space. Here’s how to apply the 3D effect:
- Import Your PSD File: In After Effects, go to File > Import > File, and select your Photoshop file. When you import, be sure to select "Import as Composition" to maintain the layers. This will allow you to work with each element separately in After Effects.
- Activate 3D for Each Layer: In the timeline, you'll see a small cube icon next to each layer. To convert a layer into 3D, click on the cube for each layer you want to work with. This activates the 3D effect, allowing each element to move along the z-axis (depth).
- Adjust Layer Positions: With 3D layers activated, you can now adjust each layer's position in 3D space. Select a layer and press "P" to access its position properties. You can move the layer forward or backward in the scene by modifying the z-axis value.
- Add Depth and Perspective: After positioning your layers, the next step is to add depth by adjusting the distance between layers. Objects that are farther away should appear smaller, while those closer to the camera should appear larger. This creates a realistic 3D perspective.
Once you’ve applied the 3D effect, you’ll notice that your layers now appear to have depth. The next step is animating these layers to bring your 3D scene to life.
Animating the 3D Image in After Effects
With your 2D image converted into 3D layers, it's time to animate your scene and bring it to life. Animation in 3D space adds movement and makes your image feel more dynamic and engaging. Here’s how to animate the 3D image in After Effects:
- Create Keyframes for Movement: To animate your layers, you'll use keyframes. These are markers that define the starting and ending points of any animation. Select a layer, press "P" for position, and click the stopwatch icon to create the first keyframe. Move to another point in the timeline, adjust the layer’s position, and After Effects will automatically create a second keyframe to animate the movement between them.
- Animate the Camera: Adding a camera to your composition allows you to create smooth movement throughout the 3D space. Go to Layer > New > Camera to add a camera. With the camera in place, you can animate it by adjusting its position and rotation, allowing for sweeping cinematic movements around your 3D layers.
- Use the Z-Axis for Depth: To make your 3D scene feel more realistic, animate the layers along the z-axis (forward and backward). You can adjust the depth of each layer by moving it closer or farther from the camera, creating the illusion of a more immersive 3D environment.
- Add Rotation for Realistic Movement: In addition to position, you can animate rotation for a more dynamic effect. Press "R" to access the rotation properties and animate the rotation of each layer. You can rotate individual layers along the x, y, or z-axis to make them appear as if they are turning in 3D space.
- Fine-Tune with Easing: To make your animations smoother and more natural, use easing. Right-click on your keyframes, go to Keyframe Assistant, and choose "Easy Ease" to soften the movement at the beginning and end of the animation, making it less stiff and more organic.
By animating your layers and camera, you’ll create an engaging 3D scene that adds excitement and depth to your 2D image. The more you experiment with the tools in After Effects, the more creative your animations can become!
Adding Lighting and Camera Movements for Realism
To make your 3D image look more realistic, adding proper lighting and camera movements is essential. Lighting creates depth and highlights specific parts of your 3D scene, while camera movements provide a more immersive viewing experience. Here’s how you can incorporate both into your project:
- Set Up Lights in After Effects: To add light, go to Layer > New > Light. After Effects offers various light types: Point, Spot, Parallel, and Ambient. Each serves a different purpose:
- Point Light: Emits light in all directions, like a bulb.
- Spot Light: Focuses light in a specific direction, great for spotlight effects.
- Parallel Light: Casts light from a specific angle, like sunlight.
- Ambient Light: Provides a general, non-directional light source.
- Adjust Light Intensity and Position: Once the light is added, you can adjust its intensity and position in the 3D space to create shadows and highlights. Use the light’s "Intensity" property to control how strong or soft the light appears.
- Animate the Camera for Dynamic Movement: To make the scene more engaging, animate the camera by adjusting its position, rotation, and focal length. This helps create a cinematic feel. You can simulate walking through the scene or adding sweeping camera movements around the image.
- Add Depth with Shadows: Shadows add a lot of realism. When using 3D layers and lights, make sure to enable "Cast Shadows" for each object in your scene. You can also fine-tune shadow softness to match the overall lighting setup.
With the right lighting and smooth camera movements, your 3D scene will feel more natural and lifelike, making your 2D image transformation even more impressive.
Finalizing Your 3D Image in After Effects
Once you’ve applied the 3D effect, animated your layers, and added lighting and camera movements, the final step is to polish your 3D image and ensure everything looks perfect. Here are the finishing touches you can make:
- Check for Layer Alignment: Make sure your layers are aligned properly in the 3D space. You can adjust the position of layers and their relative distance to make sure everything looks proportional and realistic.
- Refine the Animation: Review your animations and smooth out any harsh movements. Use the Graph Editor to adjust keyframes for more natural motion. You may also want to add a little easing to your keyframes to make the transitions smoother.
- Render Previews: Before rendering the final output, preview your work by pressing the spacebar to check how the layers and camera move. This helps you spot any issues that may need tweaking.
- Apply Effects and Color Correction: You can enhance the look of your 3D scene by adding effects like motion blur, glow, or adjusting color tones. After Effects has a powerful set of tools for color correction to adjust contrast, brightness, and saturation, giving your 3D scene the desired look.
- Render Your Final Video: Once you're happy with the result, it's time to render your video. Go to Composition > Add to Render Queue and choose the desired output format. After Effects will process the animation and export your final 3D image as a video file.
These final steps ensure your 3D transformation looks polished and professional. With careful attention to detail, you’ll have a stunning 3D image ready for any project!
FAQ
Q1: Can I use a simple 2D image, like a logo, for 3D conversion?
A1: Yes, you can convert a simple 2D logo into 3D in After Effects. The process is similar to any other image; you would separate elements of the logo into layers and then apply the 3D effect. This works well for creating depth and movement in logo animations.
Q2: Do I need a powerful computer to work with 3D effects in After Effects?
A2: While After Effects can run on standard computers, working with 3D layers and effects can be resource-intensive. It's recommended to have a computer with a good GPU, at least 16GB of RAM, and a fast processor for smoother performance when working with complex 3D animations.
Q3: Can I create 3D effects with a single layer in After Effects?
A3: Yes, you can create 3D effects with a single layer. However, to make the effect more dynamic, it’s best to work with multiple layers. By adding depth and animating different elements, you’ll get a more immersive 3D scene.
Q4: Can I use the 3D camera in After Effects for simple animations?
A4: Absolutely! The 3D camera in After Effects can be used for simple animations, such as rotating around a layer or zooming in and out. It adds depth and dimension to the scene, making even basic animations look more professional.
Conclusion
Converting a 2D image into a 3D effect in After Effects is an exciting and rewarding process. By separating your image into layers, applying 3D effects, and incorporating animation, lighting, and camera movements, you can bring your visuals to life with depth and realism. The key to success is taking your time with each step, ensuring that each element is carefully placed and animated. Whether you’re creating a simple animation or a complex 3D scene, After Effects provides all the tools you need to transform flat images into engaging 3D compositions. With practice, you'll be able to create stunning 3D effects that will enhance your projects and impress your audience.
 admin
admin


